other Content and Tutorials
- Object in the space AR
- Adding content - Music and Audio
- Testing/publishing your project - Android devices
- Testing/publishing your project - IOS devices
Object in the space AR
-
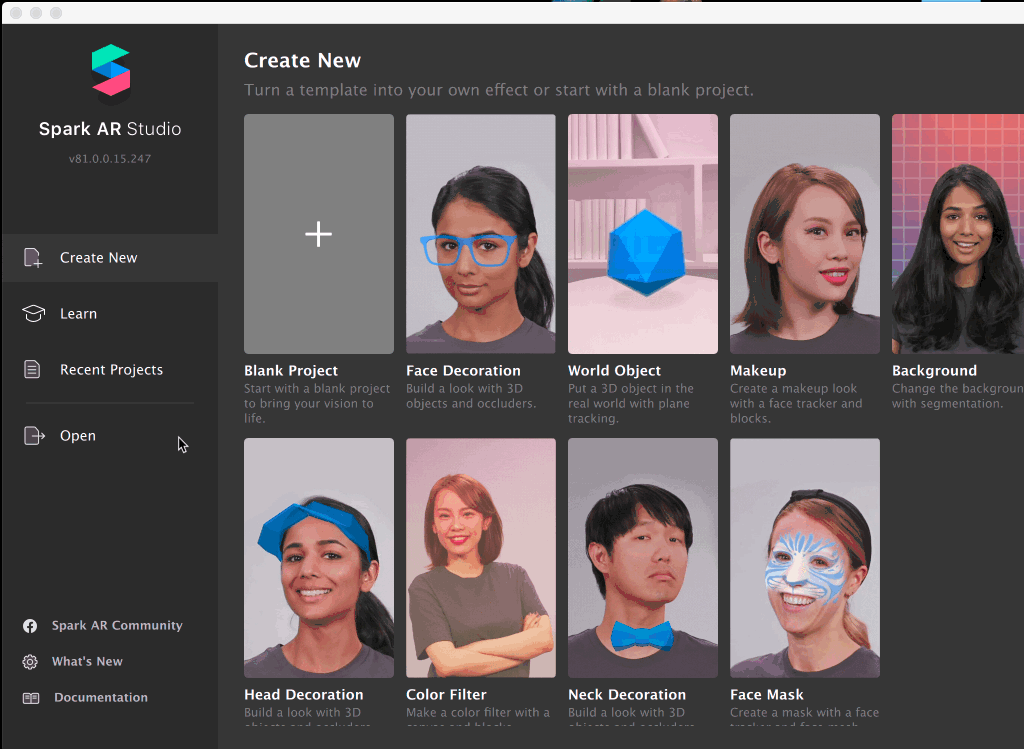
Spark AR provides a number of different templates to start with, for the purposes of this brief/project we will be using the World Object Template
-
Launch Spark AR and create a new project from a template (File > New Project from template > World Object)
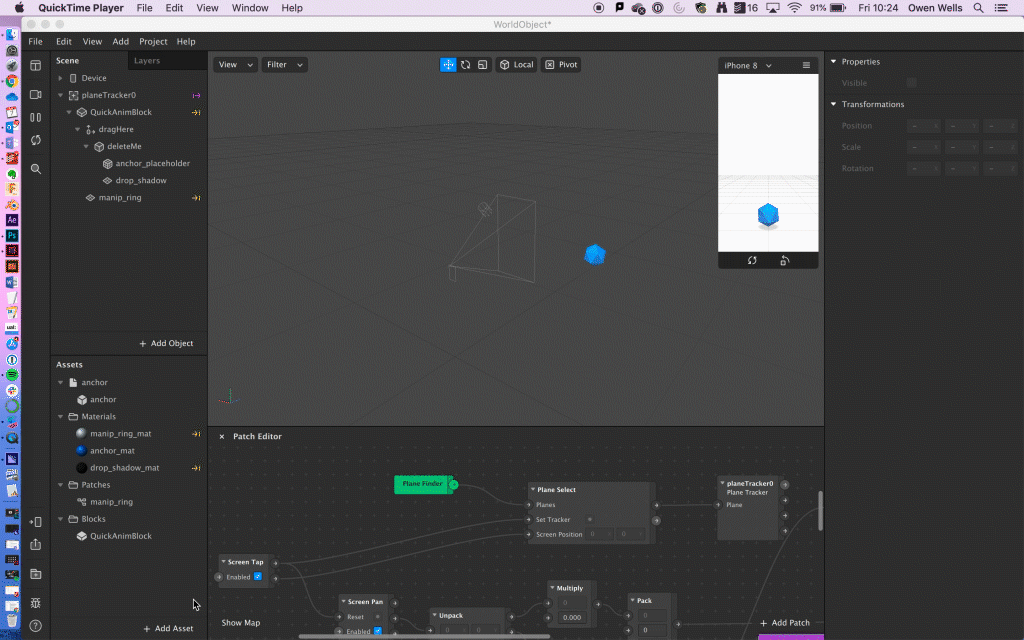
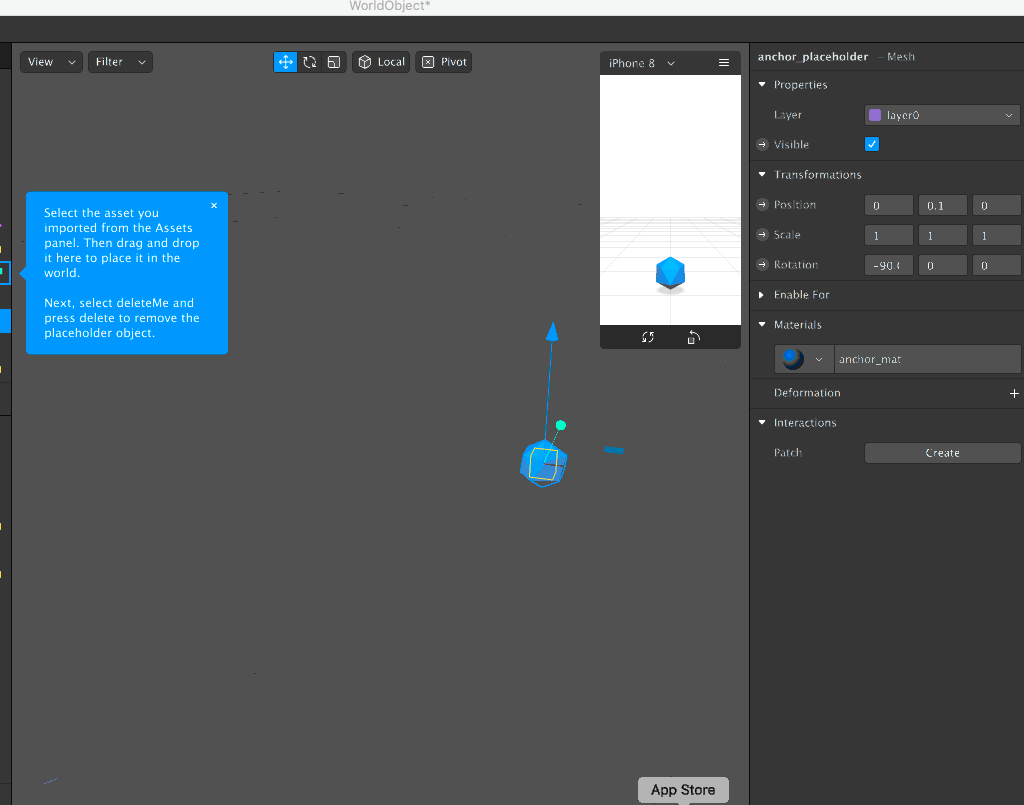
- You should now see in your Spark AR project window something like this:
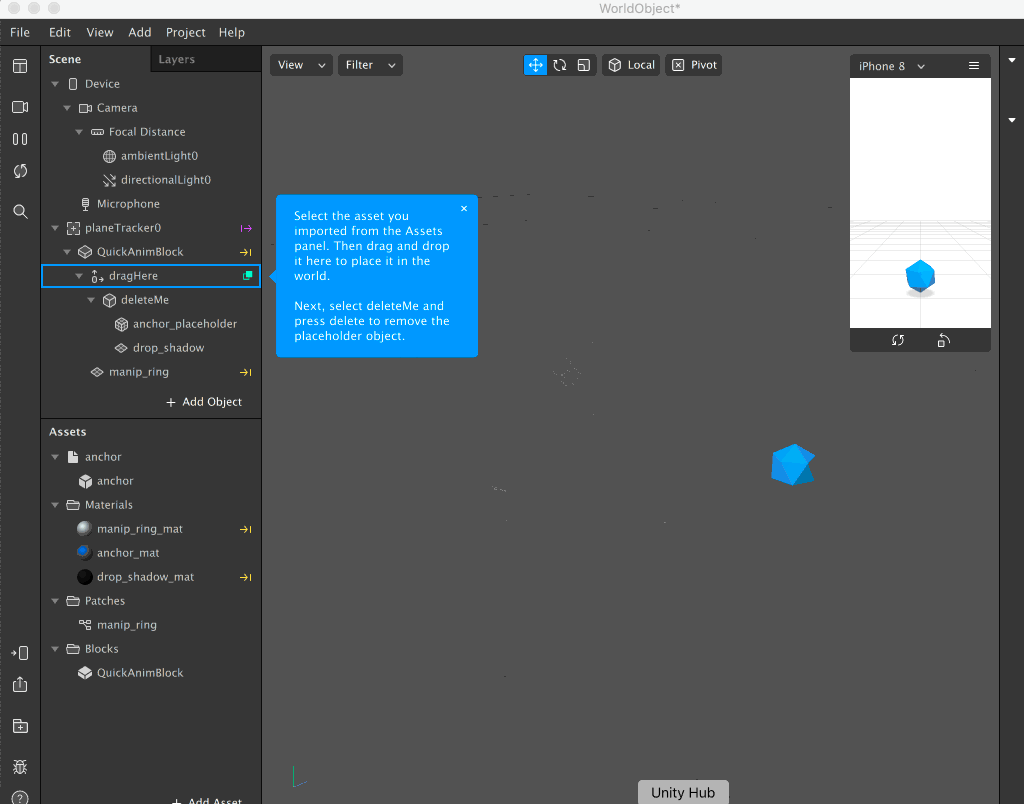
- There is a preview of what your project will look like on a mobile device in the project window. You can select from the drop down the device that you will be viewing your AR experience on:
- From here you can start to edit your object, for example properties such as colour and texture by double clicking in the materials box:
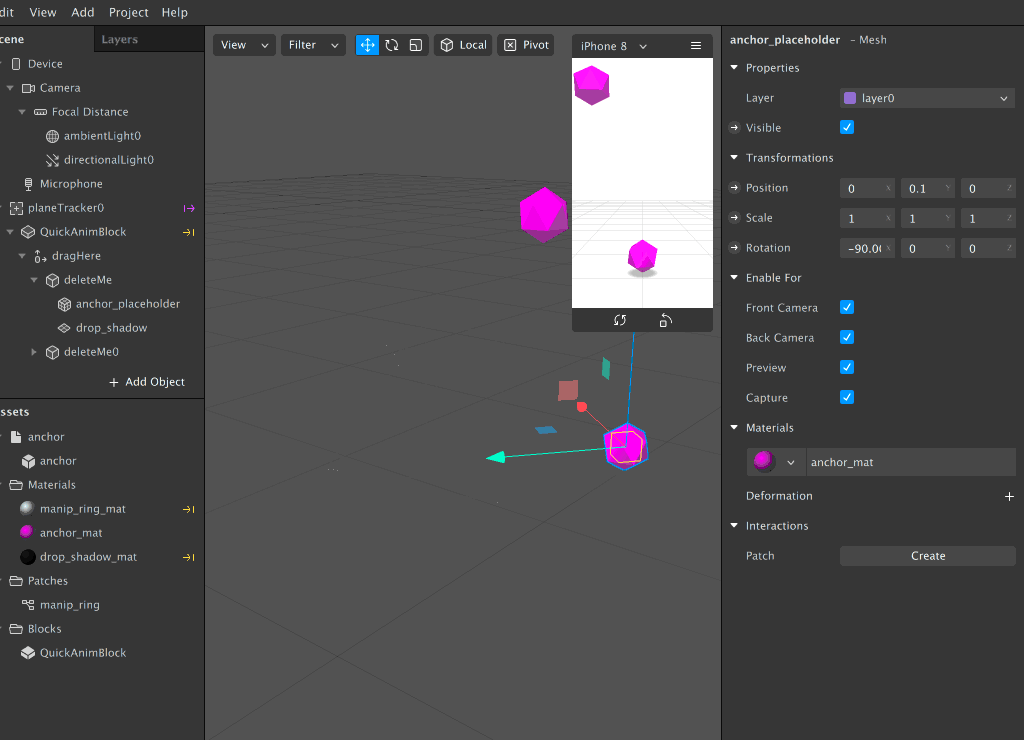
- You can also duplicate the object in the scene by going to Edit > Duplicate and dragging it somewhere else on the scene:
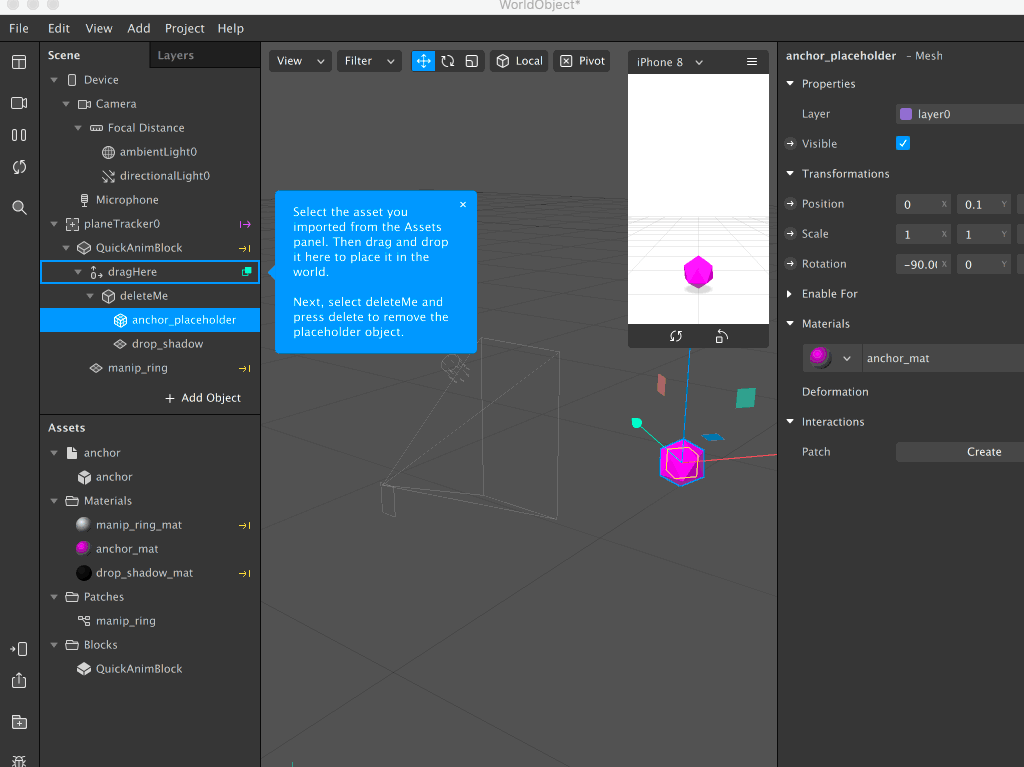
- You can also edit the object size, and rotation in the properties menu. Make sure you select the object you want to edit:
Adding content - Music and Audio
There are multiple ways in which you can use audio in your AR project through Spark AR. An introduction to the use of audio in Spark AR can be found here.
Adding an Audio file
It is important to note that Spark AR only supports M4A file format. You can convert audio files to M4A using open source software like Audacity. A tutorial for this can be found here.
- Click on Add Asset in the Assets pane.
- Click on Import from Computer.
- Select the file you want to open and click Open.
- Your audio clip will be in the Audio folder of the Assets pane.
Note. Your file will only import if it complies with the specific audio file specifications for Spark AR. Details of which can be found here.
Adding an Audio file from Spark AR Library