Basics of Touchdesigner
- Installing the software
- Intro to Touchdesigner
- A circle following the mouse
- Switch Operator
- Other resources
Installing the software
If you are using the Macbooks available for LCC's library:
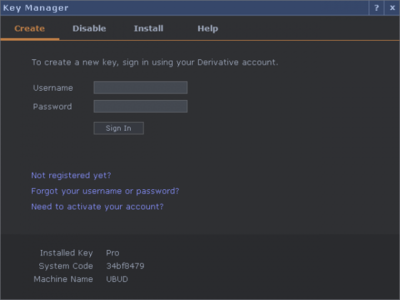
If you are using one of the MacBooks from the library you must use UAL's Self Service app. Here search for "Derivative Touch Designer" and install. Now register for an account at https://derivative.ca. Look for the header "My Licenses", on the right, from here "Create Key" by typing in your system code and machine name, this will come up in a window on Touchdesigner when you first try launching it.
If you are using your own device:
Before installing Touchdesigner...
Make sure to update your system, Touchdesigner is constantly being updated and might require the latest version of your system.
Download the software
Download the right release for your system: https://derivative.ca/download. Touchdesigner is free but this release comes with a couple of limitations, but nothing that would stop you from working on your project. On the same page register for an account and look for the header "My Licenses", on the right. From here "Create Key" by typing in your system code and machine name, this will come up in a window on Touchdesigner when you first try launching it.
Intro to Touchdesigner
About the software
Touchdesigner is a programming software popular amongst all kinds of creatives. Within the Creative Technology Lab we support students in developing interactive projects, often combined with physical computing and projection mapping.
Touchdesigner is a node-based software, a type of visual programming language. This means that for the most part we won't be dealing with tradition coding, instead we will be using nodes called Operators. These are ready-made "blocks of code", each performing different functions. Linking nodes together allows us to manipulate data and program our network. A bit like using layers in Photoshop, every new node you add alters the previous one, however in Touchdesigner data flows left to right.
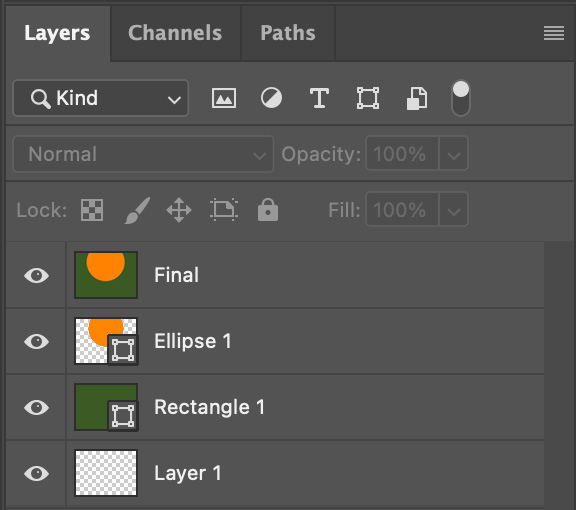
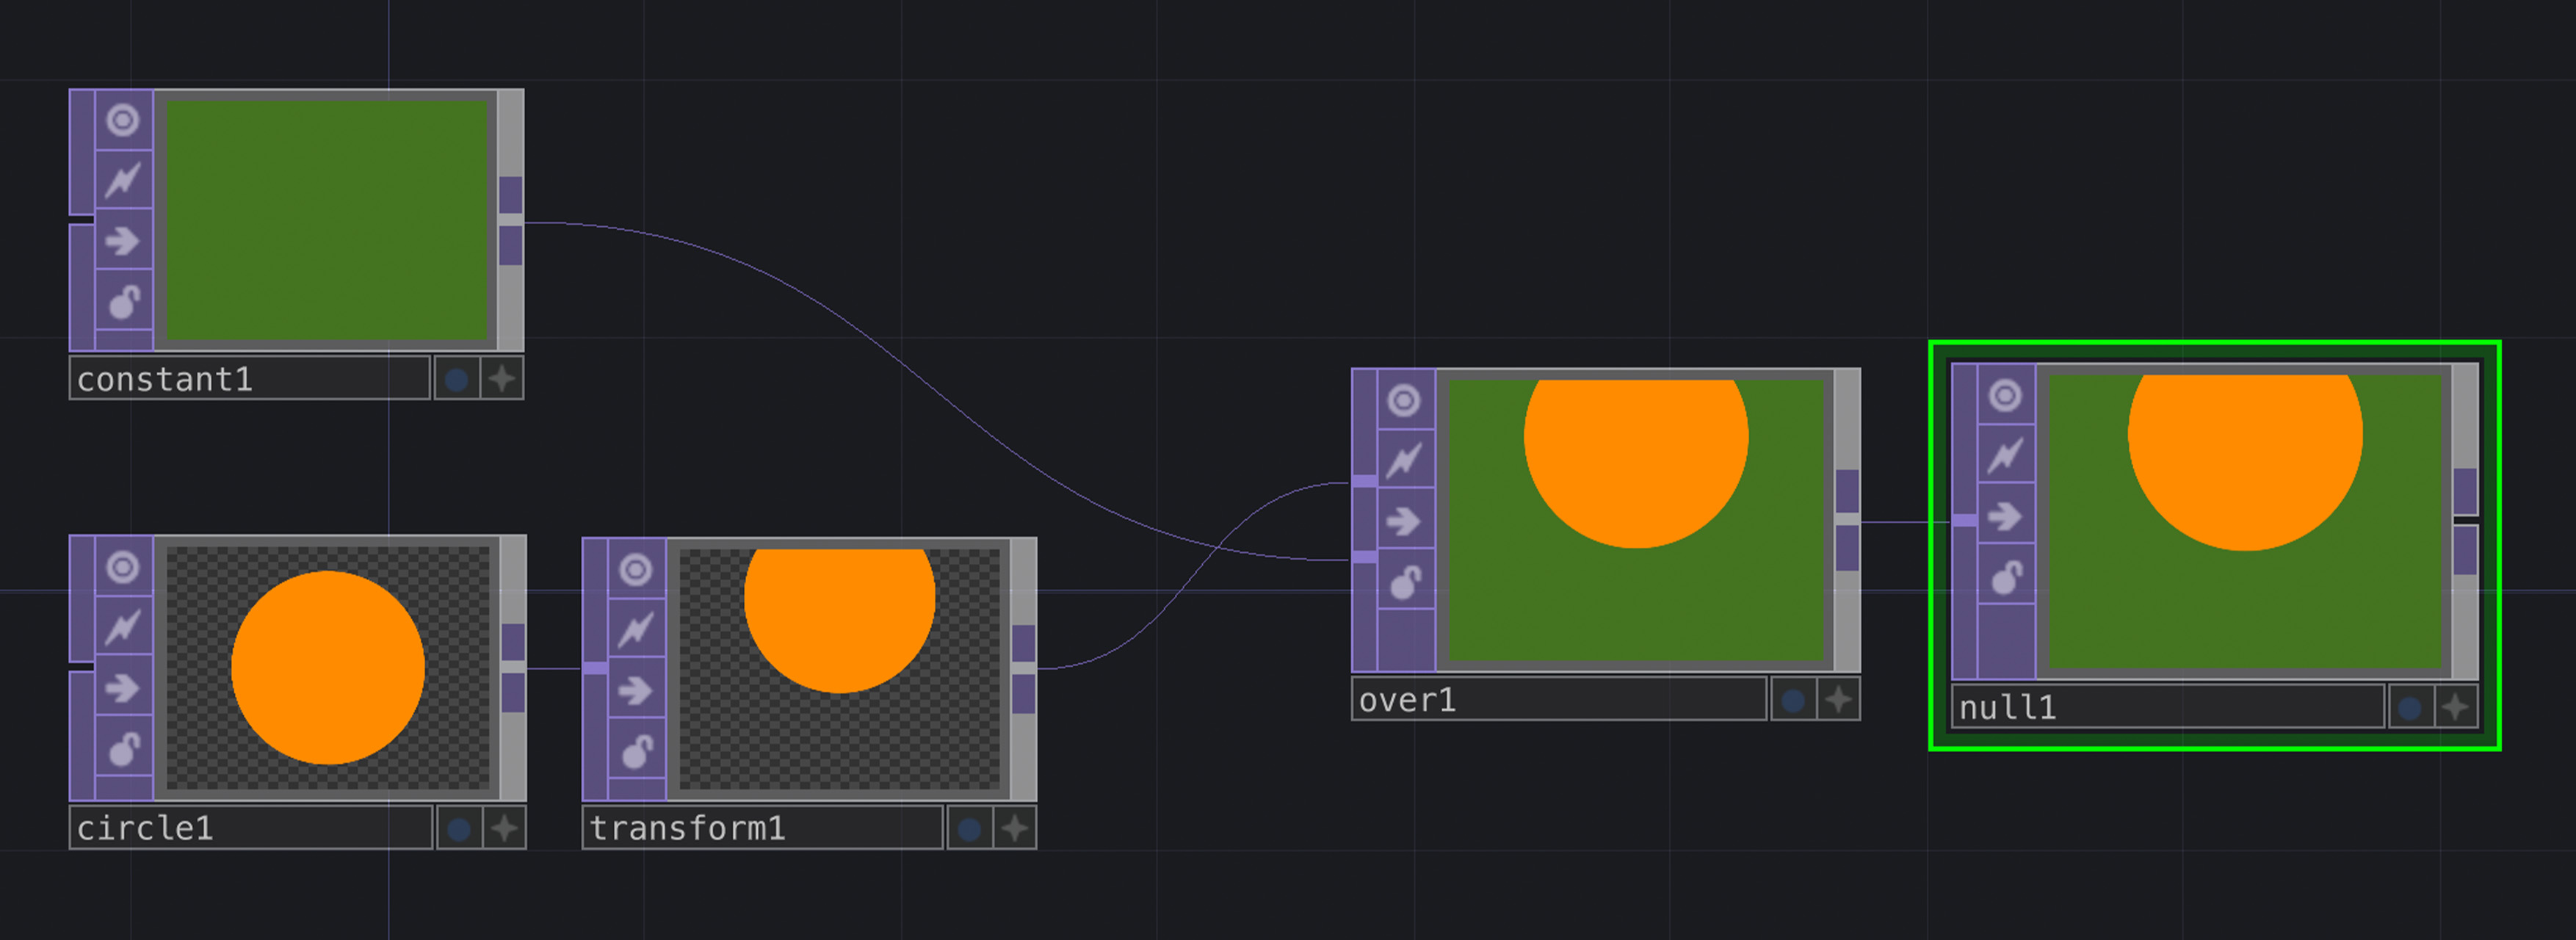
Layers in Photoshop. Nodes linked to create a network in Touchdesigner.
Navigating the Interface
Moving around in TouchDesigner can sometimes be confusing, especially for trackpad users. Press down on the trackpad to navigate your network or use two fingers to zoom in and out—particularly useful for moving between layers of your project. For mouse users, left-click to move around and use the mouse wheel to zoom in and out. In both cases, double-clicking will open the OP Create Dialog, while a right-click will reveal more options.
Operators
A library of all Operators is available by double-clicking anywhere on the background of Touchdesigner. To delete an operator, simply select it then hit the delete key on your keyboard. Operators are grouped into families, each marked with a different heading and color.
TOPS
Texture Operators, also known as TOPs, are all about handling images and videos. They help you modify, combine, and create graphics in real-time.
CHOPS
Channel Operators, also known as CHOPs, work with one or more channels of data. Informations from signals, motion, audio, etc. can be altered and used to control other operators, often TOPs, to perform various animation techniques.
DAT
Data Operators, or DATs, help manage scripts and data tables for communication between different devices or systems. They're really handy for connecting Touchdesigner with external devices like Arduino.
Components
Components are operators containing their own network. The Palette, ![]() located in the top-left corner of TouchDesigner's interface, is a list of all components, each grouped by category. 'Mapping' is just one of these categories, this being particularly useful for projection mapping.
located in the top-left corner of TouchDesigner's interface, is a list of all components, each grouped by category. 'Mapping' is just one of these categories, this being particularly useful for projection mapping.
Parameters Window
Every operator comes with a set of parameters that you can edit to alter its default values. Select your node and press "P" on your keyboard to access or hide the parameters window.
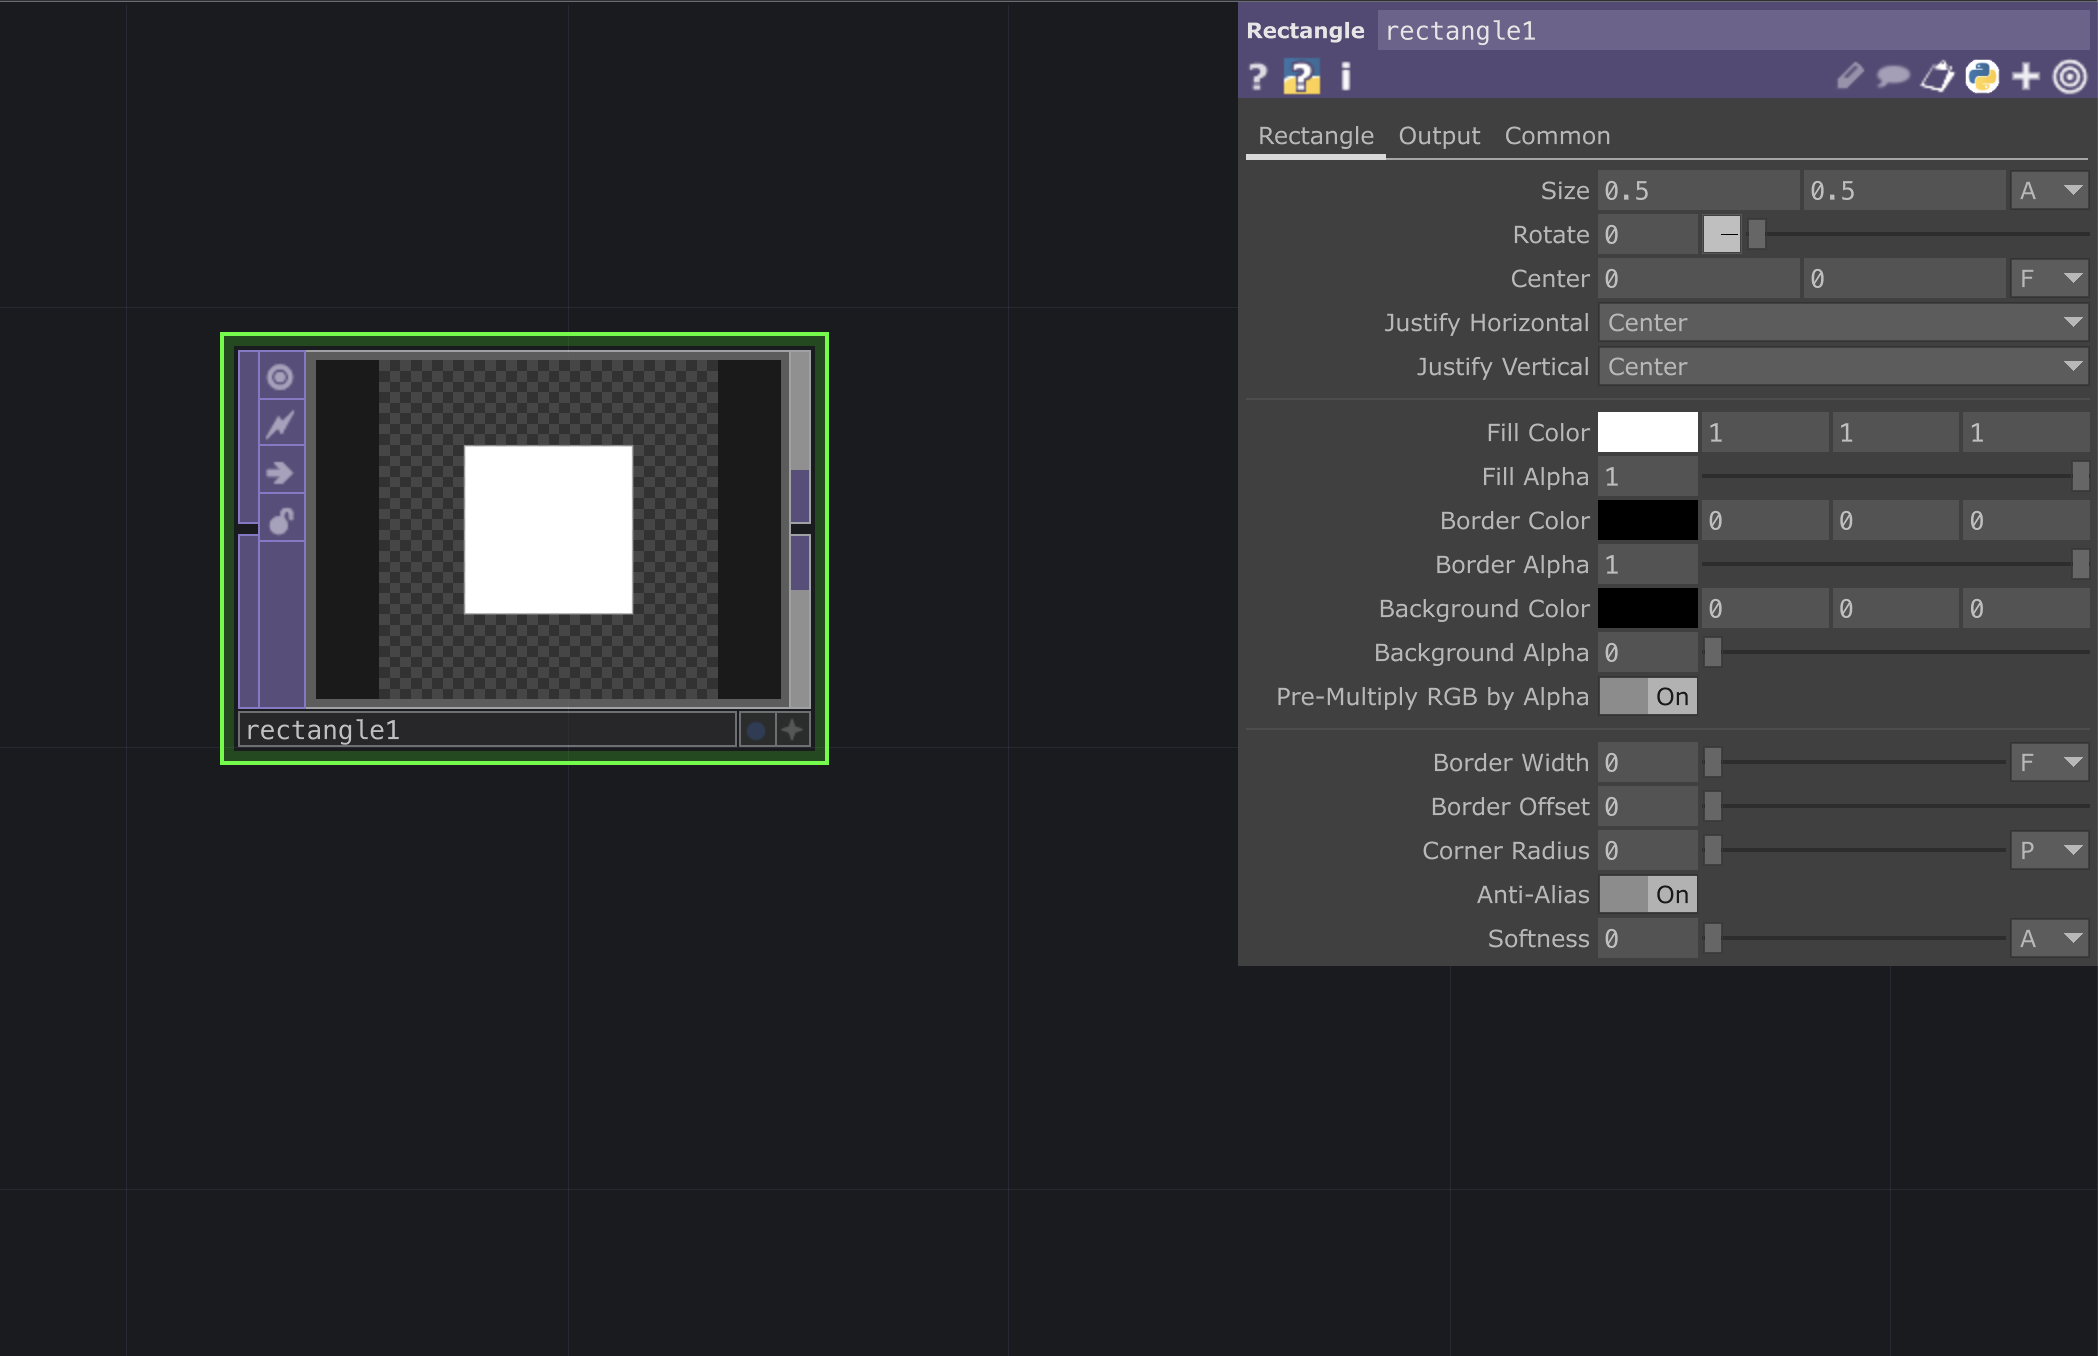
This window offers various functions, each grouped by sub-category. "Common" is a sub-category that applies to all operators; In TOPs it is often used to change the resolution of our visual content. For example, if your webcam's resolution is 1920x1080, the VideoDeviceIn TOP may display a warning: "Resolution limited to a max of 1280x1280 with Non-Commercial key," referring to the maximum resolution available in the free version of TouchDesigner. To address this, you can adjust the resolution in the "Common" category by changing the OUTPUT RESOLUTION to Custom Resolution from the drop-down menu and selecting the desired RESOLUTION by clicking this arrow ![]() . A resolution of 1280x720 is usually a good fit.
. A resolution of 1280x720 is usually a good fit.
Another feature in the parameters window that's common to all operators is the "Help" button ![]() , which launches the Operator's Wiki help page in a new browser window, ie: https://docs.derivative.ca/index.php?title=Video_Device_In_TOP.
, which launches the Operator's Wiki help page in a new browser window, ie: https://docs.derivative.ca/index.php?title=Video_Device_In_TOP.
A circle following the mouse
If you're looking to create interactive projects in Touchdesigner this exercise is a great first step. We will cover some of the most important concepts such as gaining data from external sensors and using it to manipulate visuals.
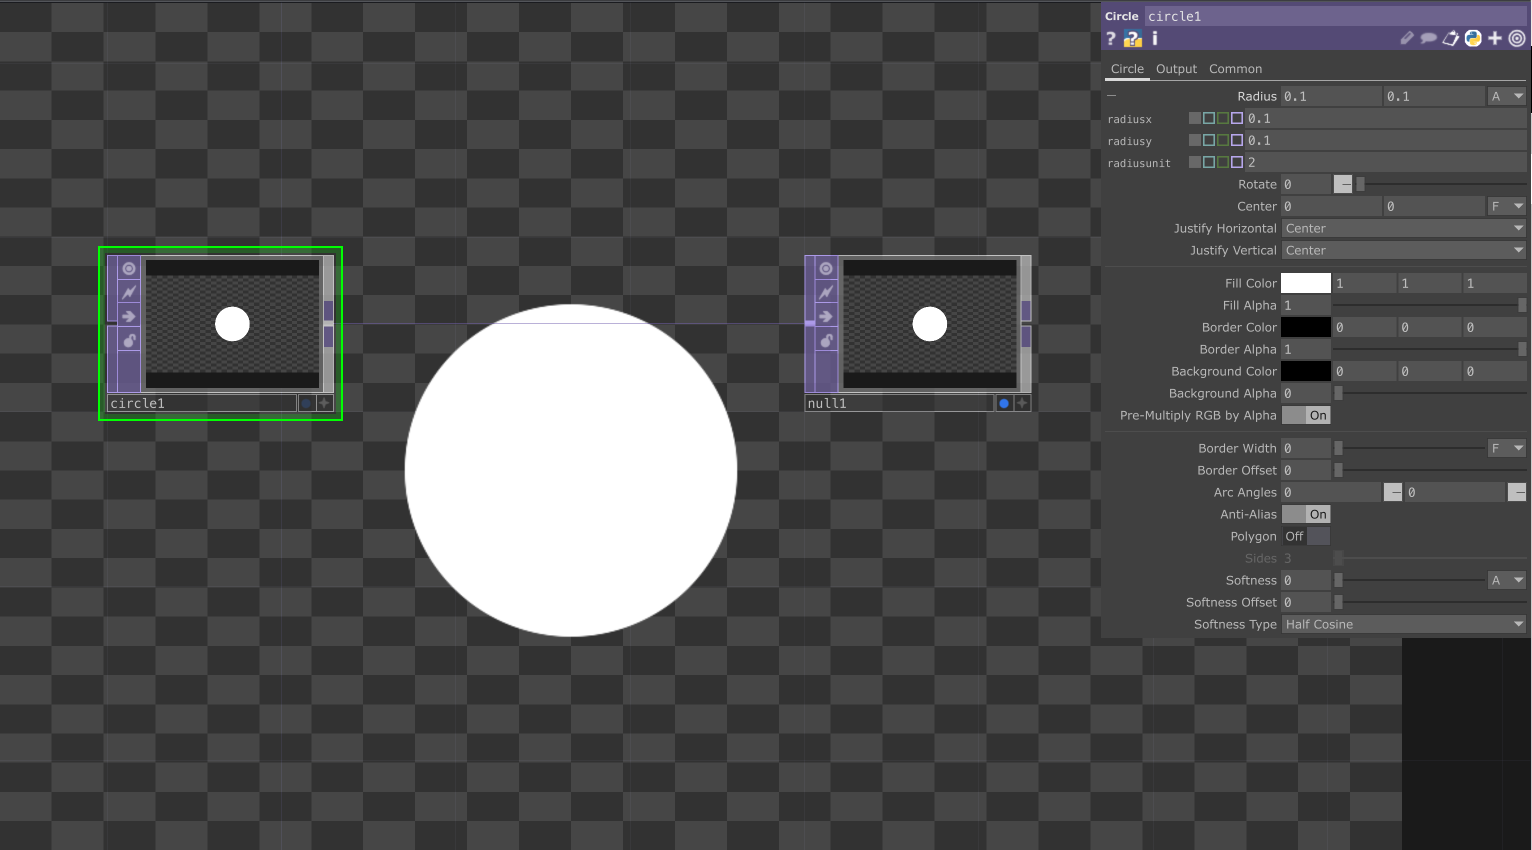
To begin with add a Circle Top and connect it to a Null TOP, then click on the null's Display button - this will help you better monitor any alterations. In the parameters window, we can change the width(x) and height(y) of our circle by clicking on Radius and editing these sizes. You can improve your visual's Resolution by changing it to 1280x720.
Add a Transform TOP after the circle and play around with the Translate parameters to make your circle move along the x and y axis within the canvas' cartesian plane. Take note of your canvas' extremities, ie.: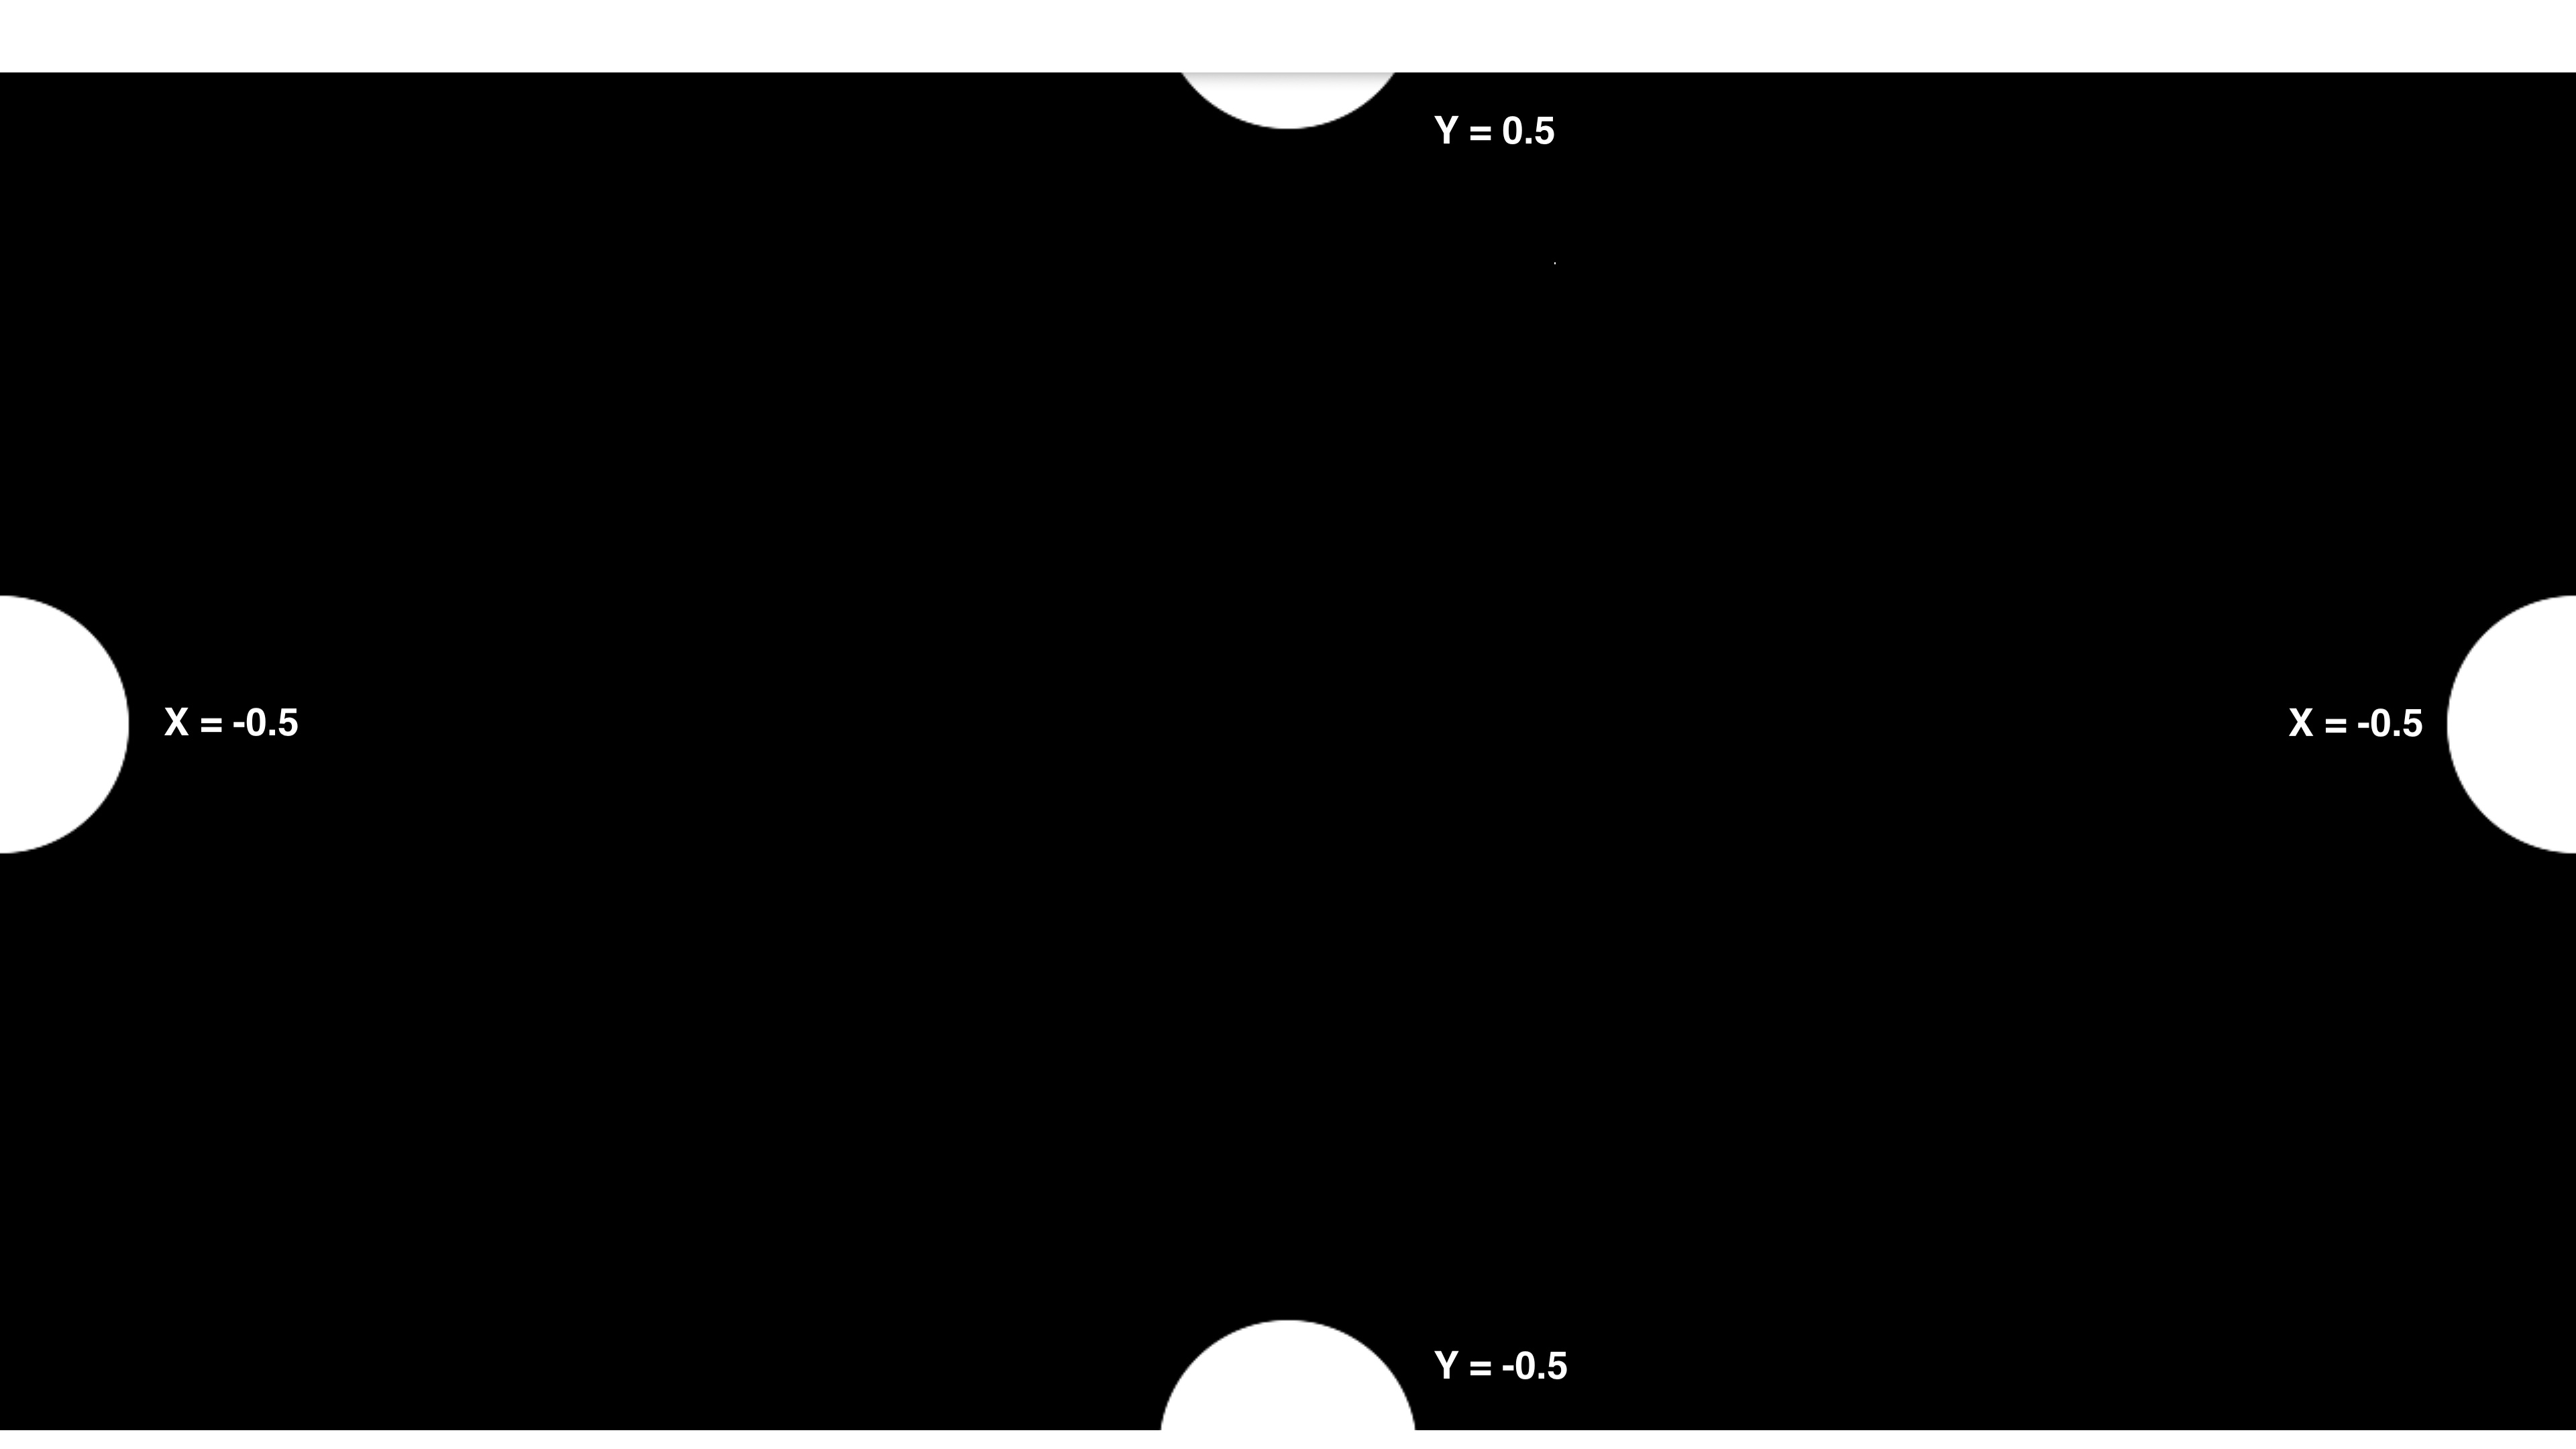
Our aim for this tutorial is to get a circle to follow our mouse, so let's add a MouseIn CHOP. As you move your mouse around the screen you should notice the tx and ty data retained by this operator fluctuate. We'll use these as points of reference for our mouse to follow: Click on the Viewer Active button ![]() to activate the operator, we can now link these channels to the x and y parameters in the Translate TOP. Select the operator and drag and drop the channels from the MouseIn CHOP in the Translate TOP's parameters window, click on CHOP Reference and you should now see the parameter updating in real-time.
to activate the operator, we can now link these channels to the x and y parameters in the Translate TOP. Select the operator and drag and drop the channels from the MouseIn CHOP in the Translate TOP's parameters window, click on CHOP Reference and you should now see the parameter updating in real-time.
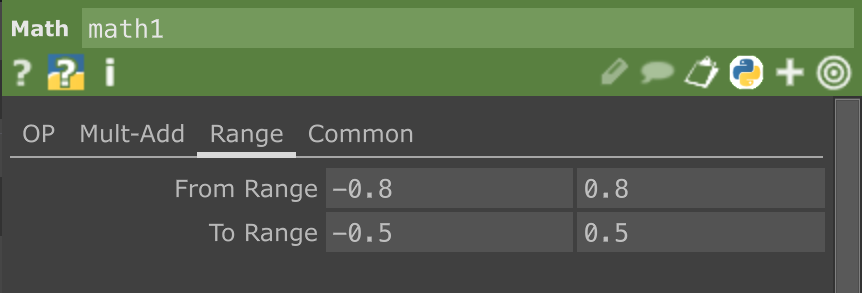
The circle is now moving and following your mouse, however you might notice that on the x-axis this may seem slightly off. We can remap our mouse values to match those of our canvas by adding a Select CHOP to our MouseIn CHOP, and in the parameters window select "tx" for the Channel Names; This allows us to only remap the tx values. Add a Math CHOP and in the sub-category math "Range" you will see two rows:
From Range indicates the original set of values between which x fluctuates. ie. MouseIn CHOP's original x values fluctuate between approximately -0.8 and 0.8 .
To Range indicates the new set of values between we want x to fluctuates. We have previously established that my circle x-axis extremities are between -0.5 and 0.5.
Therefore your Math CHOP should now look like this:
Replace the previous reference with this new set of values by activating ![]() the Math CHOP operator, then drag and drop the channel into the x parameter in Translate TOP.
the Math CHOP operator, then drag and drop the channel into the x parameter in Translate TOP.
The circle should now be following your mouse! This same workflow can be used in other scenarios, with different external inputs such as a webcam or a tracking device, to create live and interactive content.
Switch Operator
A simple yet effective method used in interactive projections consist of alternating between two or more visuals. This could be the result of pressing a button or entering an area that's being tracked with a webcam, etc,.
In this brief tutorial we will look at the Switch TOP, a very useful operator for interactive projects. It is easy to use: Link two MovieDeviceIn TOPs to a Switch TOP and end your network with a Null TOP - activate the operator's display viewer to better monitor any alterations  .
.
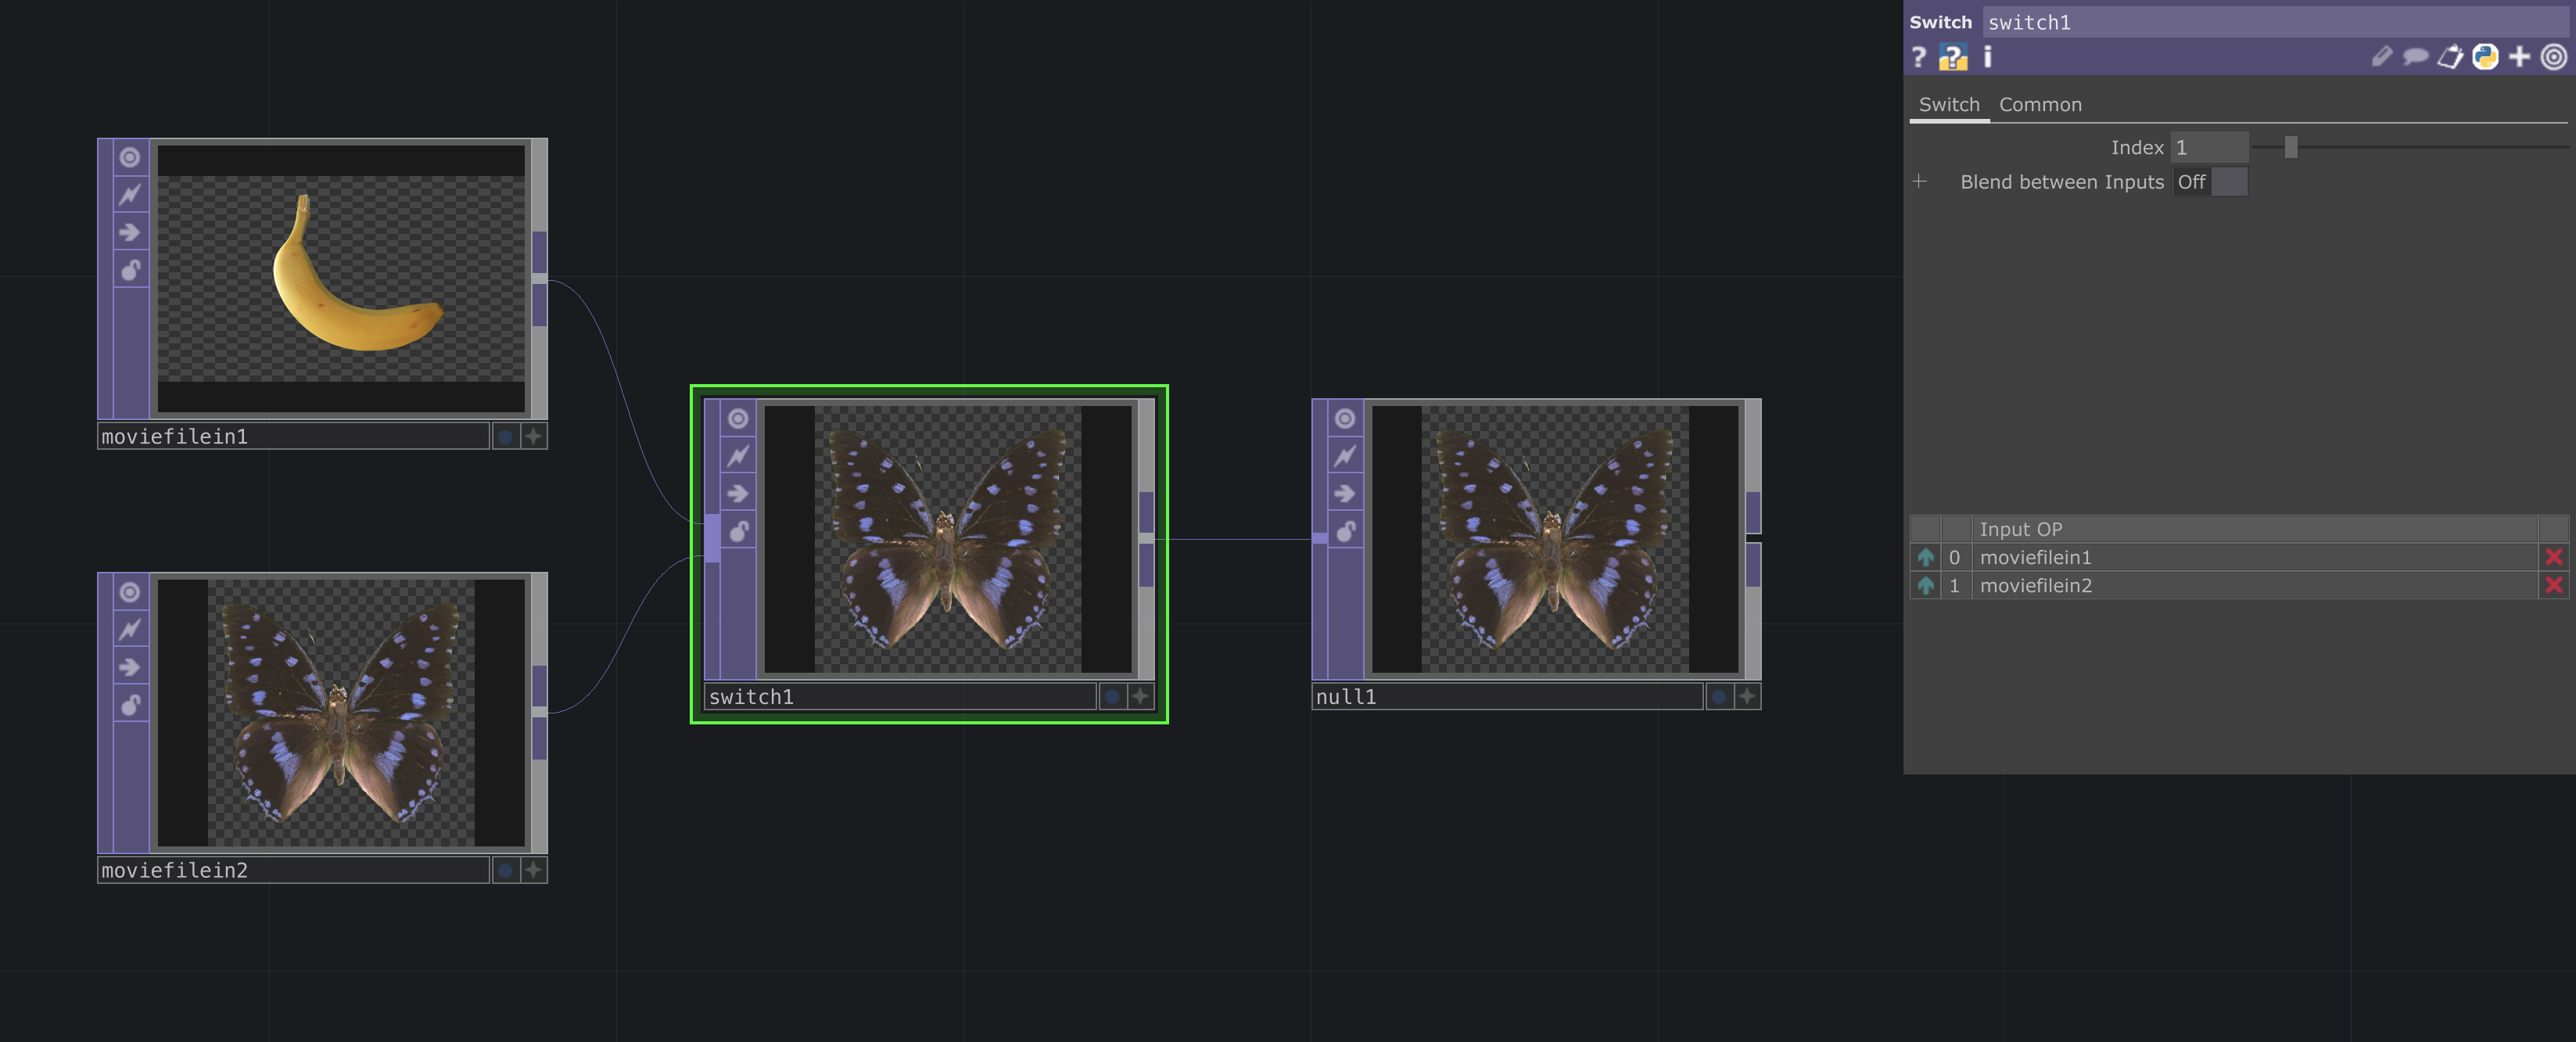
In the parameters window for Switch TOP, use the INDEX slider to alternate between your visuals. Touchdesigner likes to start counting from 0, hence your first image will be indexed as "0" while your second image will be indexed as "1".
As mentioned before, we could use a button, sensor or tracking device to control the operator's INDEX slider.
Other resources
This list of resources will keep on growing as we continue to explore Touchdesigner here at LCC.
The best way to grow in your visual programming journey is to practice! If you're struggling to get started you could look into daily or weekly coding challenges such as the @creativecodeart on Instagram, where a prompt is posted every week and users are invited to submit work in response to it.
Basics:
Touchdesigner's official course: https://learn.derivative.ca/courses/100-fundamentals/
Elekktronaut's Intro to Touchdesigner:https://www.youtube.com/playlist?list=PLFrhecWXVn5862cxJgysq9PYSjLdfNiHz In general all of Elekktronaut's videos are really interesting, useful and beginner friendly.
Main channels for resources:
The interactive & Immersive HQ is a community providing both blogs and videos to learn Touchdesigner: https://youtube.com/playlist?list=PLpuCjVEMQha9_WchDzqG878GtsJd1uJ5s&si=2aMzPXeBErIBhMwh
A collection of Touchdesigner tutorials from all of the internet: https://alltd.org
Tested and approved both free and paid online workshops/seminars: https://musichackspace.org/semantic-search-function/?_products=touchdesigner
Disclaimer: There are plenty of free resources available online, it is not recommended to pay for tutorials at the beginning of your journey.
Cheat Sheets:
Common Python operations: https://matthewragan.com/teaching-resources/touchdesigner/touchdesigner-common-operations-cheat-sheet/
Keyboard Shortcuts: https://matthewragan.com/teaching-resources/touchdesigner/touchdesigner-keyboard-shortcuts/
External components:
Connecting MIDI controller to Touchdesigner: https://www.youtube.com/watch?v=XLeghJmFBh0
AI vision using Media Pipe in Touchdesigner: https://www.youtube.com/watch?v=Cx4Ellaj6kk
Other repositories and useful tools might be Github, a website and drive where coding projects are stored, managed and ofter shared as open-source, and ChatGPT, a potential AI assistant, if instructed with a detailed prompt. These tools can help you move faster in your journey but it's important to be transparent about your process and to credit other developers when appropriate, you can read more about best practice to co-create with AI here: https://nadiapiet.notion.site/Prompt-Etiquette-Guidelines-WIP-52a15db1a1cd43fd940fe2fa96508bf9.