Steam VR setup Tutorial #1 - Player camera setup
Aims
This tutorial aims to get you started using Unity and HTC VIVE HDM (Head Mounted Display) Using Steam VR 2.2 plugin.
Please notice that this is the first of a series of tutorials focused on enabling the use of HTC VIVE devices, each tutorial will build on top of previous ones to get you from basic concepts to more functional and complex projects.
Prerequisites
-
Download and install Unity 2018.2.21f1.
More recent versions might also work, this tutorial was made using Unity 2018.2.21f1
-
Create a Unity personal account.
To use Unity you will have to create your own account as you will be prompted to login when you start running the software.
- Download and install Steam. Steam platform will install additional components needed to run the HTC VIVE on your computer. Click here to go to the Steam download page.
Getting started
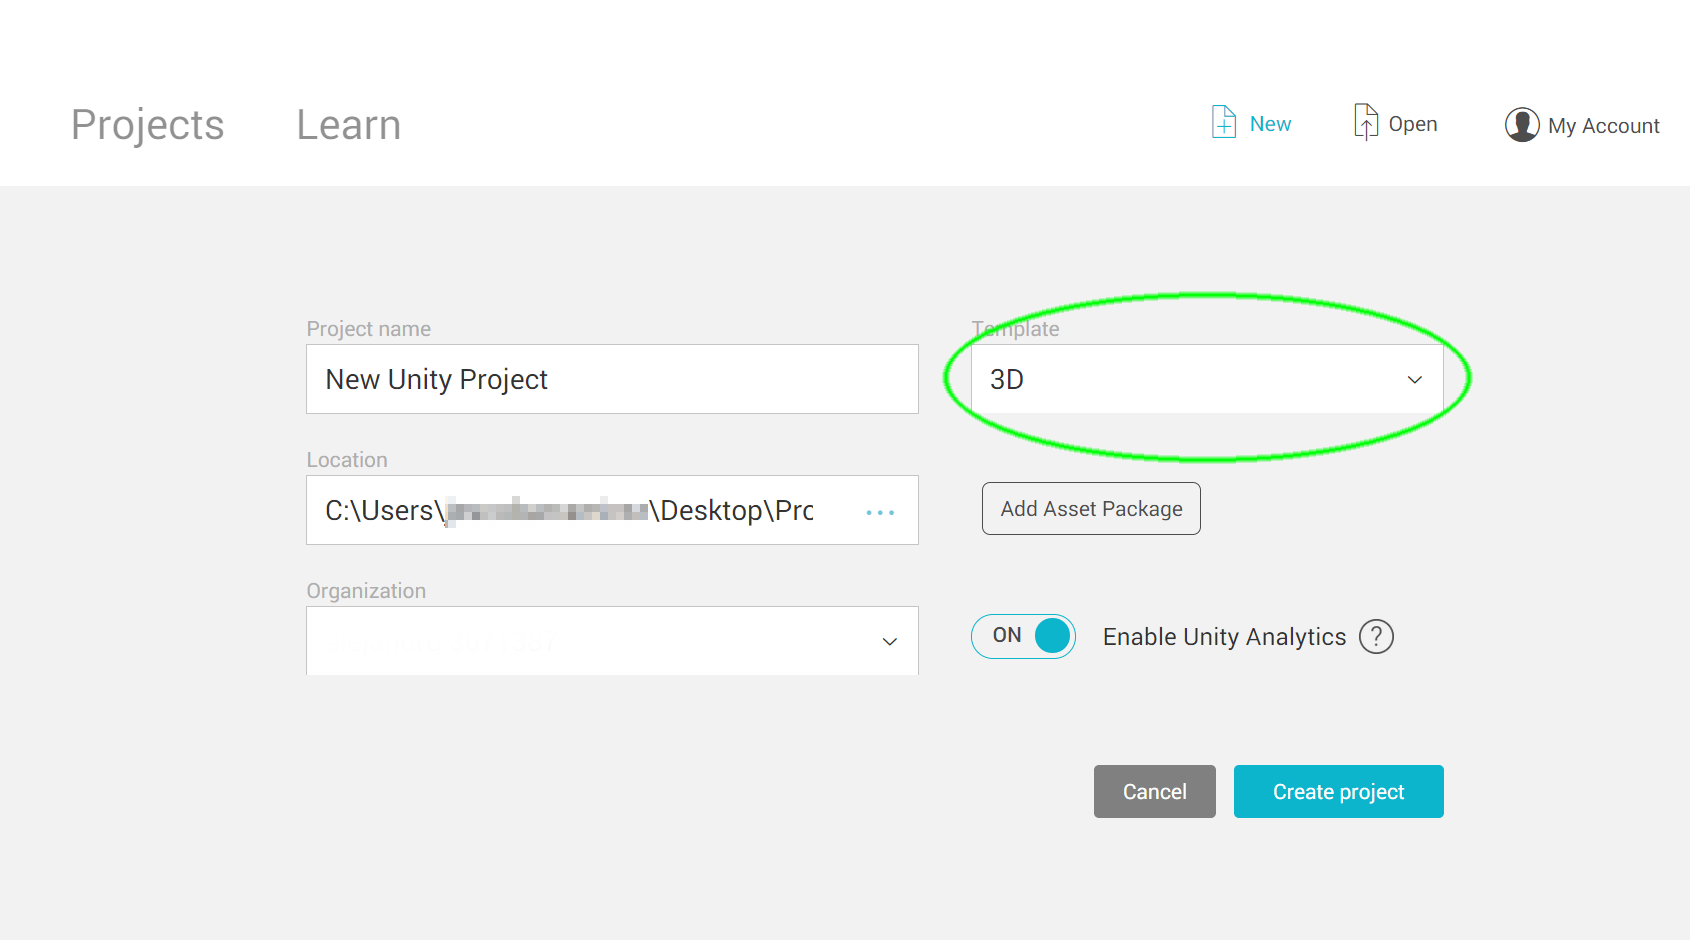
Create a new Unity project, you might need to login first. Make sure you select a 3D template.
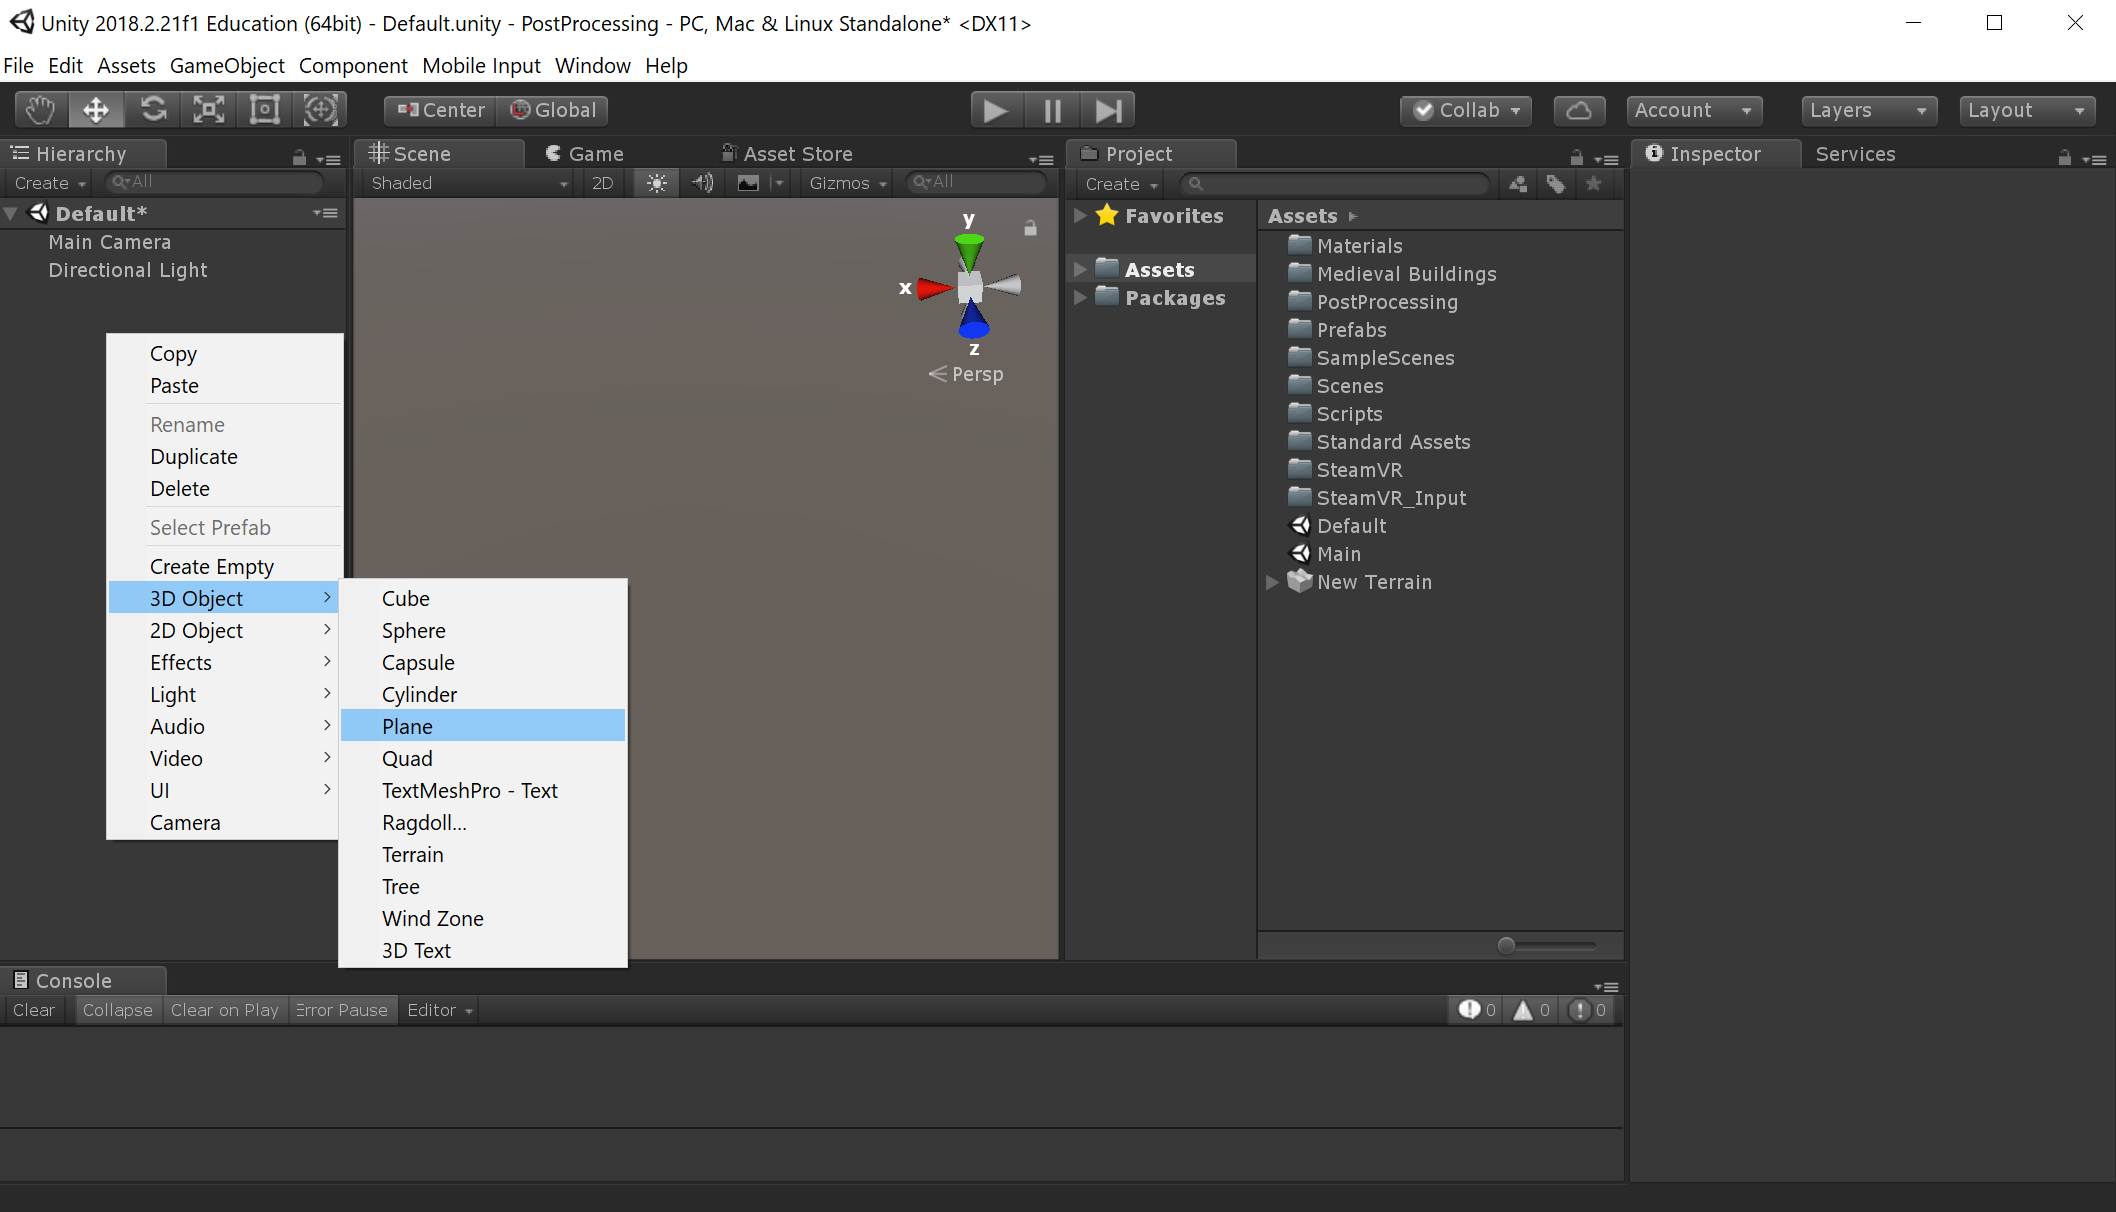
After your new project opens, locate your mouse cursor on top of the "Hierarchy" panel and right-click to create a plane.
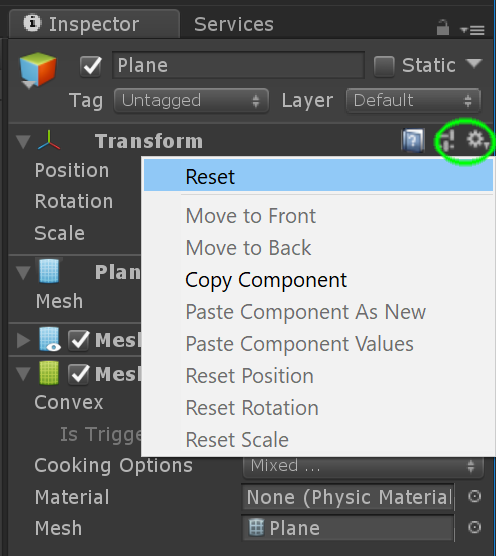
Now let's place the plane in the middle of the space. Select the plane and chose the Reset option inside the drop-down menu found on the right top corner of the transform component. This will reset all the transform values for the plane.
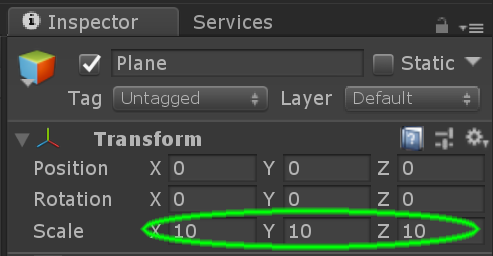
Now, let's make bigger so your player can have a bit more of space to interact. With your plane selected, look for the Transform component in the "Inspector" panel and change the scale to 10 on all three axes.
Now that we have a plane for our player to stand on, it is time to import the Steam VR Plugin from the asset store, this plugin will allow us to integrate and use both the VR Headset and the controllers. Click on the "Asset Store" tab and type "Steam VR" into the search box.
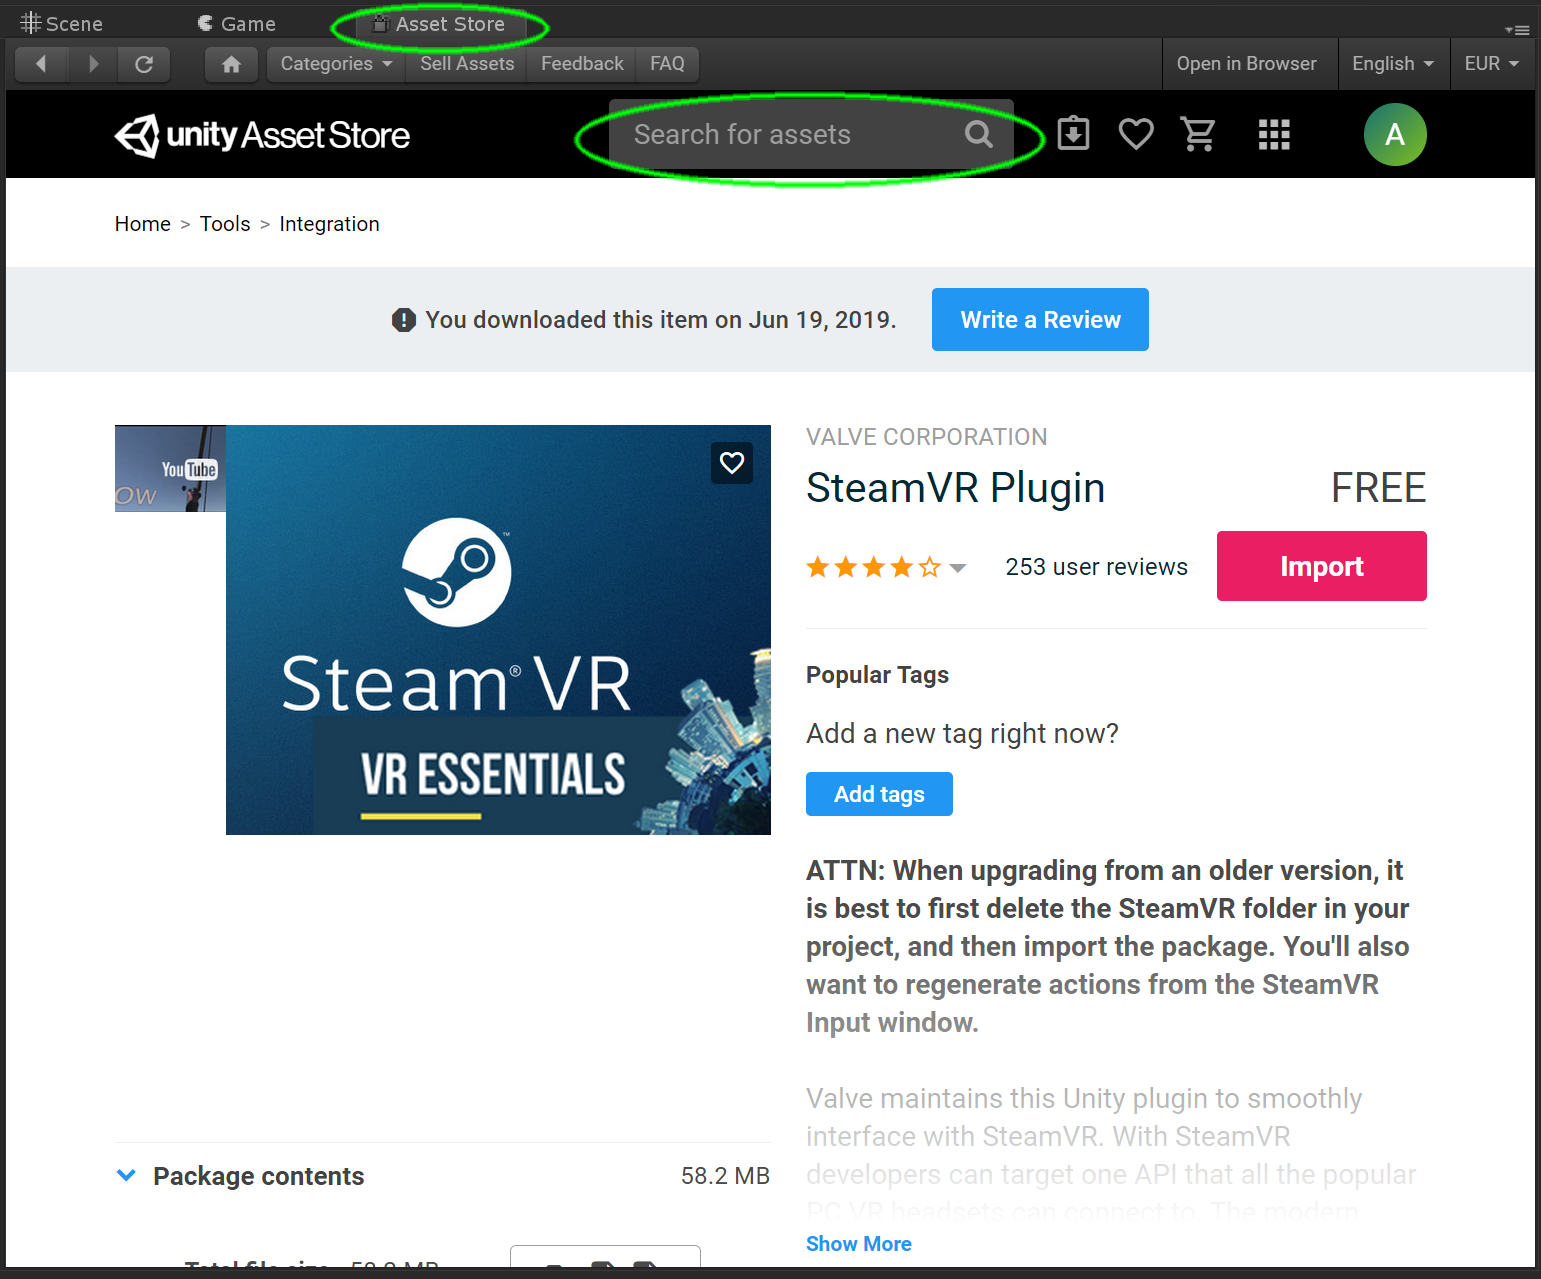
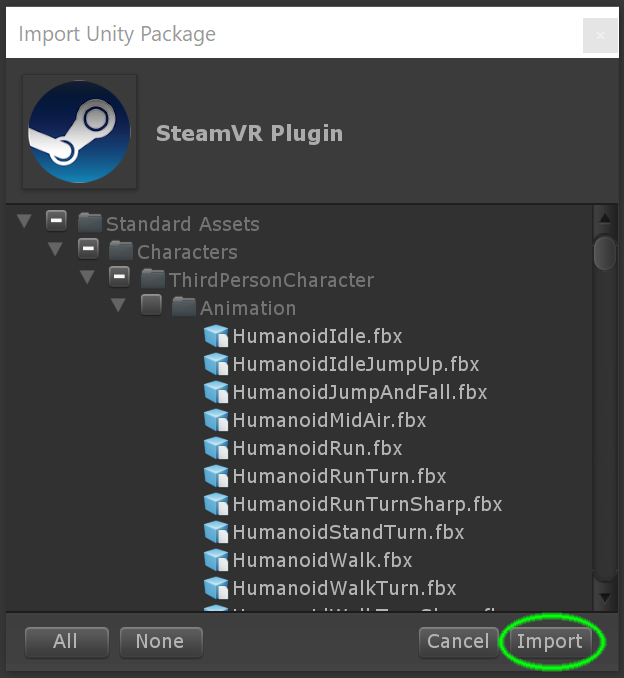
First, you will need to click the "Download" button, after downloading, the same button will turn into the "Import" button, click on it, you should see a window displaying all the contents of the package, just click Import.
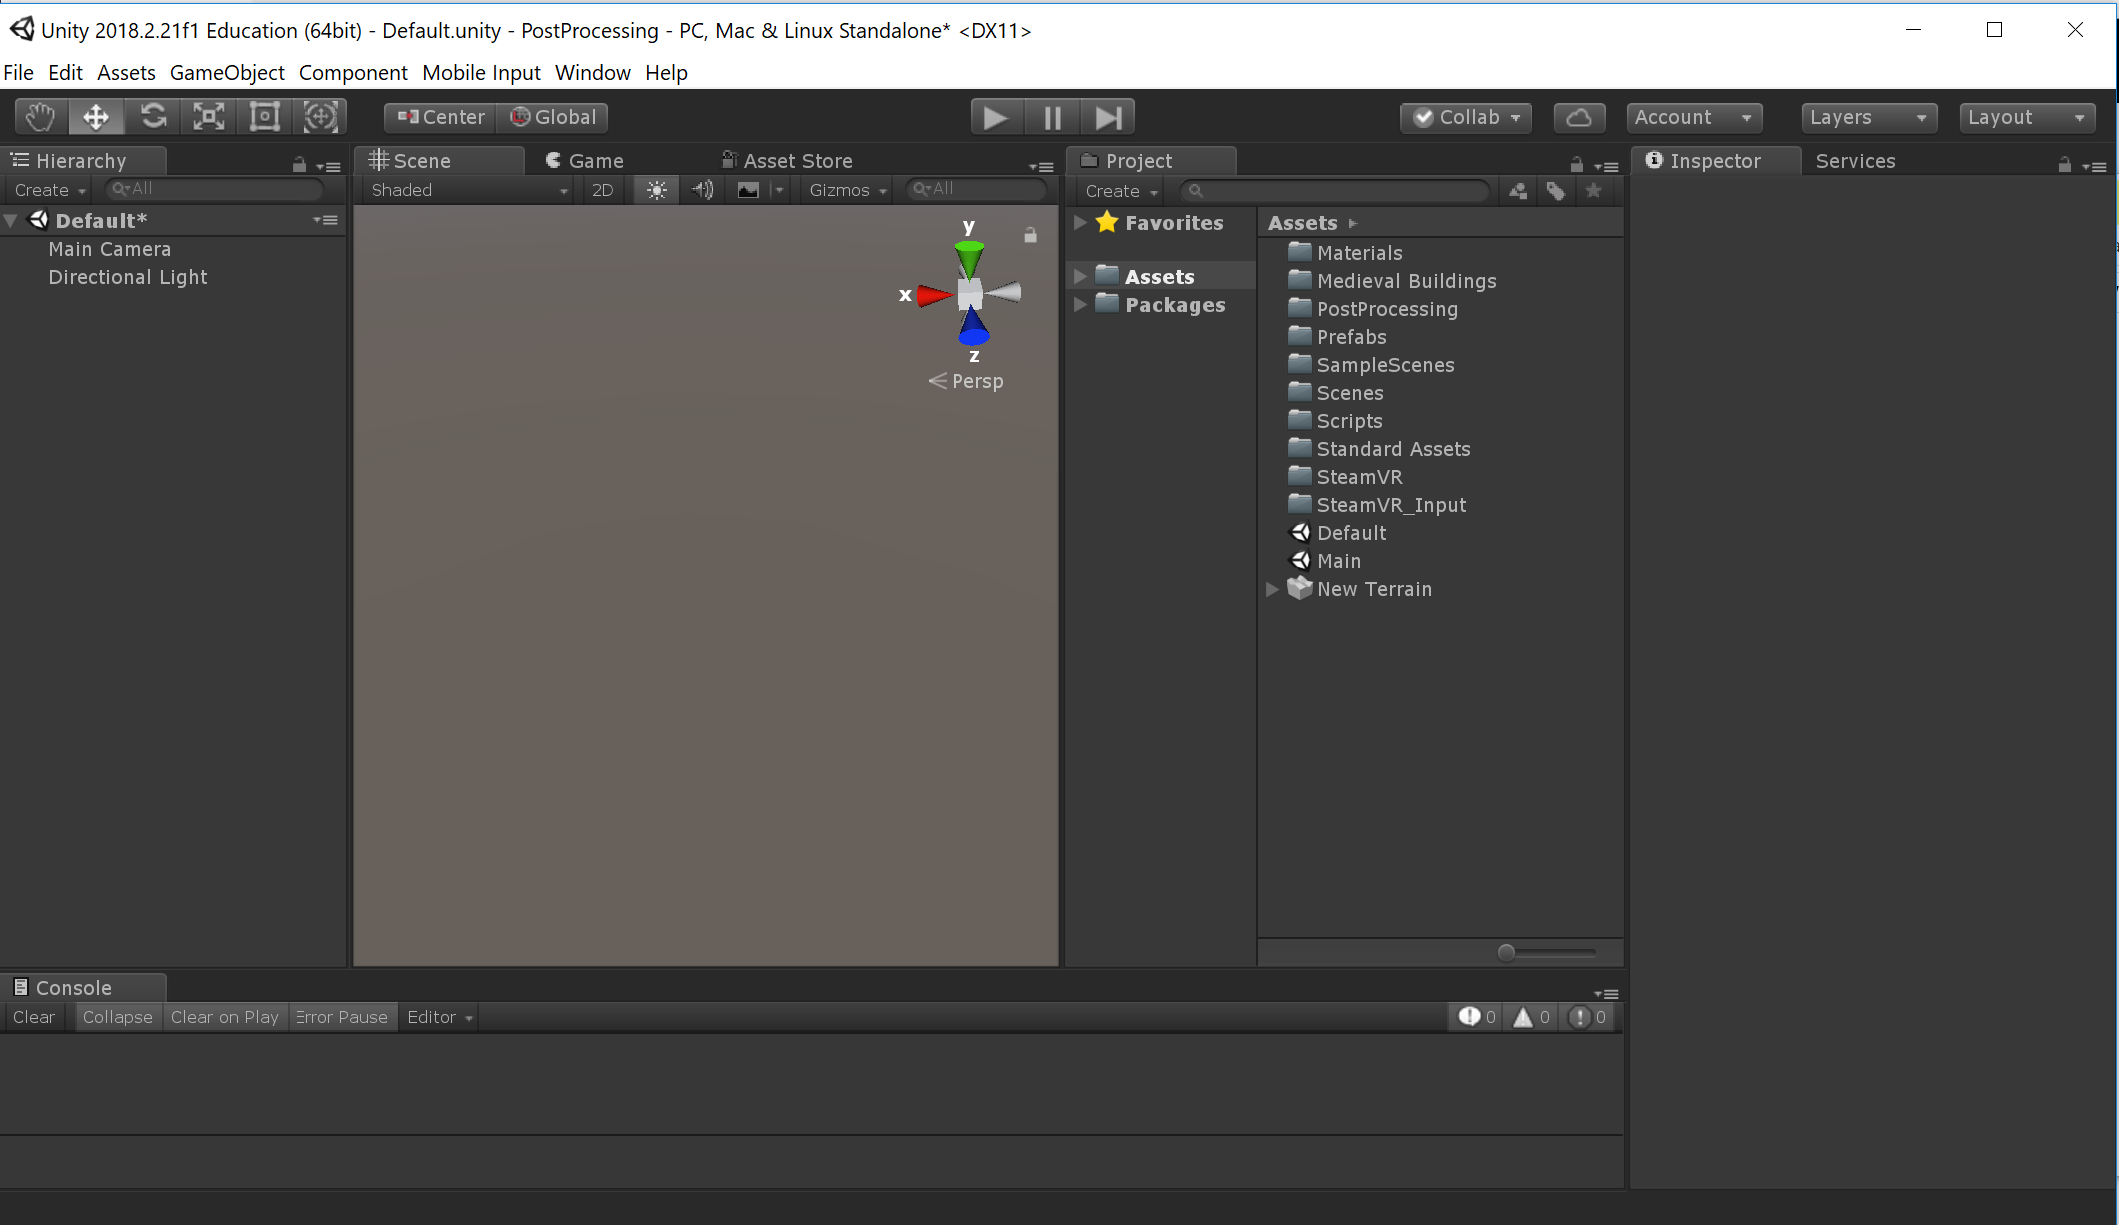
After a moment, your package should be installed and you will be able to see the "SteamVR" folder in your Project panel.

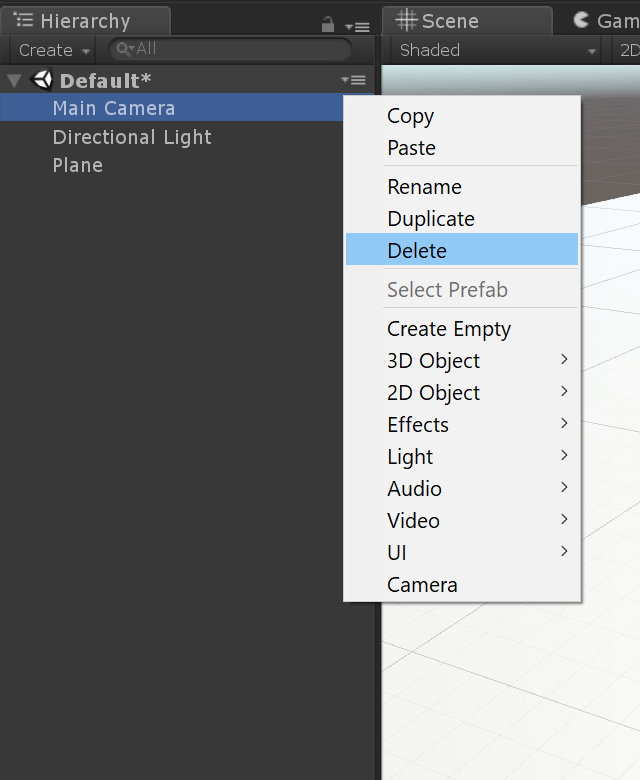
We are almost ready to place our player in the scene, however, we need to delete the Main Camera (Included by default in our new project) as will conflict with our player's camera. Please notice that in most cases you will only need one camera inside of your project and having more than one usually requires extra settings for them to work properly. Please right-click over your Main Camera game object and select "delete".
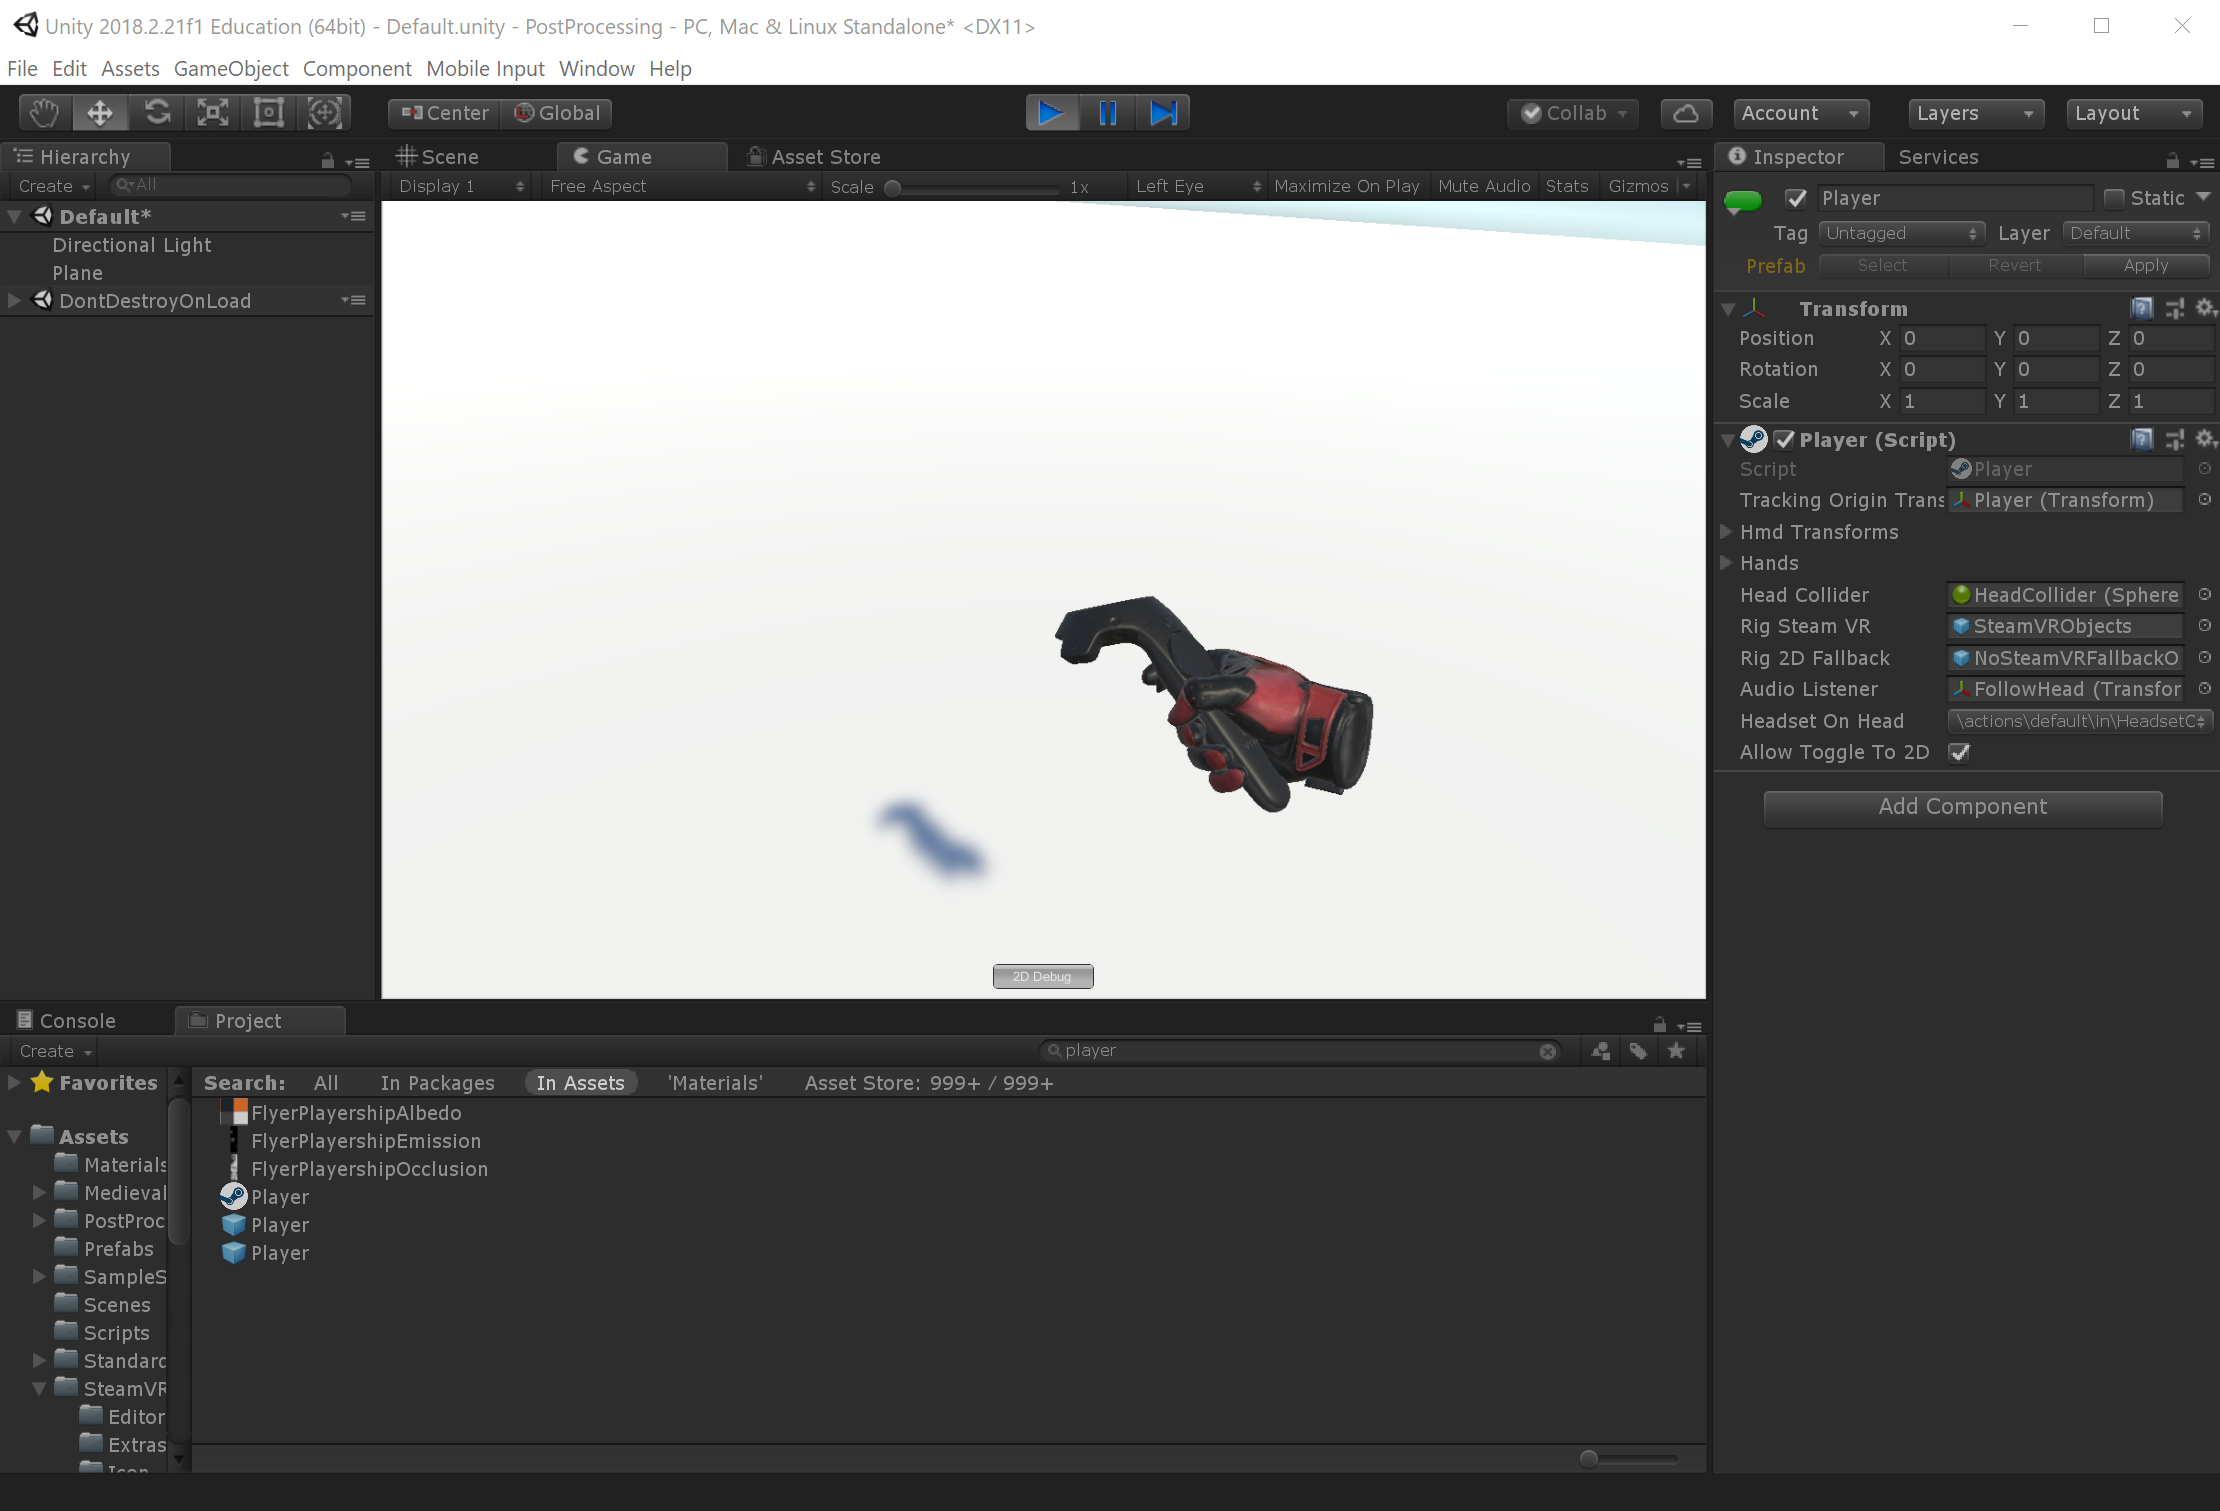
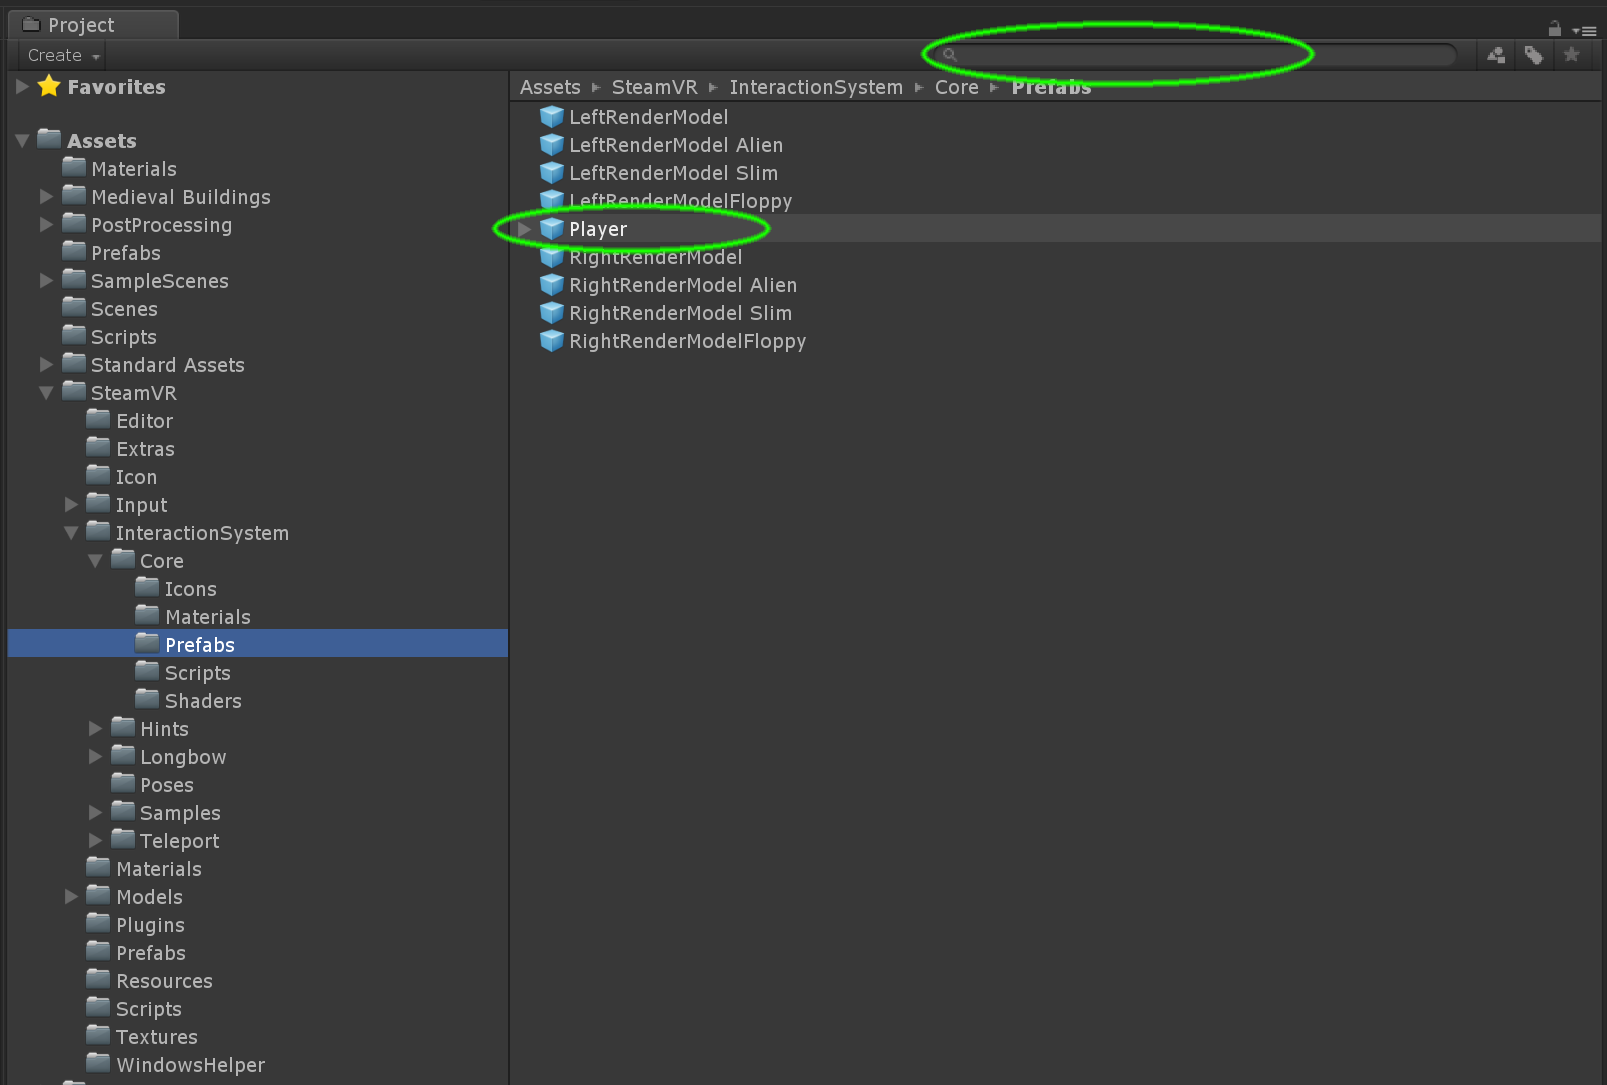
Now we are ready to place our Player prefab. You can locate it either by looking for it inside of the SteamVR folder (see path below) or just typing "Player" into the search box found on top of the Project panel.
After dragging and dropping your player into your "Hierarchy" panel, hold the "alt" key and click on the little arrow next to the prefab name, this will unfold/display all the child objects contained inside the player game Object.
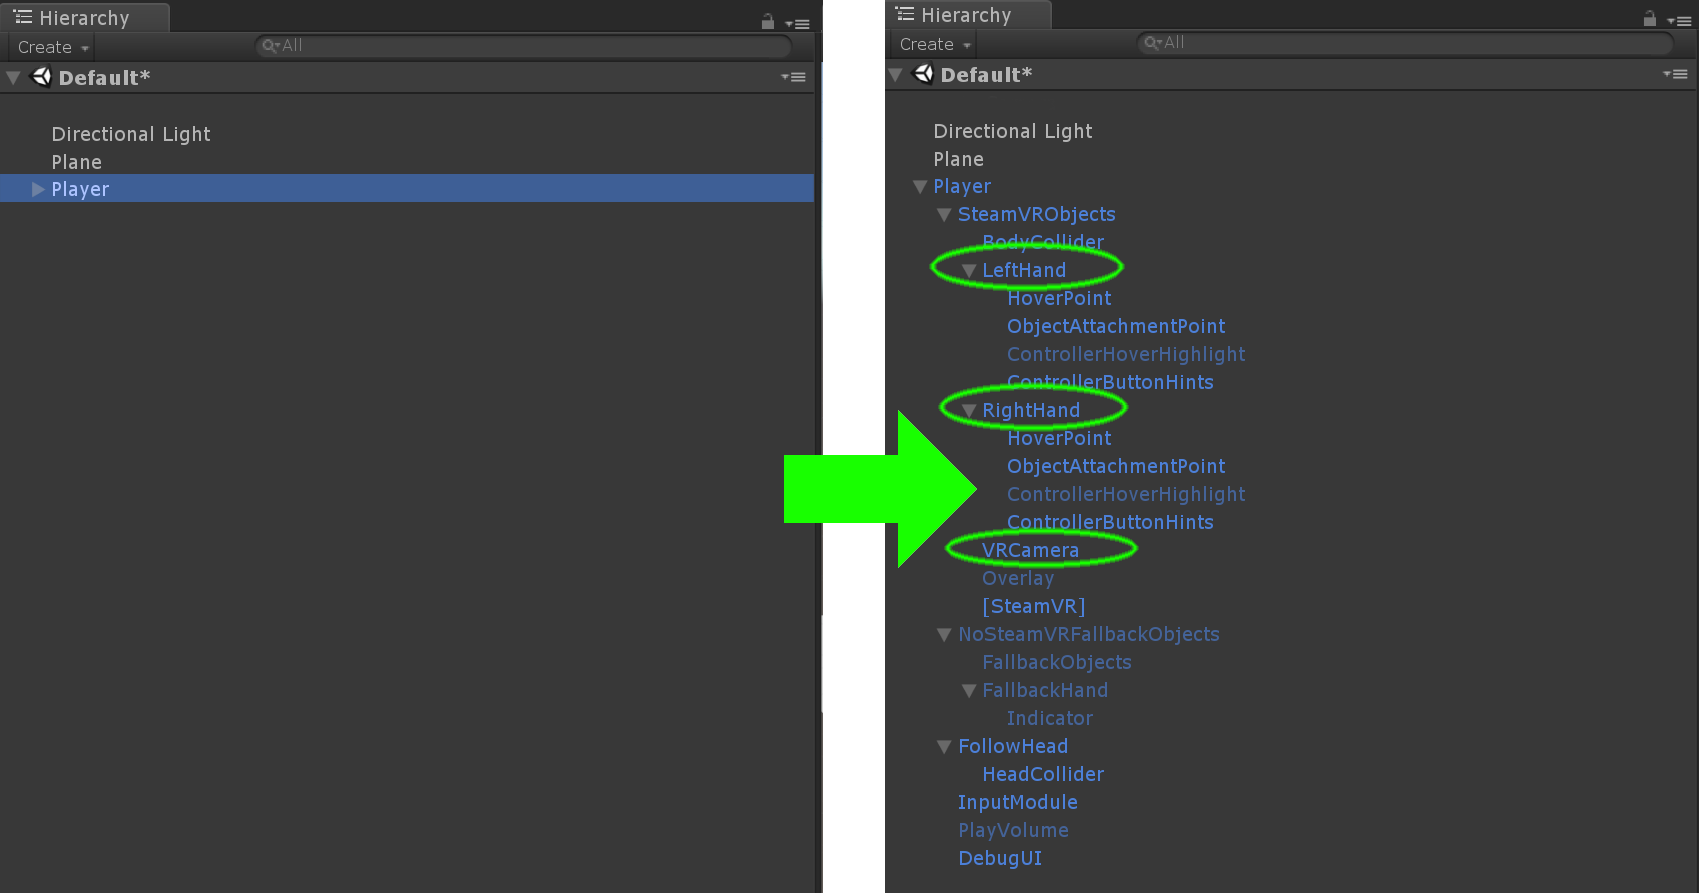
We are not going to review these elements in this tutorial, however, it is worth noticing that they include both controllers and the VR camera.
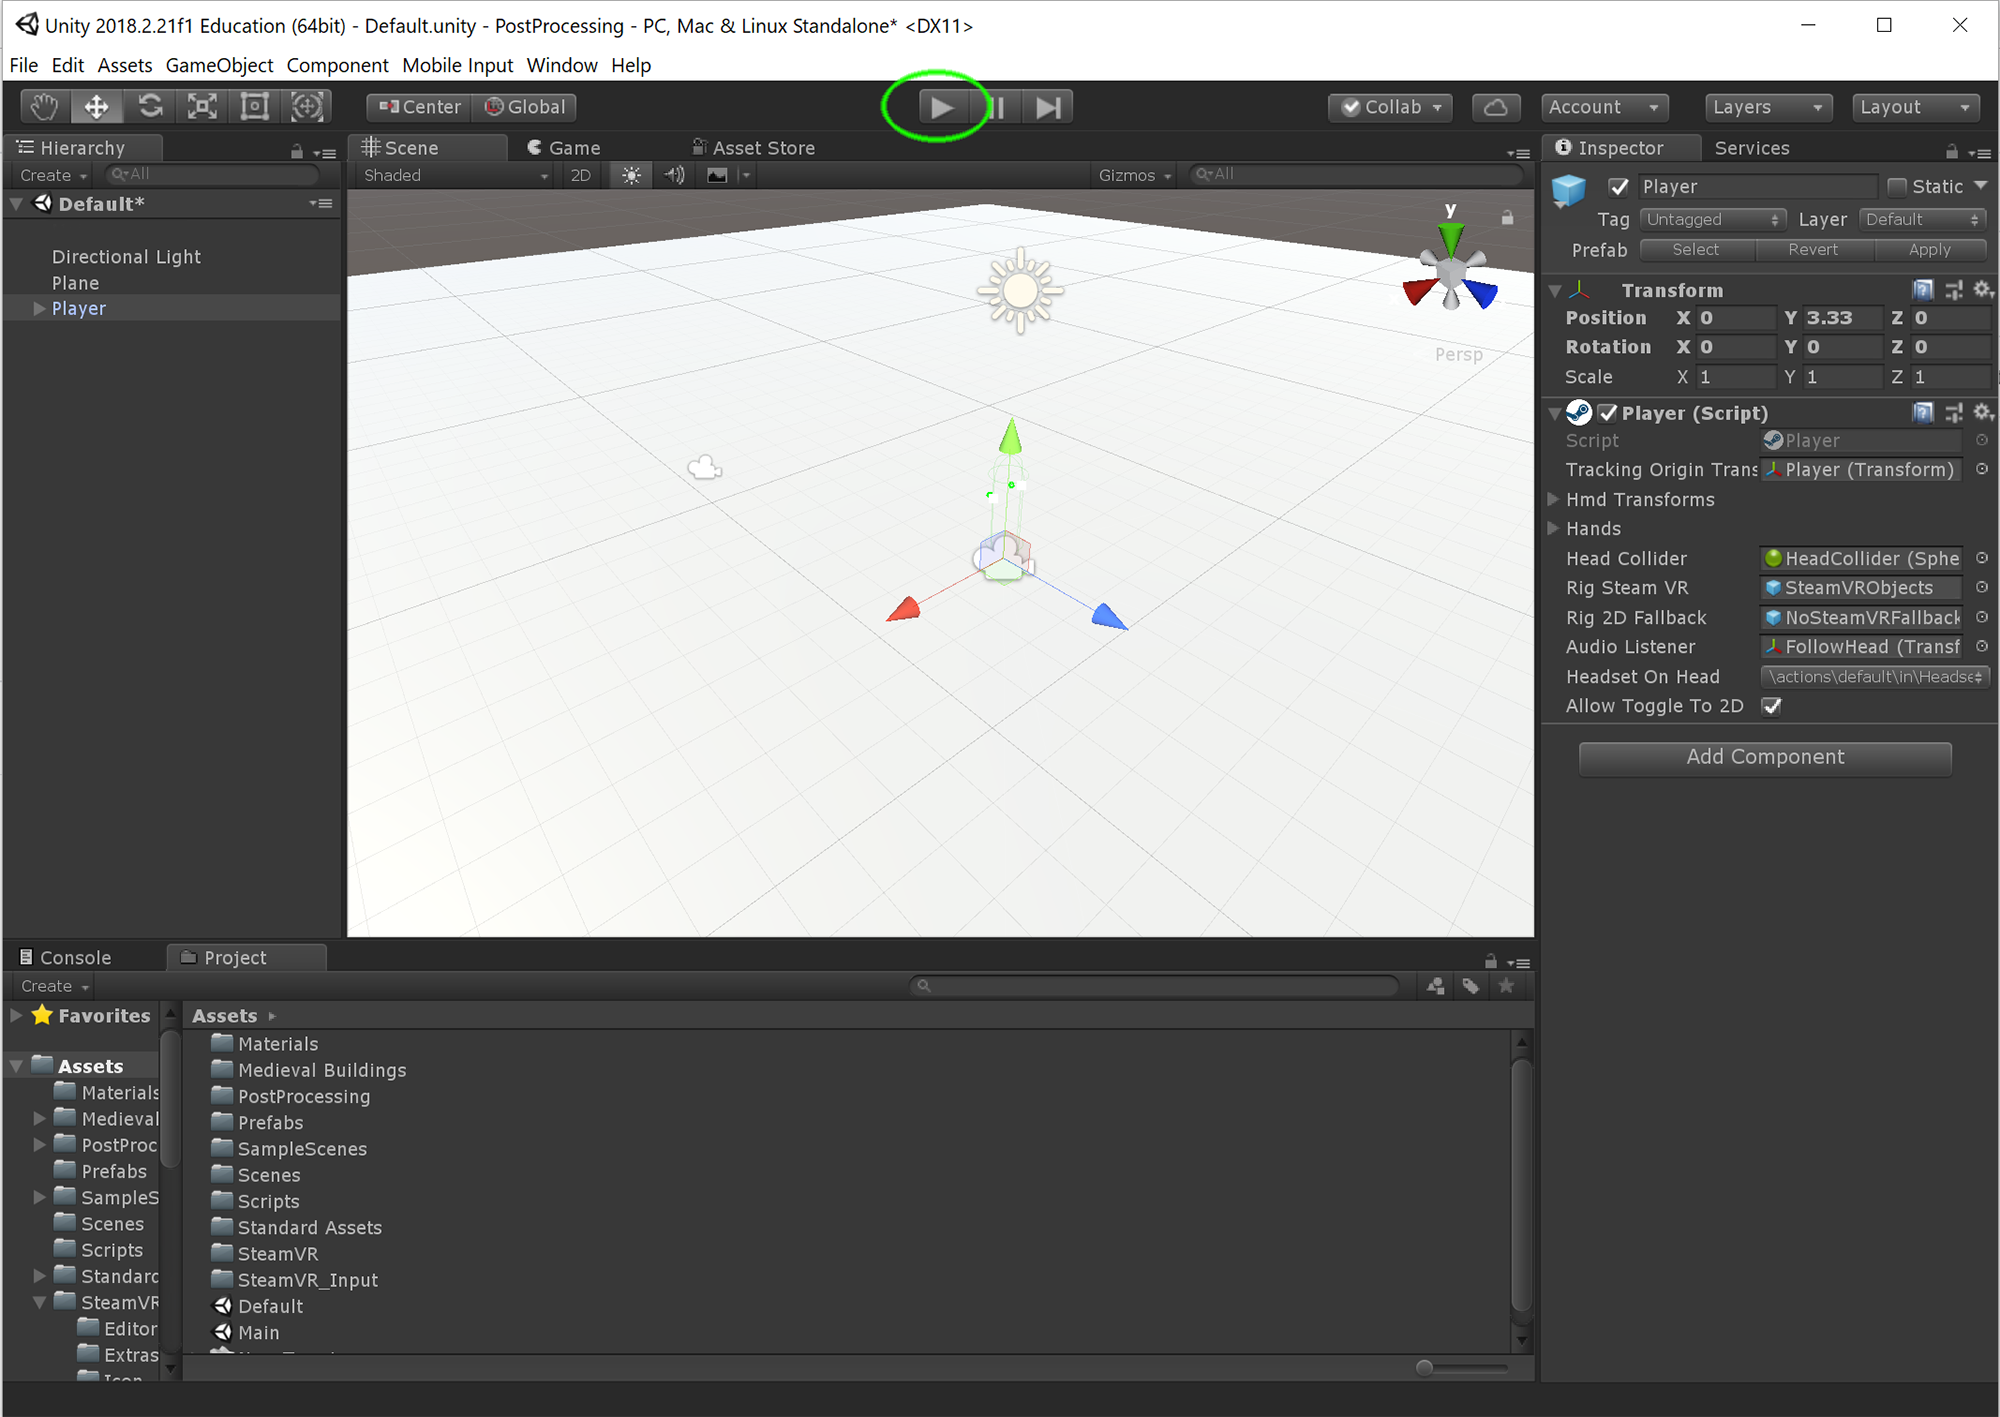
We are almost done, now you need to set up your HTC VIVE, run Steam VR and press play.
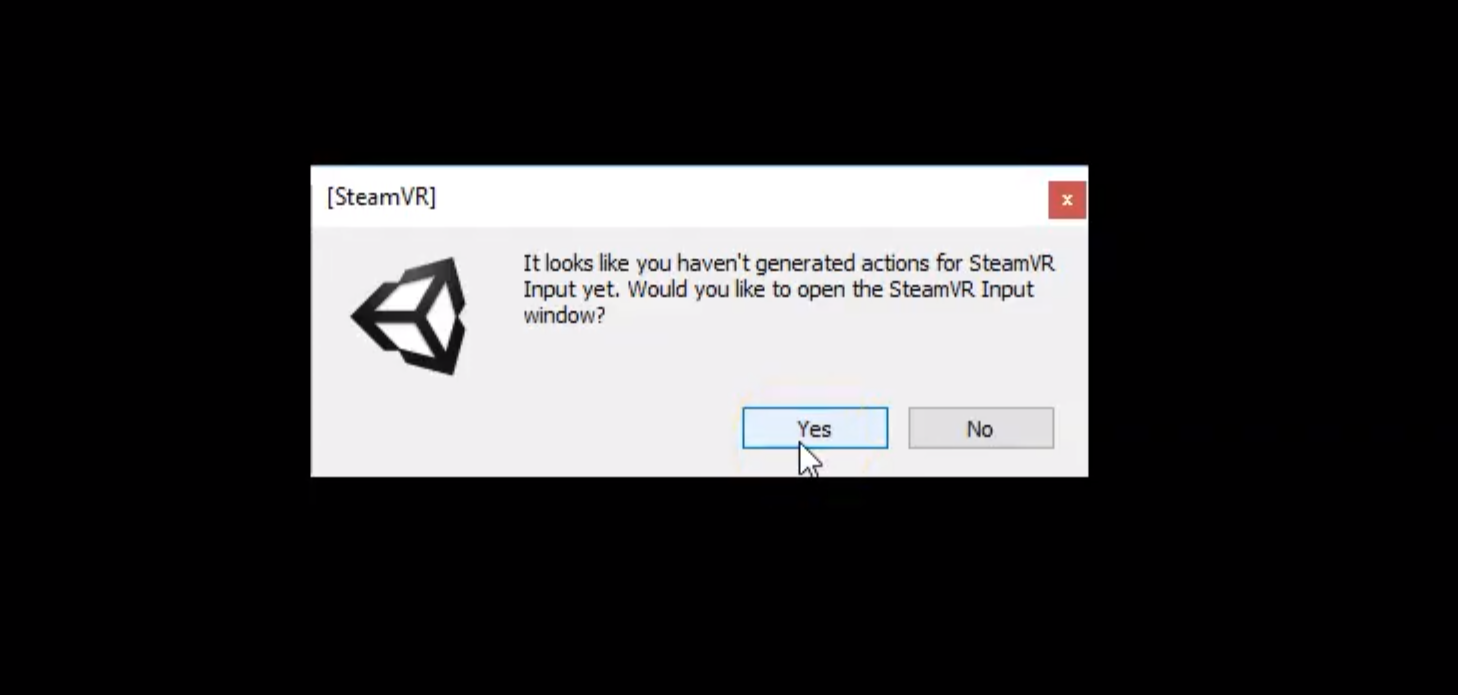
You will get a message asking you to generate the actions for the Steam VR Input, this file is the one that Unity uses to read the input from the controllers and the headset to generate actions in your project, for now, you just need to click "yes".
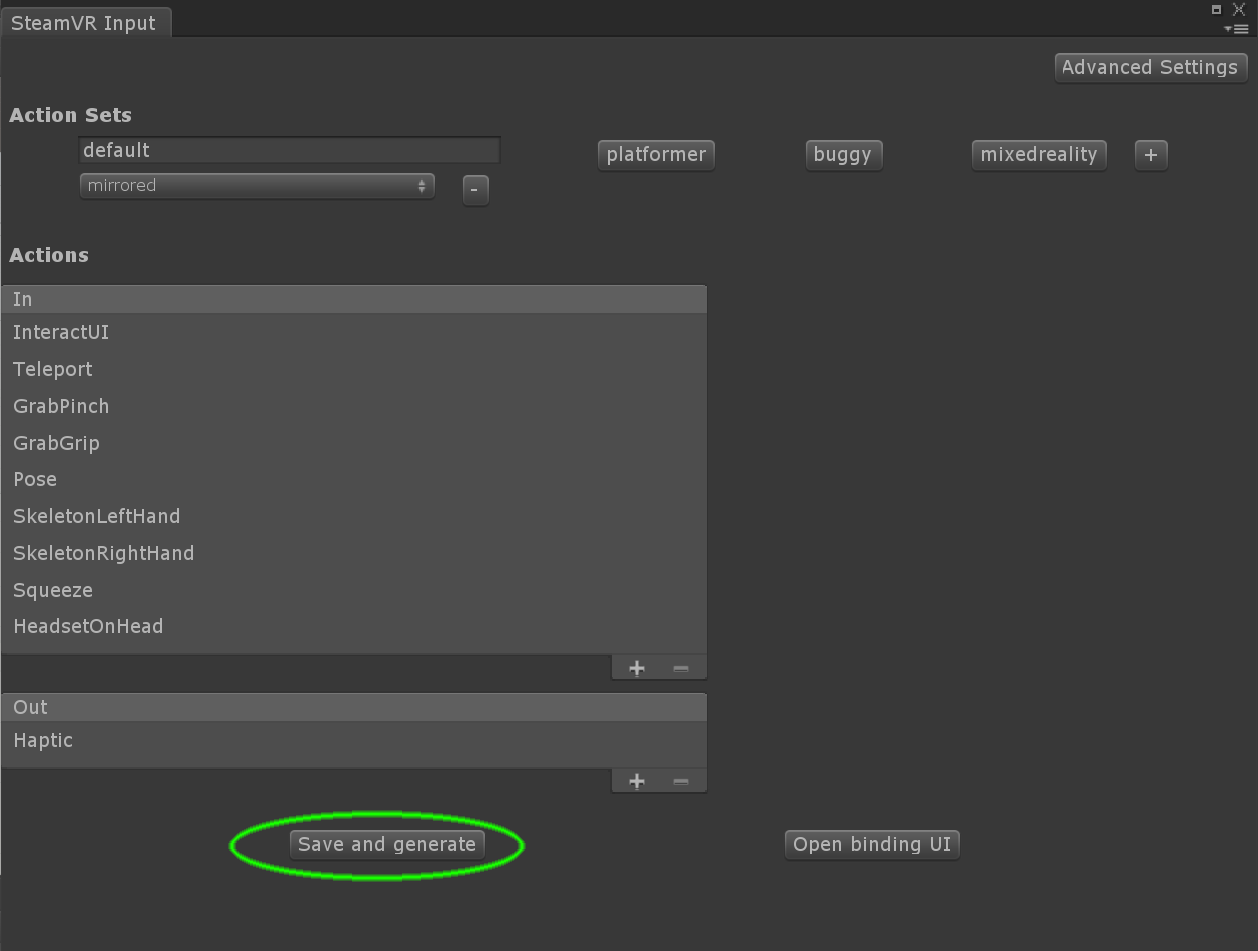
Next, you will see a new window listing the default action sets, just press the button that says "Save and generate".
Now you are ready to test it, press the Play button again, now you will be able to look inside of your new scene. You should be able to see both controllers following the movements of your hands and reacting to your interaction with the buttons.