How to export your p5.js as a video
How to Video Capture your p5.js Sketch
If you're creating a piece of time-based work in p5.js you may want to capture the canvas as a video. For example, if you have a generative design that evolves over time, or an animation sequence. In this tutorial you will learn how to:
- Download and include a custom library to your p5.js sketch
- Program that library to access your camera as a capture card.
Custom Library
The first step we need to take is to download the custom library for this process. This library can be found at the following Moodle link . Following that link will automatically download a src.zip folder.
make sure you sign into Moodle to access the files.
TODO: add non-Moodle link.
Once this folder is downloaded you can extract it to either your desktop or downloads folder (anywhere you can easily find it). We are going to upload the files from this folder to our sketch now.
make sure you turn off "auto-refresh" if you have it enabled as this could cause the video capture to crash as you're programming
Your Sketch
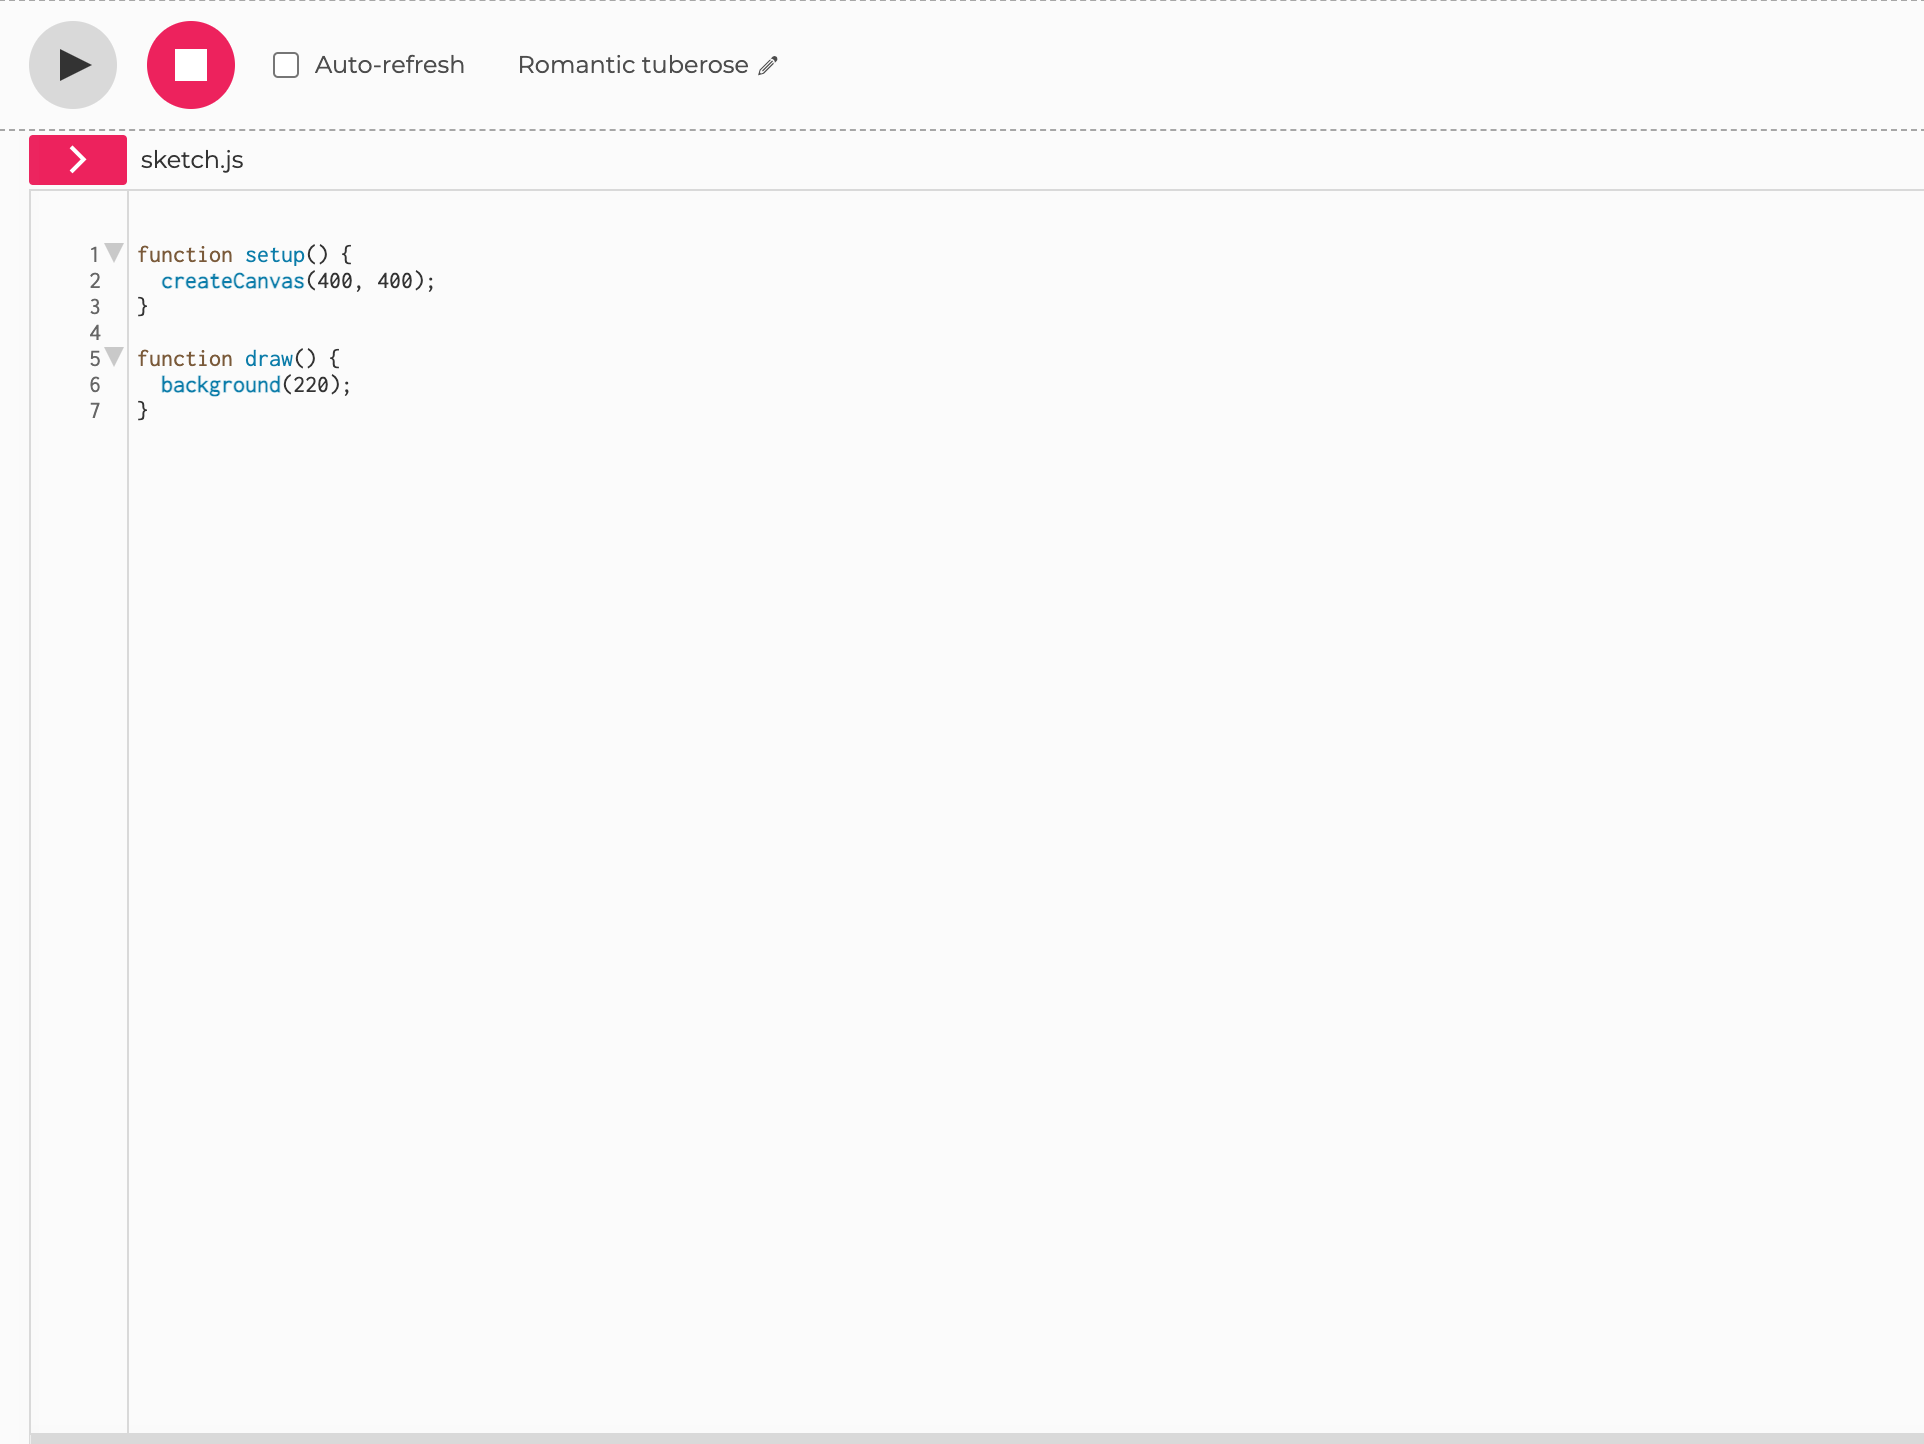
There is a red arrow ">" button beneath the play and stop buttons. Click this to expand the menu which shows all your sketch files.
-
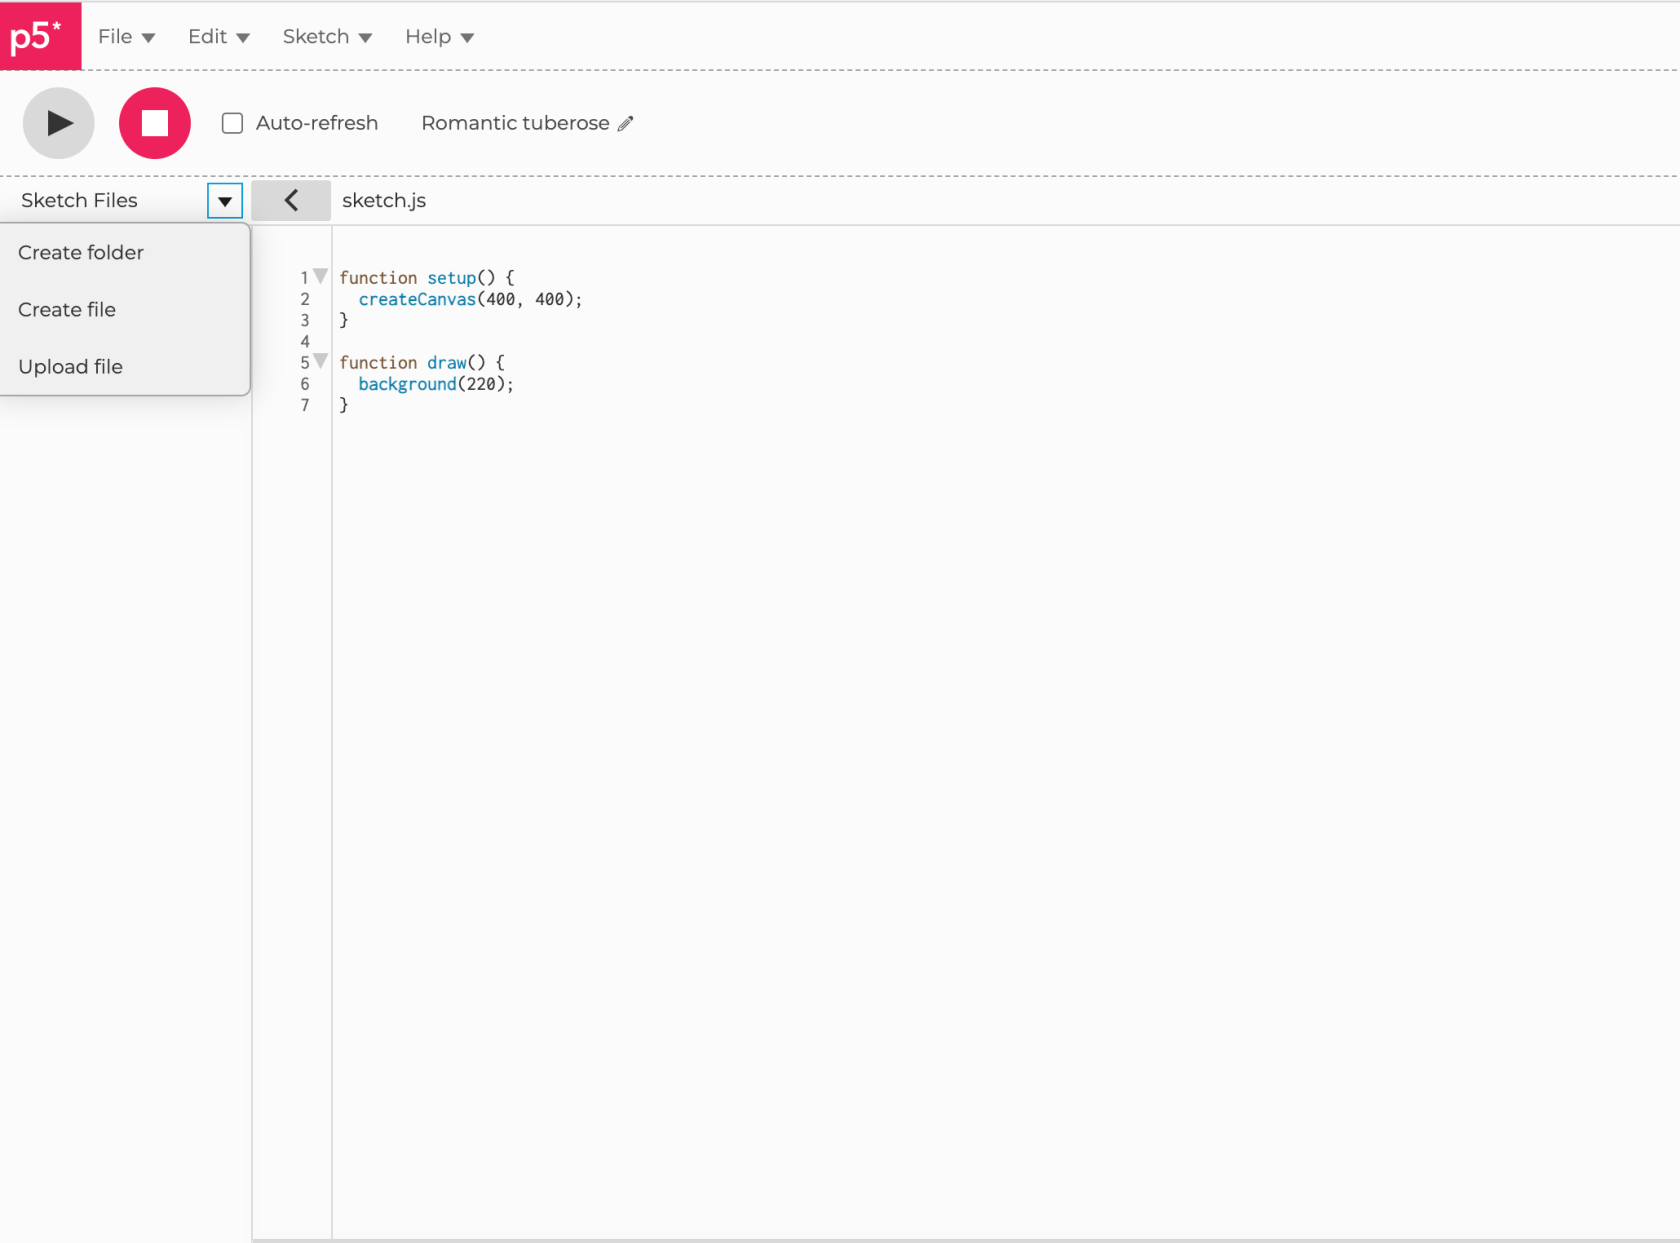
Click the drop down triangle - Create a folder called "src"
-
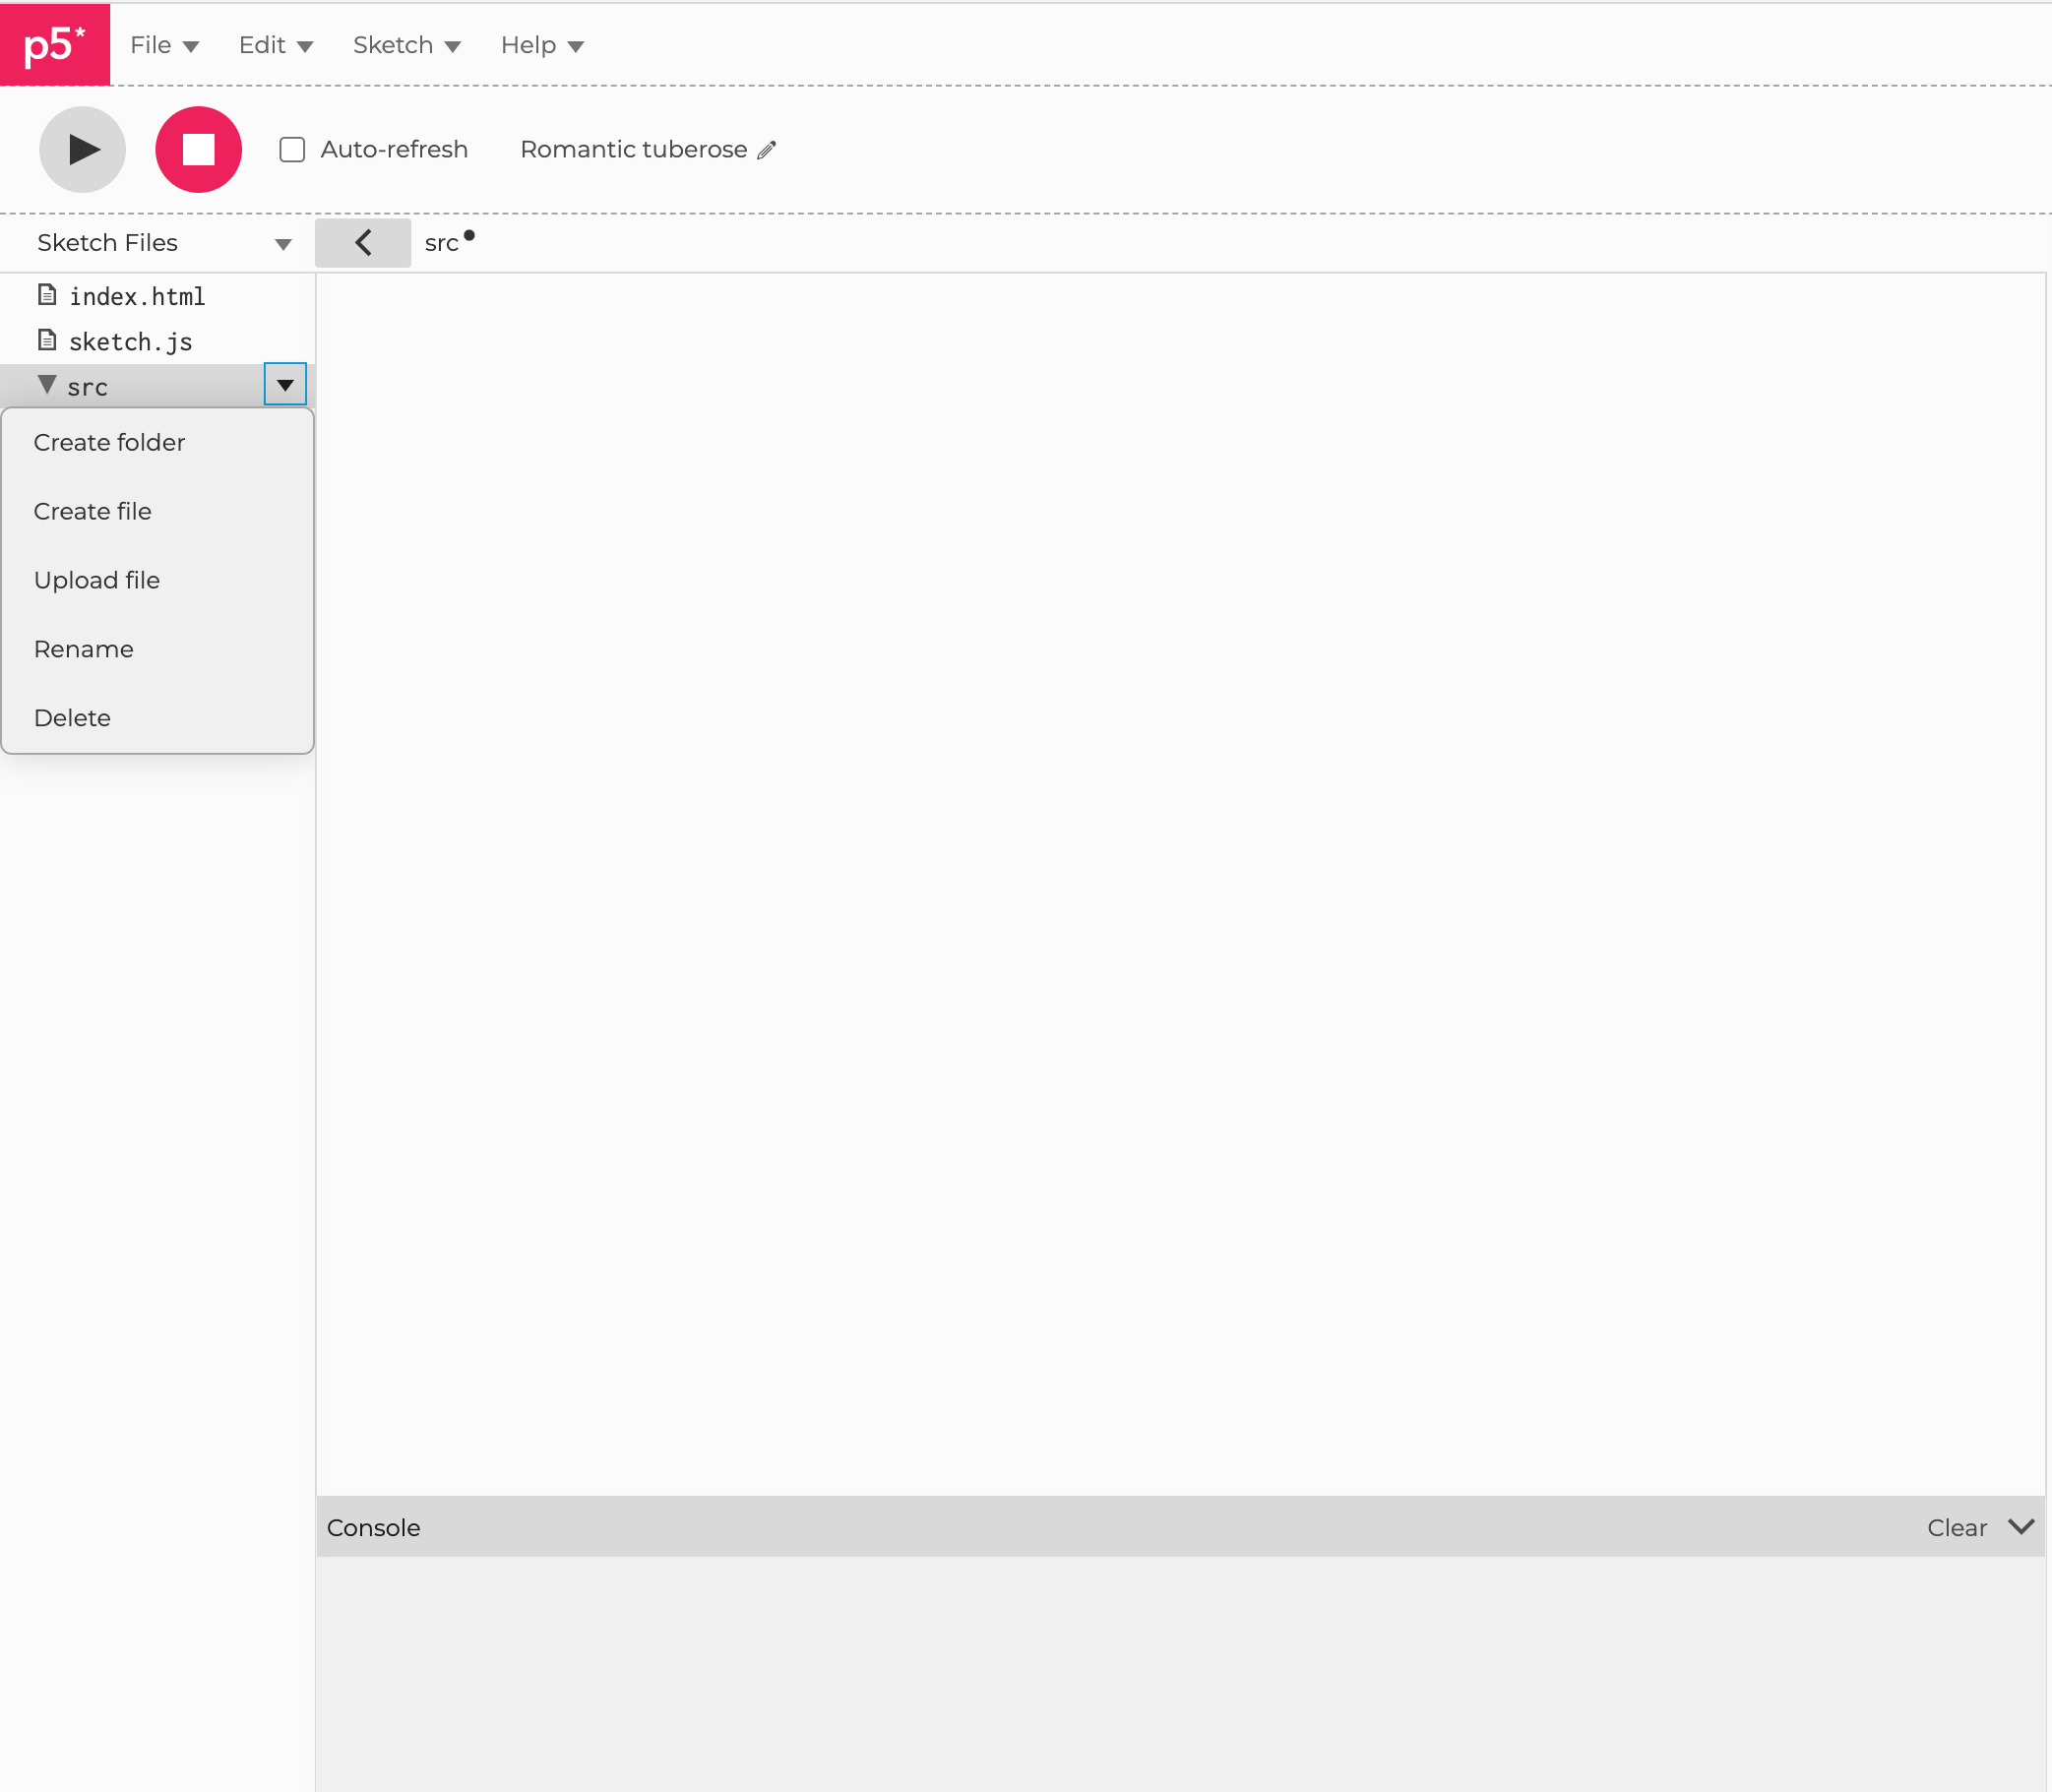
Click the drop down triangle for the src folder - choose the upload file option

upload all the extracted files from the Externals Library Files download.

-
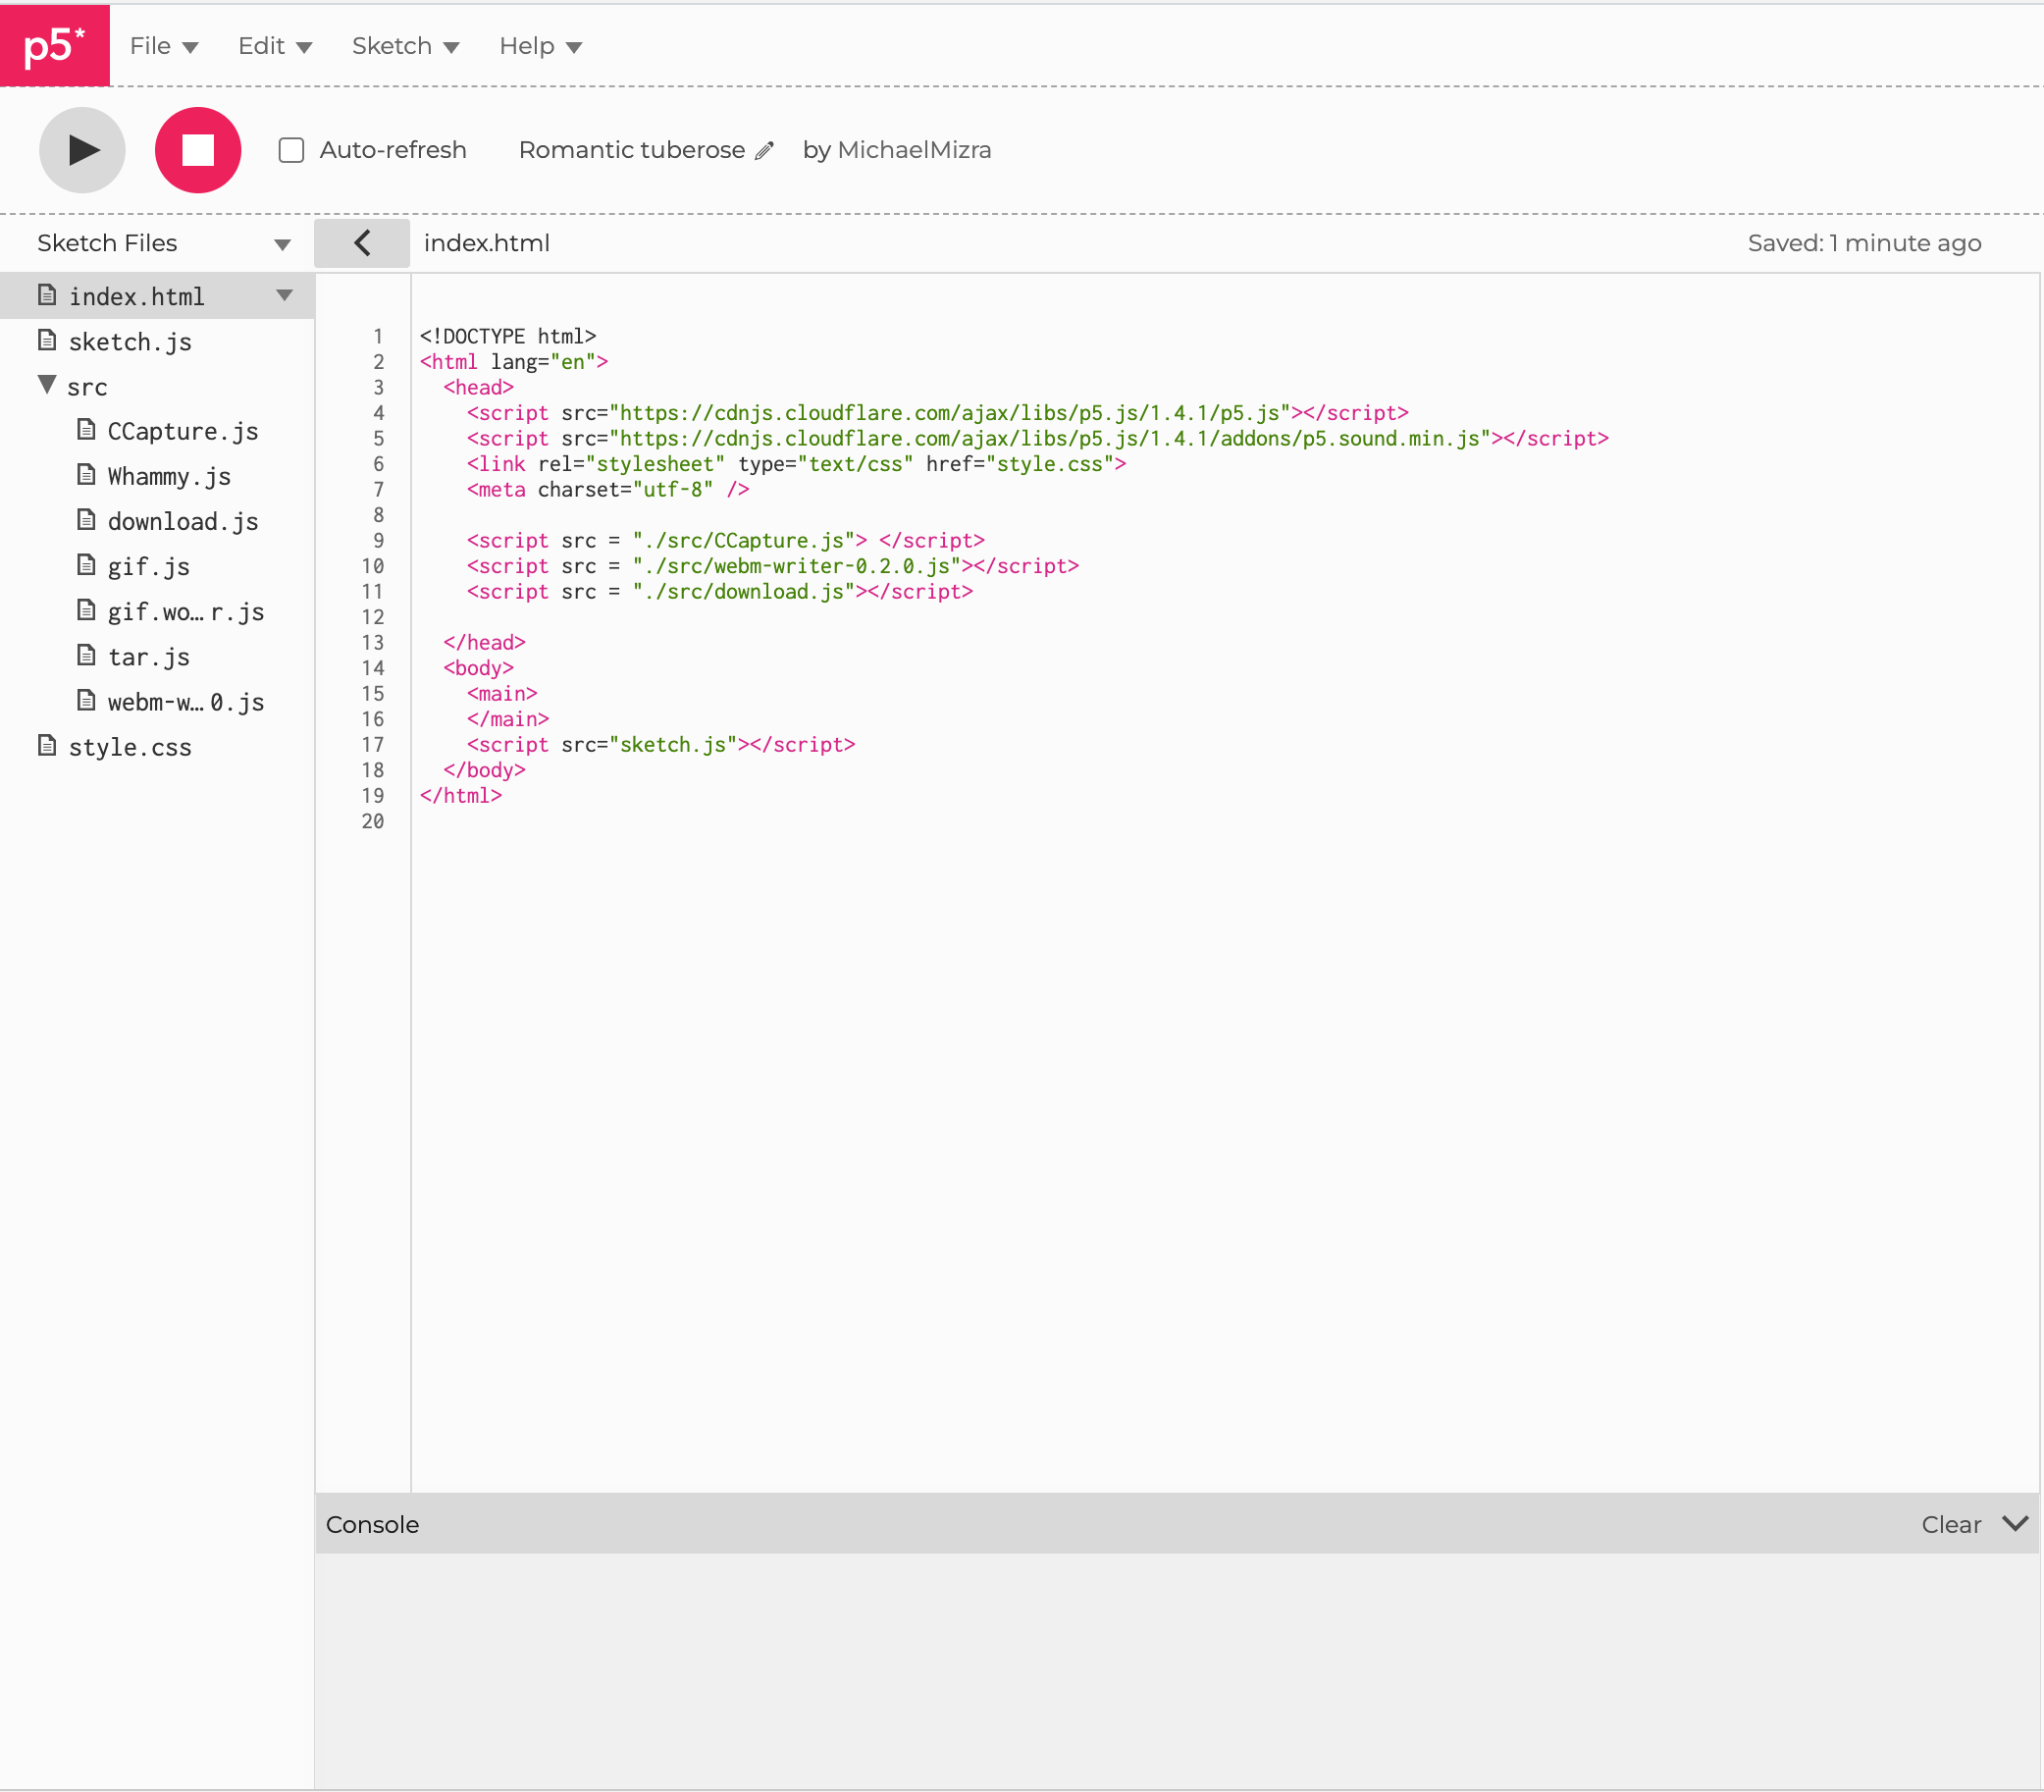
Click on the "index.html" file in the side bar - there will be some code inside - you need to add three lines for video exporting - refer to line 9, 10 and 11 in the image below

-
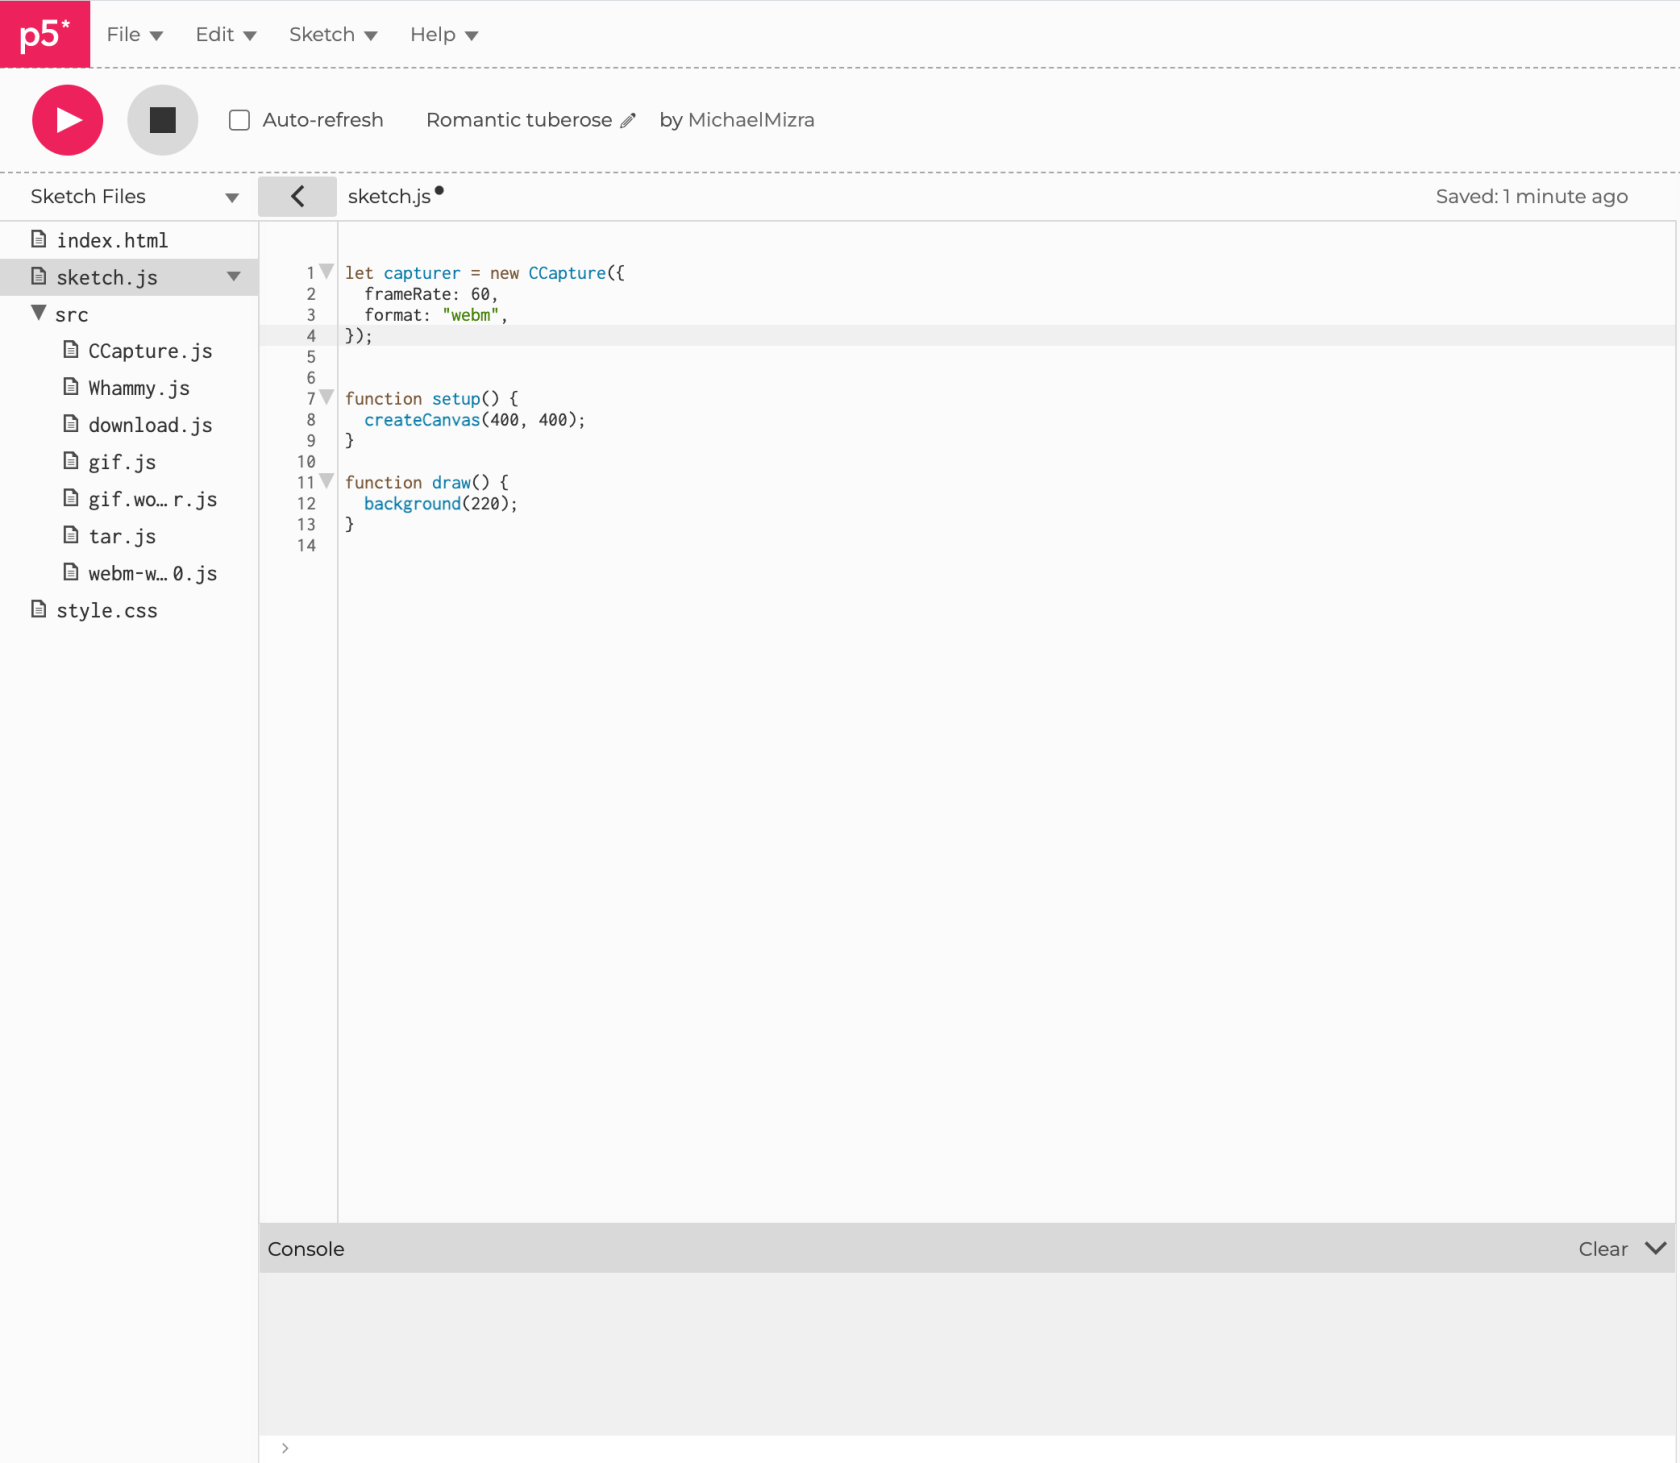
Click on your sketch.js file in the side bar - add the capture device to your sketch - refer to line 1, 2 , 3 , 4 of the image below
-
Go to your draw function - put this code at the beginning to start the capturing - refer to line 12, 13, 14 of the image below.
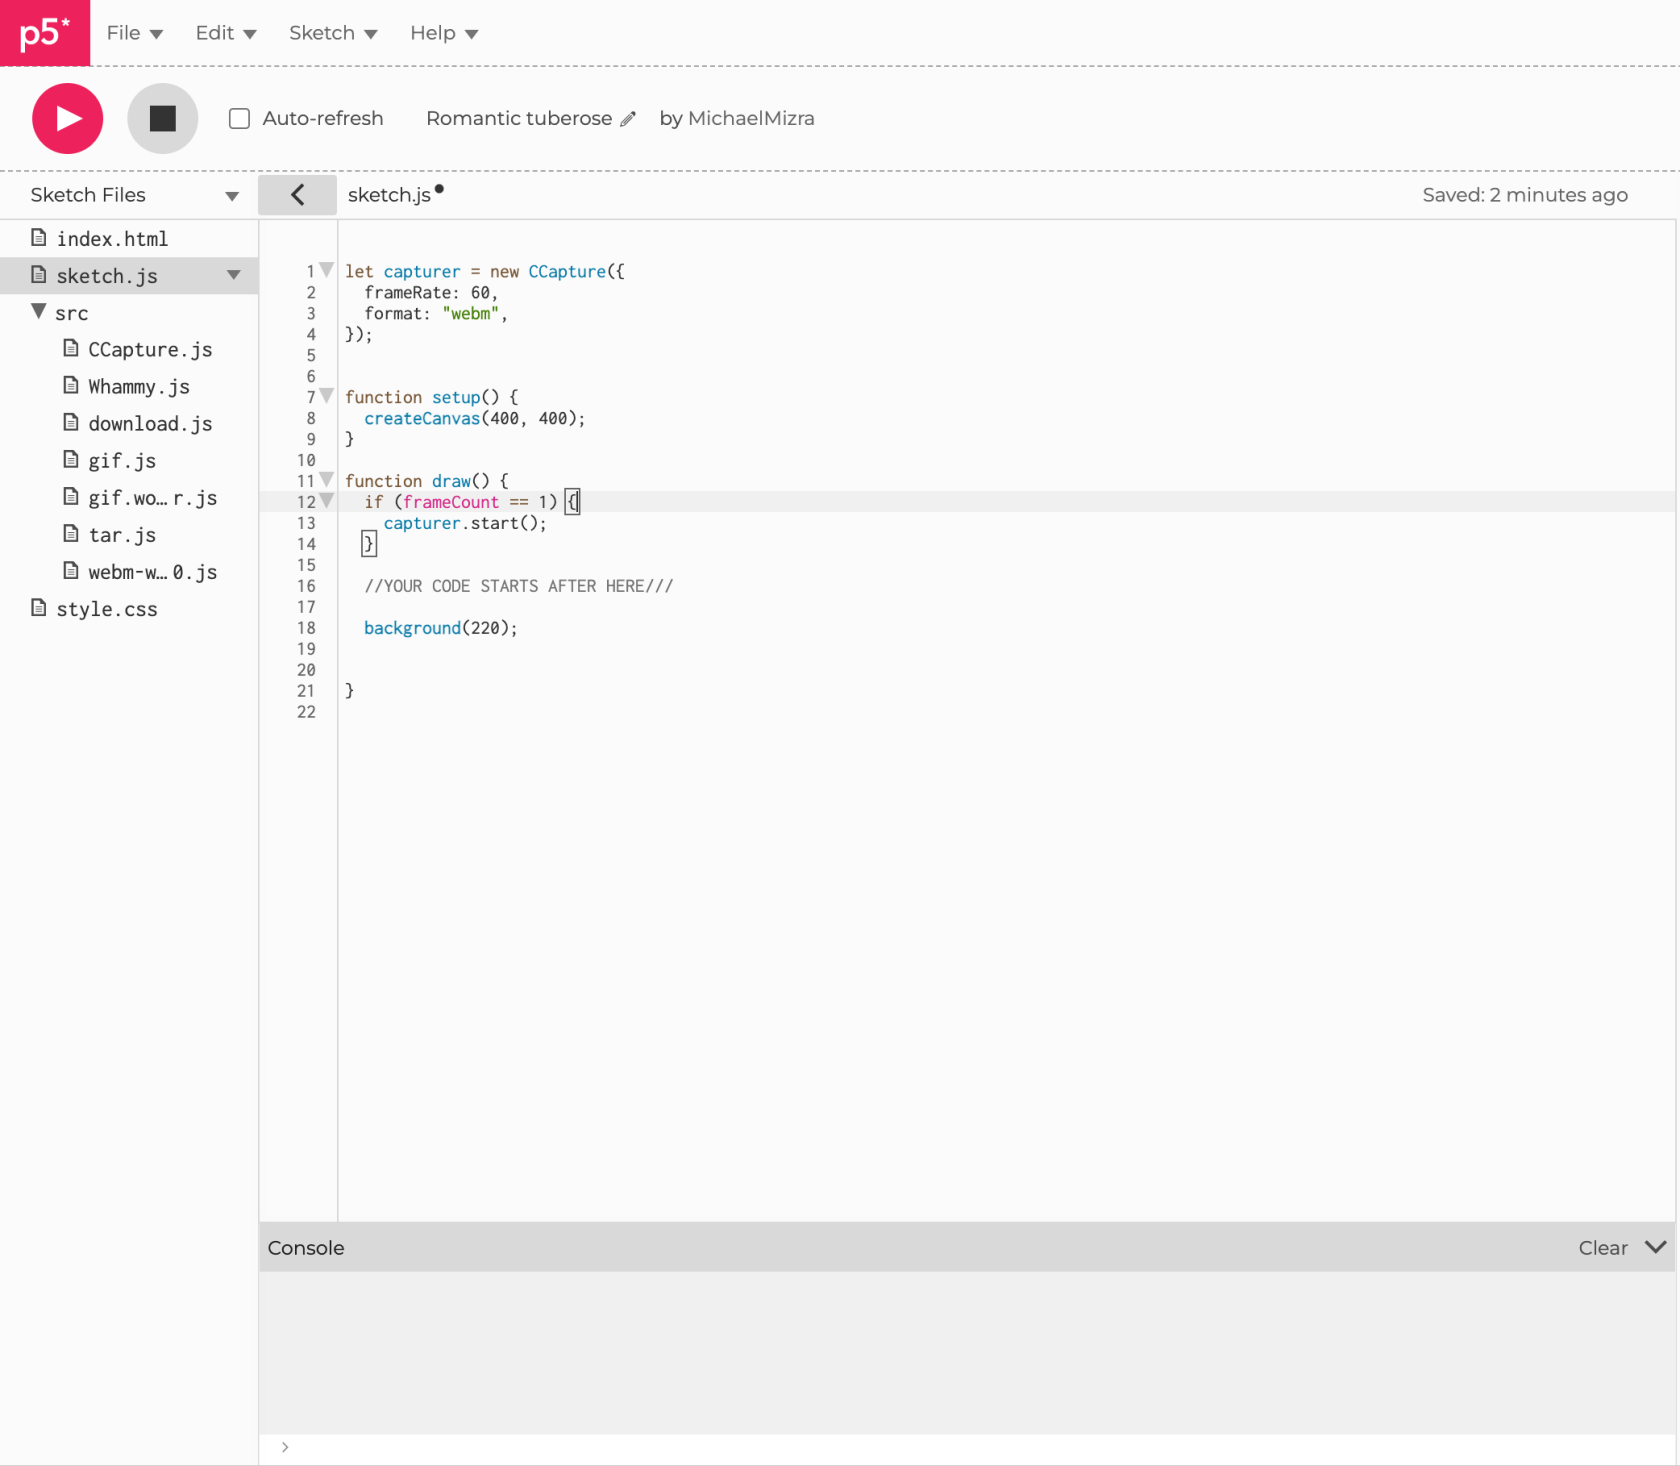
This line of code is telling the sketch to start recording once the frameCount == 1.If you wanted to delay the recording by a certain amount of frames you can change this variable - calculating frames-per-second to time is given at the end of this tutorial. -
At the end of your code for draw add this last piece of code to finalise the recording process - refer to line 26, 27, 28, 29, 30, 31 of the image below. Please be aware of the "captureLength" variable which is defined on line 6


Please use this website to convert from FPS to Time Calculator FPS to Time .
and...if you're really stuck...here is my code you can copy ;)