How to export your p5.js as a video
How to Video Capture your p5.js Sketch
If you're creating a piece of time-based work in p5.js you may want to capture the canvas as a video. For example, if you have a generative design that evolves over time, or an animation sequence. In this tutorial you will learn how to:
- Download and include a custom library to your p5.js sketch
- Program that library to access your camera as a capture card.
Custom Library
The first step we need to take is to download the custom library for this process. This library can be found at the following Moodle link . Following that link will automatically download a src.zip folder.
make sure you sign into Moodle to access the files.
TODO: add non-Moodle link.
Once this folder is downloaded you can extract it to either your desktop or downloads folder (anywhere you can easily find it). We are going to upload the files from this folder to our sketch now.
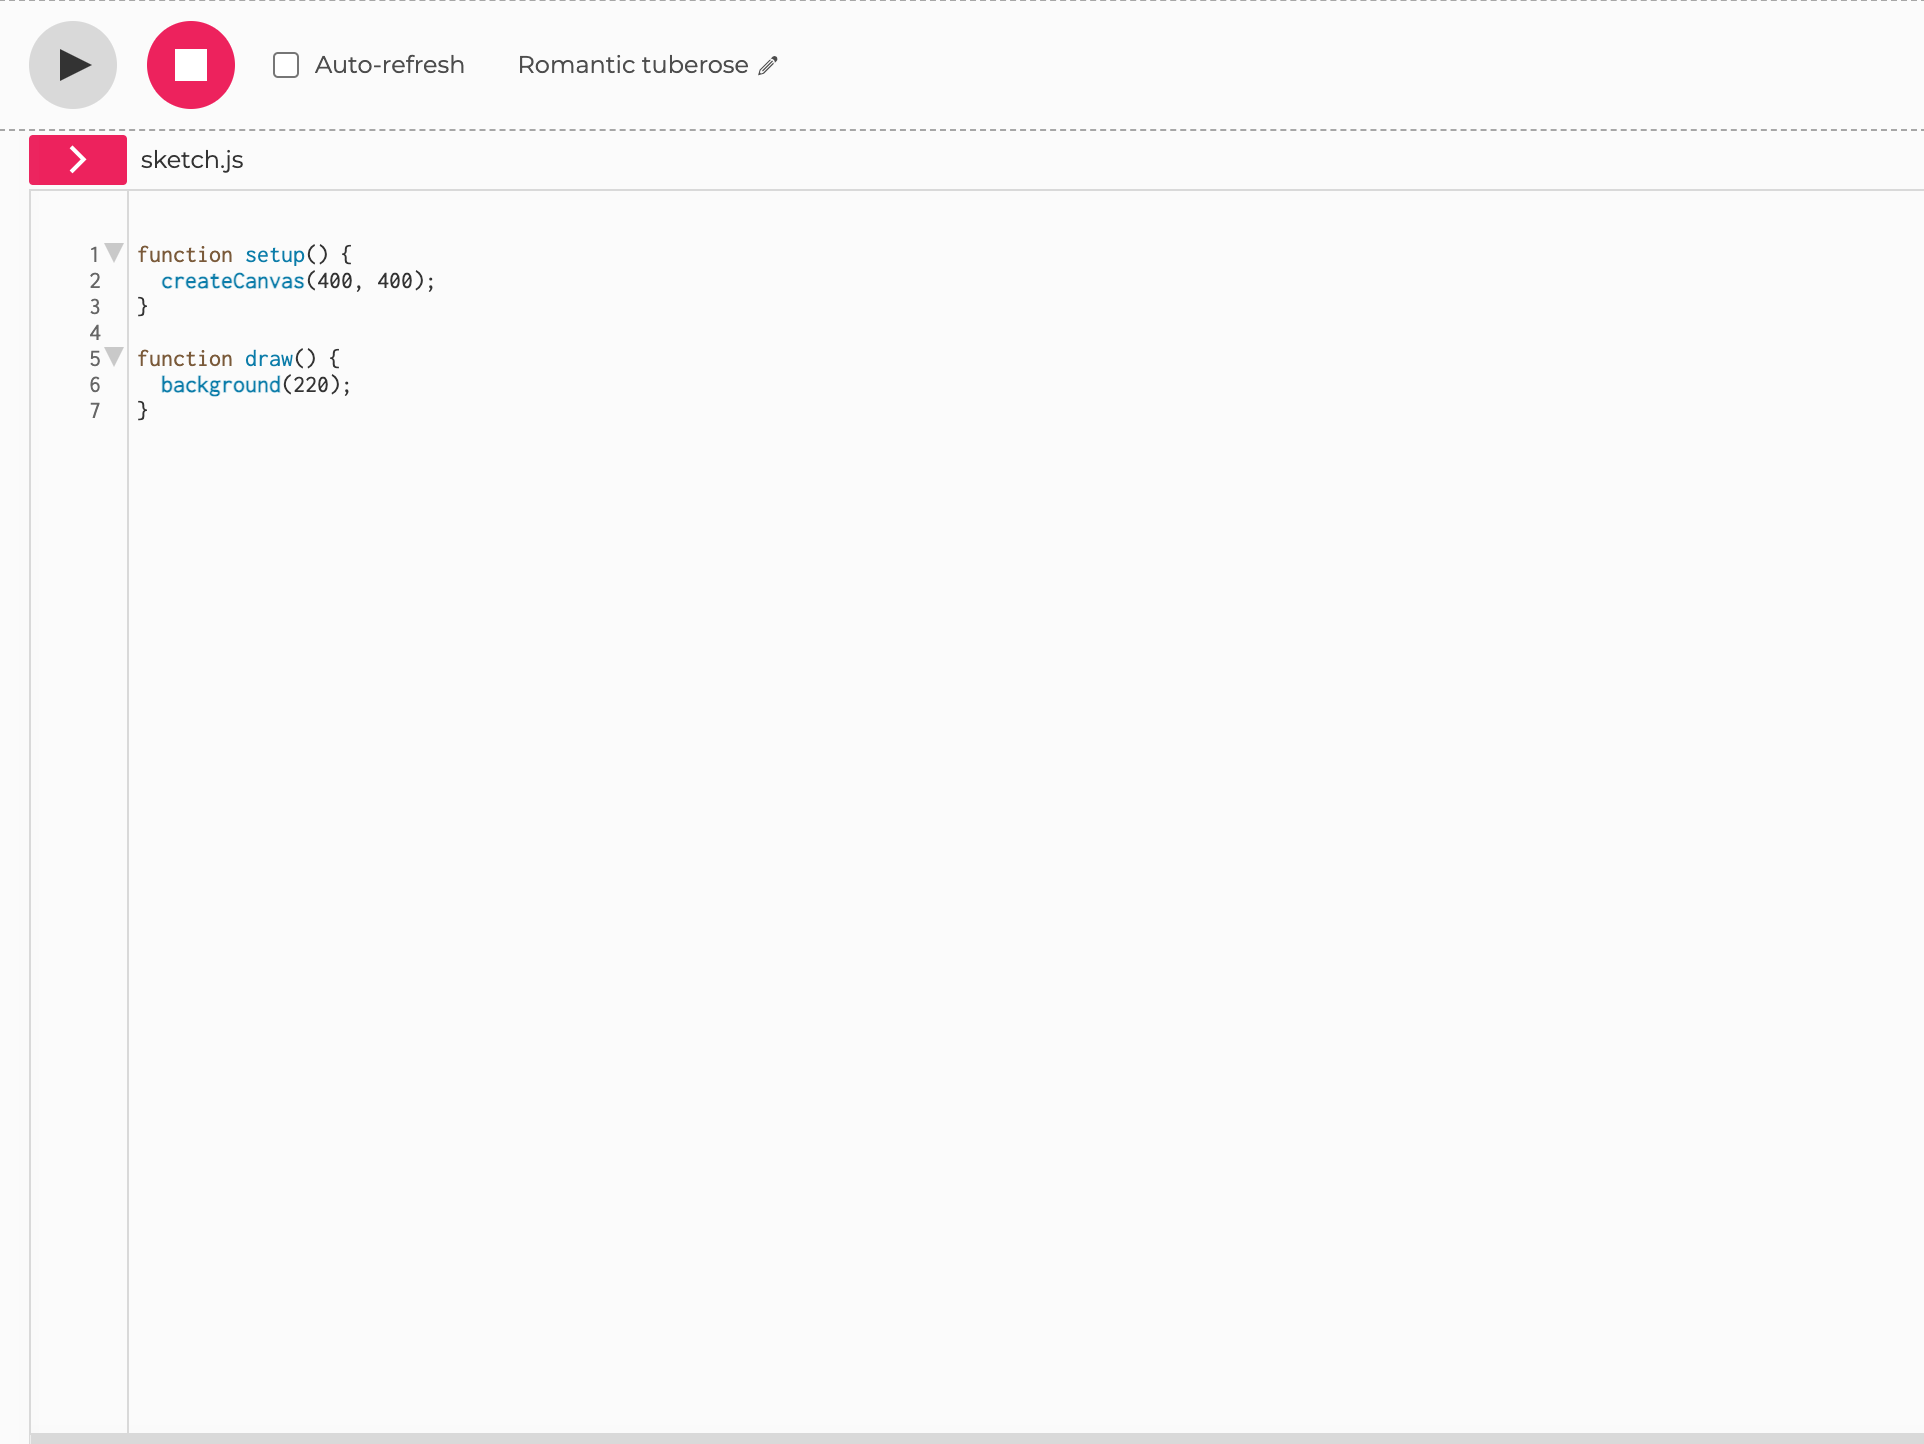
make sure you turn off "auto-refresh" if you have it enabled as this could cause the video capture to crash as you're programming
Your Sketch
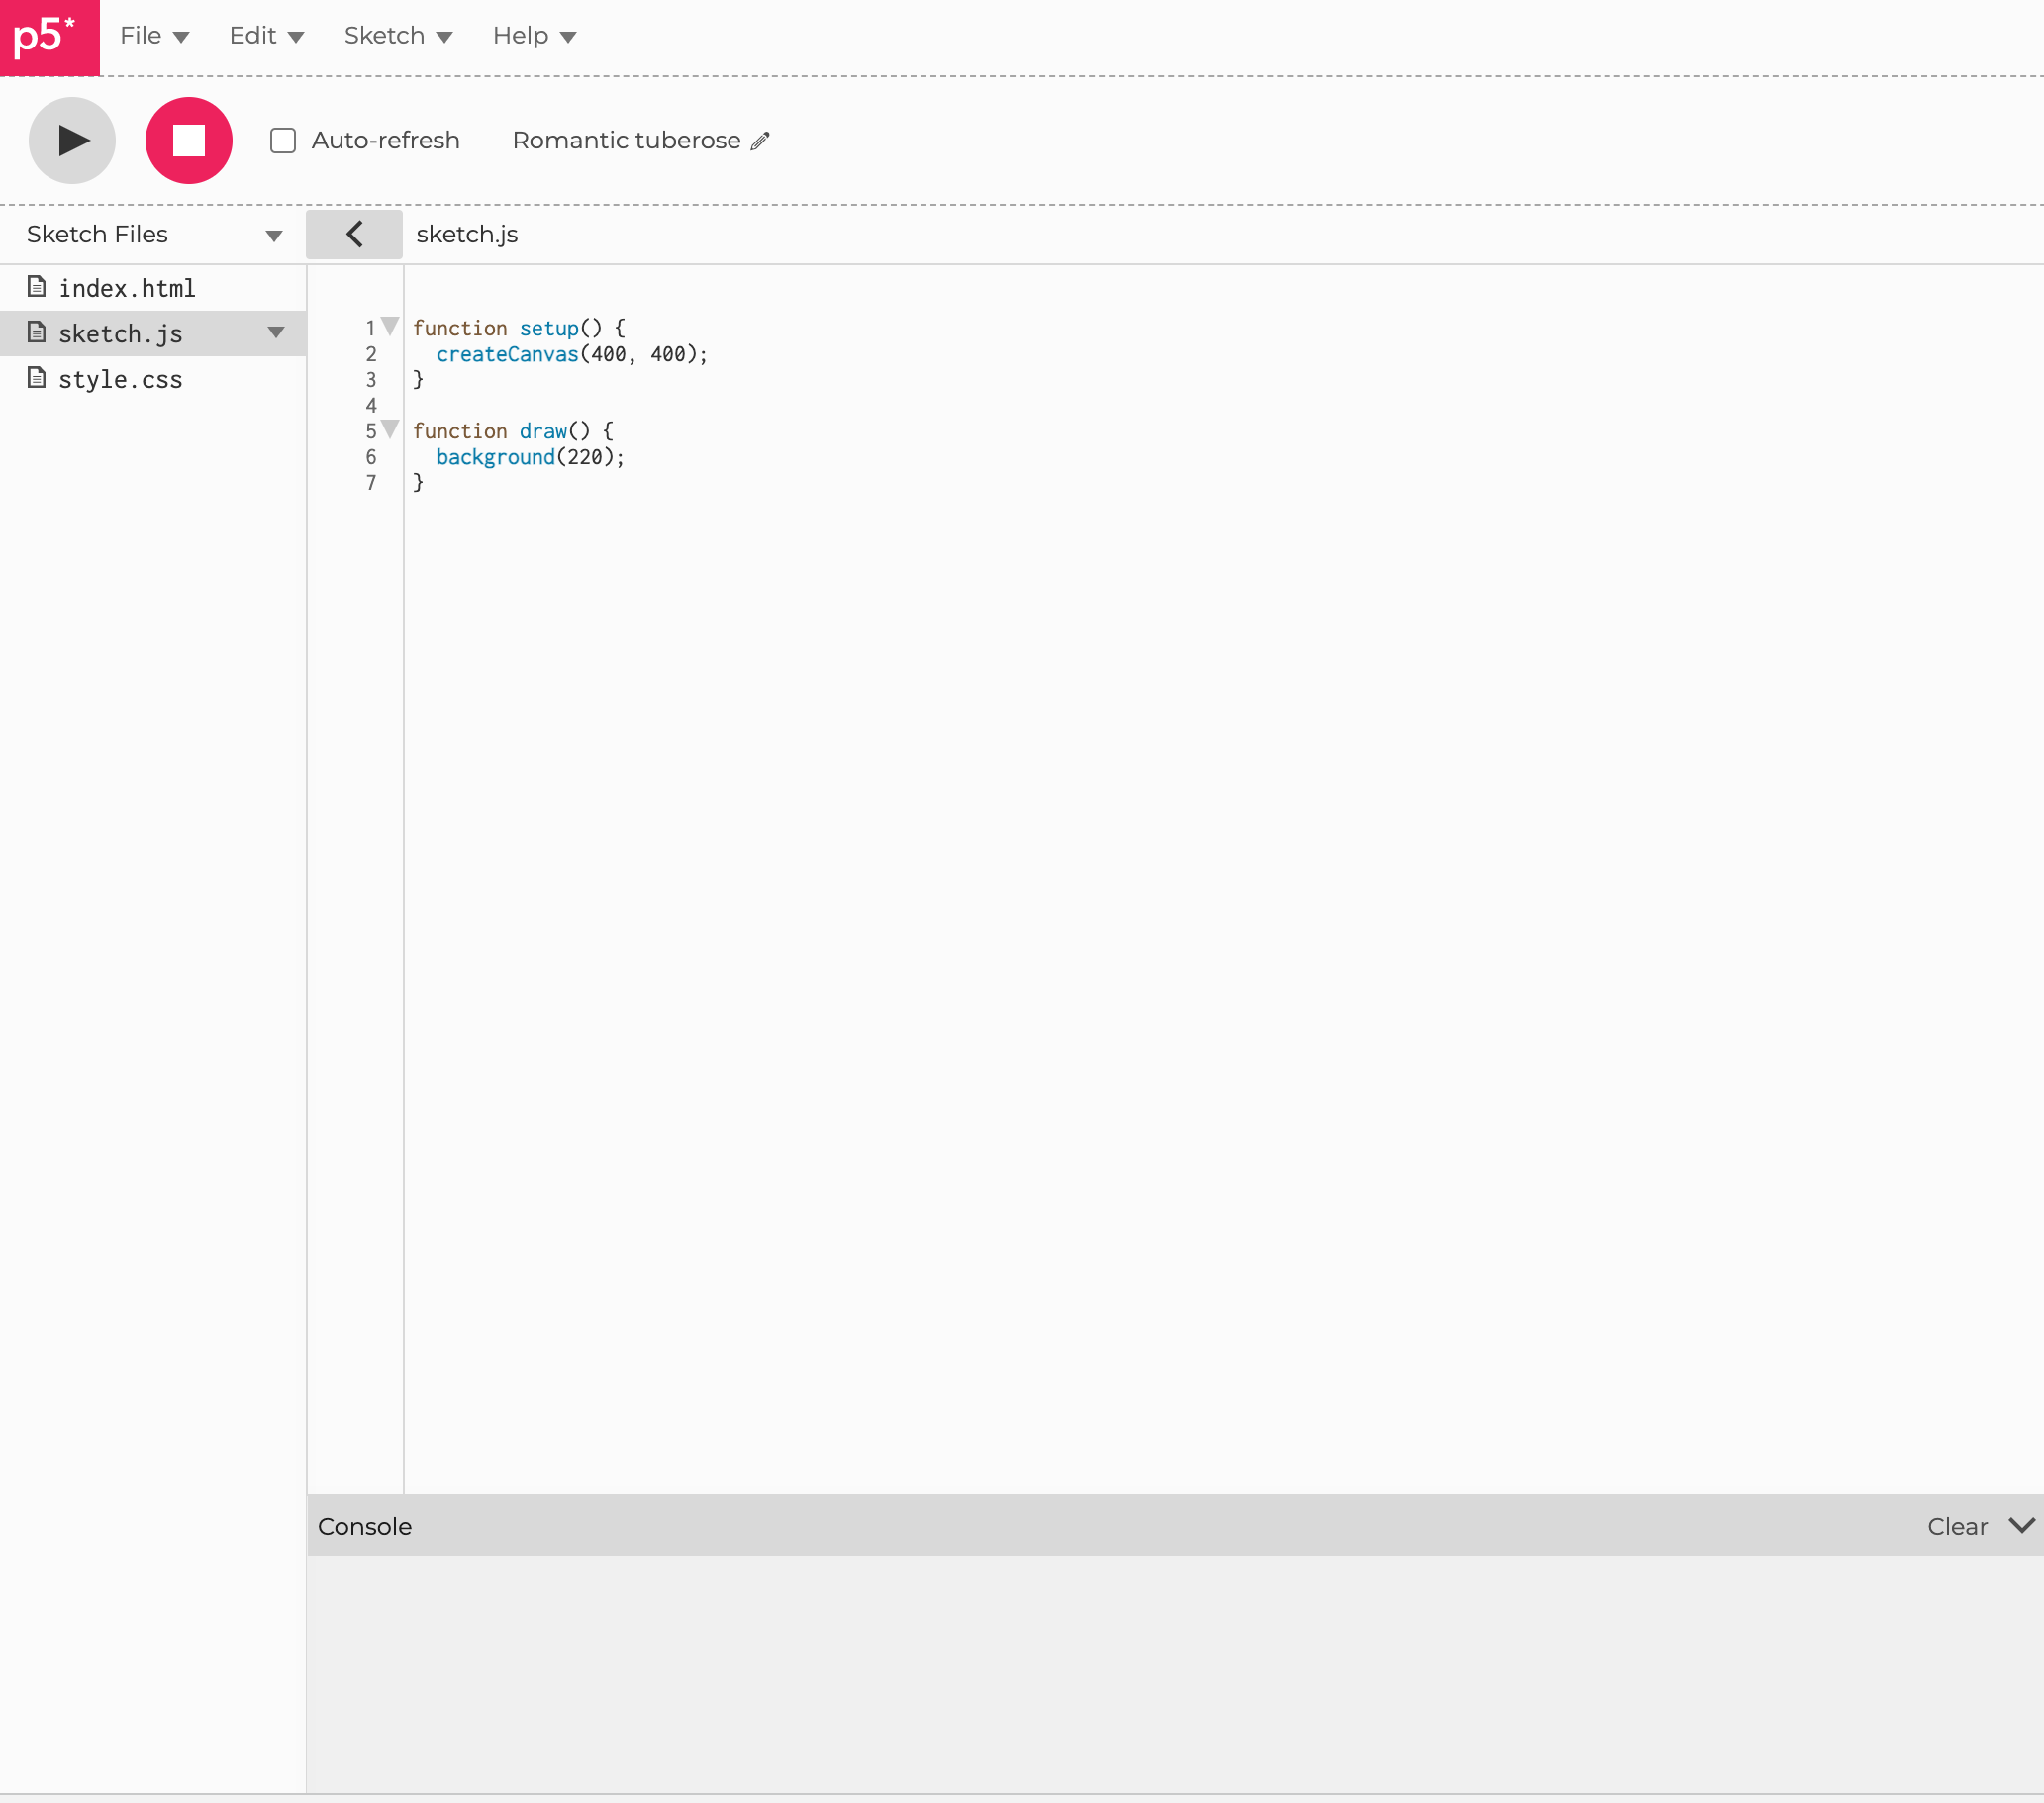
- There is a red arrow ">" button beneath the play and stop buttons. Click this to expand the menu which shows all your sketch files.
- need
- to
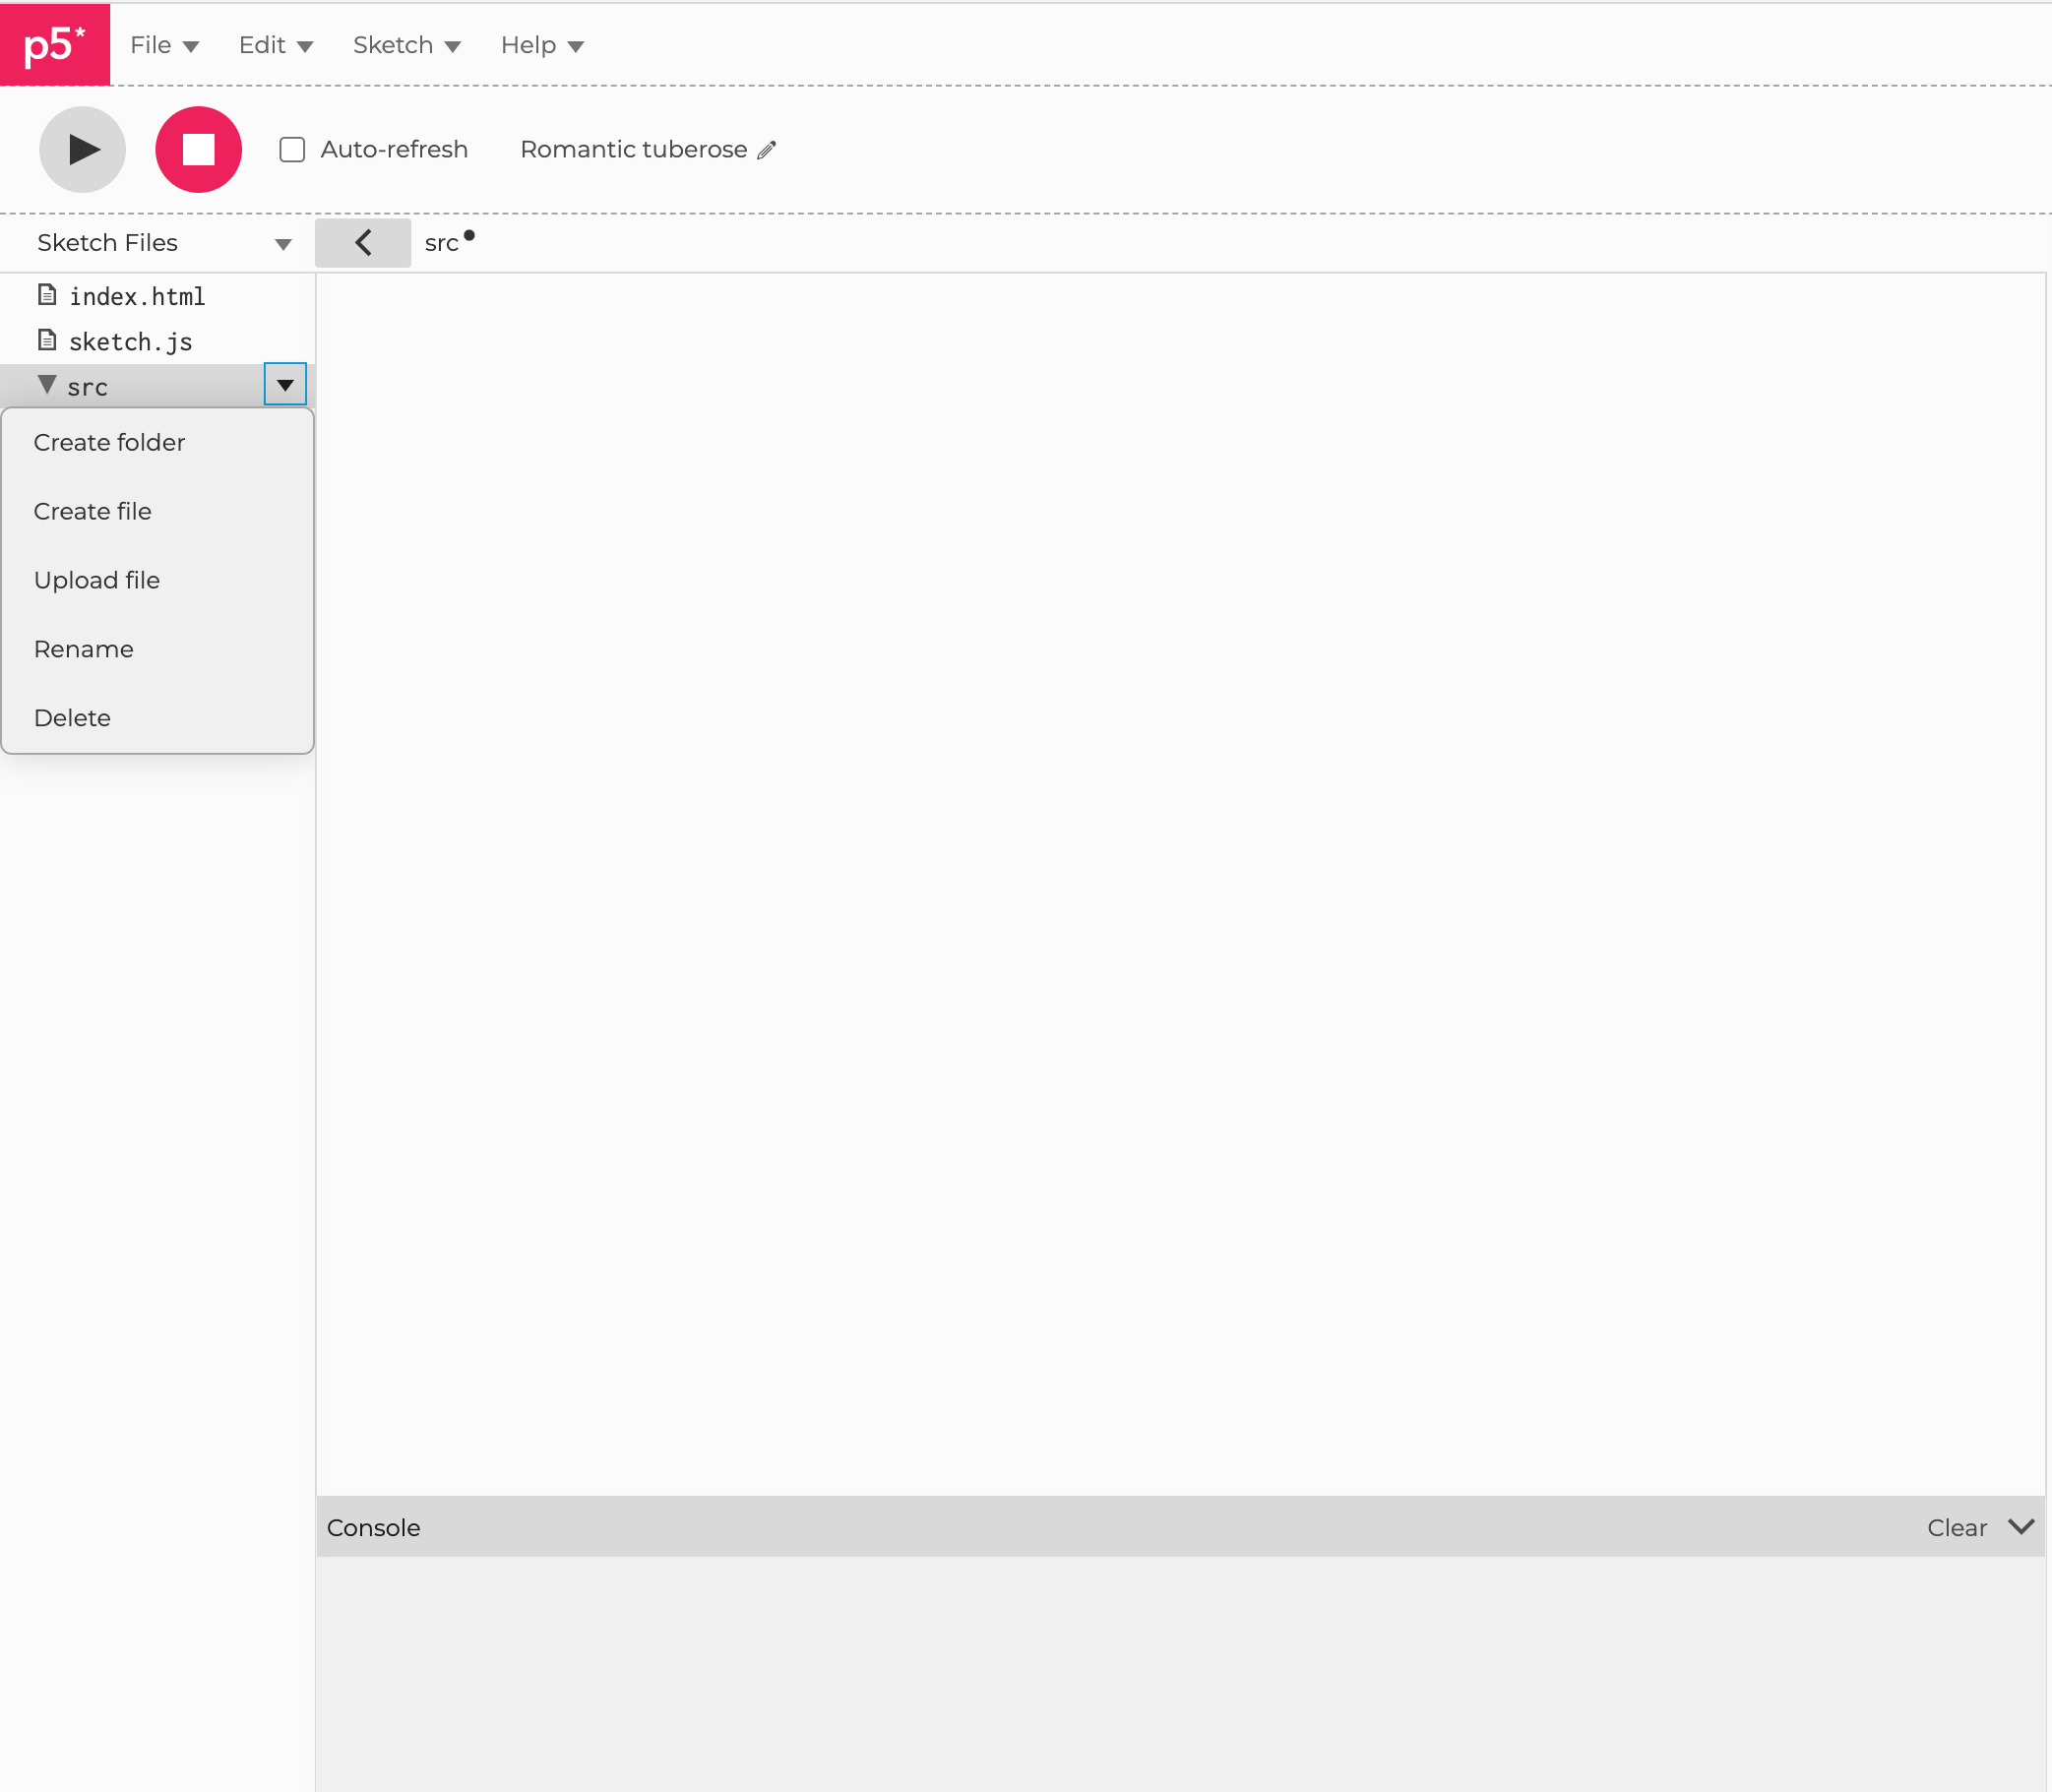
Click the drop down triangle - Createcreate a new folder called"src"
src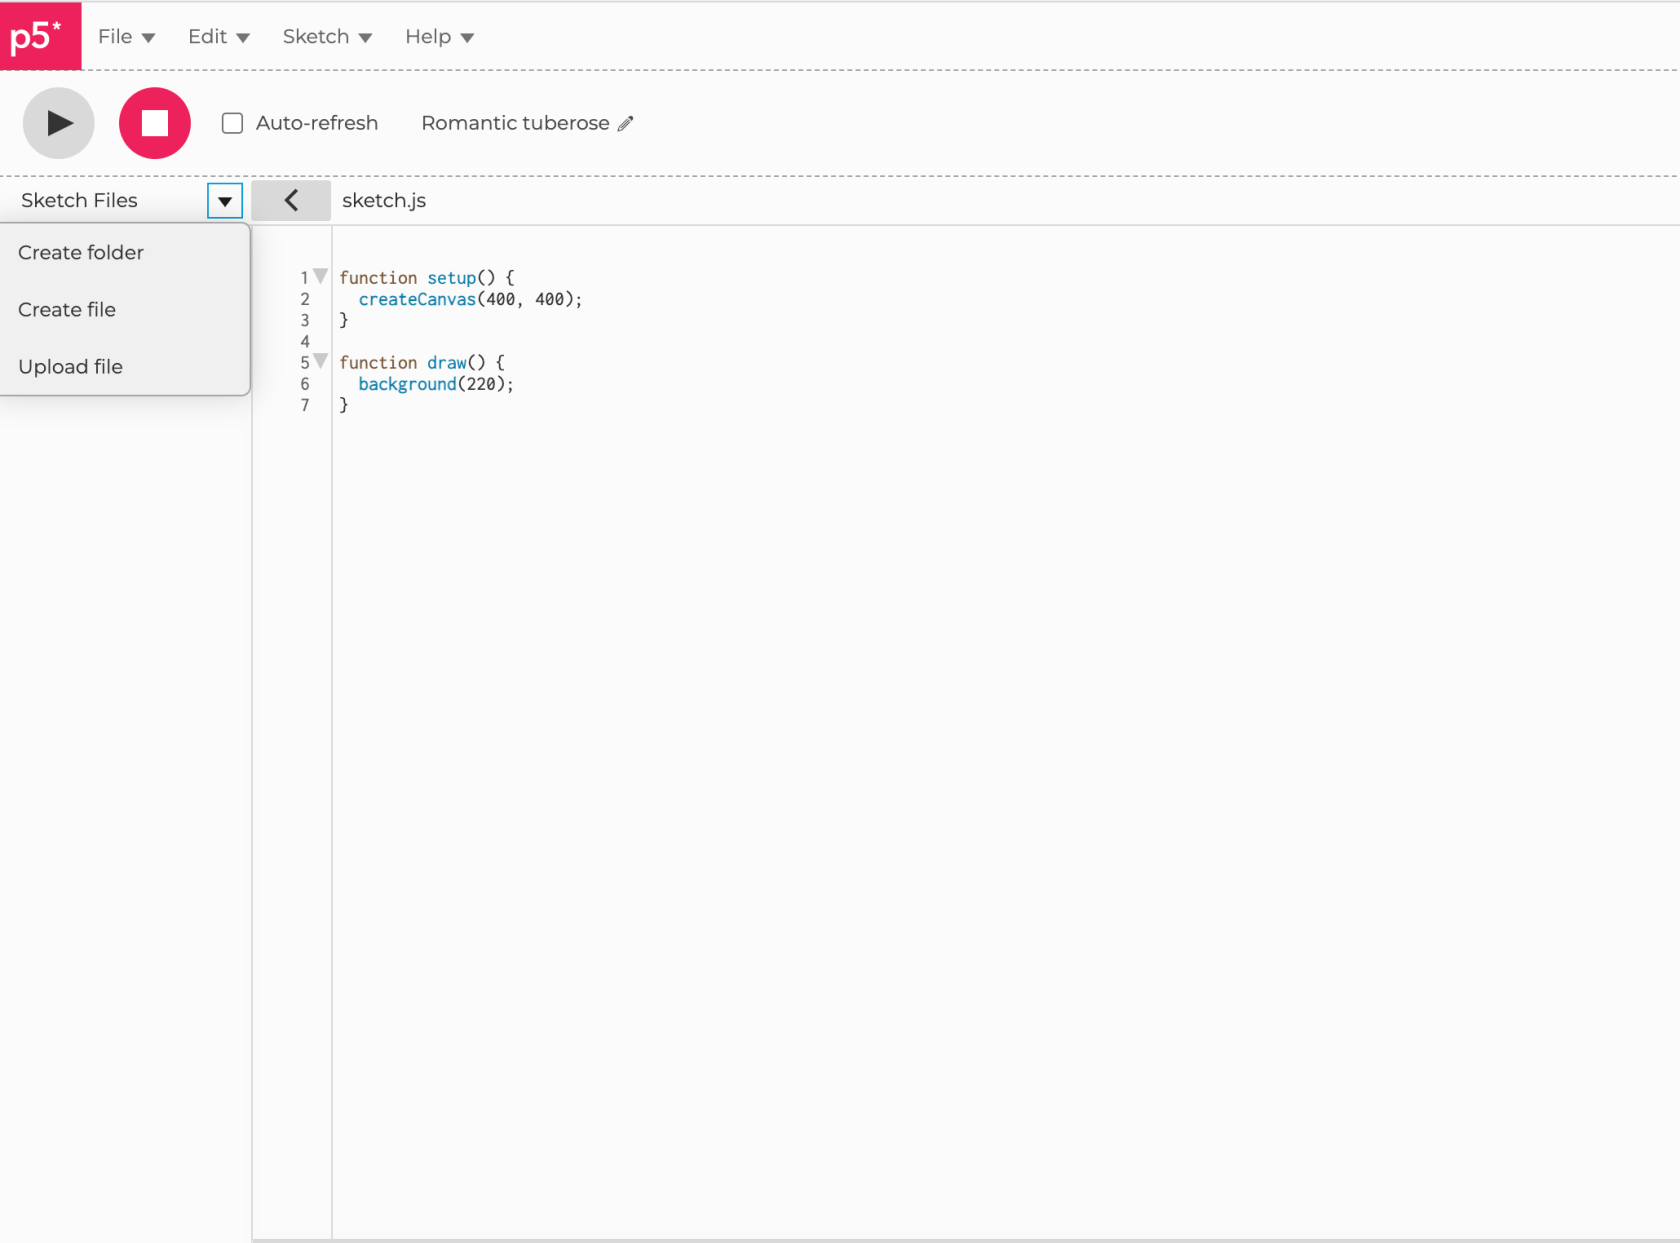
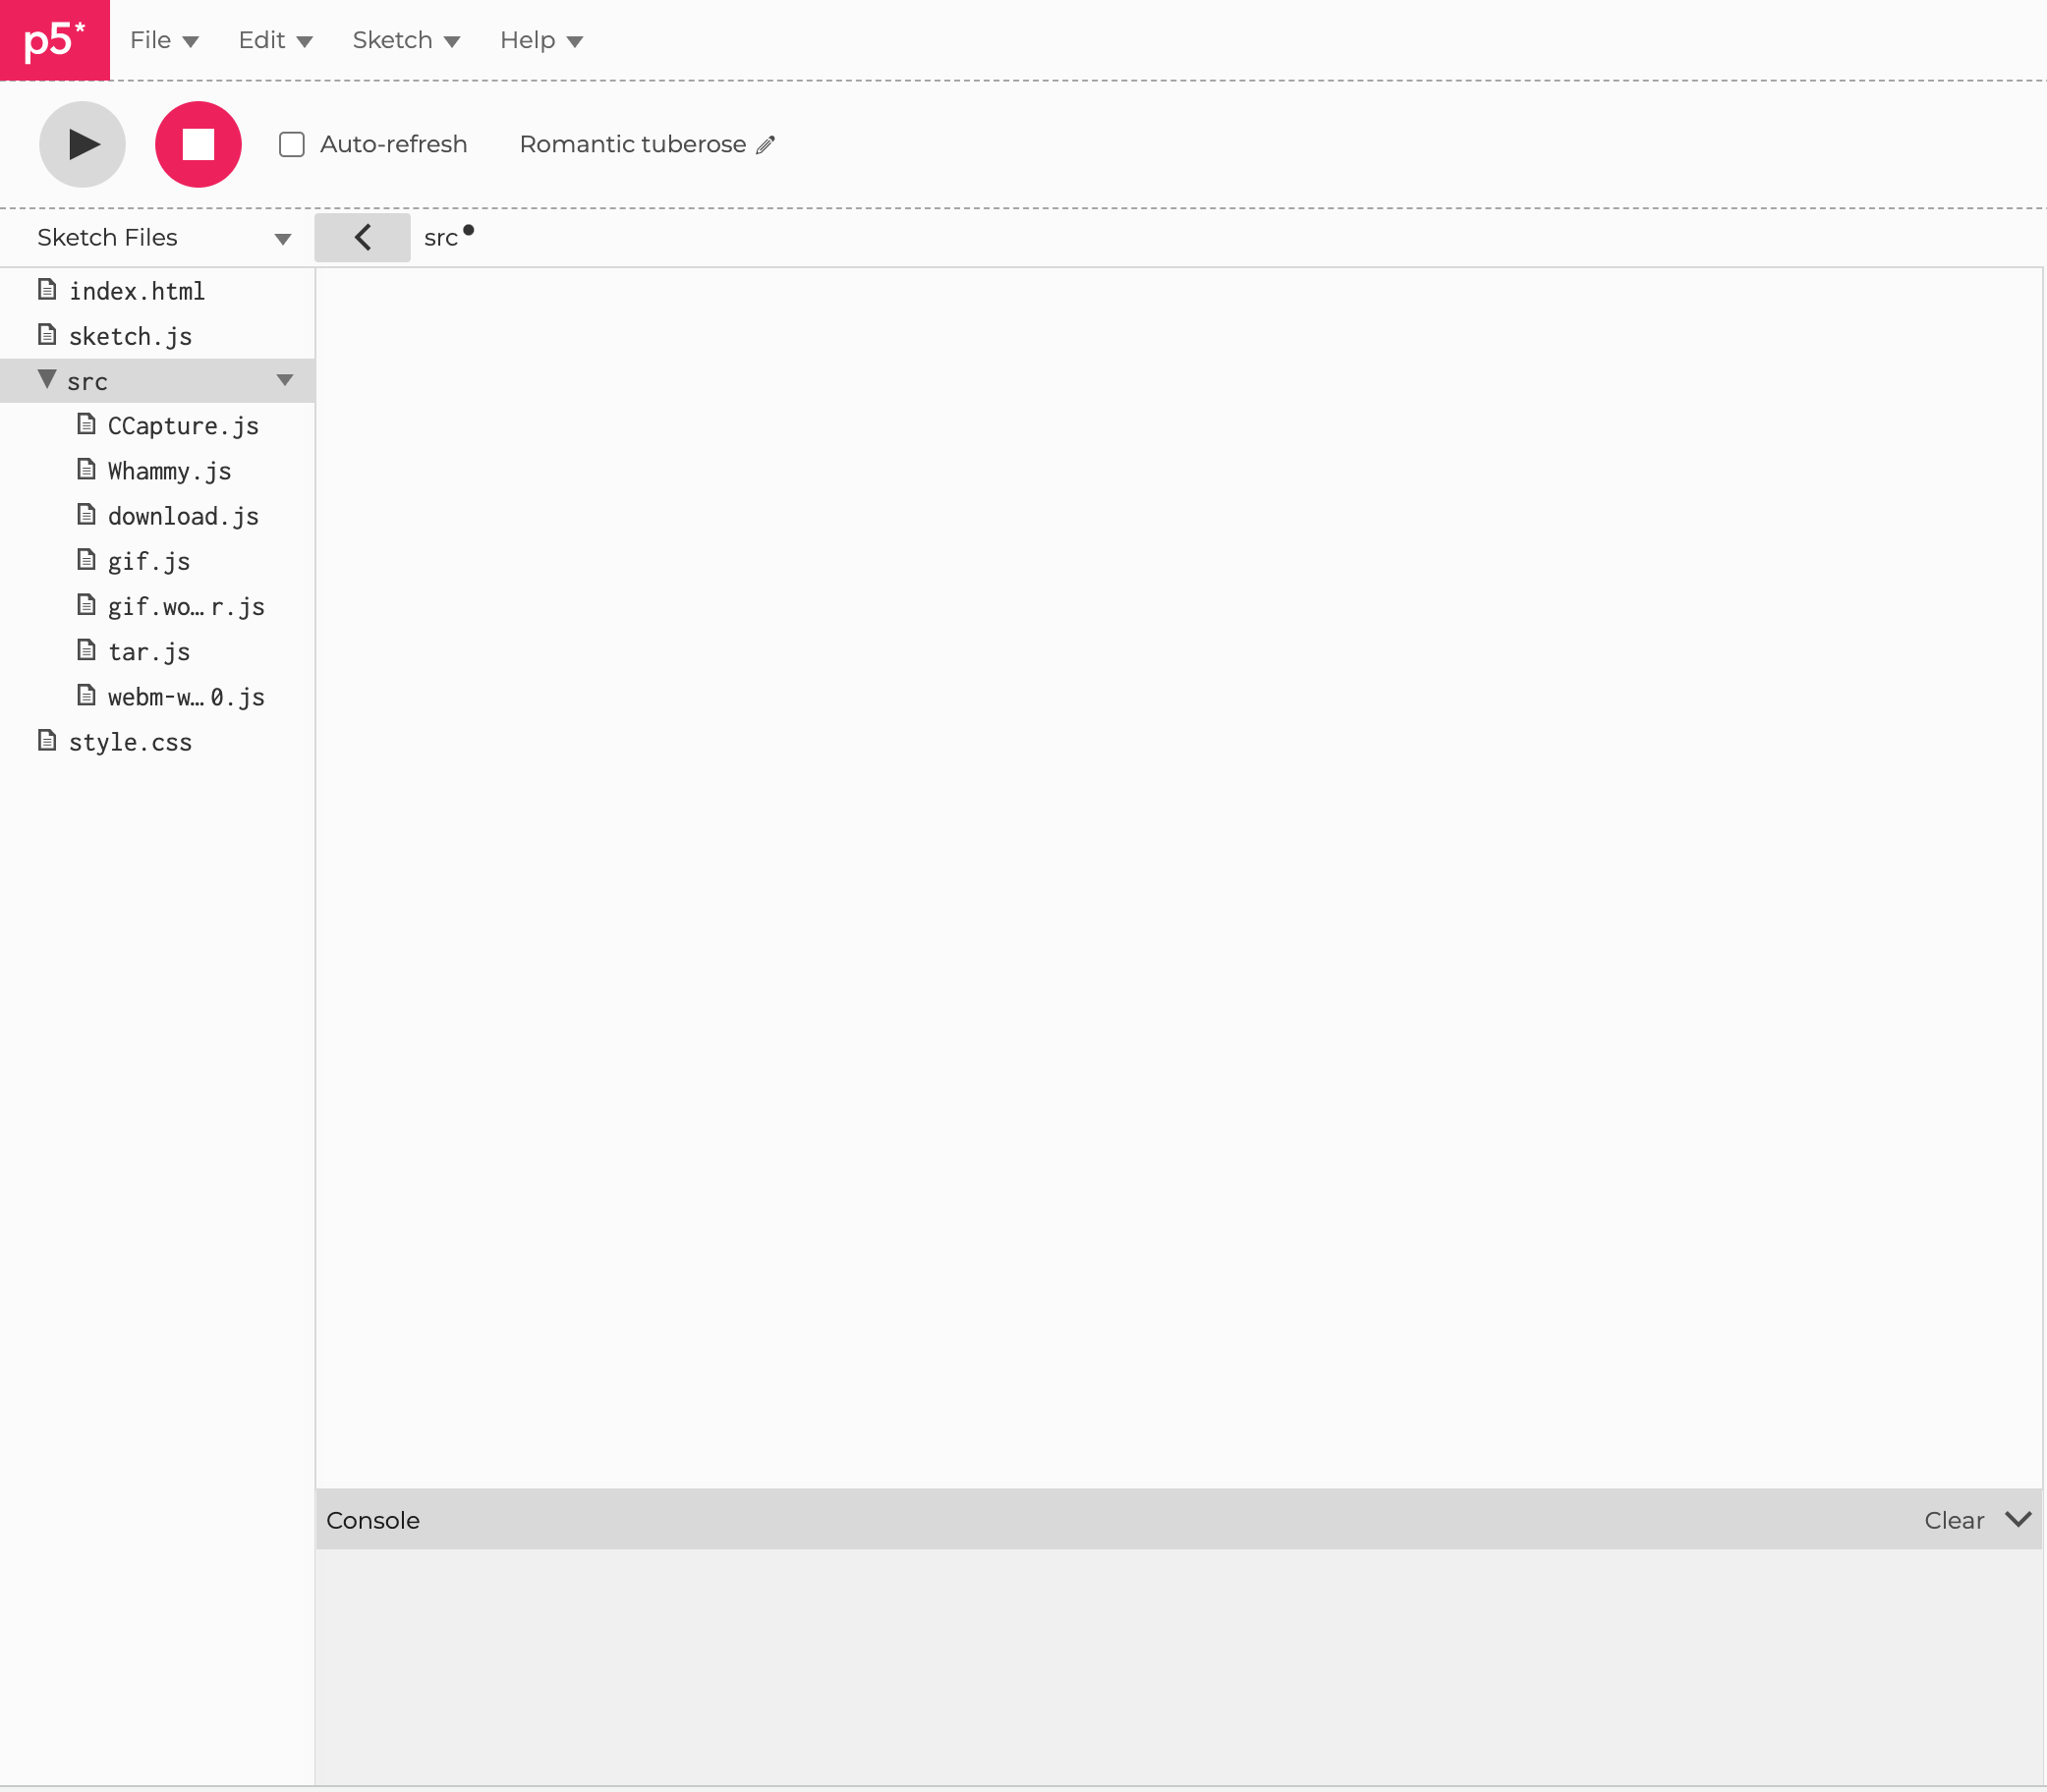
the beginning.Click the drop down triangle for the src folder - choose the upload file option
and upload all theextractedseperate files from theExternalssrc.zipLibraryyouFilesdownloadeddownload.
at
Click on the "index.html" file in the side
of our html file. You should see the default p5.js scripts in the head file. Feel free to add these underneath.barbar.-Wethere will be some code inside - youknow need to addthreethe following linesforofvideo exporting - refer to line 9, 10 and 11code in theimageheadbelow
    <script src = "./src/CCapture.js"> </script>
    <script src = "./src/webm-writer-0.2.0.js"></script>
    <script src = "./src/download.js"></script>
If you don't add these scripts to the head of the html file you will not be able to use the functions. If you encounter errors that describe undefined functions with regard to the capture code then check here first.- Return
per second.Click onto your "sketch.jsjs" file where we can now add the following lines of code to the top of sketch as a global variable. This will create a new CCapture object that we can store in thesidevariablebar"capture".-Weaddalsotheset a captureLength variable. I set it to 60, which will capturedevice1to your sketch - refer to line 1, 2 , 3 , 4second ofthematerialimageatbelow60
frames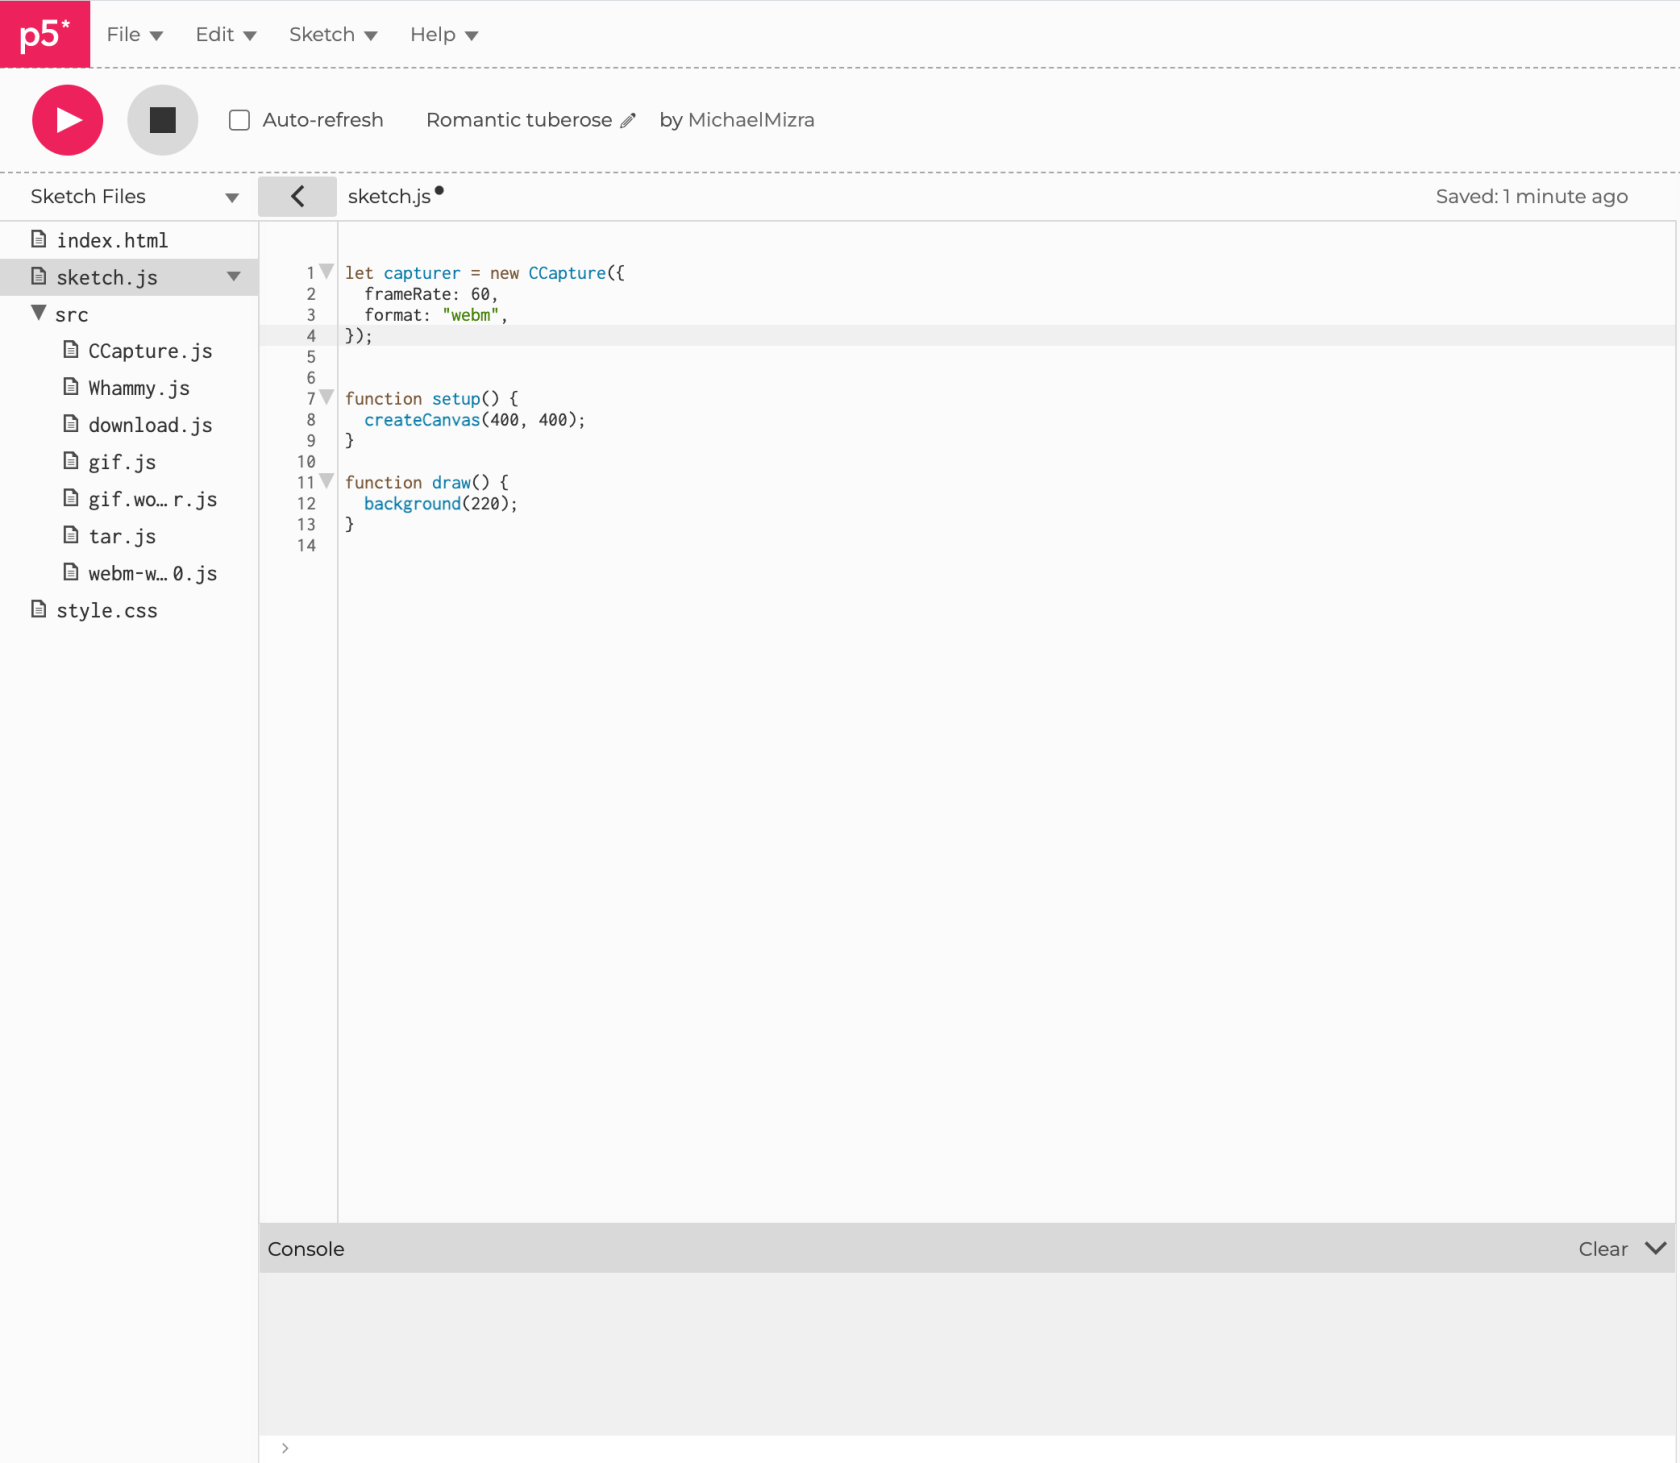
let capture = new CCapture({
  frameRate: 60,
  format: "webm",
});

let captureLength = 60;
Go to your draw function
-and put this code at the beginning to start the capturing
-referfunctiontodraw()line{12,if13,(frameCount14==of1)the{imagecapturer.start();below.}
}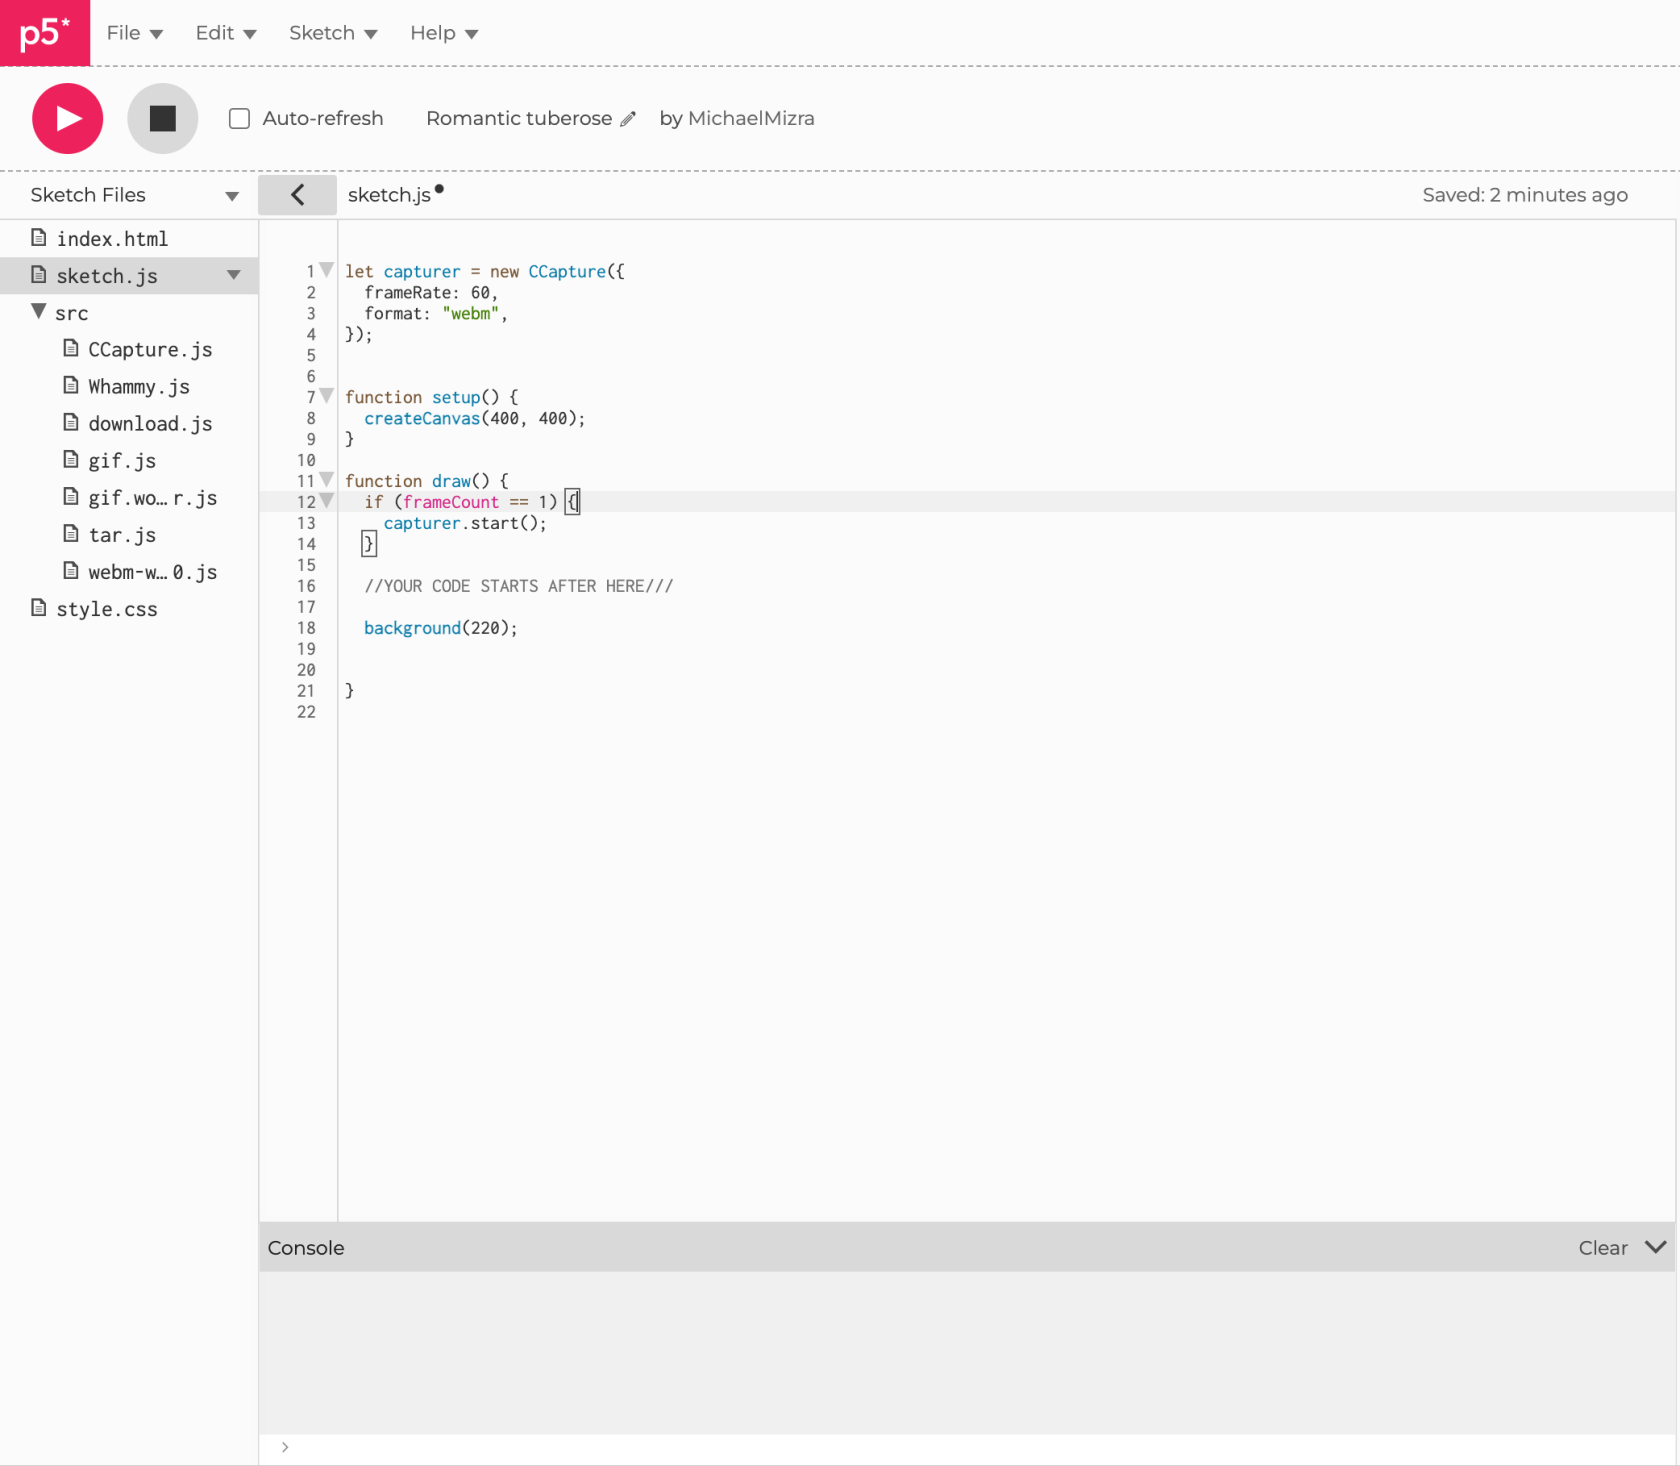
This line of code is telling the sketch to start recording once the frameCount == 1.We do this so that the program can run the first frame at setup before beginning to capture. If you wanted to delay the recording by a certain amount of frames you can change
this variable - calculating frames-per-second to time is given attheendbooleanof this tutorial.
check. - to
At the end of your code for draw add thisThe lastpieceblock of code in your draw function should be this. When your program reaches this point it is going tofinalisecheck if therecordingframeCountprocessis-stillreferbelow the captureLength, and if that is true, it will keep recording. The minute the frameCount is over the captureLength the code block is going tolineevaluate26, 27, 28, 29, 30, 31 ofwith theimageelsebelow.clausePleasewhichbewillaware ofend the"captureLength"capturevariableandwhichsaveisthedefined on line 6


  if (frameCount < captureLength) {
    capturer.capture(canvas);
  } else if (frameCount === captureLength) {
    capturer.save();
    capturer.stop();
  }
PleaseThis useis thisa websitelink to converta fromfinished FPSversion to Time Calculator FPS to Time .
and...if you're reallyhaving stuck...hereproblems iswith myyour codeown.
you can copy ;)