New Page
Github Pages
Signing up for a GitHub account and subsequently creating a GitHub pages URL will allow you to upload your HTML, JS & CSS files online, so that you can access your website from anywhere.
Bit of background (Feel free to skip)
GitHub is a website that stores what are called repositories. Repositories contain code, very much just like a folder on your computer. Git is what is called a version control system and to us what it means is that when you save files and commit them it will also save the previous version of your files too. This is very popular with a lot of people in the world of tech, because if something goes wrong, you can always go back to when it did work!
Step 1: Signing up for GitHub
Go to https://github.com and sign up for an account, the form should be on the homepage. There will be a few extra forms when you signup, you can skip through these.
Very important!!!1!!1!
The way that GitHub pages work is that in the end, your website will have the name of your username in it (
Step 2: Creating a repository
Now we have to create a repository. On the left hand side there should be a link that says Create a repository. Click this link and it should take you to this page:
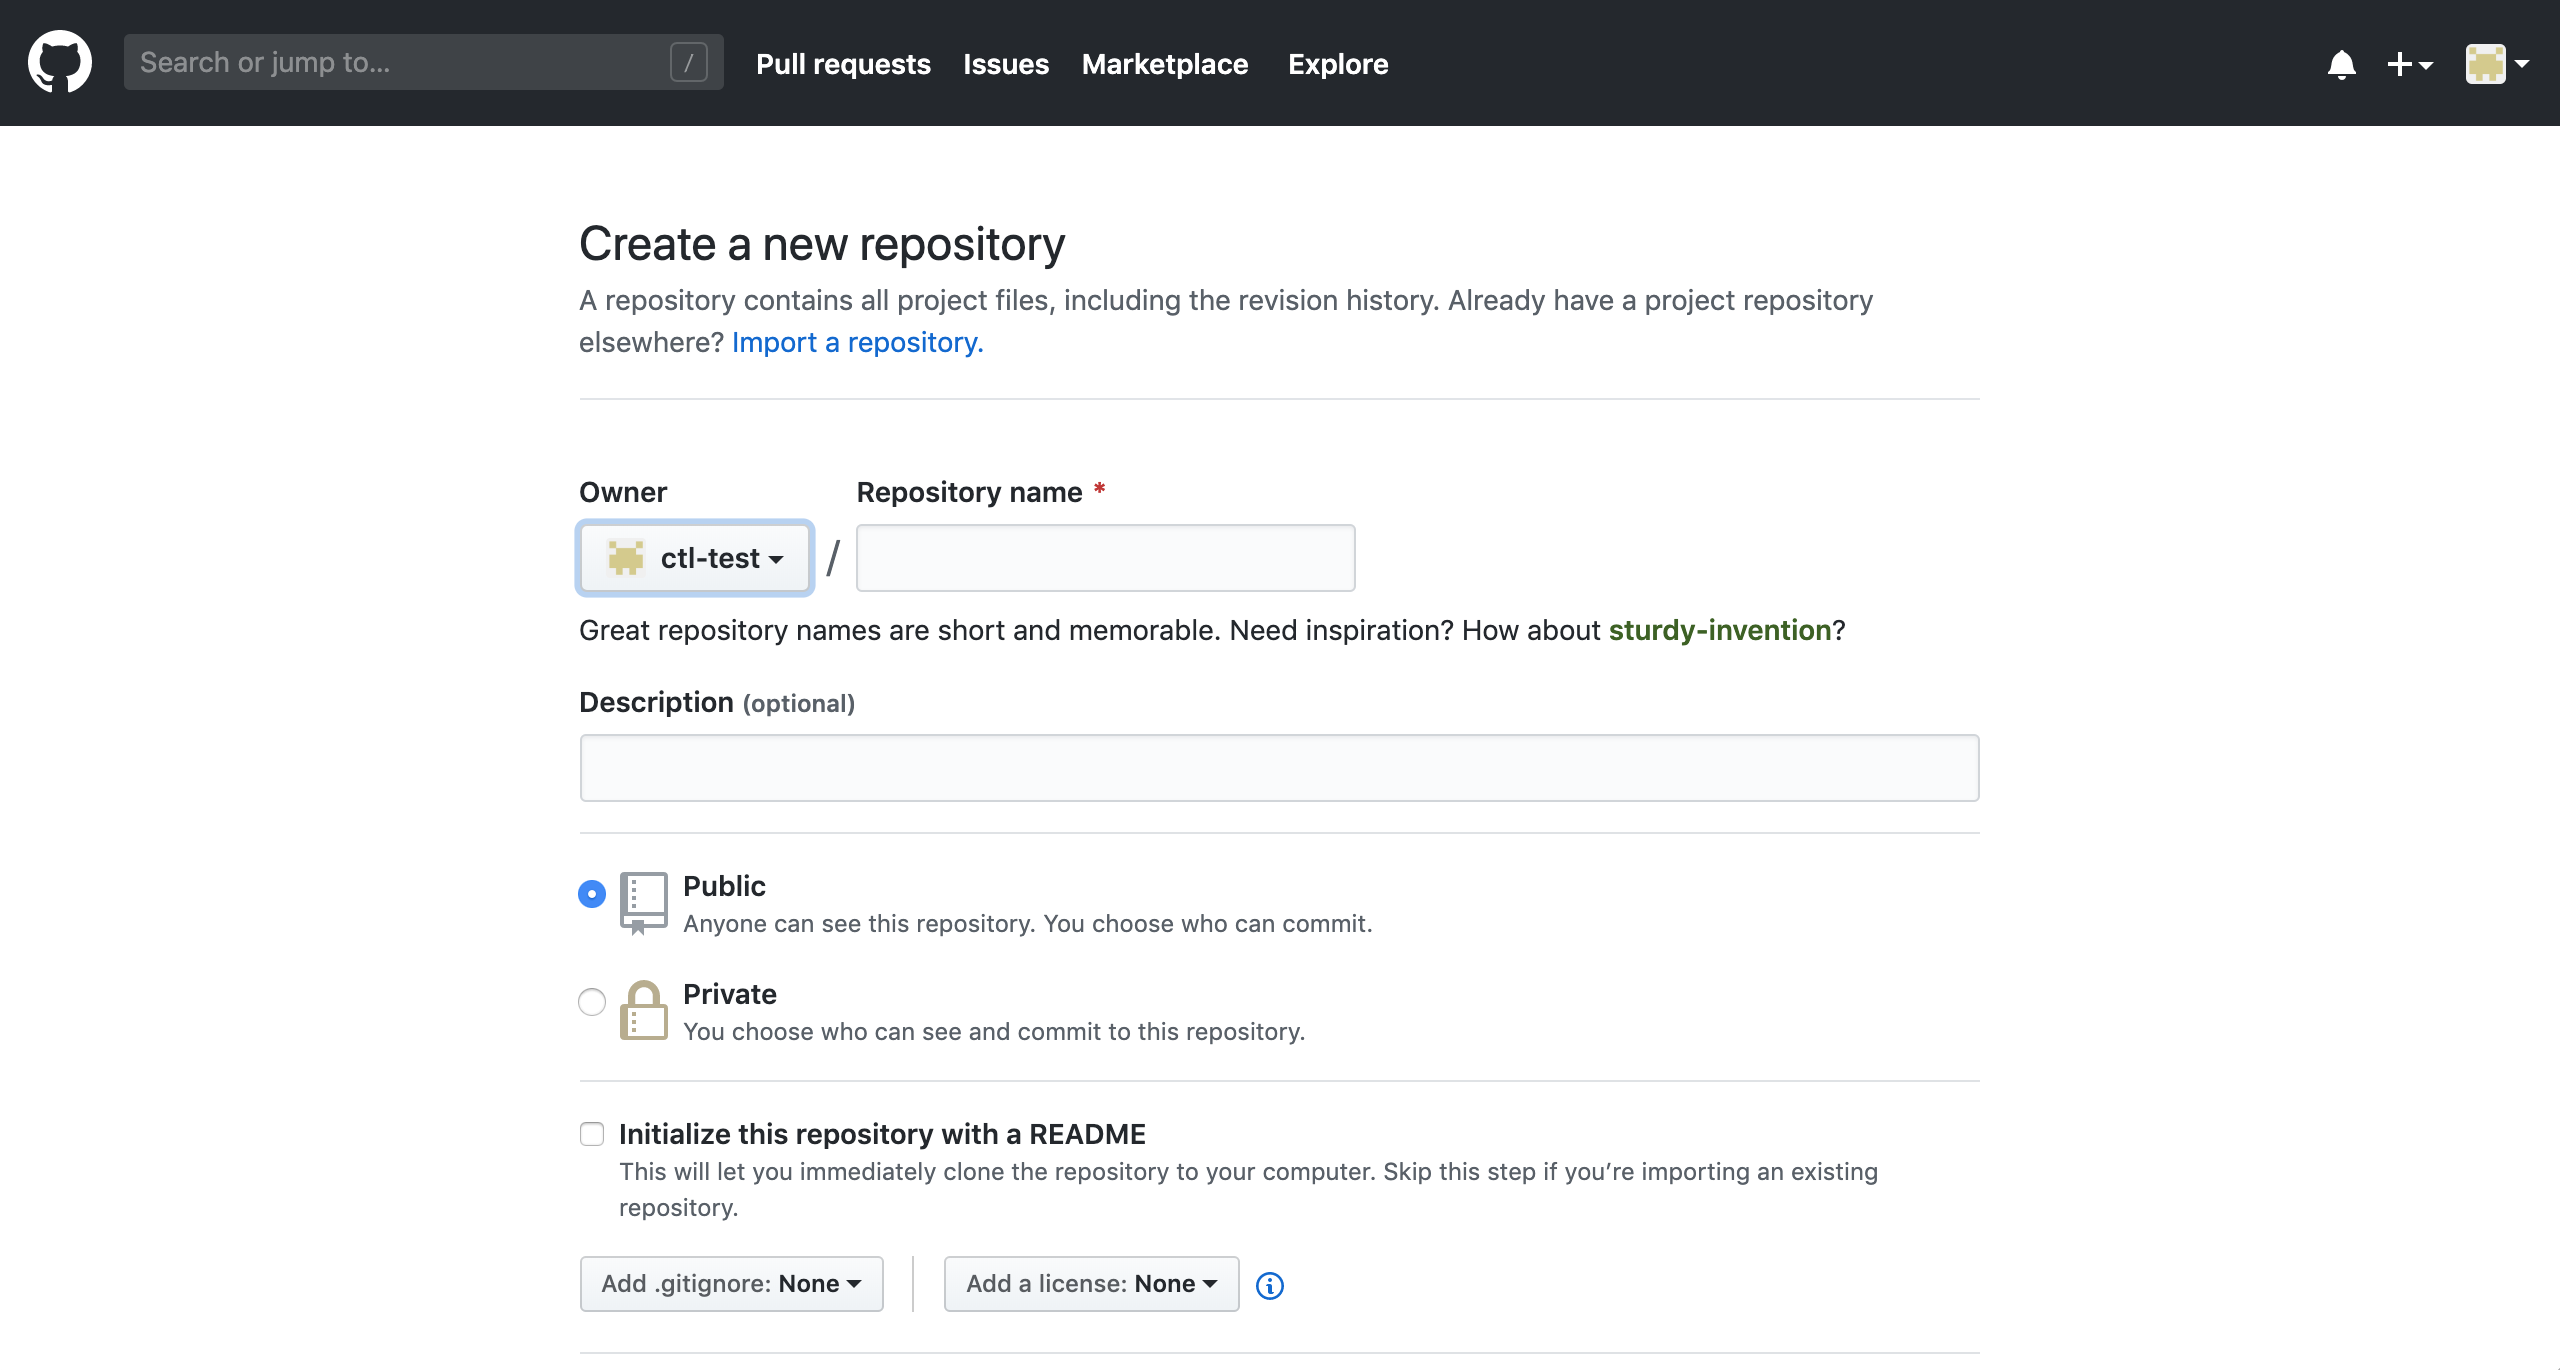
Very important!!!1!!1!
This is where we need to set our repository name to equal exactly this structure:
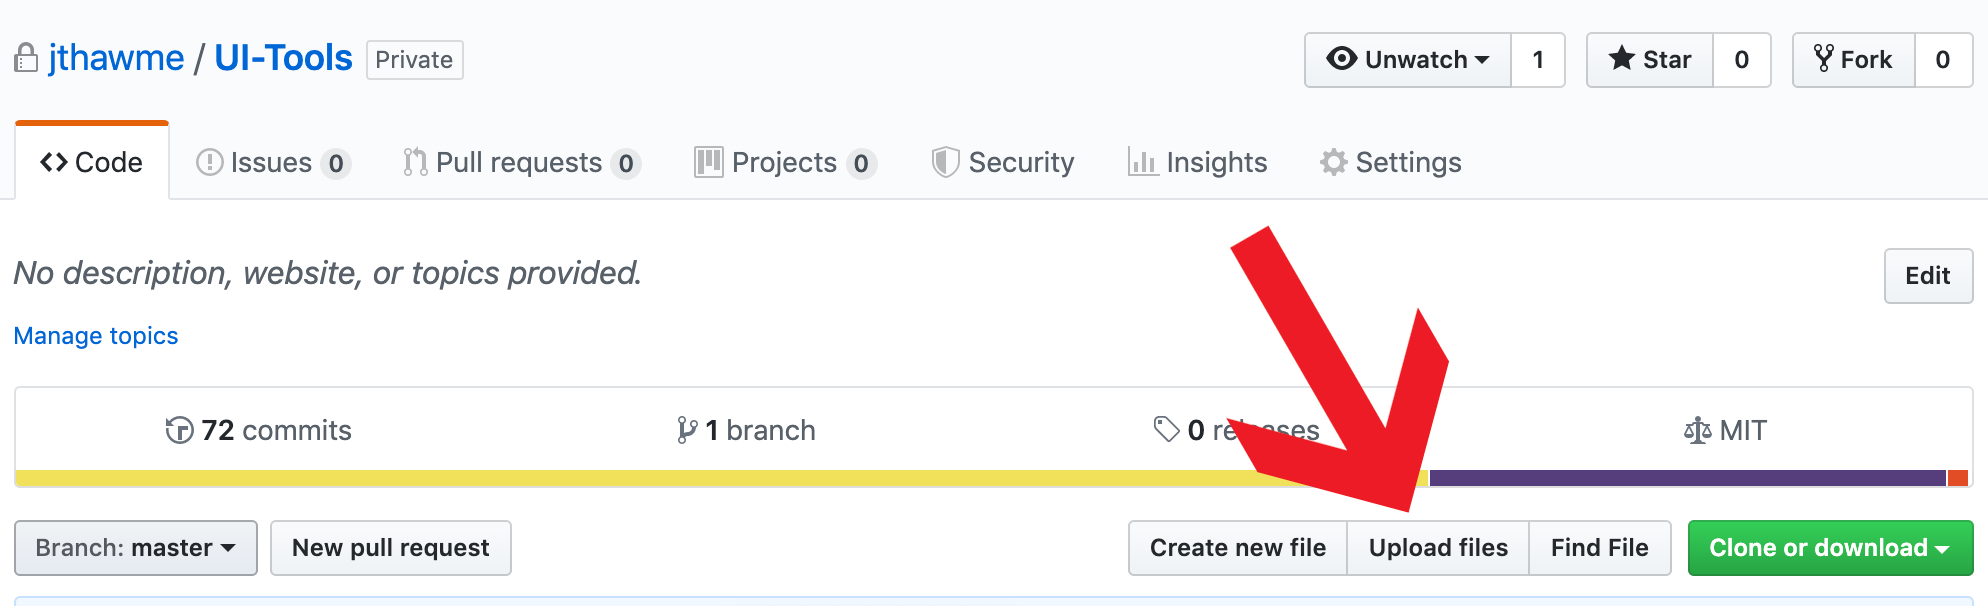
Step 3: Uploading your code
Now we need to upload our files to the Github repository. Hopefully after you created your repository you should see the below page. What we want to do is click the link that says uploading an existing file

After that, if you drag your HTML, JS and CSS files (if you have them) onto the upload section, they should upload to your repository. BUT! You need to 'commit the changes' for them to be saved.
Step 4: Commiting your changes
This section is also relevant if you want to update your files too. Everytime you make changes to the files, you have to 'commit them'. To the Git repository, that basically means, storing these new files, committing them to memory.
Github makes this part quite easy. If you want to add a message you can do, but if not, all you have to do is click Commit changes and your files will be stored in the git repository.

Step 5: Viewing your website
It may take a couple of minutes but, after you have uploaded your code, you should be able to see your website running at
Congratulations!
Step 6: Updating files
To update files so that you make your newest files available on the internet, you need to follow the same as Steps 3 & 4. The only difference is you now click that says Upload files which you can find where, below
Optional steps
Everything in this section isn't necessary but it might help you out, to work faster and better!
Step 7: Using a Git application
We can download github's application to help speed up commiting files. You can download the program here: https://desktop.github.com/. Once you've downloaded it, you need to log in and set up your name and e-mail address. Then you will see all of your repositories on your account.
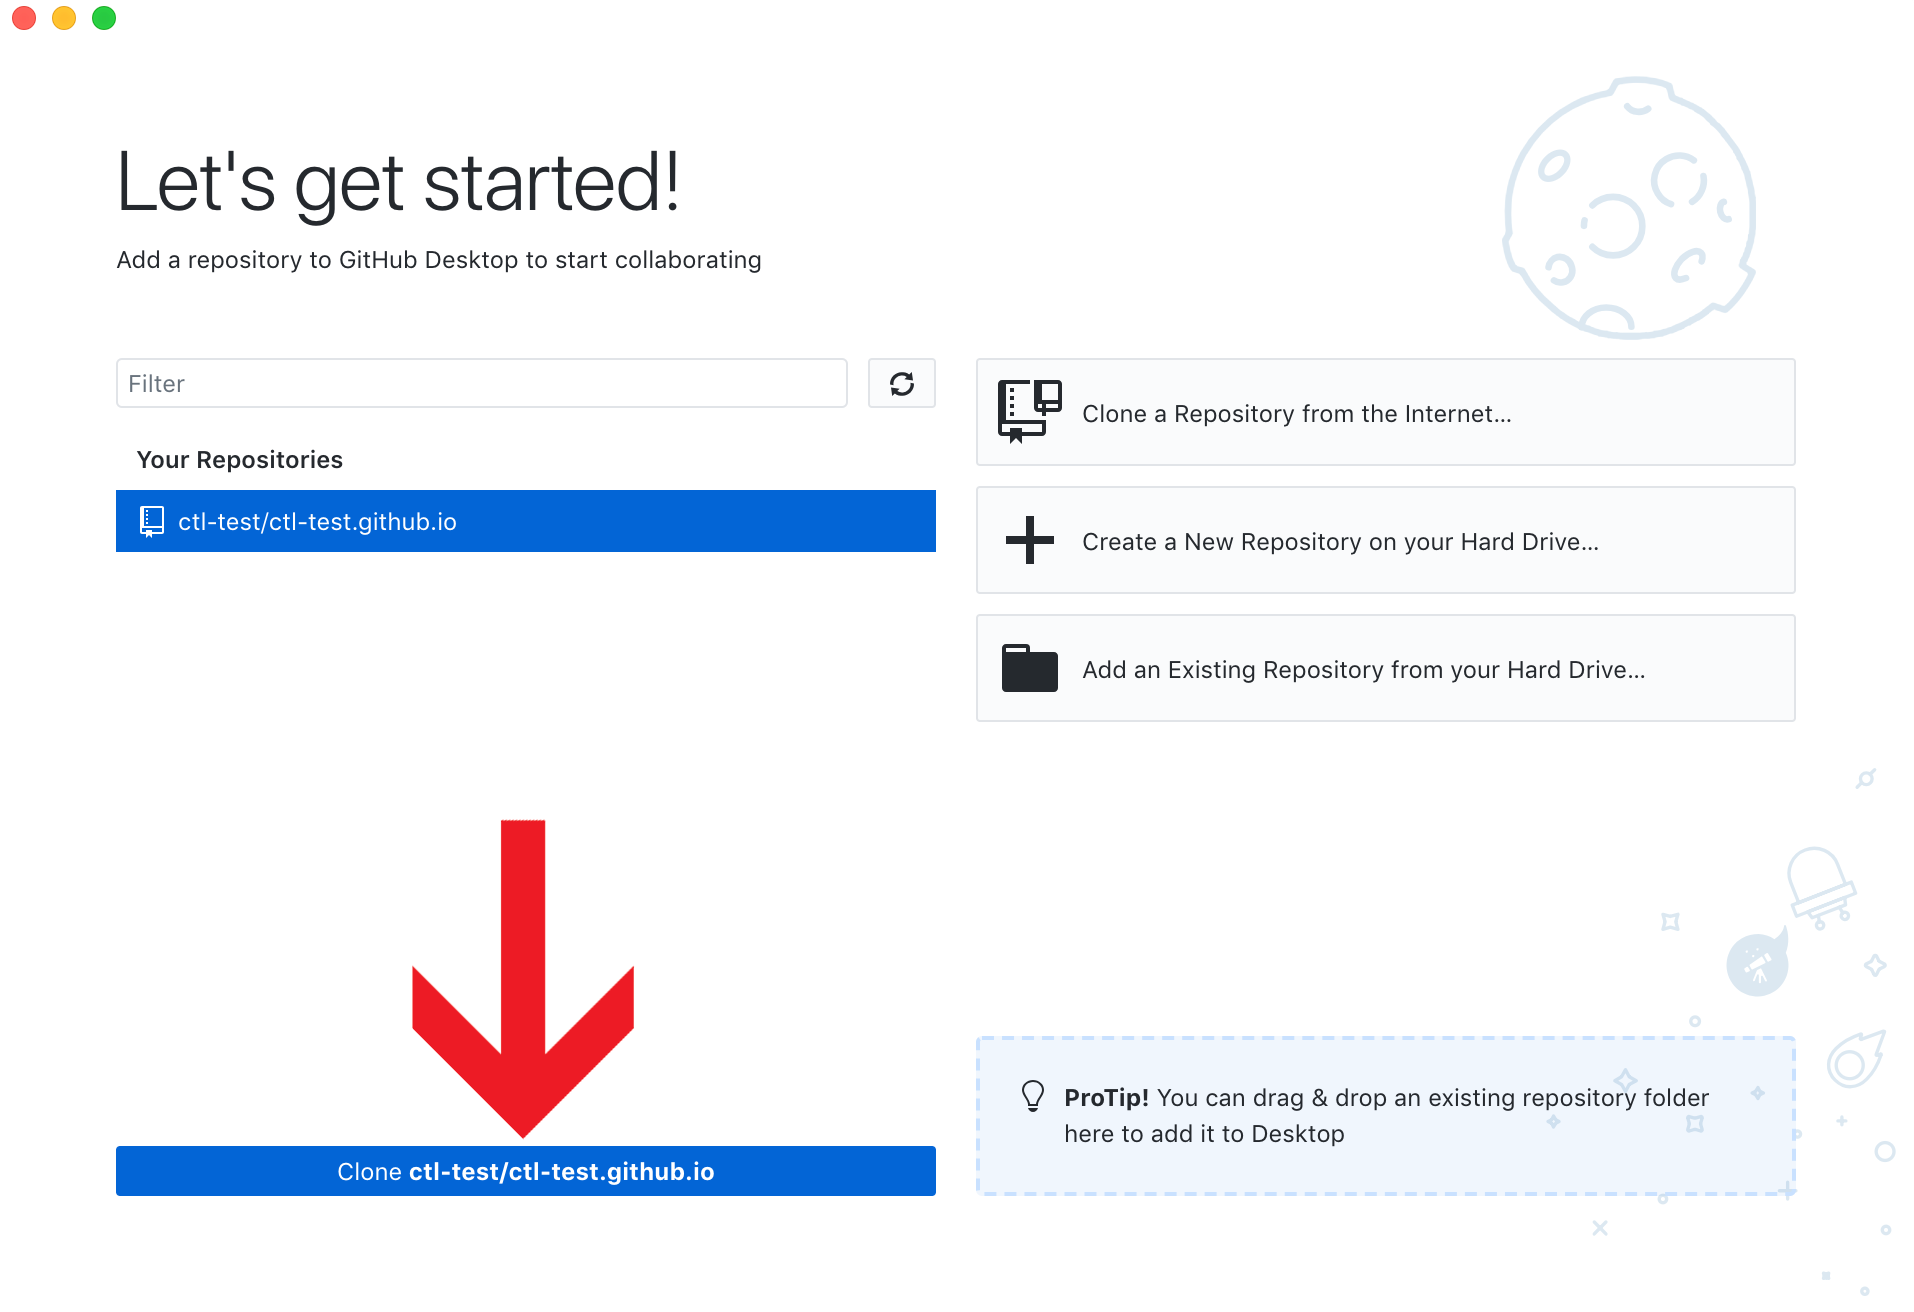
If you click your
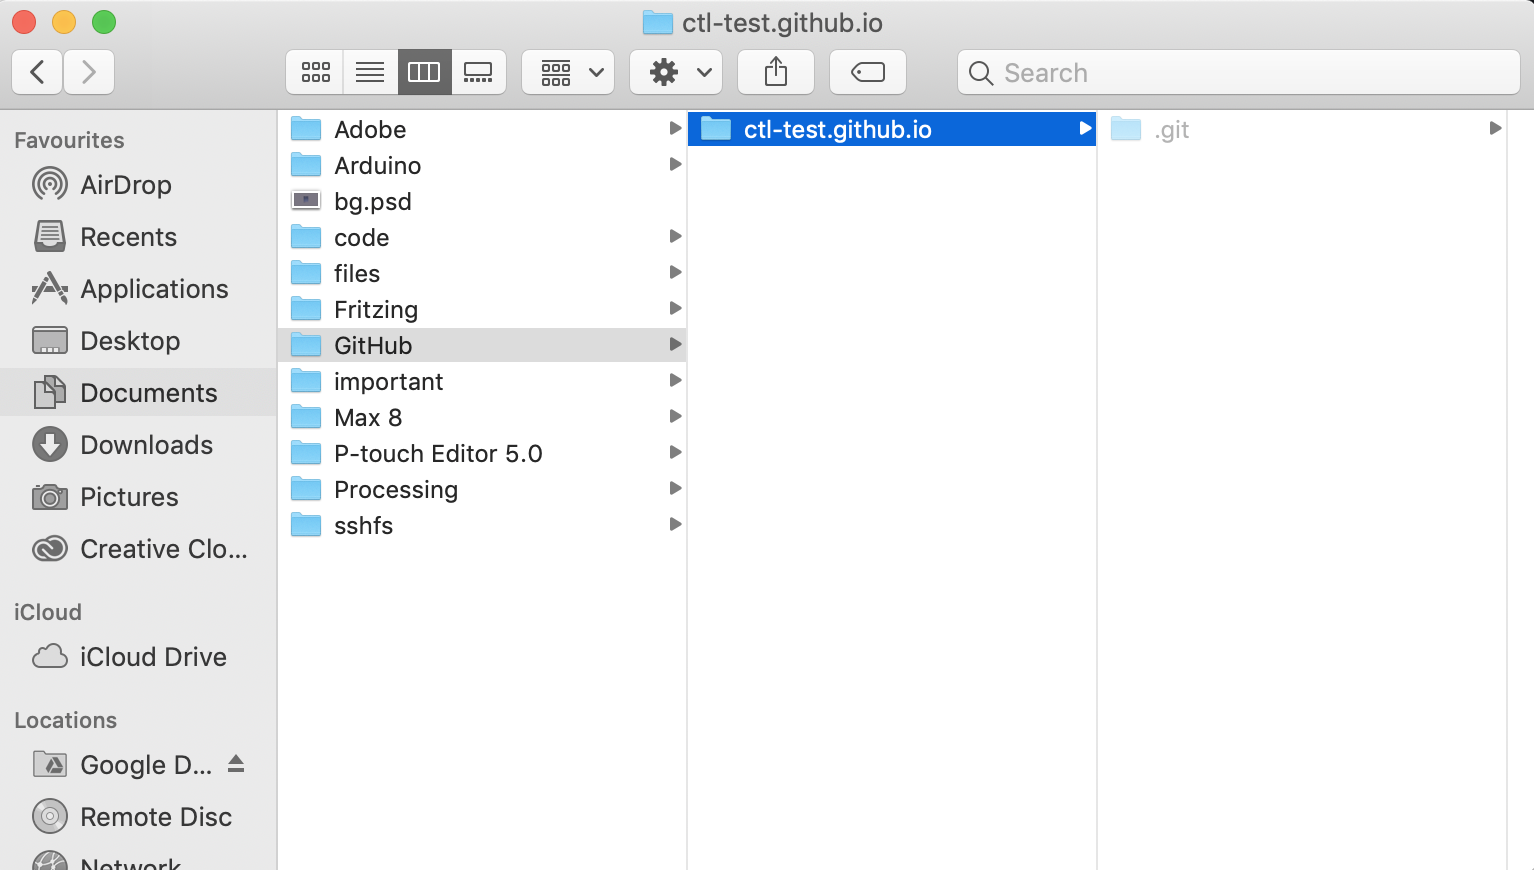
By default it will download the repository to this location: Documents/Github/REPO_NAME
When you make changes to your files, if you check Github Desktop again, you should see that its detected changes in your files.
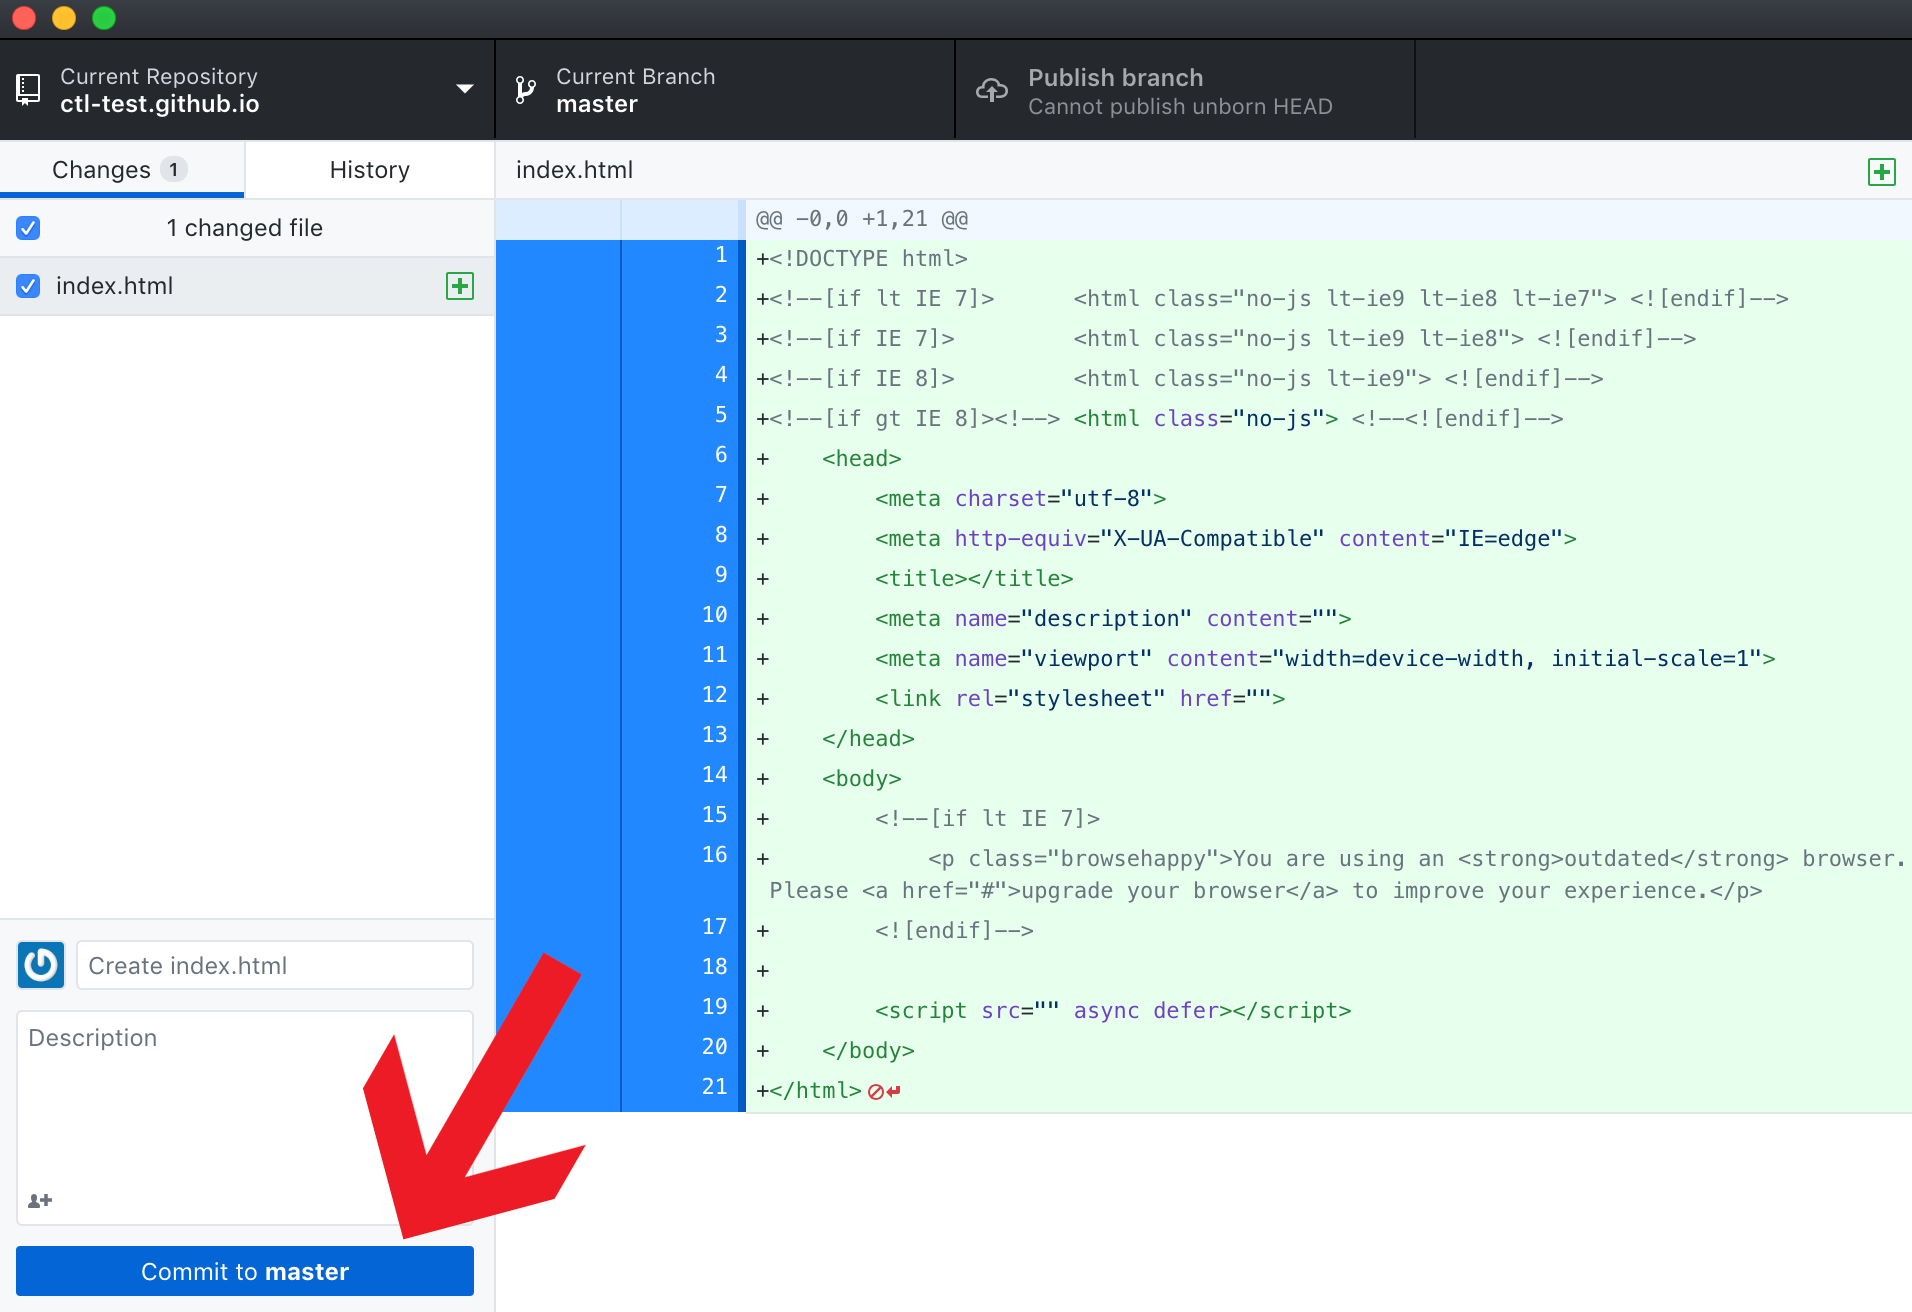
After you commit them in Github Desktop, in the bottom left of the screen (similar to Step 4) you can then publish the changes to your website
