Using a Monochrome 1.3" 128x64 OLED display
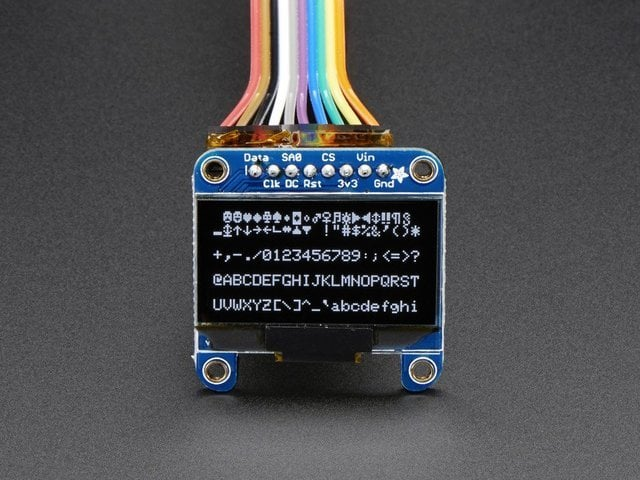
What is the HC-SR04?OLED monochrome display?
The HC-SR04OLED monochrome display is a ultrasonicsmall distance(tiny) sensor,and ithigh-readability usesdisplay. ultrasoundIt is useful for displaying data, e.g. weather information or small graphics like what you see on Tamagotchi.
In this tutorial, we will be using Adafruit SSD1306 128 x 64 OLED with I2C communication. It can support SPI communication as well.
Display Configuration
If you have the older non-STEMMA version of the OLED, you'll need to send out a ping and measure how longsolder the soundtwo takesjumpers on the back of the OLED. Both must be soldered 'closed' for I2C to comework! back, exactly like bats use to fly in the dark.
The sensor works between 2-400cm however if the ping sound is reflected away from the sensor by an a divergent (not parallel) surface, or absorbed by a soft surface like fabric there may no measurement.
There are other types of distance sensors that are more accurate for projects where needed, this is a cheap < £5 sensor, while more accurate ones are over £100.
Wiring
Wiring up the sensor is simple:
- Power (
VCCVIN to 5V) - Ground (GND to GND)
EchoData todigitalArduino SDA pin12(A5 on Uno)TriggerCLK todigitalArduino SCL pin13(A4 on Uno)
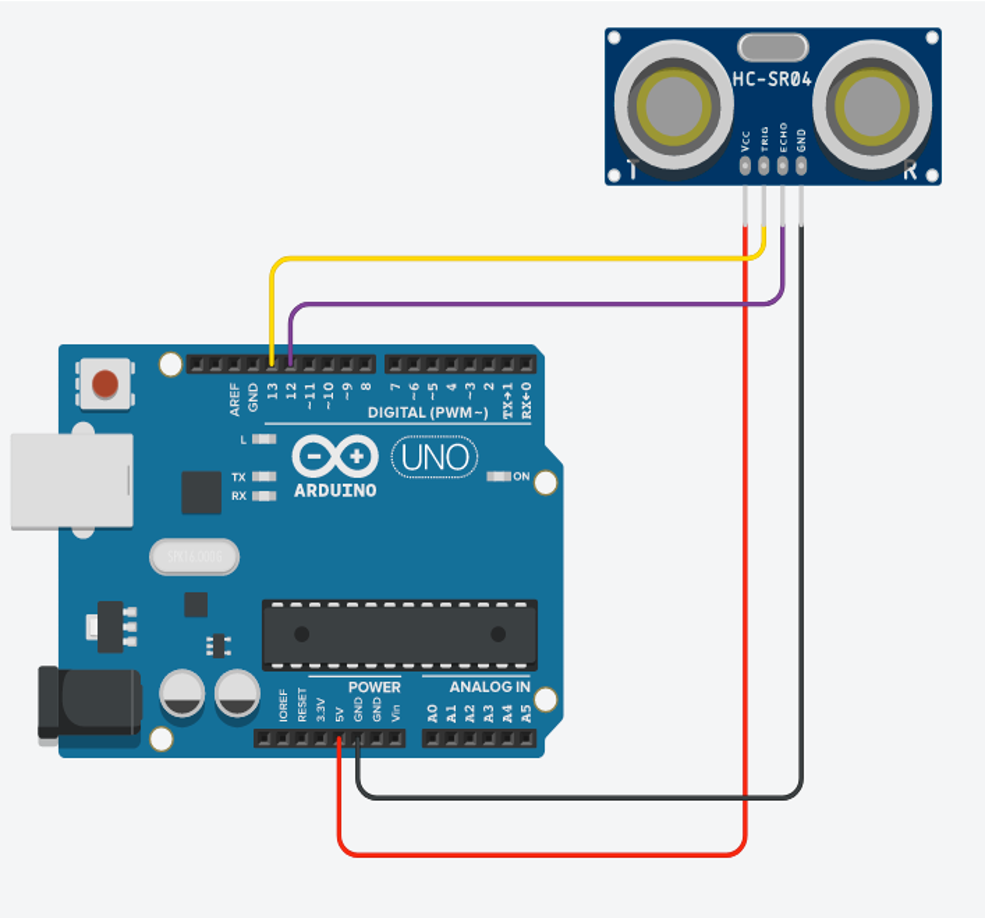
Getting startedLibrary
This example turns on an LED when the distance measured is less than 30cm and back off when the distance goes over 30cm.
#include <HCSR04.h>

// Initialize sensor that uses digital pins 13 and 12.
UltraSonicDistanceSensor distanceSensor(13, 12);

void setup () {
    Serial.begin(9600);  //initialize serial connection so that we could print values from sensor.
    pinMode(13, OUTPUT);
}

void loop () {

    float distance = distanceSensor.measureDistanceCm();
    Serial.println(distance);

    if (distance < 30 ){
       digitalWrite(13, HIGH);
       delay(100);
      }else{
         digitalWrite(13, LOW);
         delay(100);
        }
}
To use this code you will need the HCSR04Adafruit_SSD1306 Library.
by Martin Sosic.
We have a tutorial on how to install a library here.
Getting started
We will be using the example code ssd1306_128x64_i2c from the Adafruit_SSD1306 library.
Change the OLED_RESET pin from -1 to 4.
#define OLED_RESET 4 // Reset pin # (or -1 if sharing Arduino reset pin)
Create your own bitmap
Create your pixel art
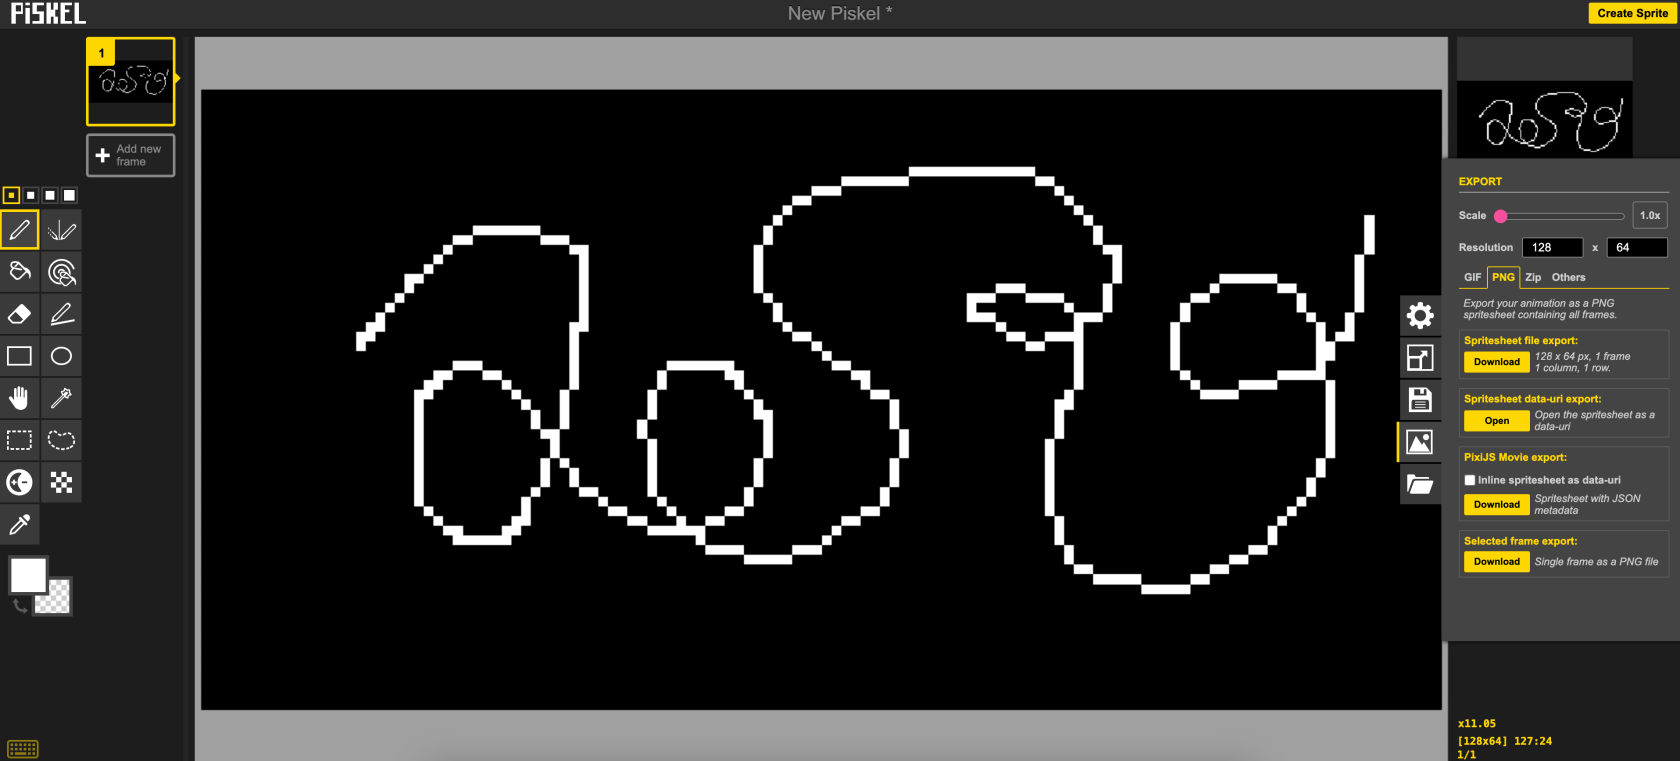
Piskel is a free online tool for you to create pixel art. You can specify the canvas size, import images, draw your own graphics etc, and then export it as a PNG.
Convert your image into bitmap code
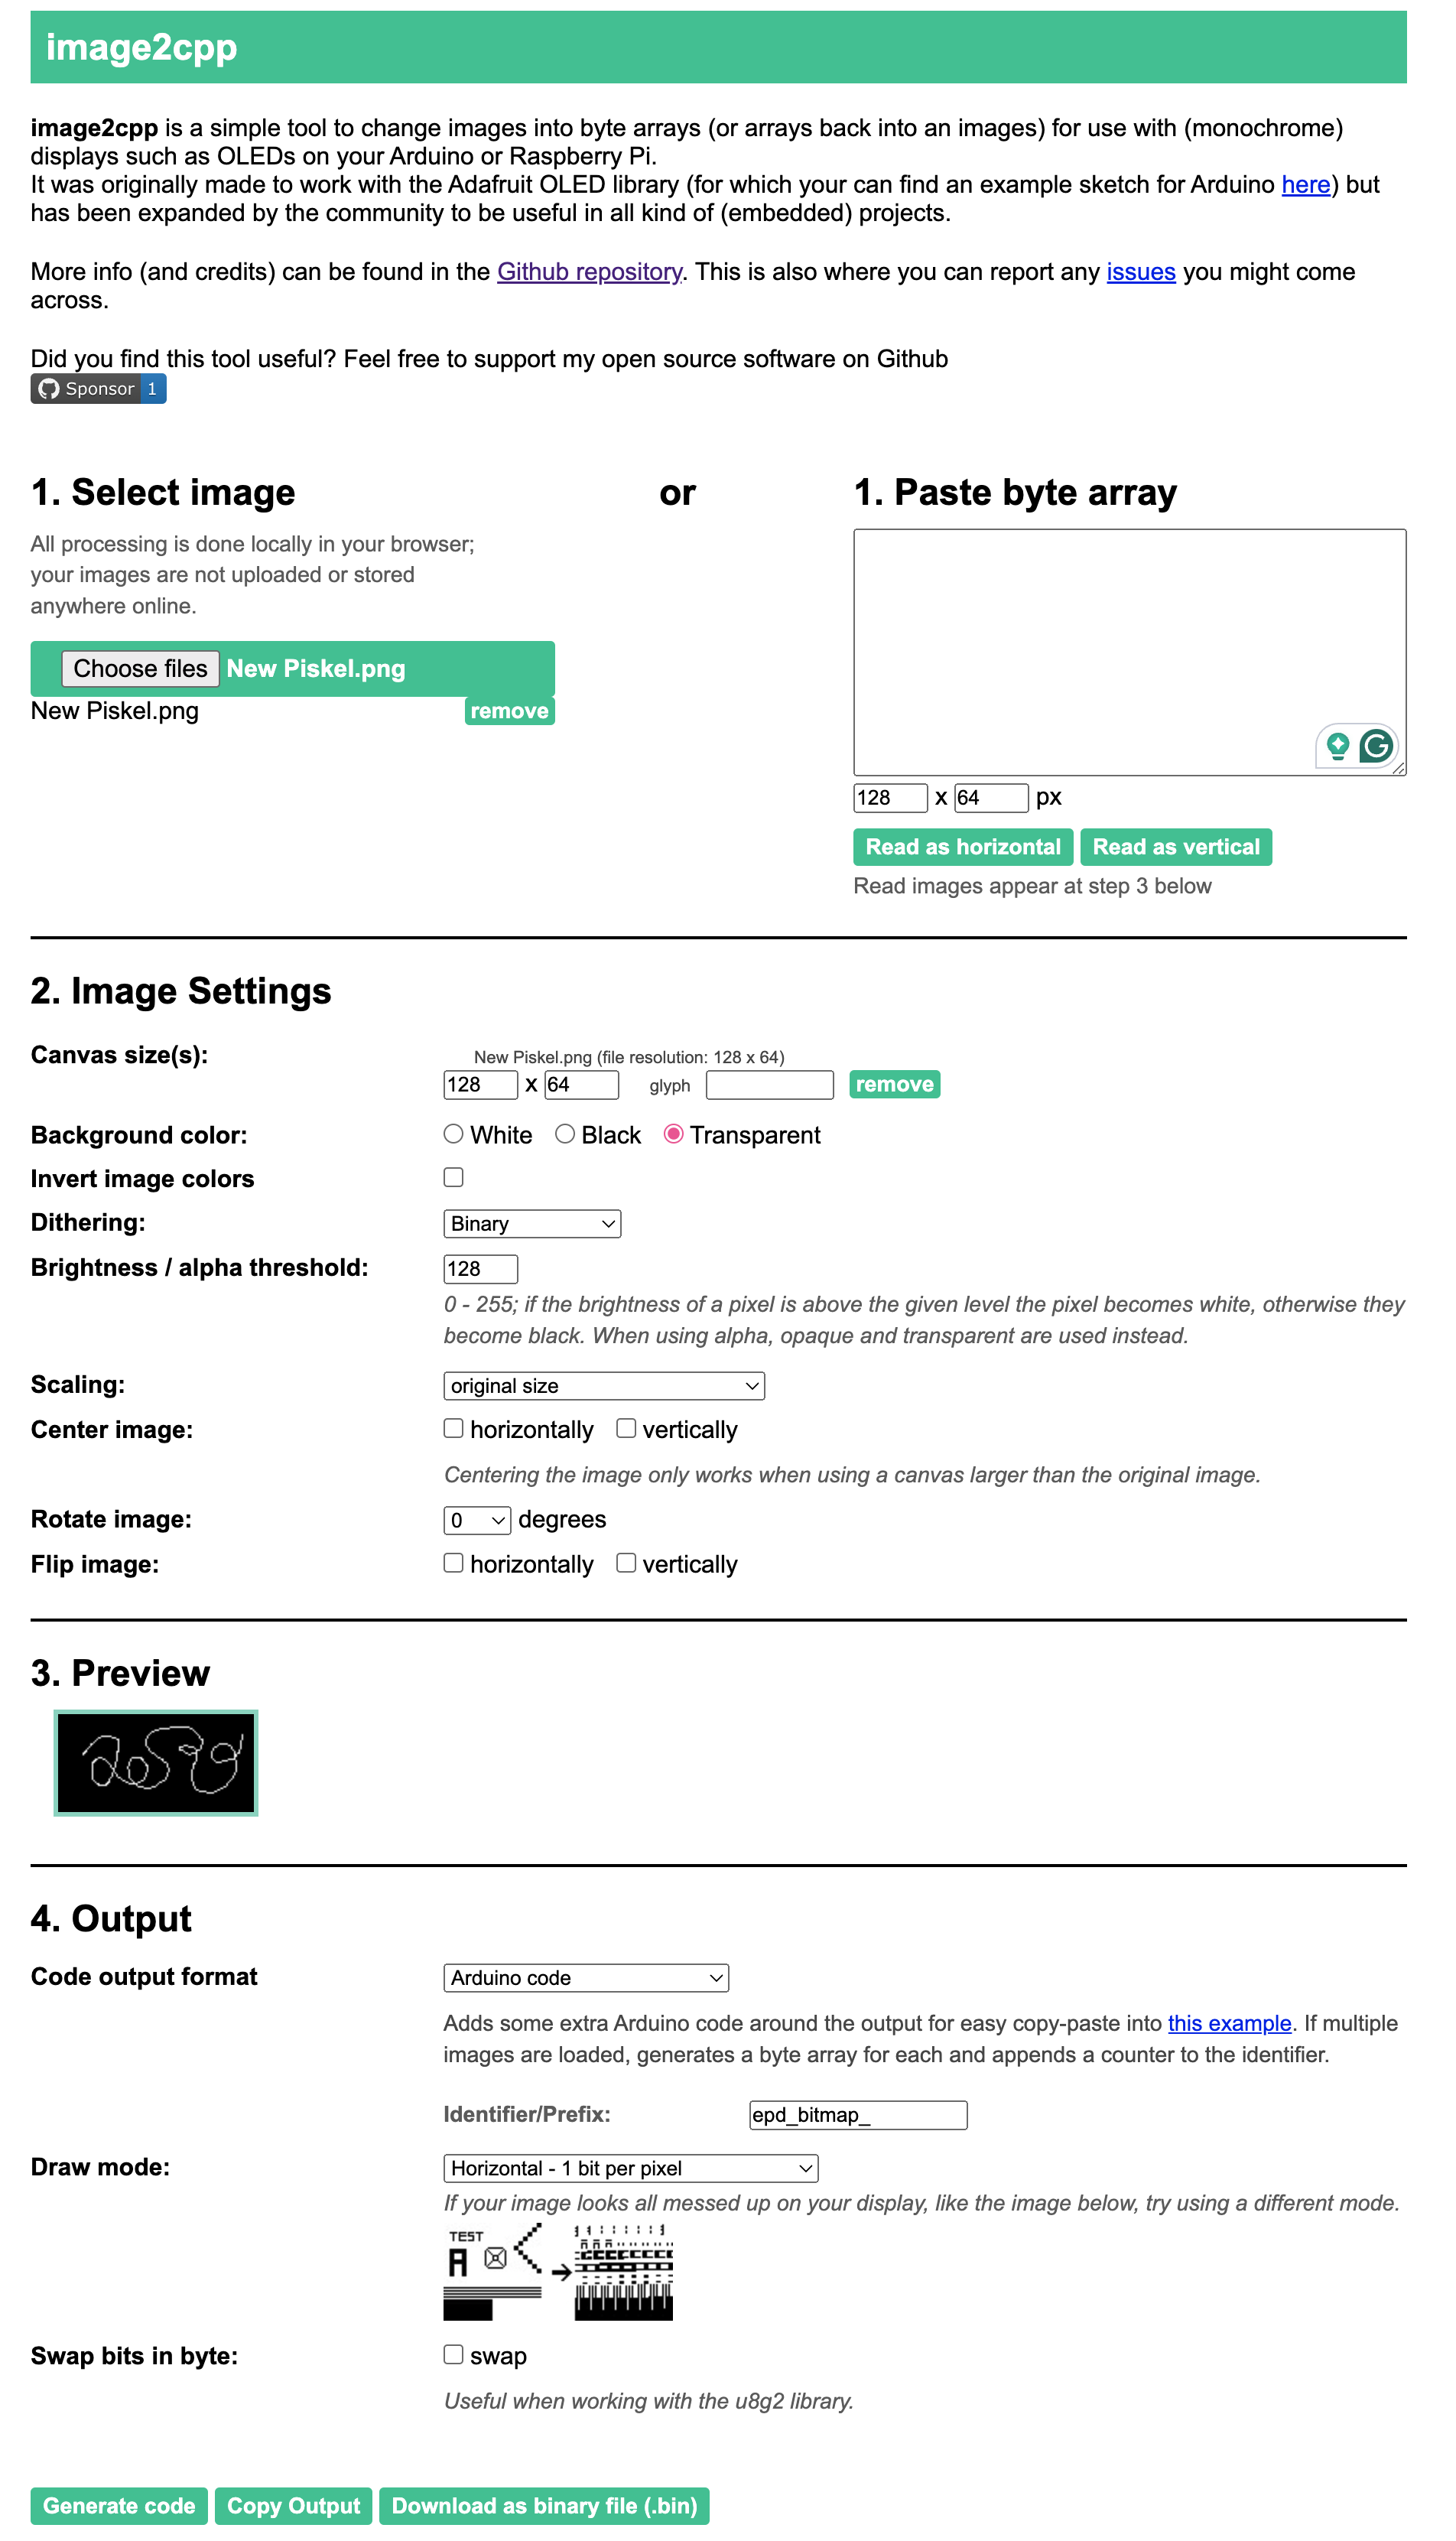
image2cpp was created by GitHub user javl and provides a handy way to create bitmaps without installing any additional software. Know more here.
Upload your image, select your preferred image settings, and generate code!
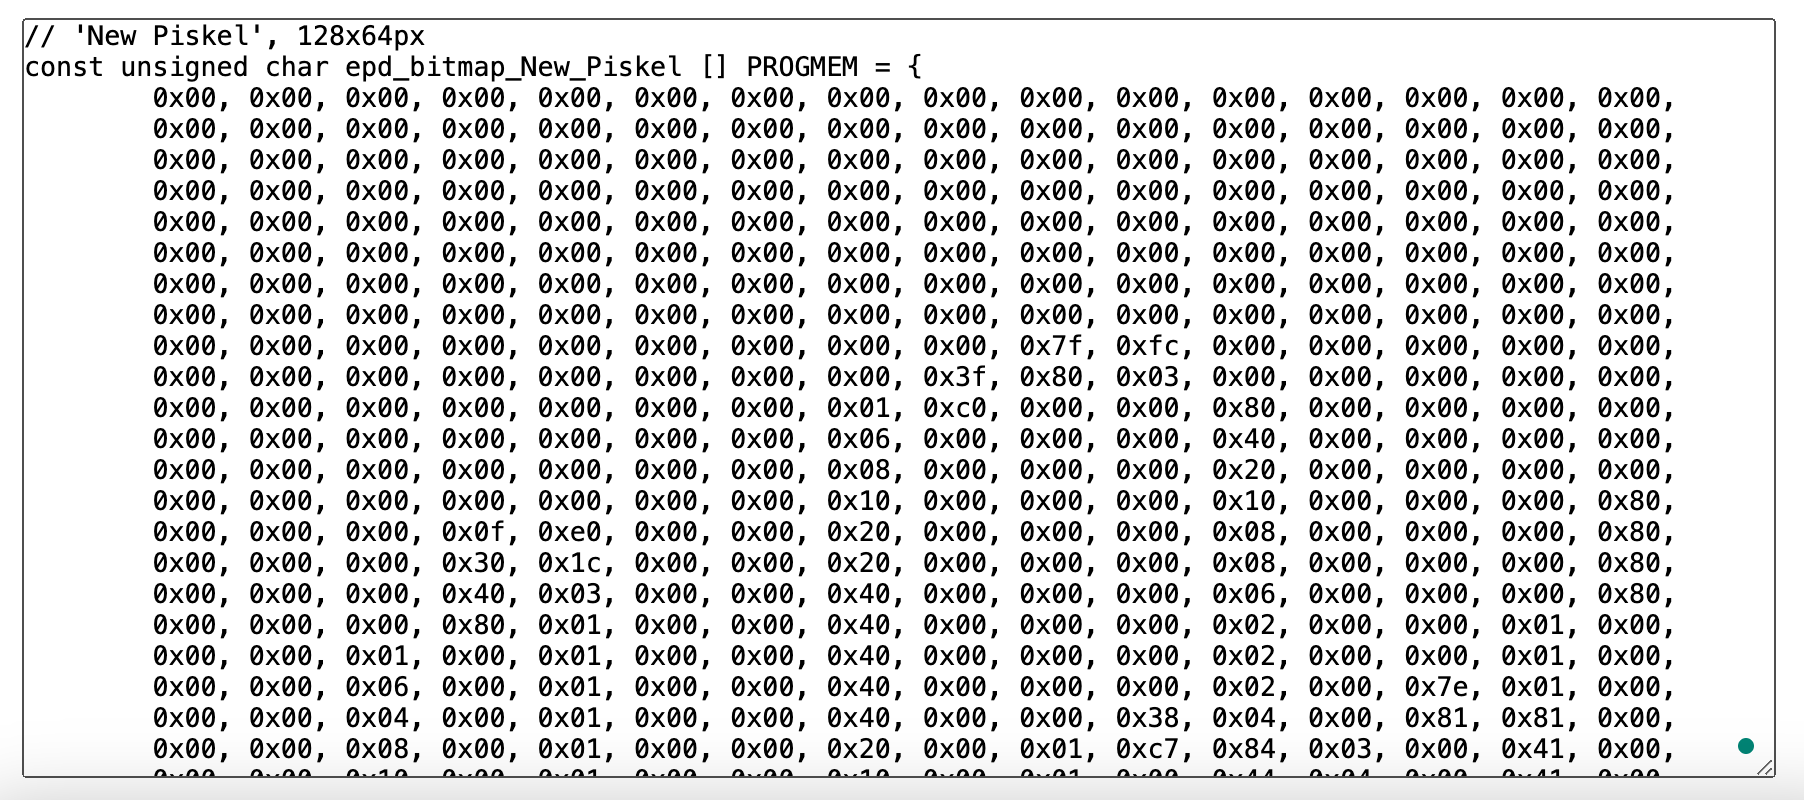
You will see the code generated at the bottom and you can paste it in Arduino directly.
