Projection Mapping in Touchdesigner
Before we begin...
Make sure you have installed Touchdesigner, a tutorial on how to get the software started is available here. This tutorial will cover the basics to projection mapping content onto 3D surfaces in Touchdesigner, to learn more about this technique student can attend the 'Intro to Projection Mapping' workshop in the Creative Technology Lab.
Importing content in Touchdesigner
Double click anywhere on the interface to access the OP dialog, this is a "library" of all operators available in Touchdesigner. Operators are divided into families, in this tutorial we'll work with TOPs (Texture Operators).
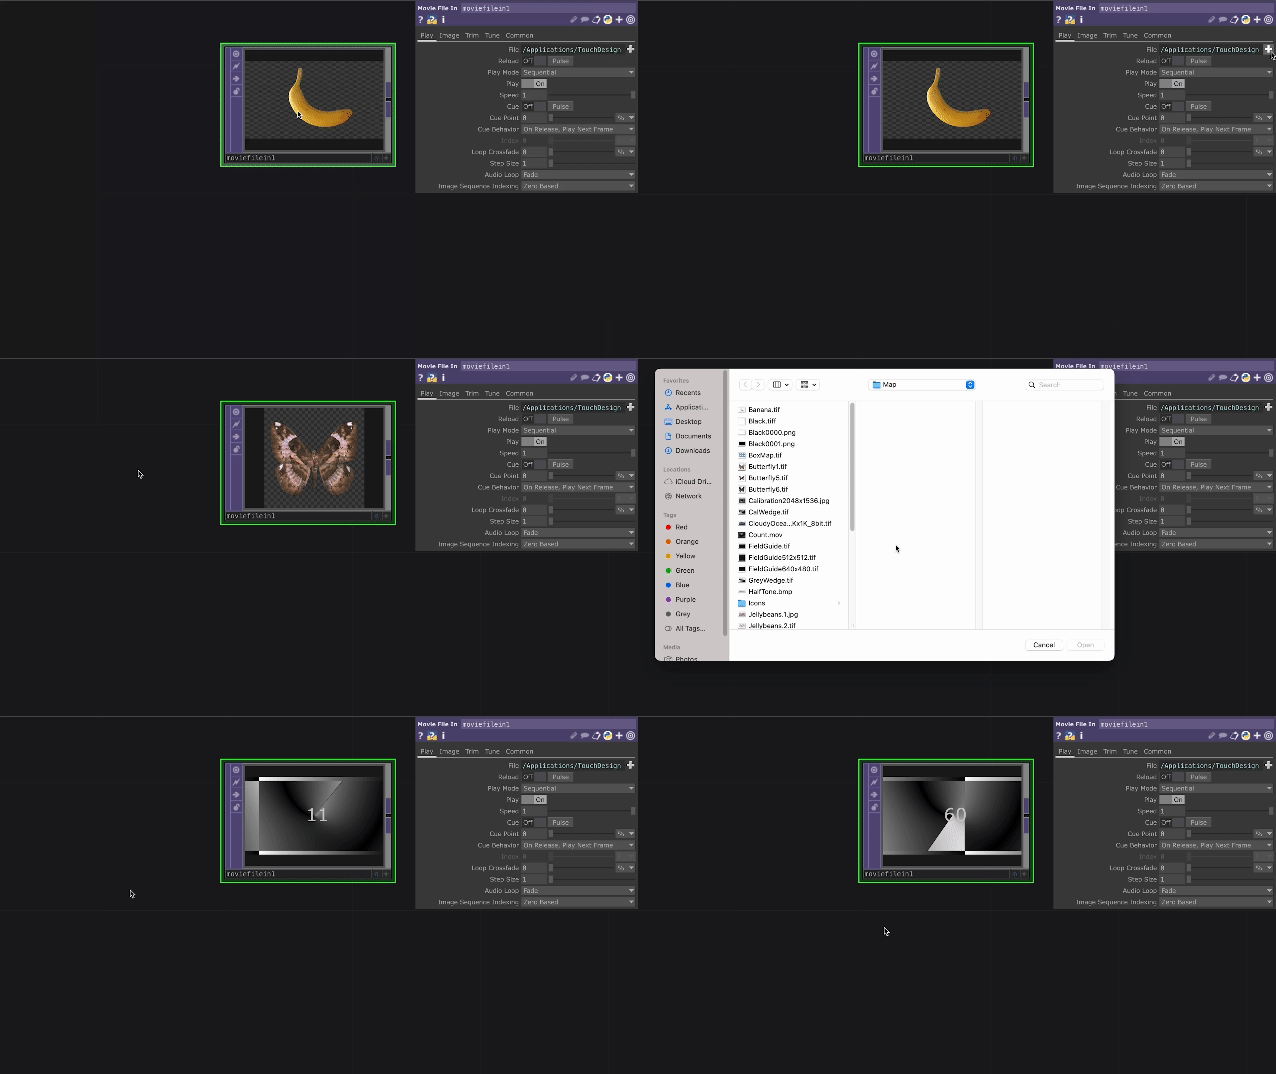
Select the moviefilein TOP to import images or videos. You can change the default image to your own visuals by clicking on the ![]() button next to "File" in the parameters window.
button next to "File" in the parameters window.
Projection Mapping with kantanMapper
Now that we have uploaded our content we are ready to projection map it onto our object. Make sure to connect your projector to your laptop and that this is set up as an extended monitor: follow the steps provided here for Windows or here for iOS.
Open the Palette window by clicking on the ![]() button; The Palette is a collection of ready-made useful components (COMPs). In the Palette look for the group “Mapping”, all tools for projection mapping are found here. KantanMapper has been designer to easily mask your area of projection and warp your content onto it. Drag and drop it on your network.
button; The Palette is a collection of ready-made useful components (COMPs). In the Palette look for the group “Mapping”, all tools for projection mapping are found here. KantanMapper has been designer to easily mask your area of projection and warp your content onto it. Drag and drop it on your network.


