Introduction to the PyCharm IDE
Creating Your First Project in PyCharm
When you first use PyCharm you'll be greeted by its startup screen.
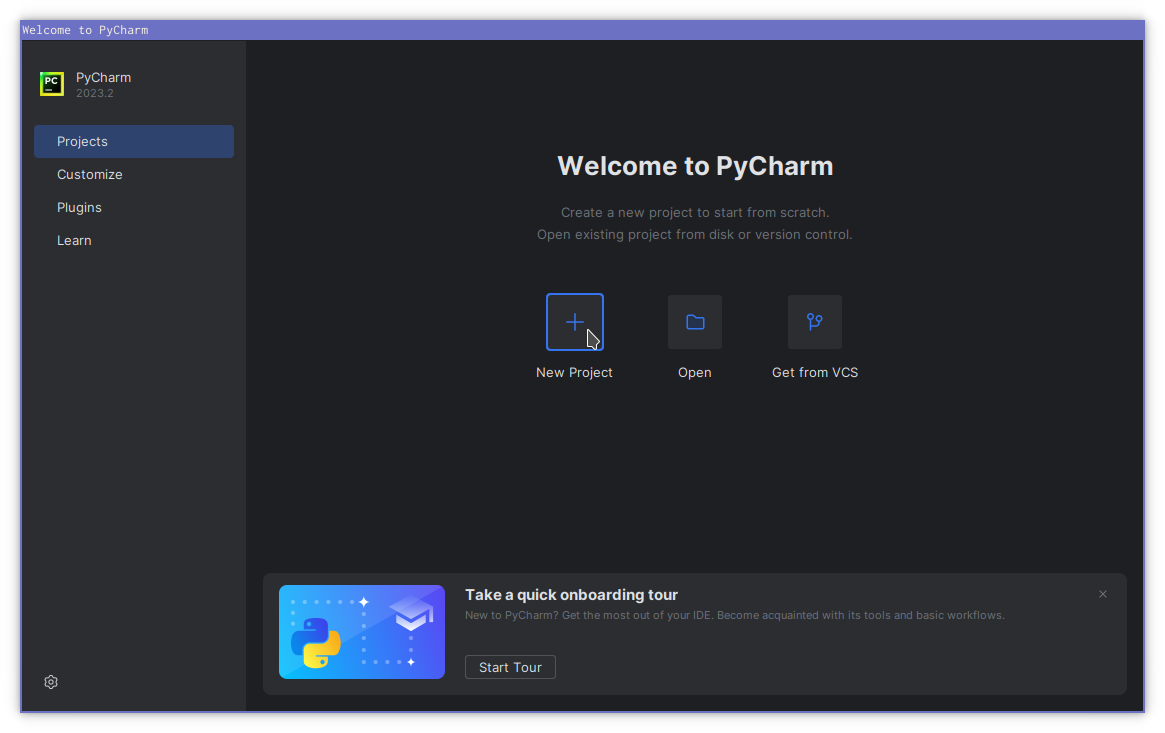
To create a blank Python project we can do this by cliking "New Project" as shown below:

Now PyCharm asks us to configure the Python project.
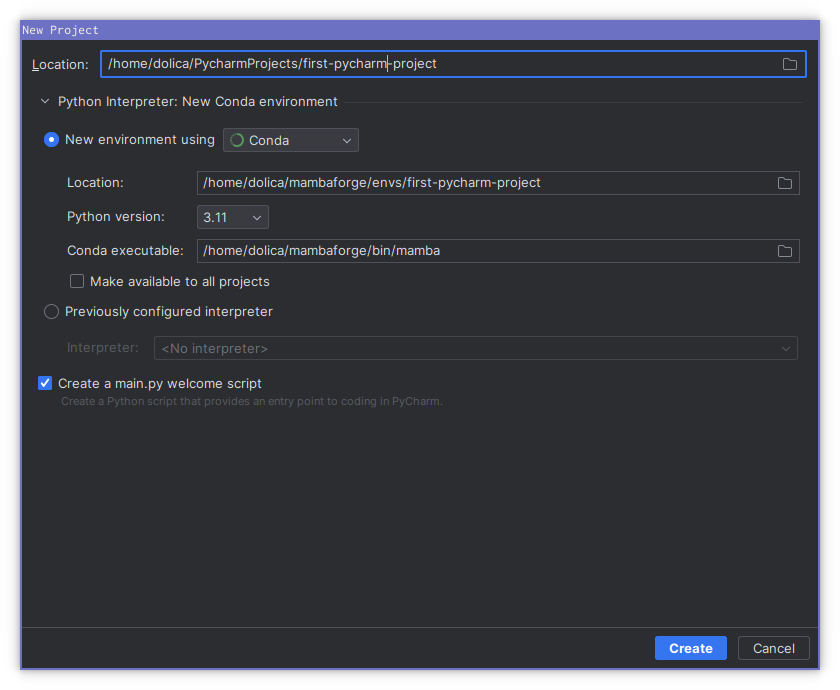
In this example the project files will be in my /home/dolica/PyCharmProjects/first-pycharm-project directory but you're free to choose whatever suits you.
For the virtual environment you should select Conda. As we mentioned earlier, Mamba is . At this point PyCharm should automatically find the folder in which Mamba environments are created. In order to avoid confusion later on, it's a good idea to make sure that the name of your virtual environment should matches the name of your project.
The setup page also asks us if we wish to create a main.py welcome script. For this project, we will keep the box ticked. This just means that PyCharm will create a basic Python file for us rather than simply preparing a blank directory.
Now that setup is complete, we can click Create.
The PyCharm Interface
Now that we've created our first project we will arrive at the main PyCharm interface.

Hi, PyCharm
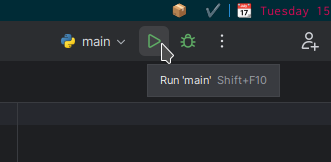
Now you should see the PyCharm editor with our main.py file open. Here we have a print_hi command that has been created by PyCharm. Later on, you'll learn a bit more about how these things work and how you can create your own commands. Now we can run this file by clicking the green "play" button in the top right or by using the Shift + F10 command.
This now causes the "Run" panel to open at the bottom of the window. It shows the output of our code.

The text "Process finished with exit code 0" indicates that the program didn't crash.
While it may not be clear to you right now, the code in our main.py file is supposed to show the text "Hi, Pycharm". So we can clearly see that it's done what it was supposed to do.