How to make a Raspberry Pi Video Looper
What is Raspberry Pi Video Looper?
Raspberry Pi Video Looper is a simple way to display seamless looping video files, for example in an art exhibition. All you need is a Raspberry Pi, a SD card, a screen and a USB stick.
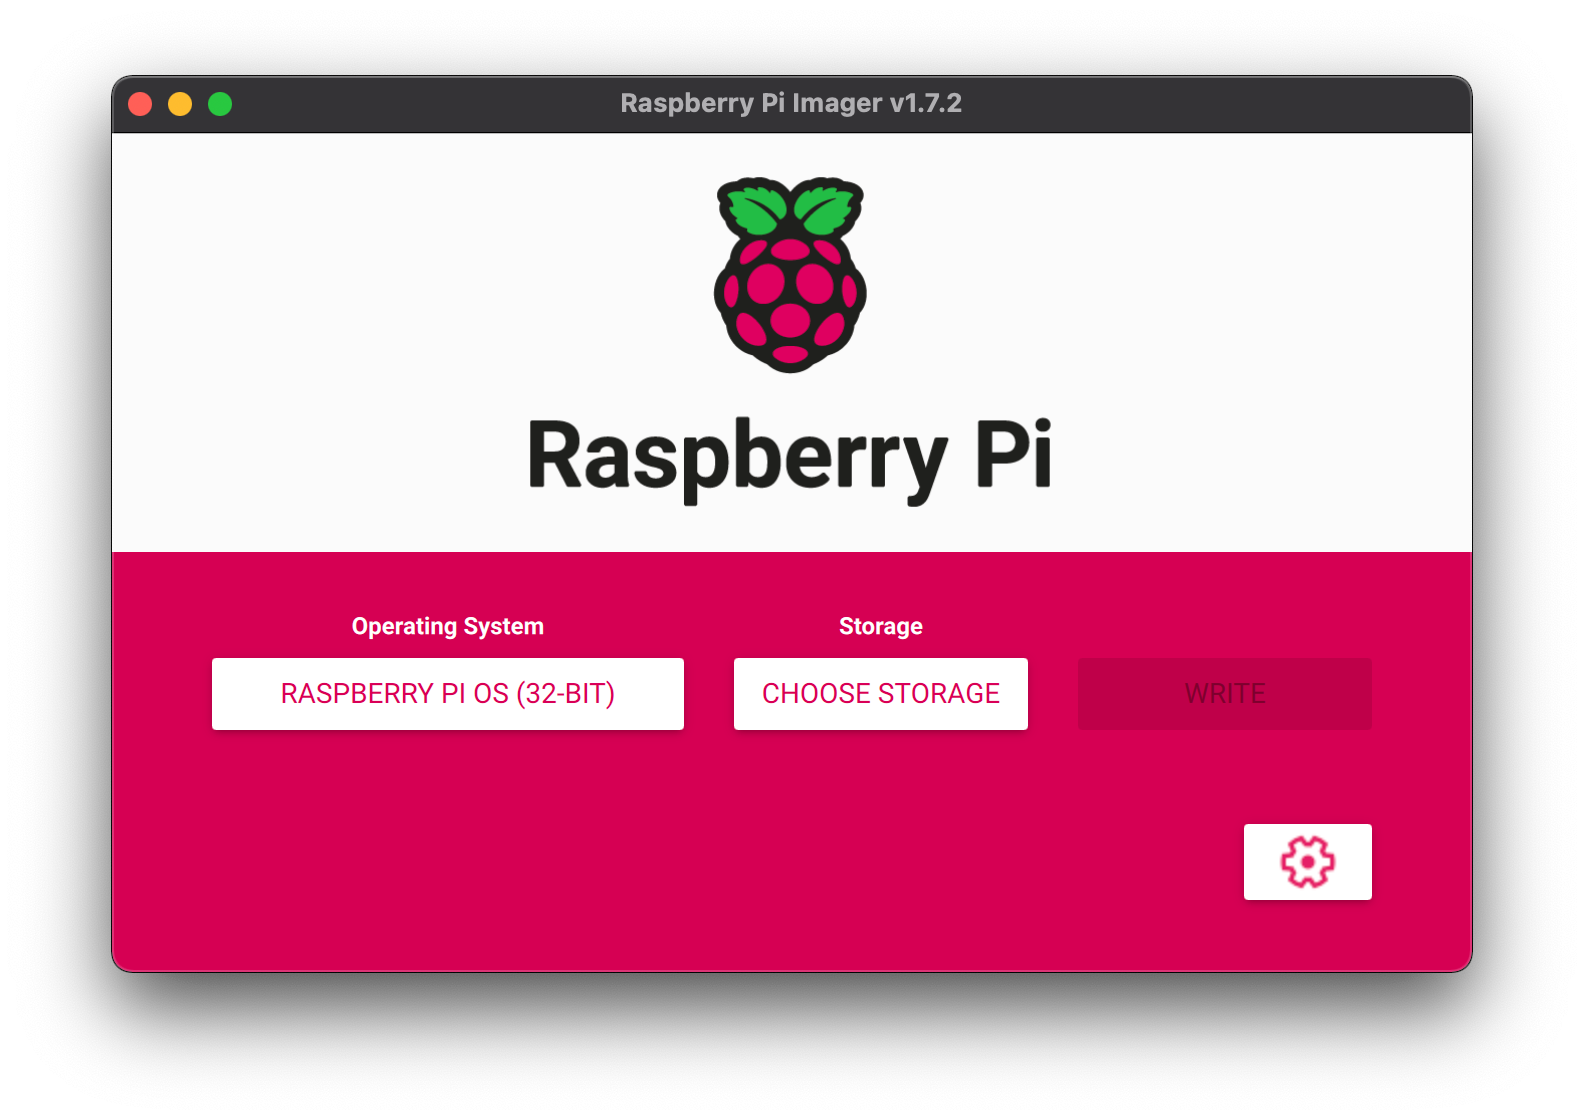
Raspberry Pi Imager
Using Raspberry Pi Imager software to Install the Raspberry Pi OS to the SD card. We have a more detailed tutorial for the imaging the Pi.
- “Operation System”, select Raspberry Pi OS
- “Storage”, select the SD card
Once the pi is imaged, it is a ready to go mini computer.
Getting started
You will need a keyboard, a mouse and the power adpater to get started.
- Connect to wifi
- Go to the Terminal
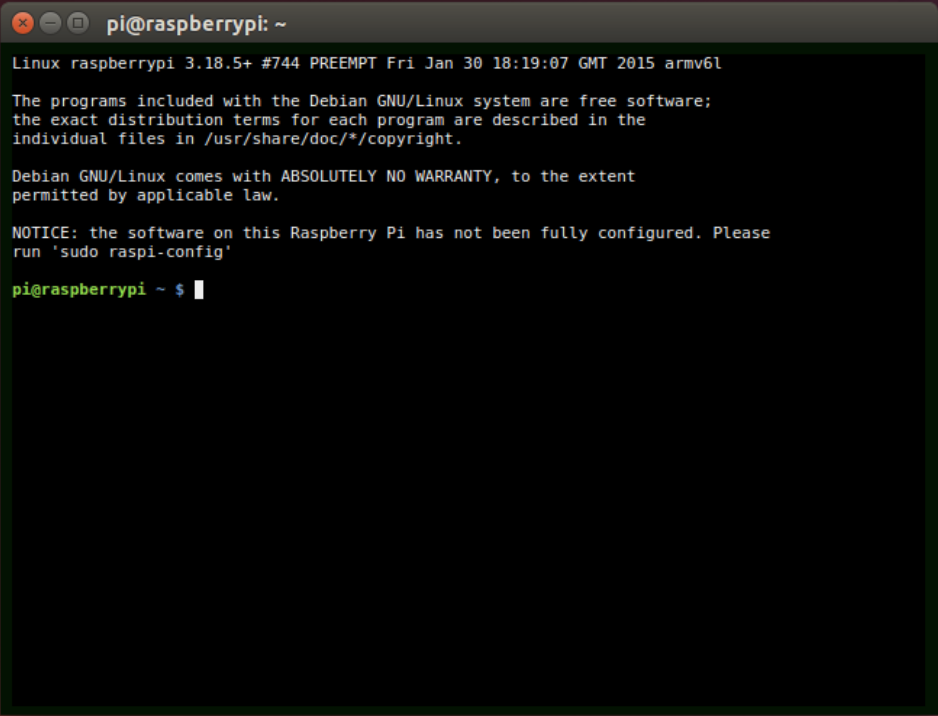
Type the below commands and press "Enter" SERPARATELY to download the Video Looper package.
sudo apt-get update
sudo apt-get install -y git
git clone https://github.com/adafruit/pi_video_looper.git
Type the below commands and press "Enter" SERPARATELY to install the Video Looper.
cd pi_video_looper
sudo ./install.sh
After about 5 minutes you should see the installation stop with the message "Finished!". If you see this message then the installation succeeded.
You can put your video on a USB stick and plug it to the pi. Your video(s) is ready to loop!
Video Looper uses the default video player, omxplayer, which can play most videos encoded with the H.264 video codec and in a video format with an extension like .avi, .mov, .mkv, .mp4, or .m4v.
If only one movie is available it will play continually in a loop.
If multiple movies are found then each movie will be played in alphabetical order by filename and will loop back to the first video and play all videos again in order repeatedly.
Visit the official Adafruit website for more information of Video Looper.