AR with Unity - Step #3 - Adding content to your project
Please notice that this is part of a series of tutorials progressing from basic concepts to more functional and complex projects.
Aims
This tutorial aims to help you setting up a AR Unity project using the Vuforia plug-in. In this step, we are going to review all the components needed to build a AR app.
Prerequisites
-
Previous steps.
In order to continue with this project you should make sure to first check our previous AR tutorials:
AR with Unity - Step #1 - Developmen environment setup
AR with Unity - Step #2 - Enabling the Vuforia plug-in
Creating your Vuforia account
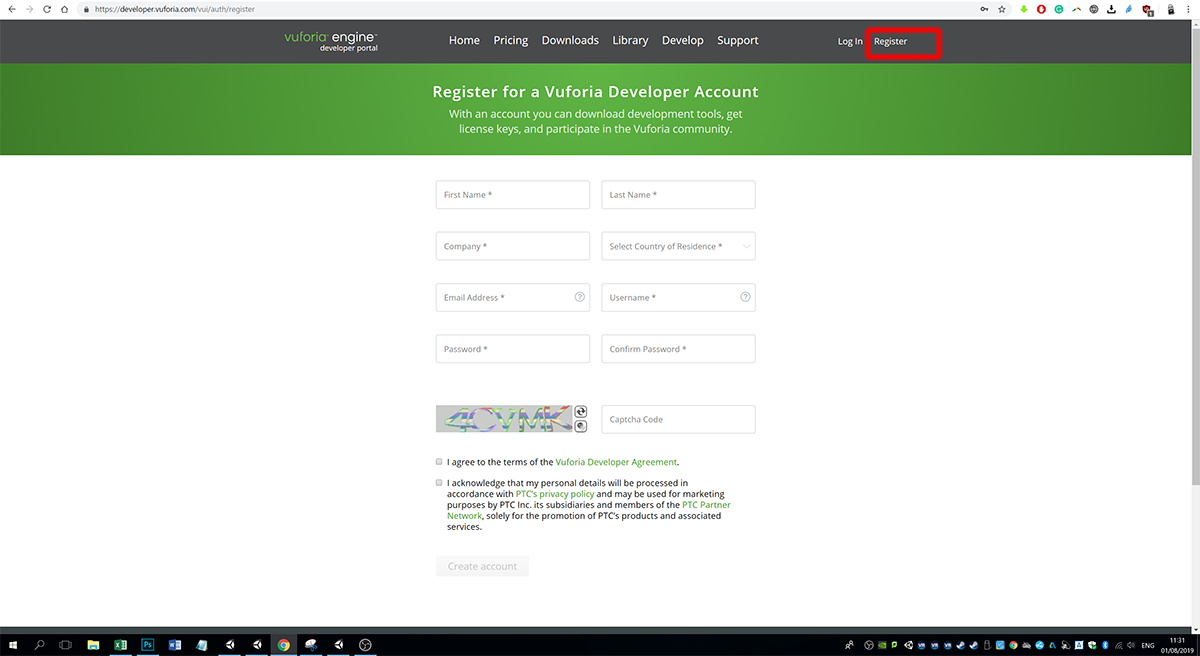
In order to add your own content, first you will need to create a Vuforia account, this will allow you to get a free Vuforia license key and also to create an image target database. First visit the https://developer.vuforia.com/ website and click on the register button, it will display an online form to register as a Vuforia developer.
Generate a license key
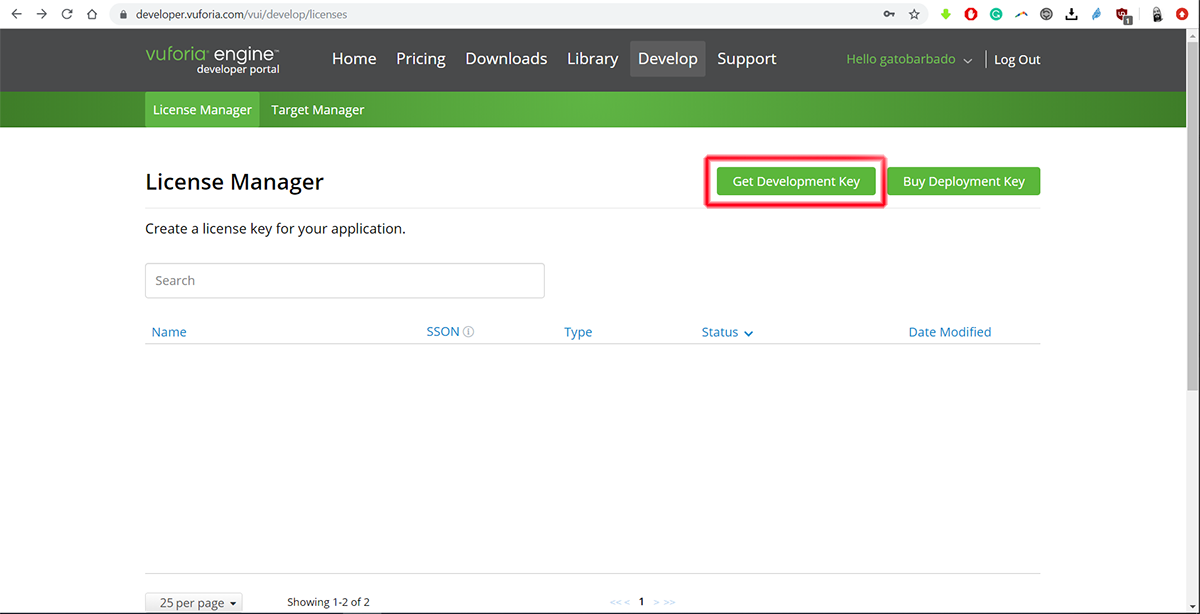
After creating your account, you should be able to access the license creation section by clicking th "Get Development Key" button.
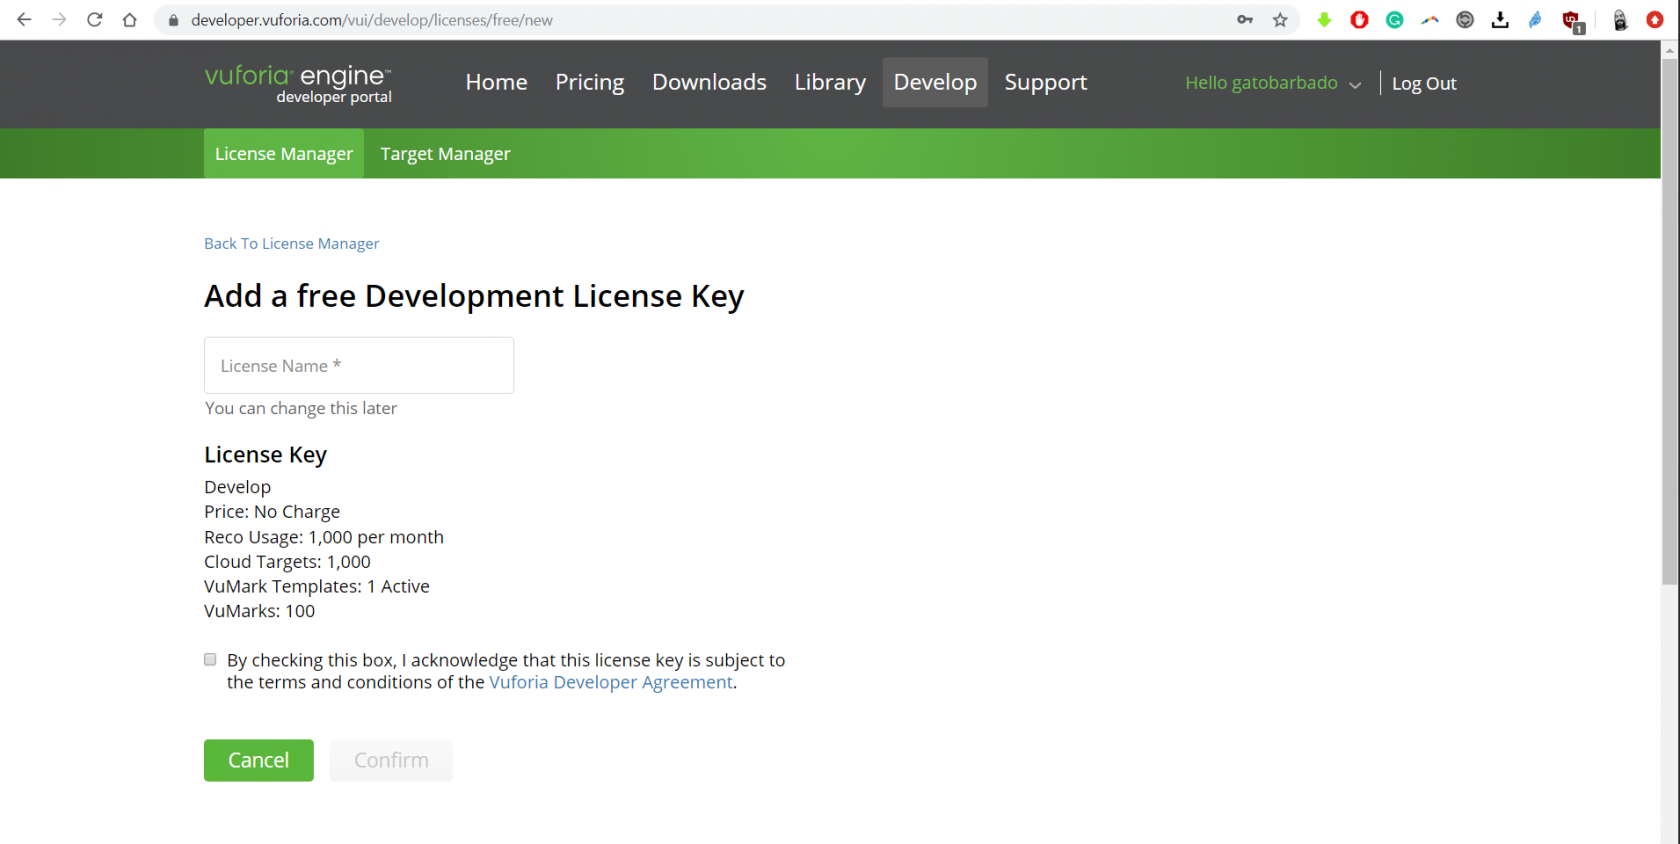
We suggest putting a meaningful name to your license, please notice that you can use a single free license for multiple projects, however, you could also have different licenses for different reasons that are not going to be explored in this tutorial.
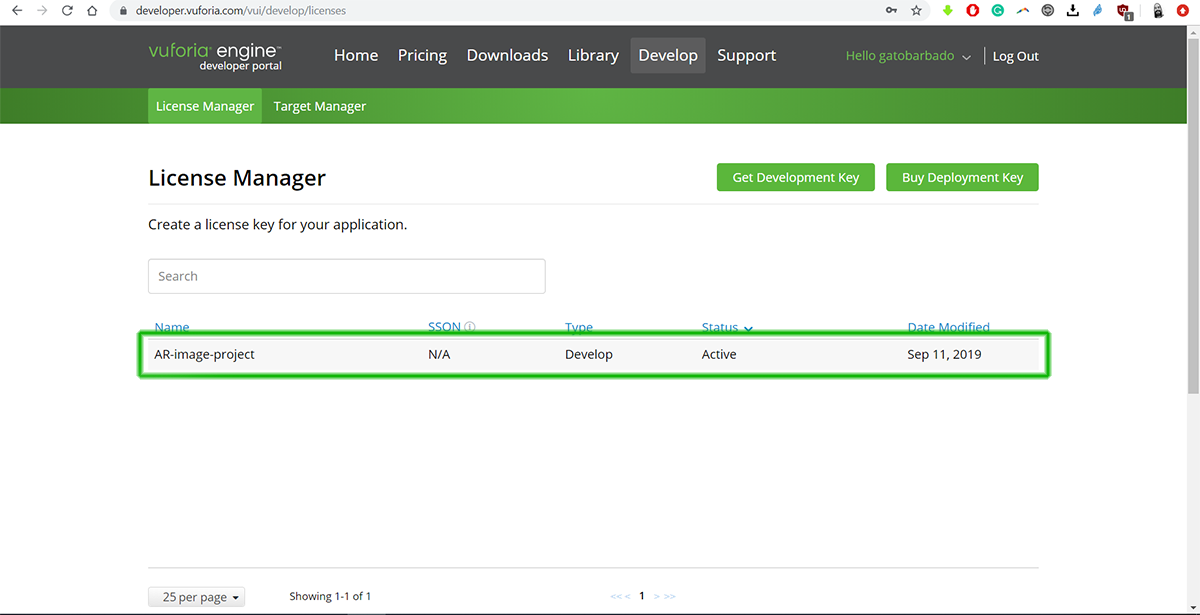
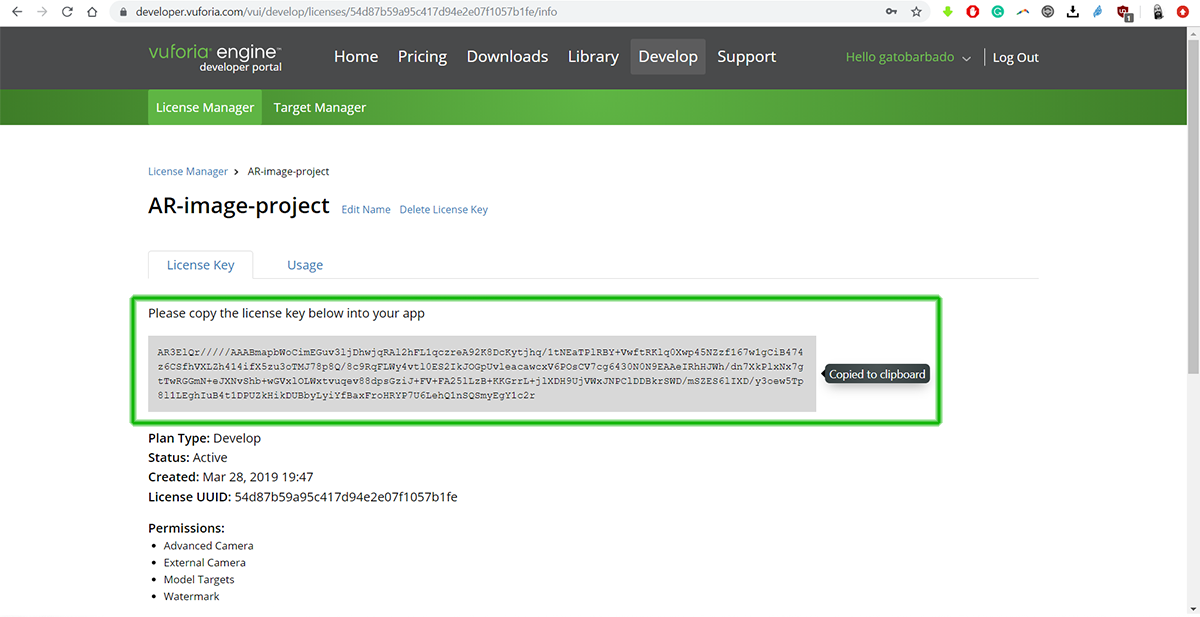
Once you hit the "Confirm" button you should be able to see it displayed in the License Manager, please click over it to access the license key and check the included features.
 ]
]
Now click over the license key code to copy it to your clip board.
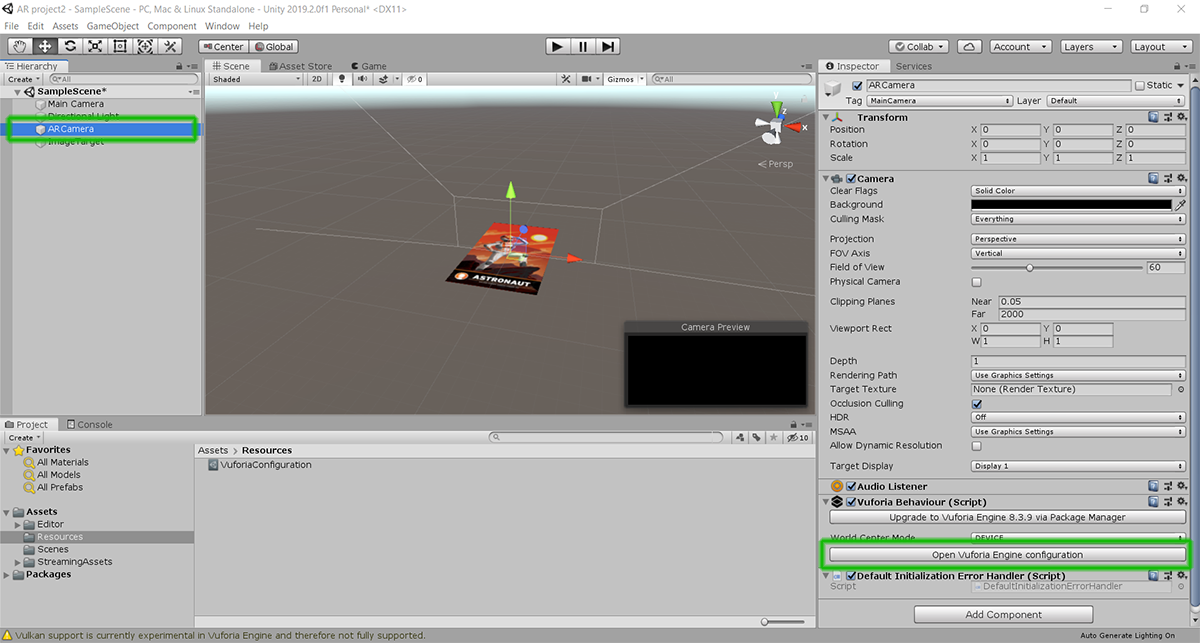
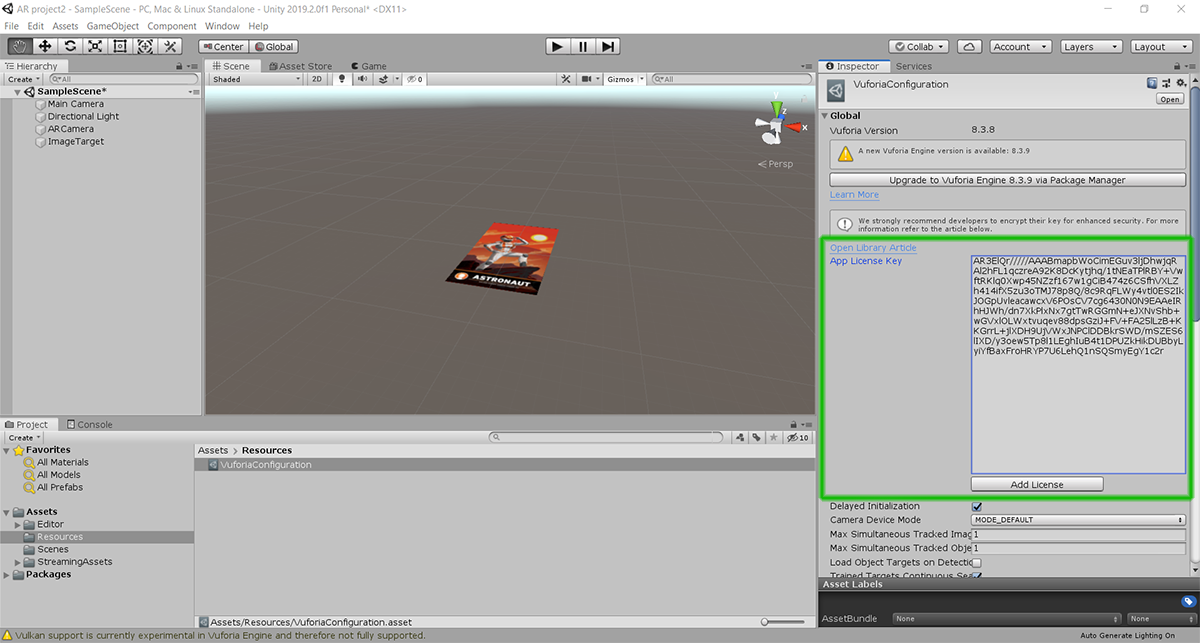
Back in Unity, please select the Vuforia camera and press the "Open Vuforia Engine Configuration" button in the Inspector and paste your License Key inside of the License key field.
 ](https://lab.arts.ac.uk/uploads/images/gallery/2019-09/kyq4eGtvO0lUqJ4M-AR-vuforia-setup13-g.png)
Creating an image target database
Before starting, it is worth taking a moment to understand Vuforia databases, basically, a Vuforia database contains both the image and tracking points data used to create a target. To create an image target, you will need to upload an image (JPG or PNG images in RGB or grayscale and less than 2MB in size ) to the Vuforia website and it will rate it (from 0 to 5 stars) based on the ammount of "trackable features", more features means bigger rating.
A success message
A success message
A success message
A success message
To give you an example, we have uploaded two different images to the Vuforia target manager and these are the results.