AR with Unity - Step #4 - Building and testing your app
Please notice that this is part of a series of tutorials progressing from basic concepts to more functional and complex projects.
Aims
This tutorial aims to help you setting up a AR Unity project using the Vuforia plug-in. In this step, we are going to review all the components needed to build a AR app.
Prerequisites
-
Previous steps.
In order to continue with this project you should make sure to first check our previous AR tutorials:
AR with Unity - Step #1 - Developmen environment setup
AR with Unity - Step #2 - Enabling the Vuforia plug-in
AR with Unity - Step #3 - Adding content to your project
Building your project
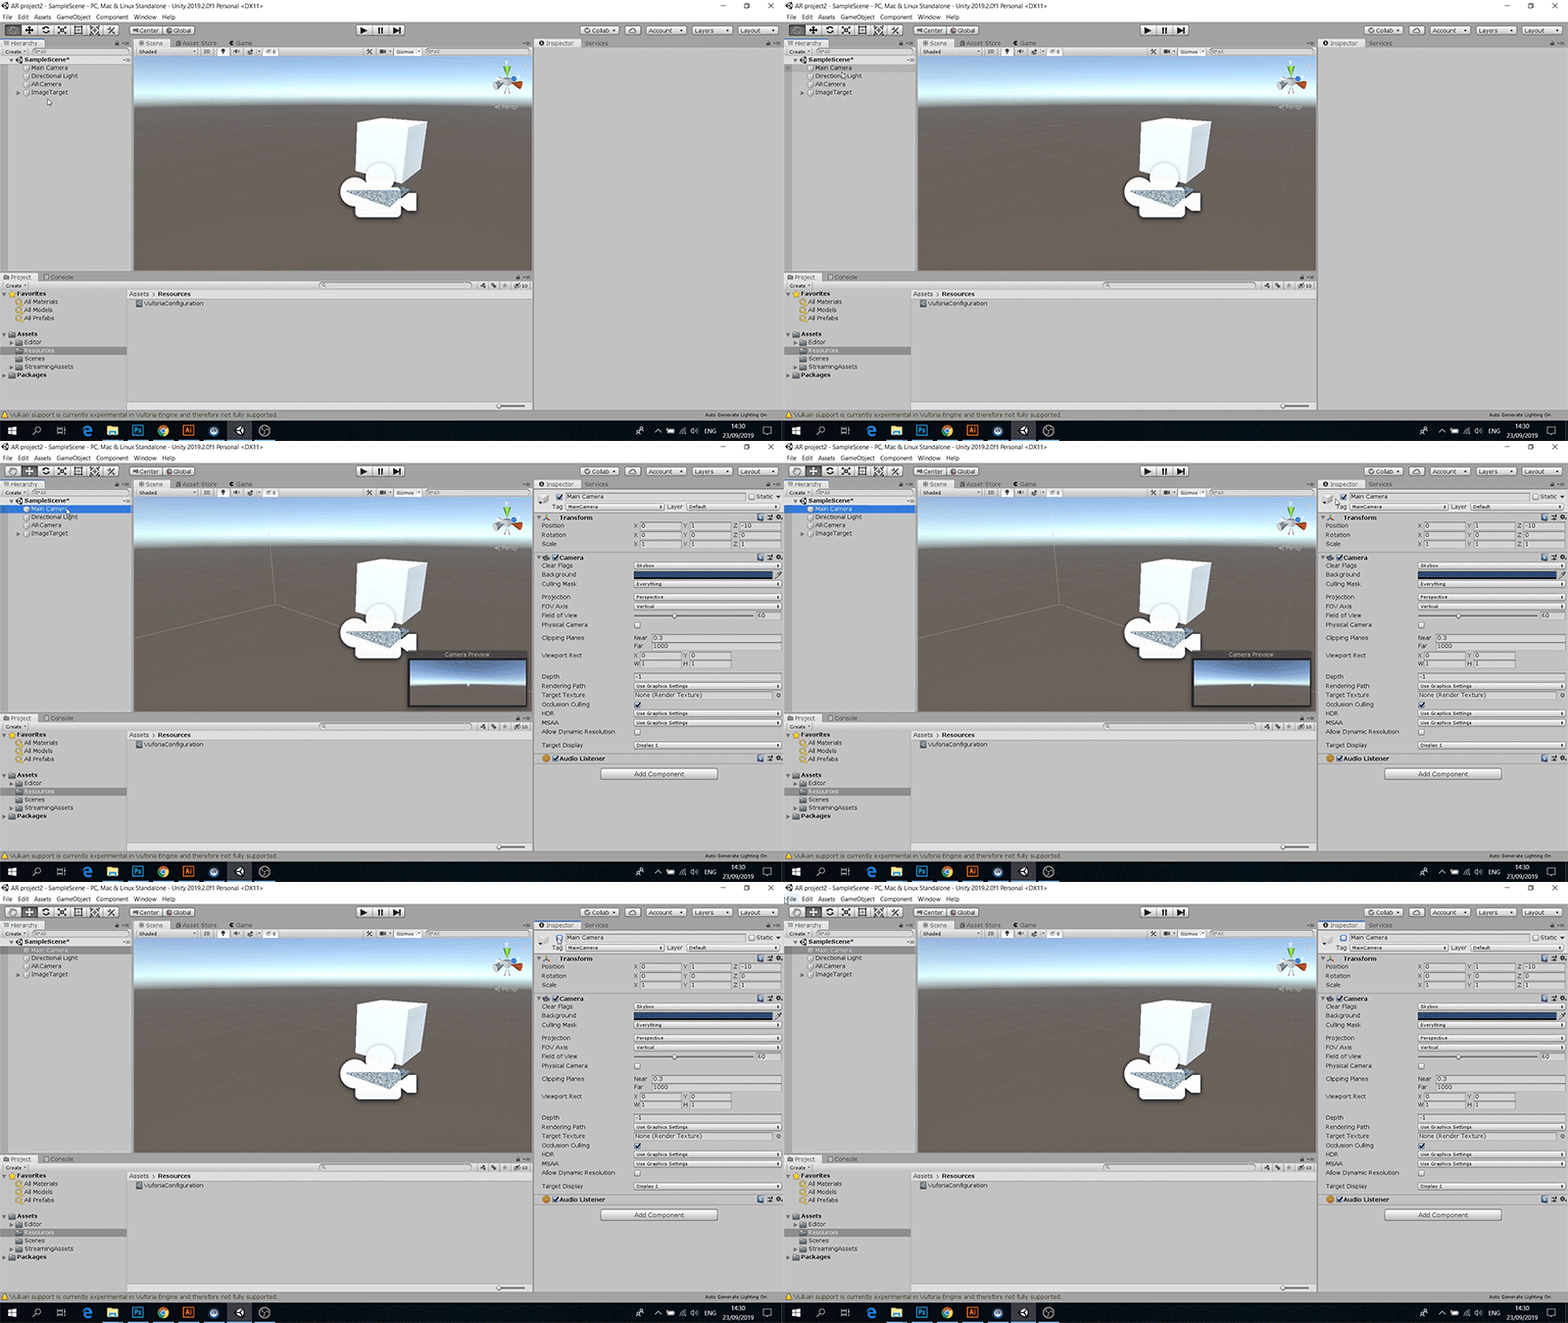
Before building the app we need to make sure we disable the the default main camera as there can't be two cameras in your project, in order to do so, just select it and untick the box next to the camera name field in the inspector.

To build your app first open the file menu and select Build settings, please make sure that your build platform is set to Android, in this example, we will switch the build platform from Windows to Android, first, we select the Android build and then click the "Switch platform" button. It should update after a few moments. Next we need to press the "Add open scenes" button to make sure our scene is added to the build, finally, just click Build and select a forlder and put a name to your project.


