Importing and Placing 3D Models
This is a multi-part tutorial on creating virtual worls in Unreal Engine. This tutorial assumes you have a basic understanding of 3D work but no prior experience is necessary.
Please contact the Creative Technology Lab for questions or assistance.
3D Models
3D Models are objects that can be placed in a 3D scene. They can also be called 3D Assets.
You can either create your own 3D model or use models that have been created by others.
We will use a model of a building that can be downloaded from here: UE Workshop Assets
After downloading the Building.fbx, diff, and diff wood files, we can then import them into our project.
Importing Models
-
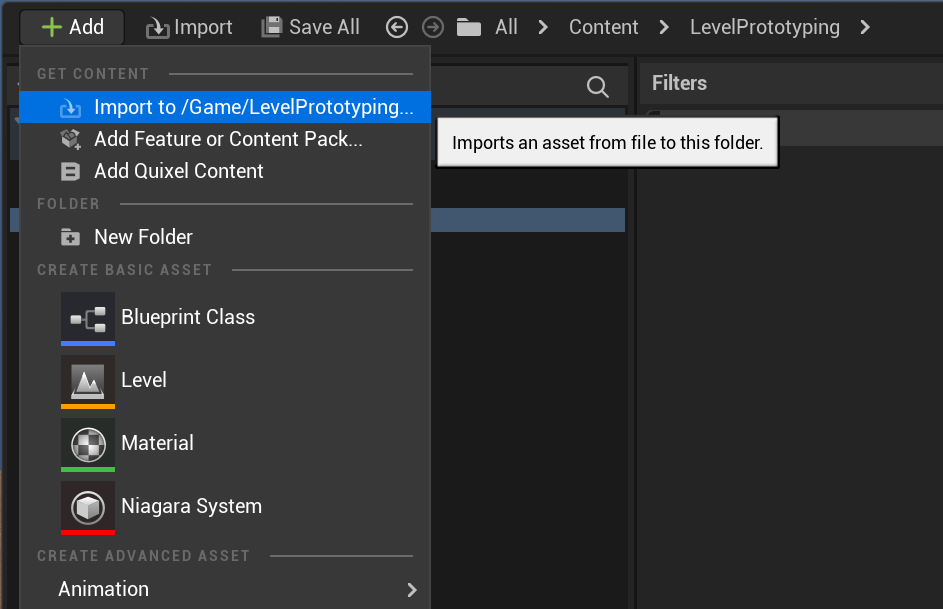
To import assets into your project, first open the Content Browser and click on +Add. From there you can click on Import to...
Note: you can specify which folder the assets will get imported into by selecting that folder before clicking on Import.. This will make file management easier in the future.
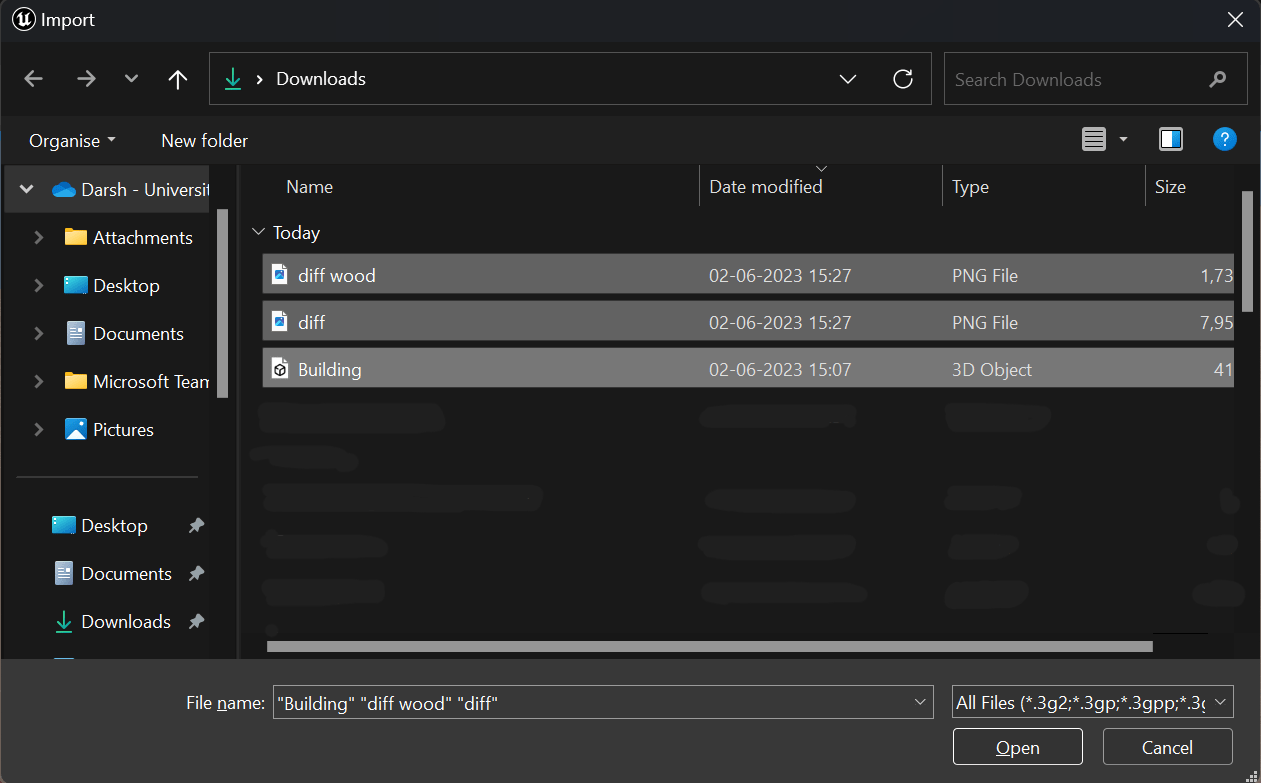
- Select all the files you want to import to your project. For us, that will be the 3 files we downloaded.
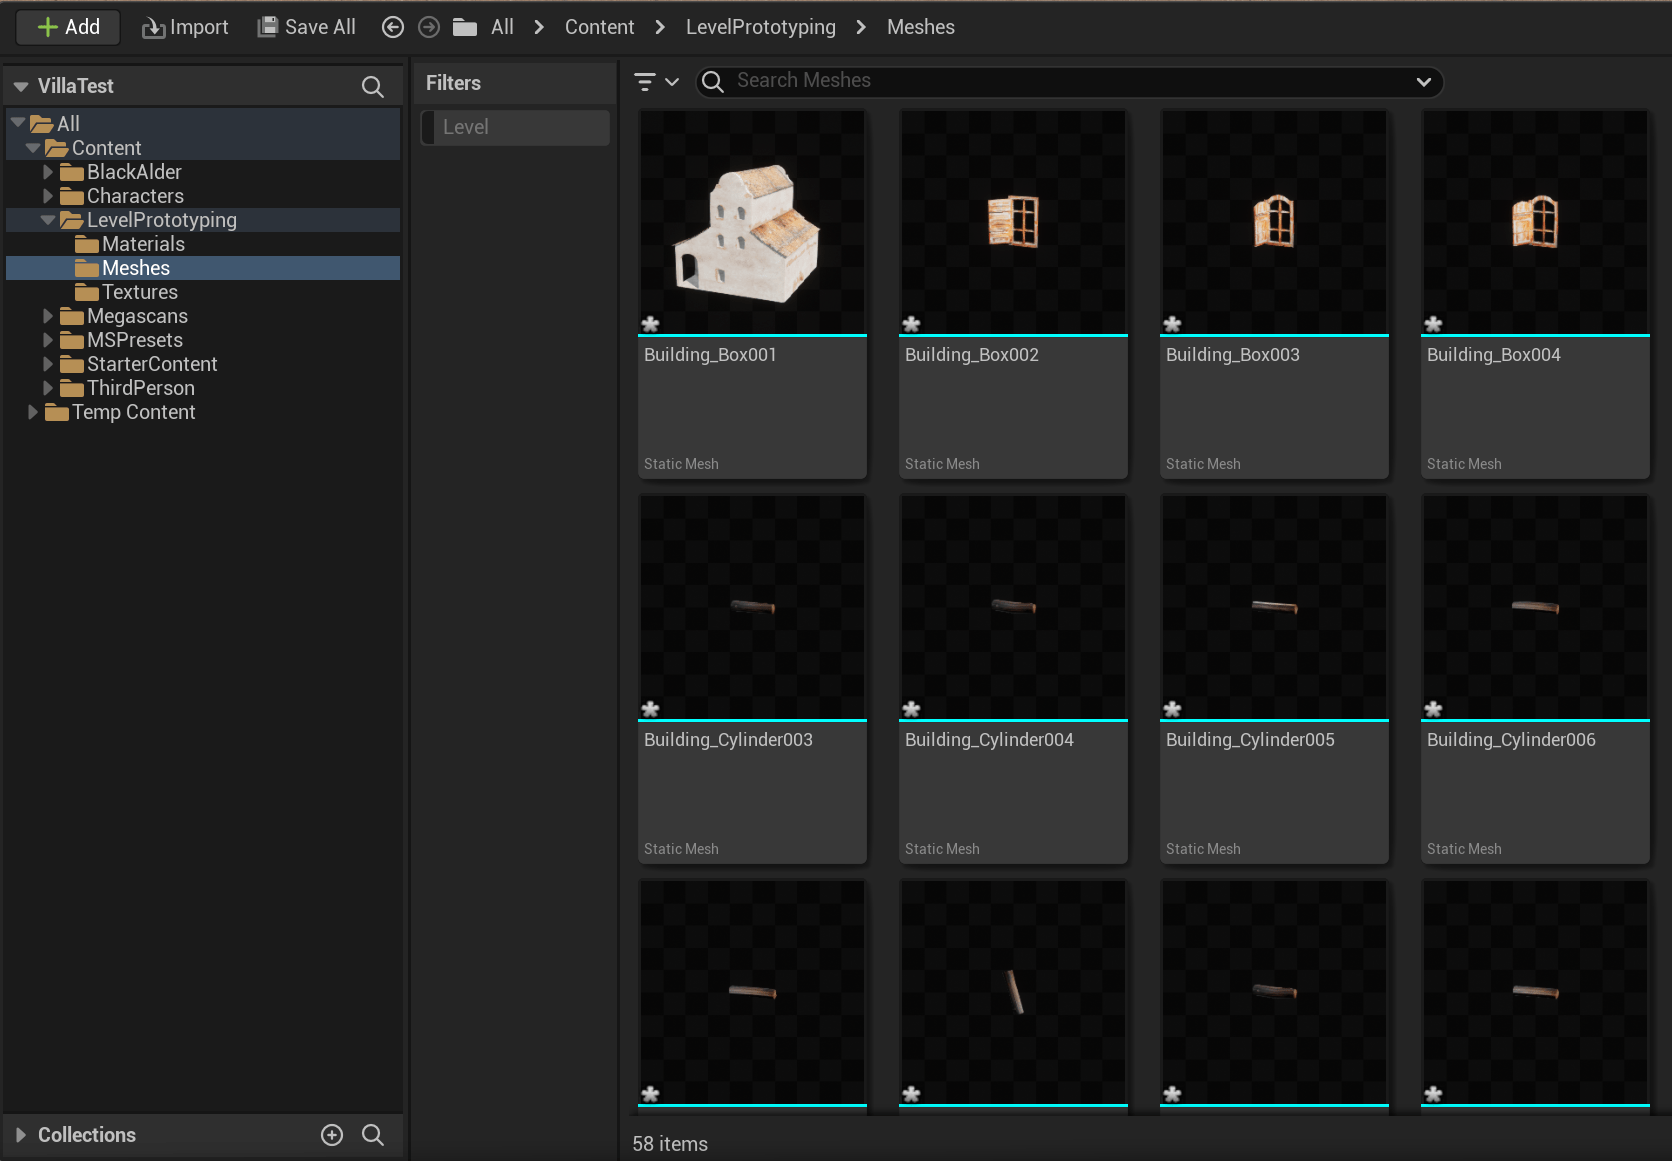
- they will show up in your Content Browser like this:
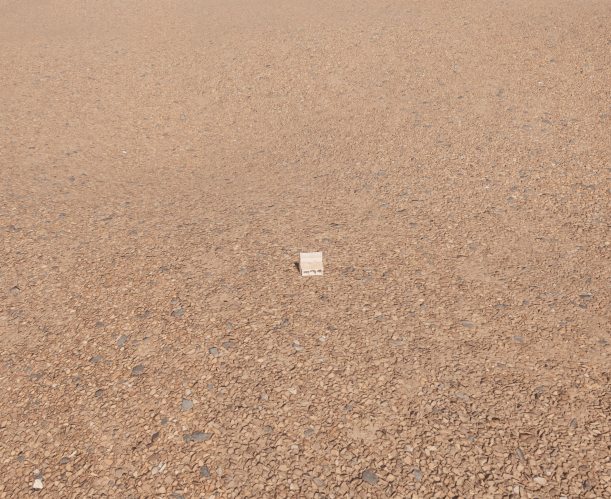
- You can then drag the building asset into your scene and place it wherever you like. Don't worry if the sizing doesn't look right yet.
Manipulating Models
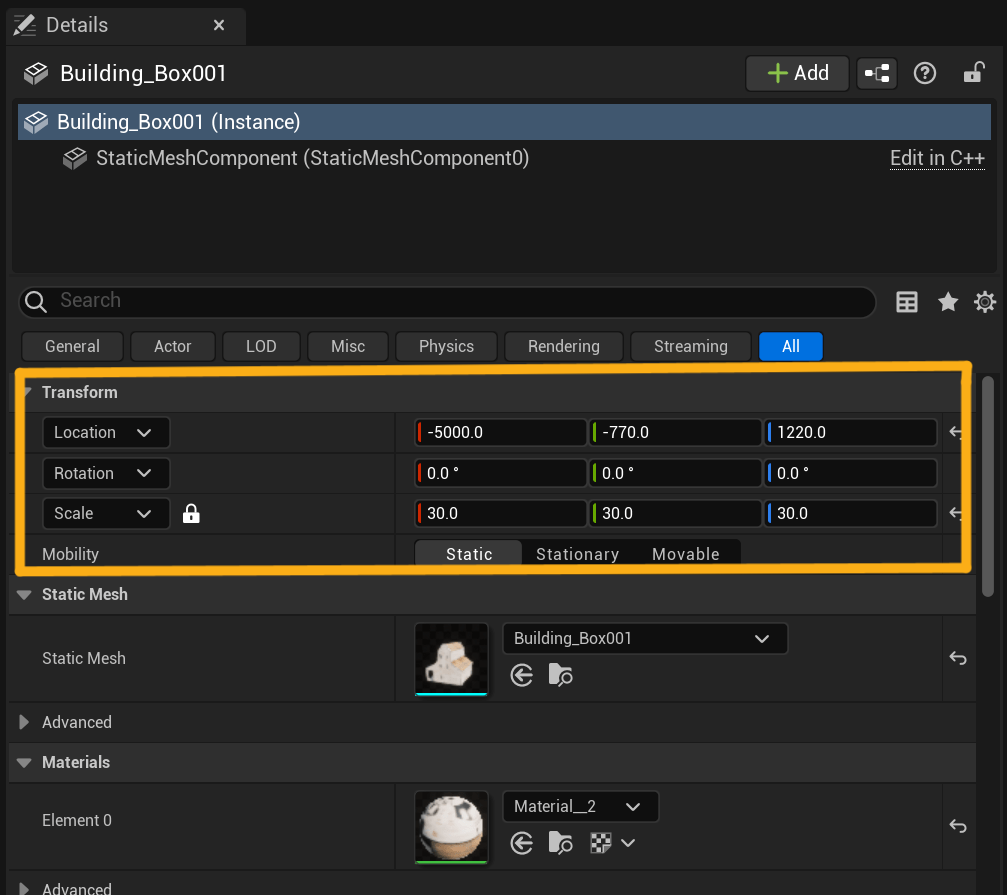
You may have noticed that the model is too small within the scene. We will now change the scale of the object so it looks right in our scene.
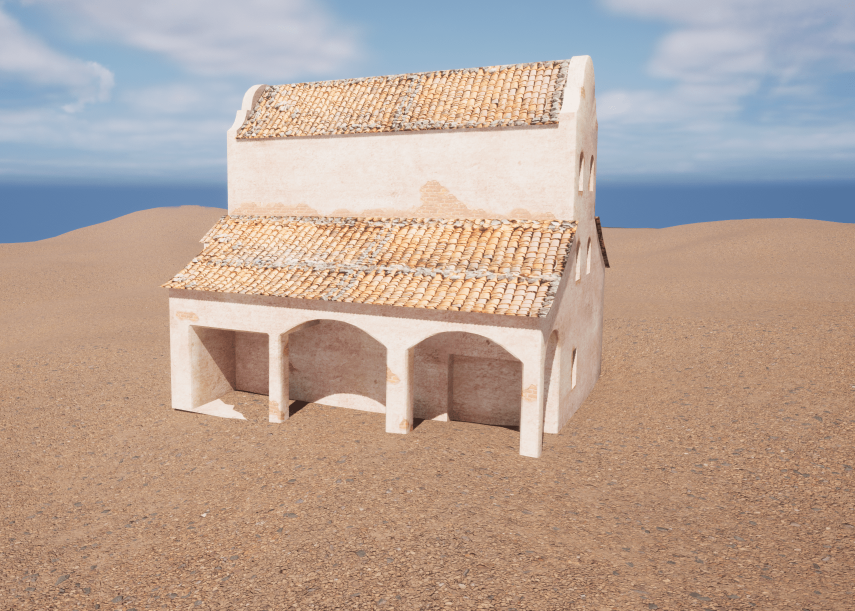
After changing these values, you will see that your building will look much better now. If your model is intersecting with the ground too much, try changing different values in the Location & Rotation fields to make it look a little better.
To continue with this tutorial, please follow the next article in this series.

