Installing Unity
In this page, we are going to guide you through the Unity installation process, please make sure to follow all the instructions.
Before we begin, there are a few things you need to be aware of:
- The basic Unity package will require at least 1 GB of space in your Hard Drive, please make sure you have enough free space before running the installation.
- To use Unity, you will need a free personal license that you can get by creating a Unity account.
- To install Unity, you will need to install two pieces of software: the Unity Hub and the Unity software.
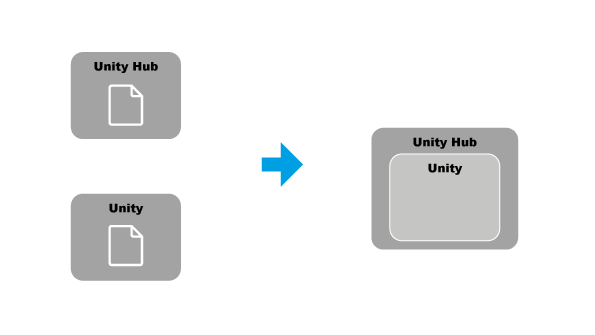
They work together, on one hand, the Unity Hub manages your Unity projects, license and Unity versions, it even provides access to tutorials. On the other hand, Unity is the piece of software you use to create stuff.
-
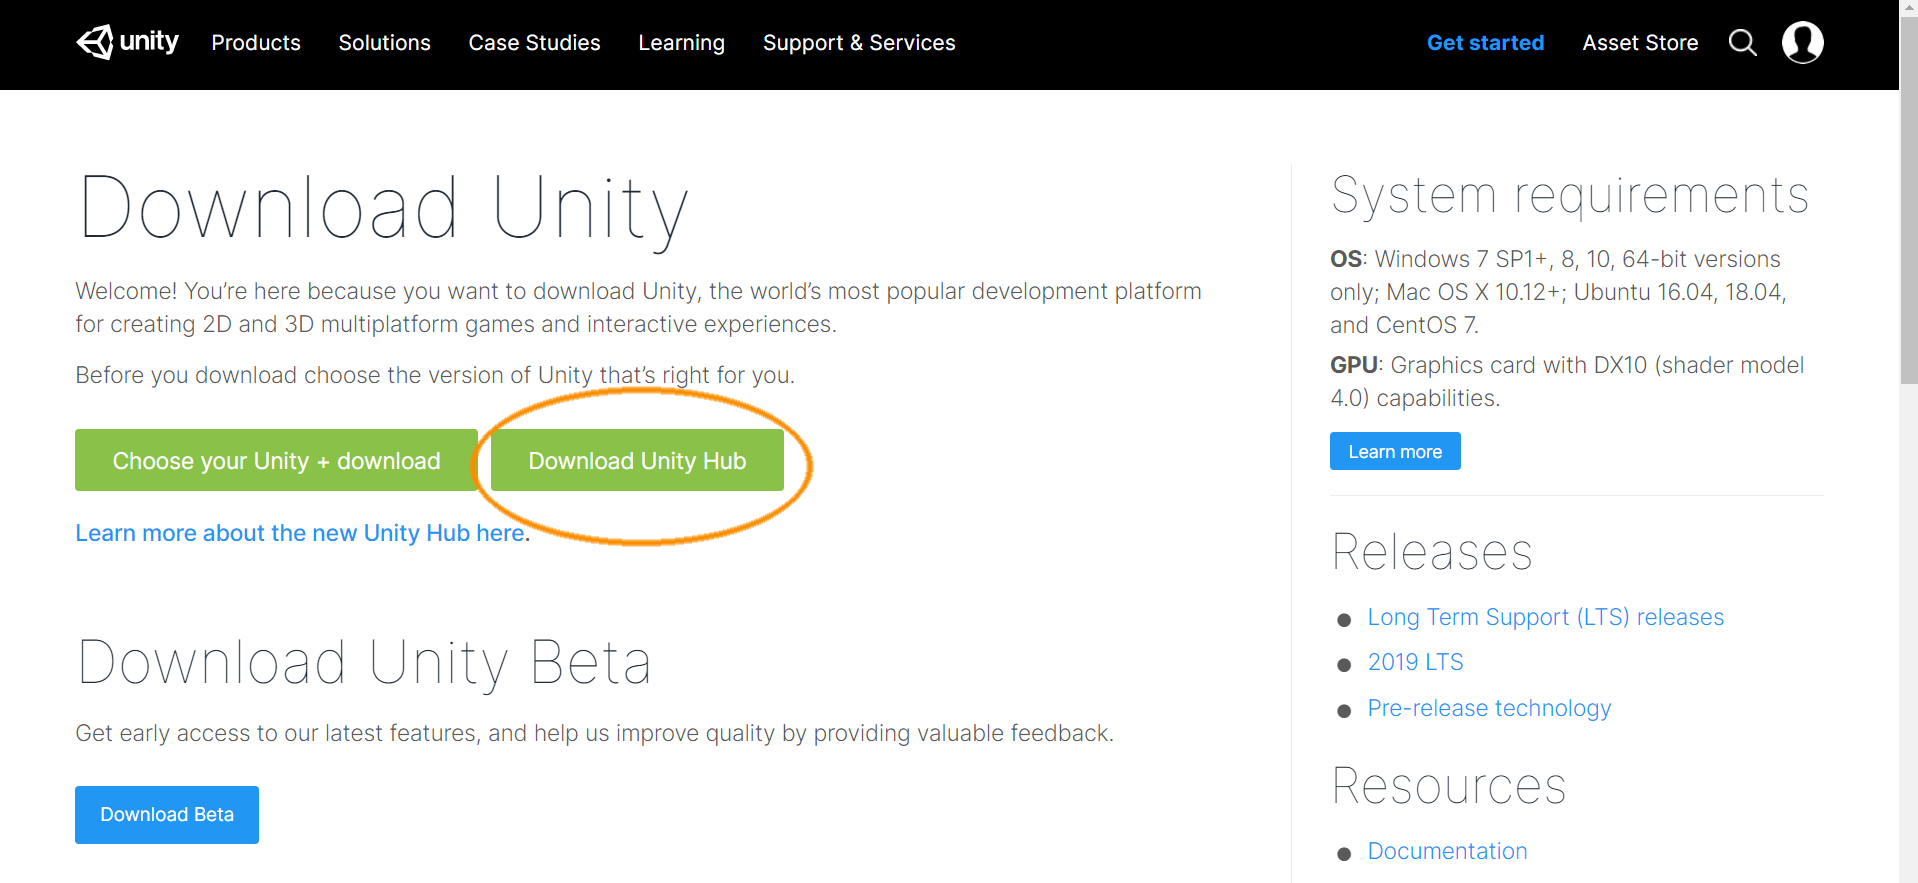
Download and install the Unity Hub.
Before clicking on the link below, please make sure that once you get to the download page, you click on the button that says "Download Unity Hub" as shown in the picture below.
Go to the download page by clicking here
Just follow the instructions, once you finish, continue with step 2.
-
Download and install Unity 2019.2.0f1.
Unity versions are important, in this tutorial we will be installing Unity version 2019.2.0f1. You might be tempted to go back to the previous download page and hit the other green button, however, you should be aware that Unity releases new versions all the time so you might end up downloading the wrong one. The best way to make sure you are getting the right version is to visit the Download Archive and selecting the right one, before clicking the link below, please take a look at the image below so you know how to find it. Once you get to the download page, make sure to hit the 2019 tab as shown below.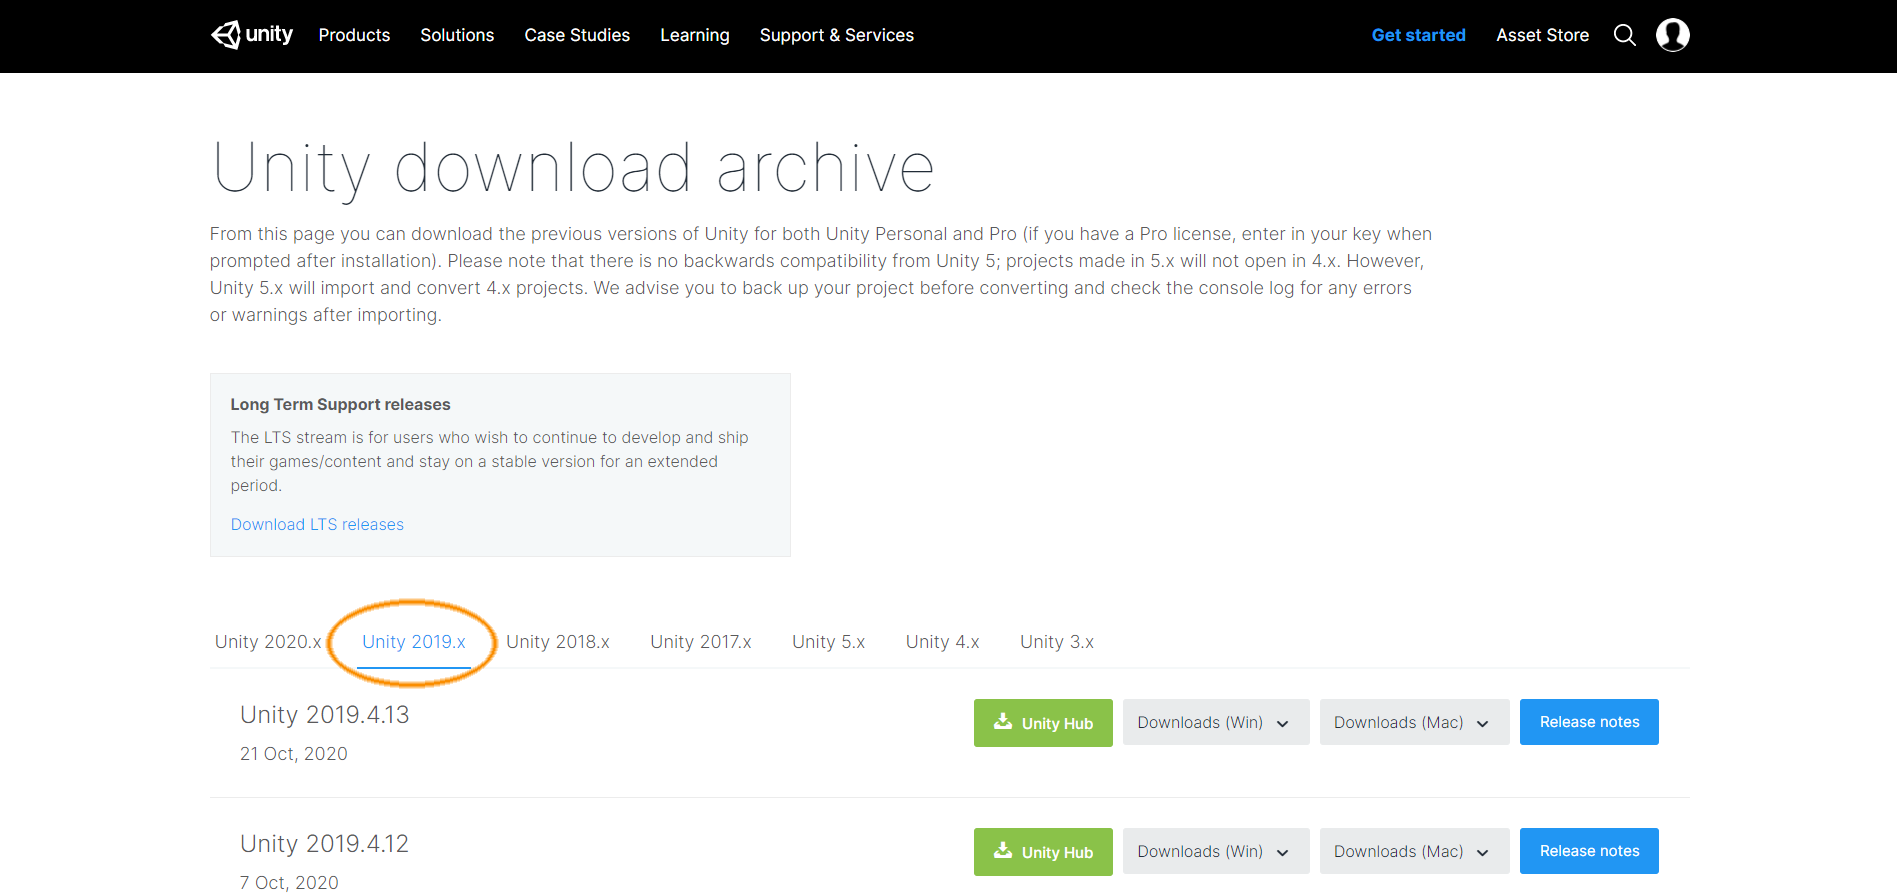
Next, scroll down until you find version 2019.2.0f1 and hit the green button that says "Unity Hub".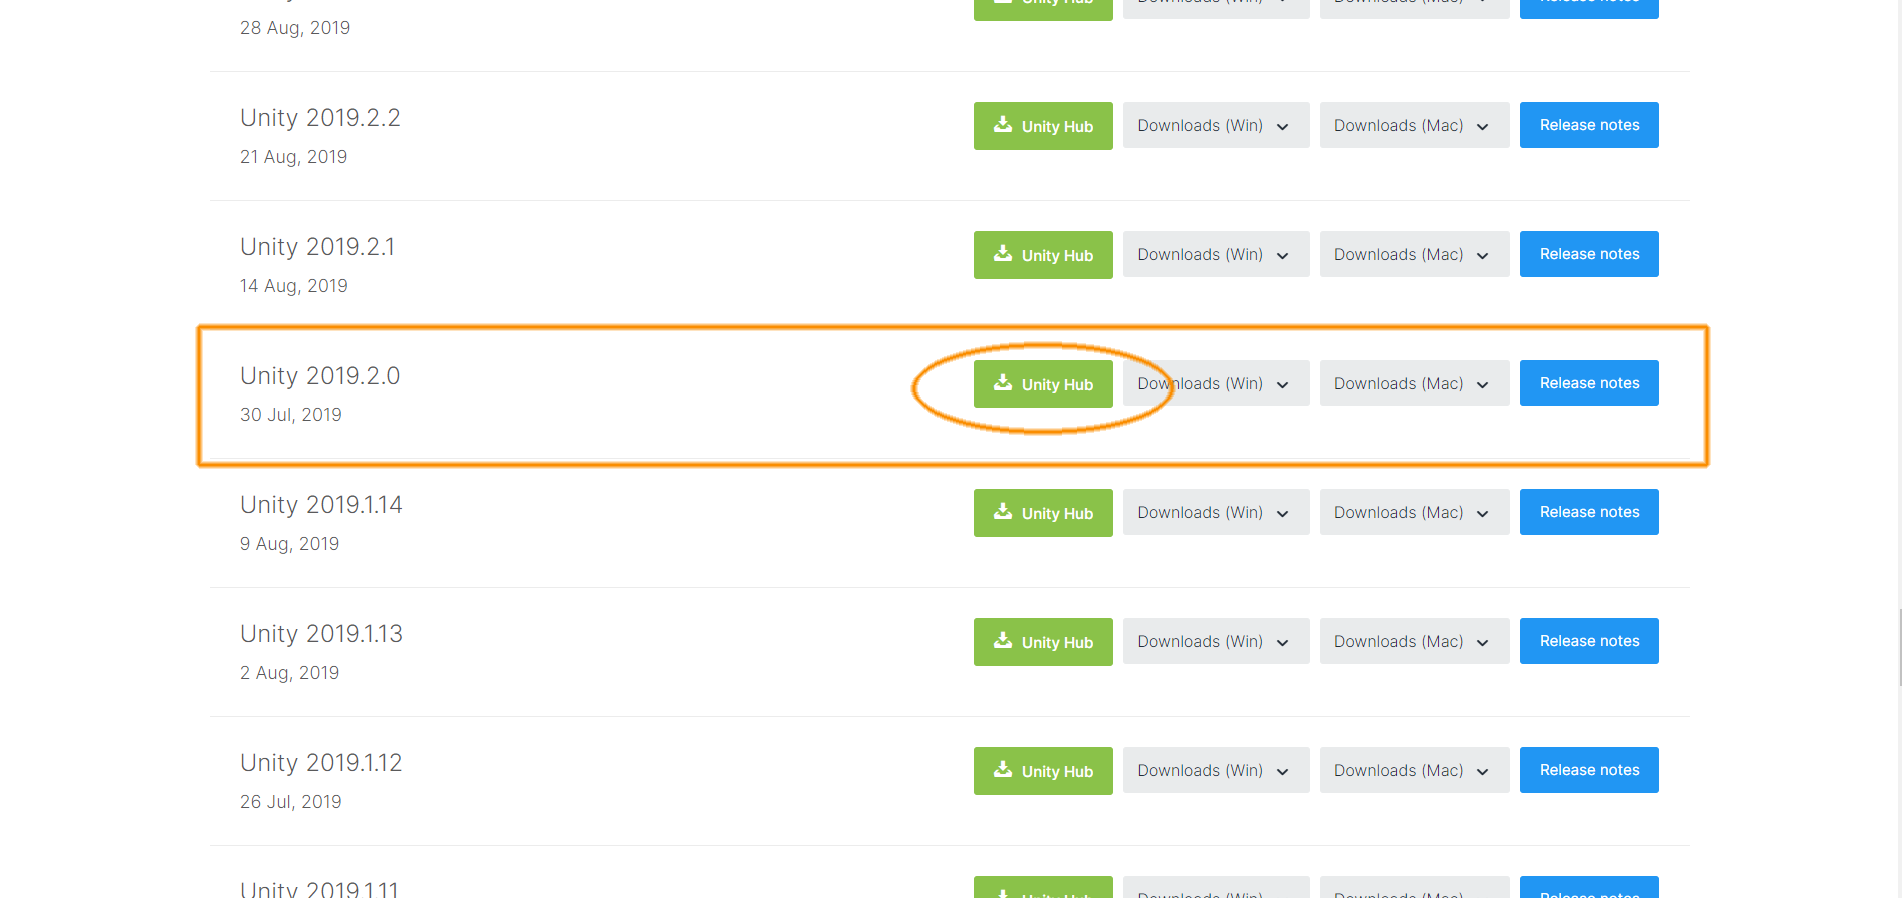
You will get a message asking for permission to open the Unity Hub.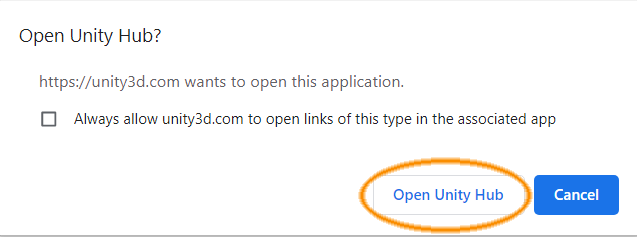 This will launch the Unity Hub and the installation should begin. Follow the instructions until the end.


Go to the Unity Download Archive page by clicking Here
3. Create a Unity personal account & get a personal license.
Setting up a personal account is very easy, first, open the hub, click on the Unity ID icon found in the top right corner and then click on the "Sign in" button.
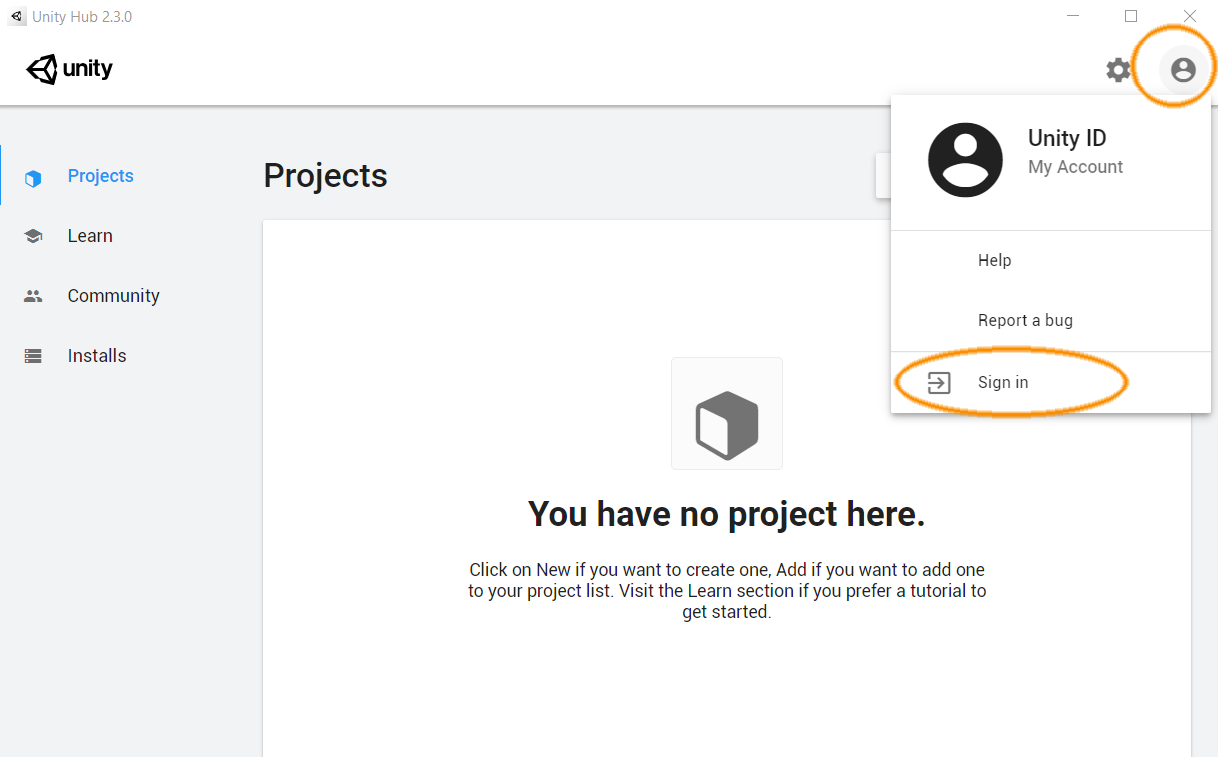
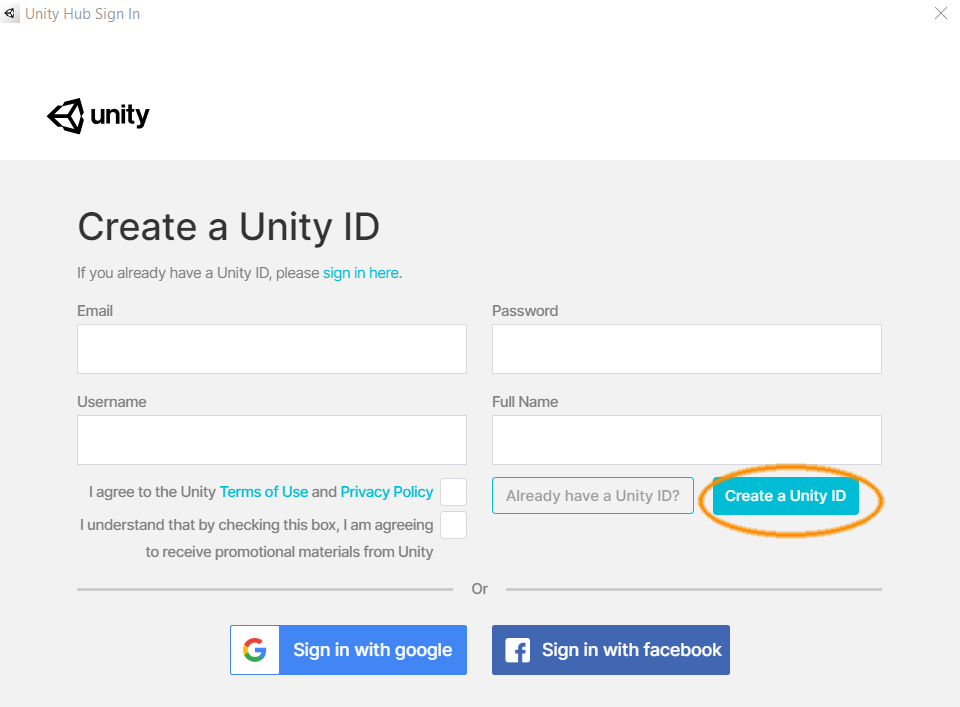
This should launch a new login window, if you take a closer look, you will see a link that you can use to create a new account.

Fill out the information and hit the "Create a Unity ID", be aware that you might have to confirm your email address so check incoming emails.
3. Activate your Personal License.
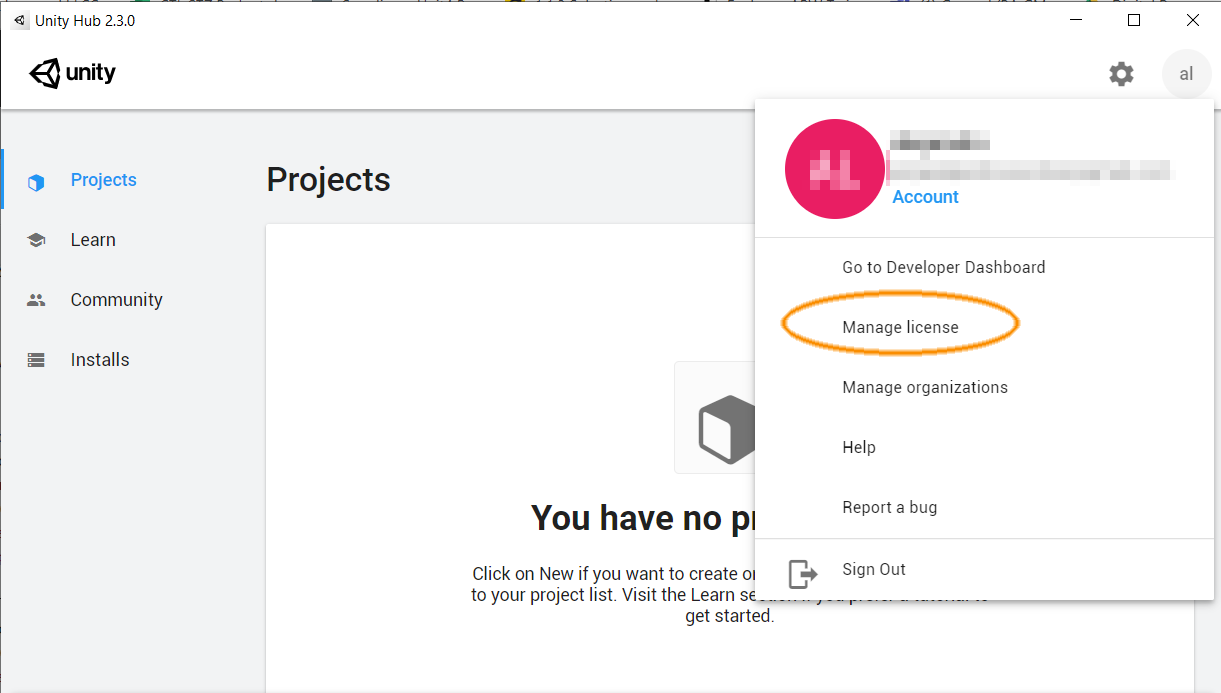
This is the last step you need to take and it is quite simple, just click on the Unity ID icon again (make sure you are logged in) and select the Manage License option.
 Hit "Activate New License"

Select the "Unity Personal" and "don't use Unity on a professional capacity" options and hit "Done".

Now your license should be active and you should be able to start creating Unity projects.
