Steam VR setup Tutorial #2 - Teleporting around your scene
Aims
This tutorial aims to show you how to enable the teleporting feature included in the Steam VR 2.2 plugin.
Please notice that this is part of a series of tutorials progressing from basic concepts to more functional and complex projects. In previous pages, we already explored how to set up the scene you are expected to use for this tutorial.
Prerequisites
-
Setting up the Steam VR plugin.
Steam VR setup tutorial# 1
Getting started
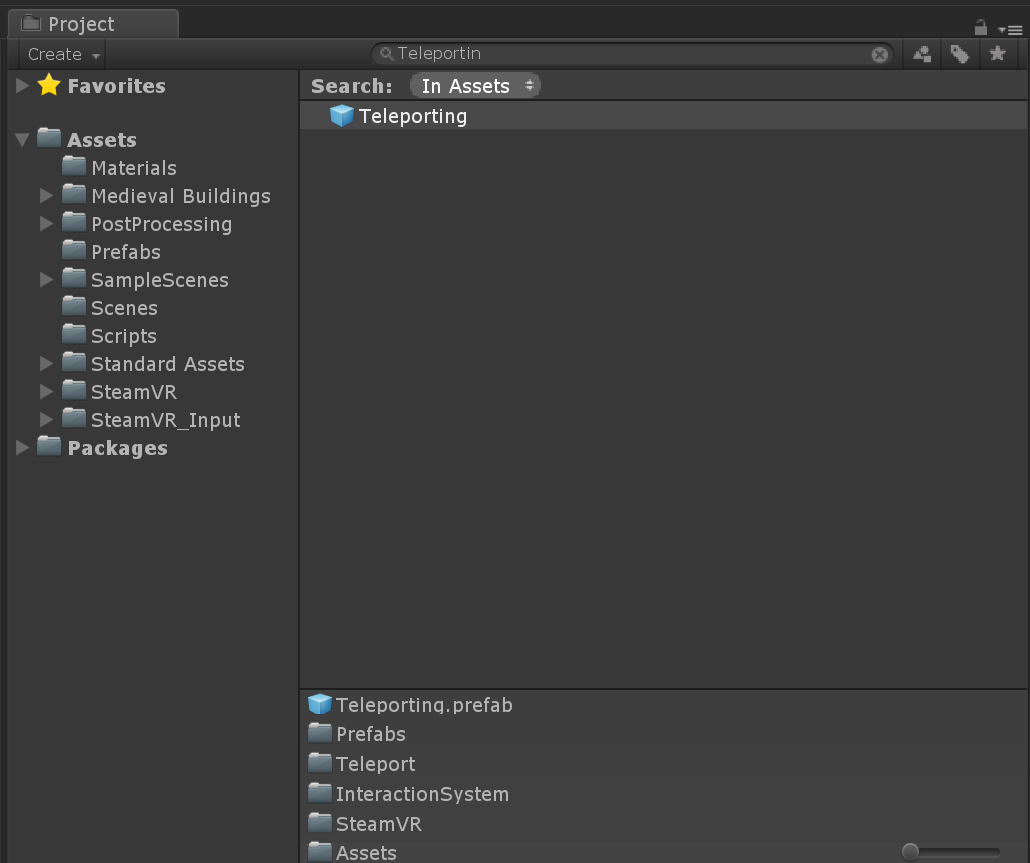
In the Steam VR setup tutorial #1, we downloaded the Steam VR plugin and placed the "Player" prefab on our scene, in this tutorial we are going to set up the teleporting feature also included in the plugin, we are also going to add a few teleporting spots to jump from one area to another. With our previous project open, please type "Teleporting" into the search box of the project panel.
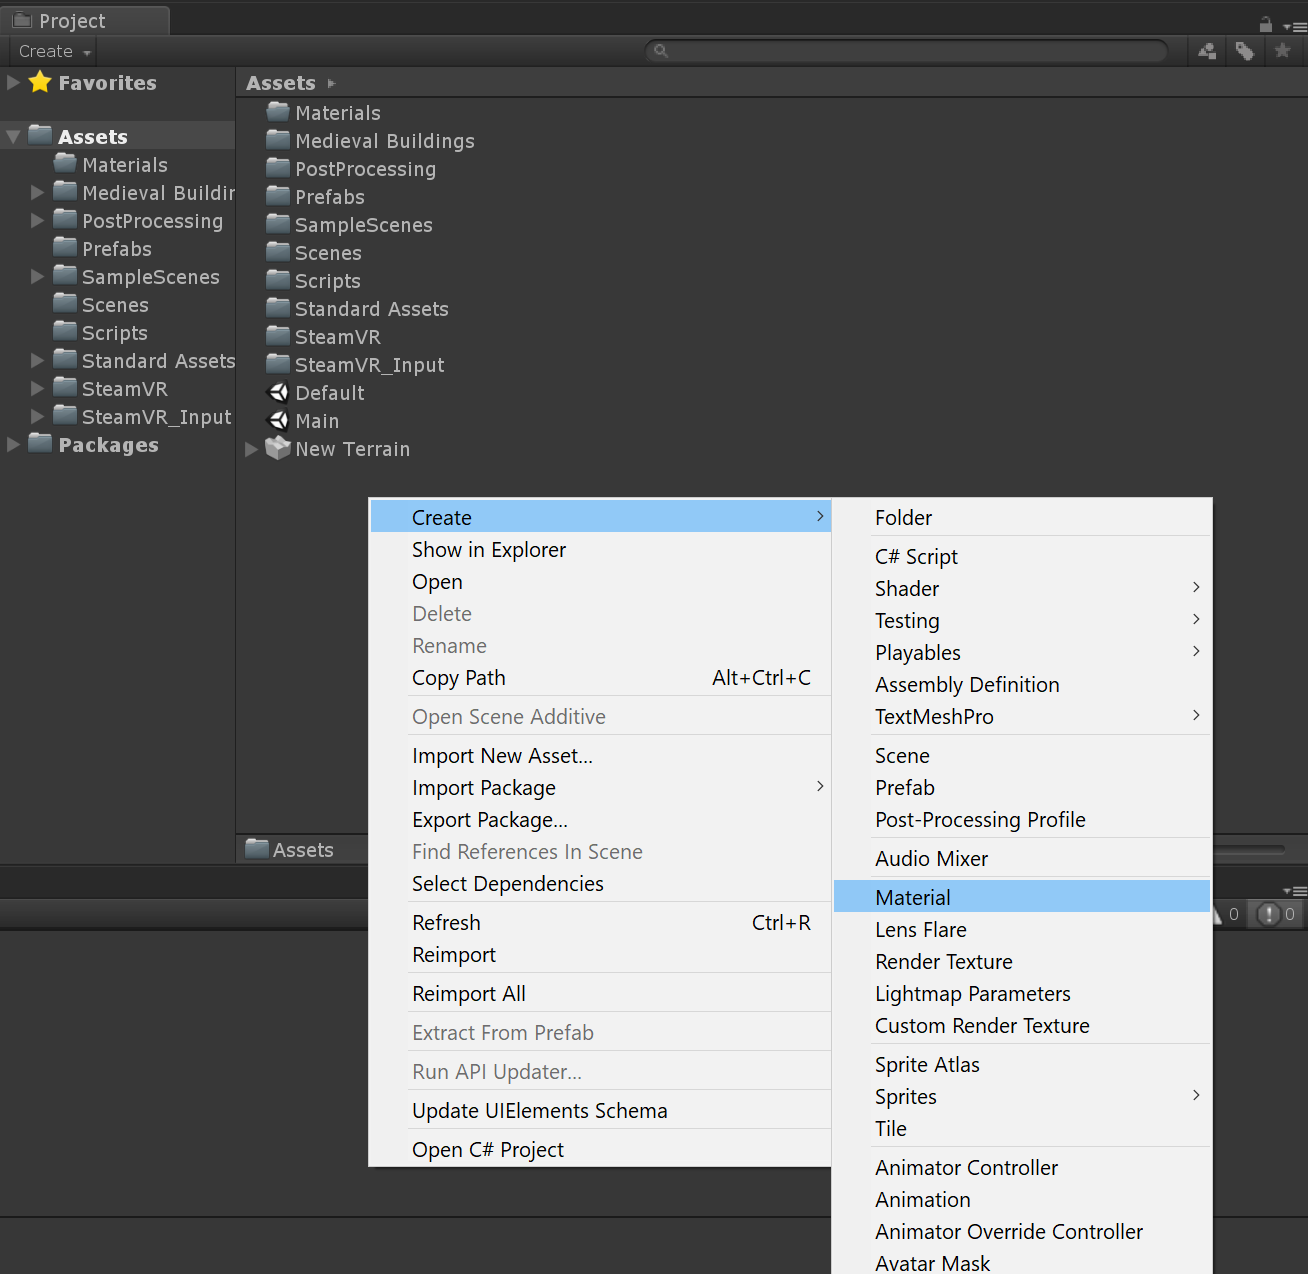
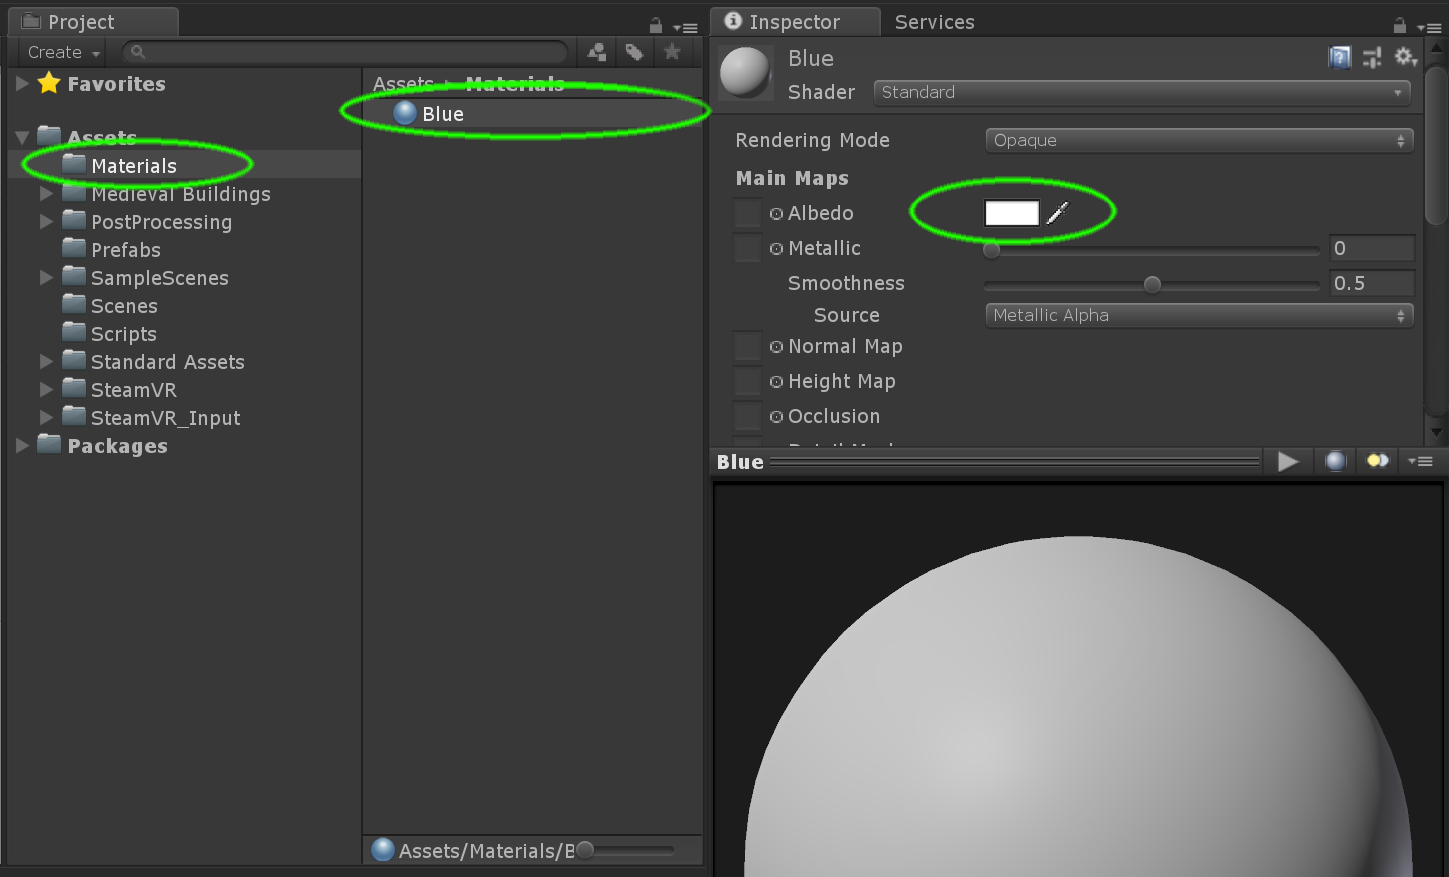
Now just drag and drop the Teleport prefab into your "Hierarchy" panel, this will automatically enable the Teleport feature on both of your controllers, Before we test it, it is a good idea to change the default floor material to be able to see the "Bézier curve" more clearly. Please select your Assets folder in the Project panel and right-click to create a new material and name it "Blue". To keep things tidy, we recommend creating a "Materials" folder, then dragging your new material inside of it.
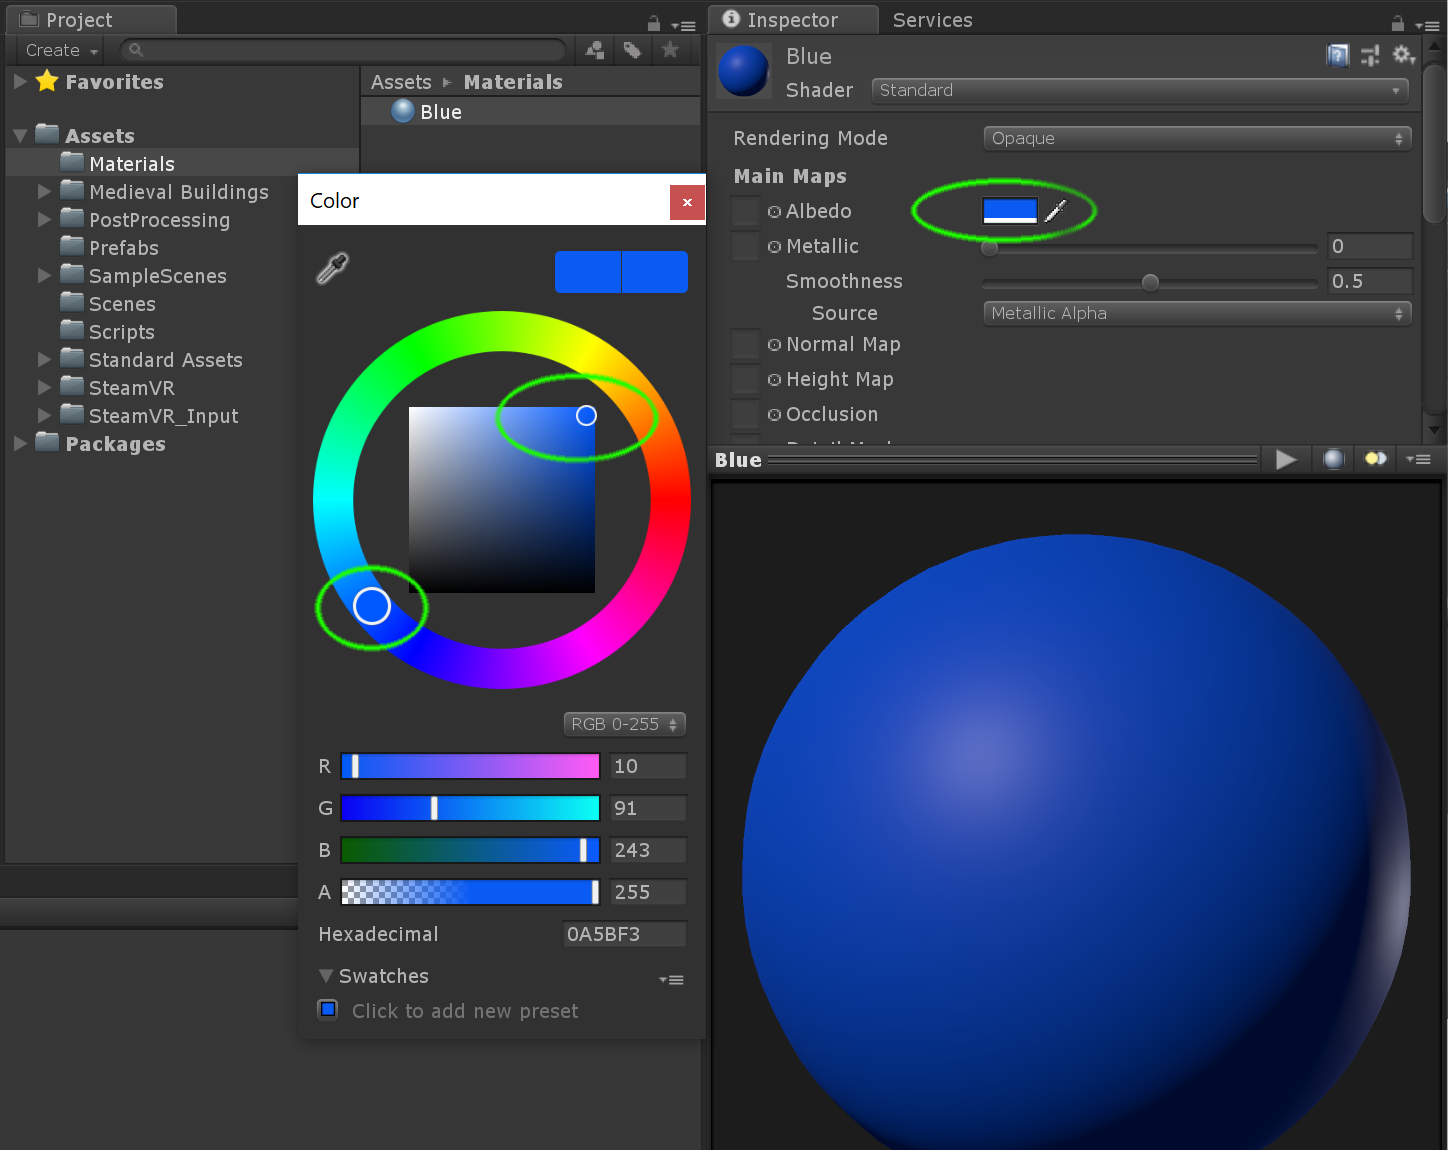
With your material selected, look at the inspector panel, you will see all the properties associated to your material, please click on the colour picker next to the Albedo slot.
You will see a colour window, please drag both white circles in order to get the desired shade of blue, to finish just close the colour window.
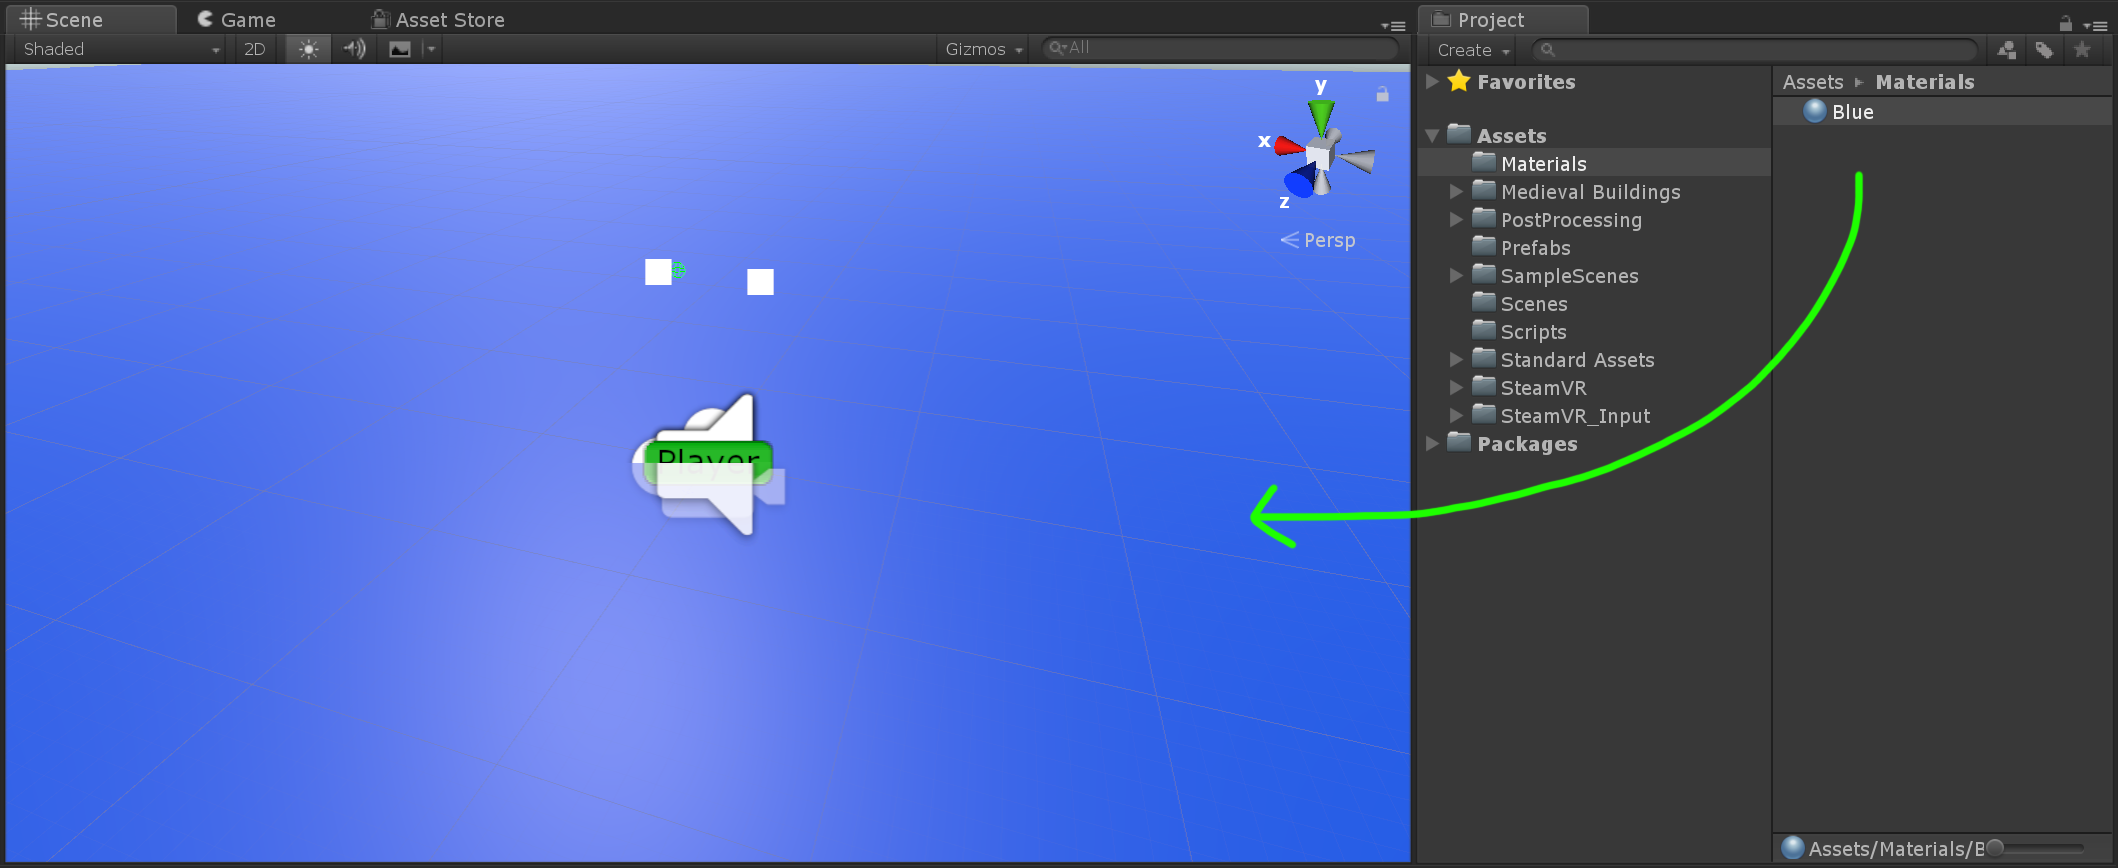
To apply your material, just drag it and drop it on top of the plane in the scene window.
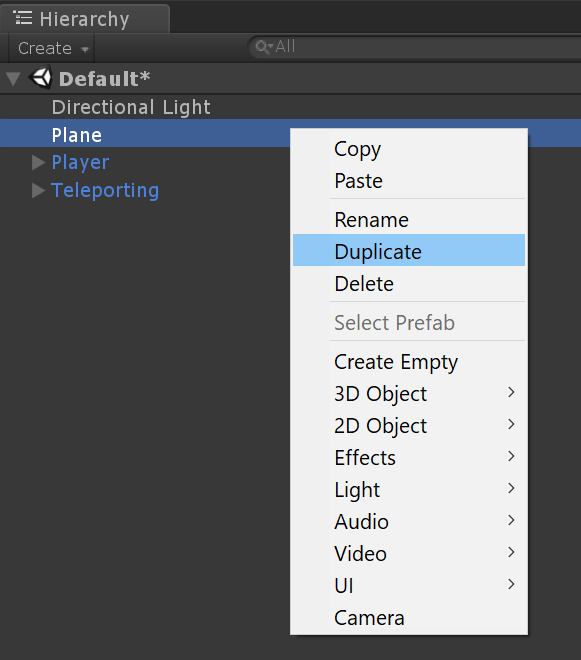
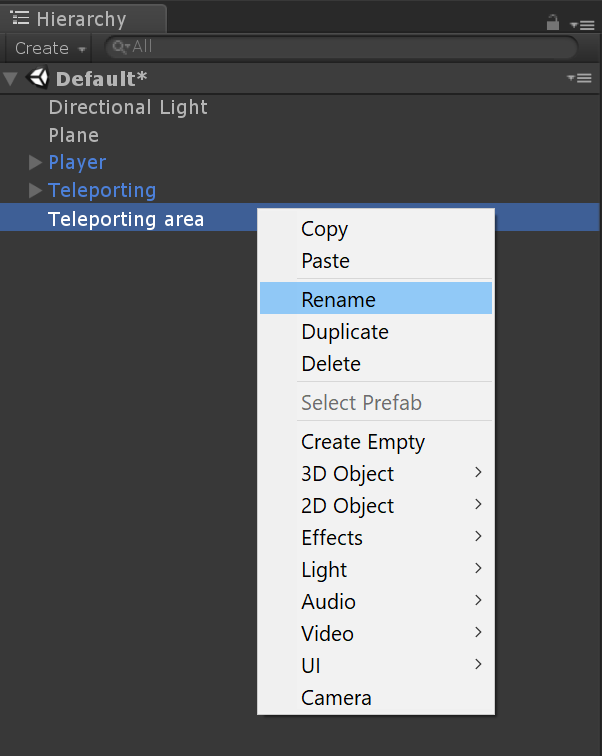
Now we need to create a teleport area that will sit on top of our plane, the easiest way to achieve this is by duplicating our existing plane so right-click over the plane gameObject in the "Hierarchy" and select duplicate.
In order to keep things tidy, let's rename our new game object and place it underneath the "Teleport" prefab.
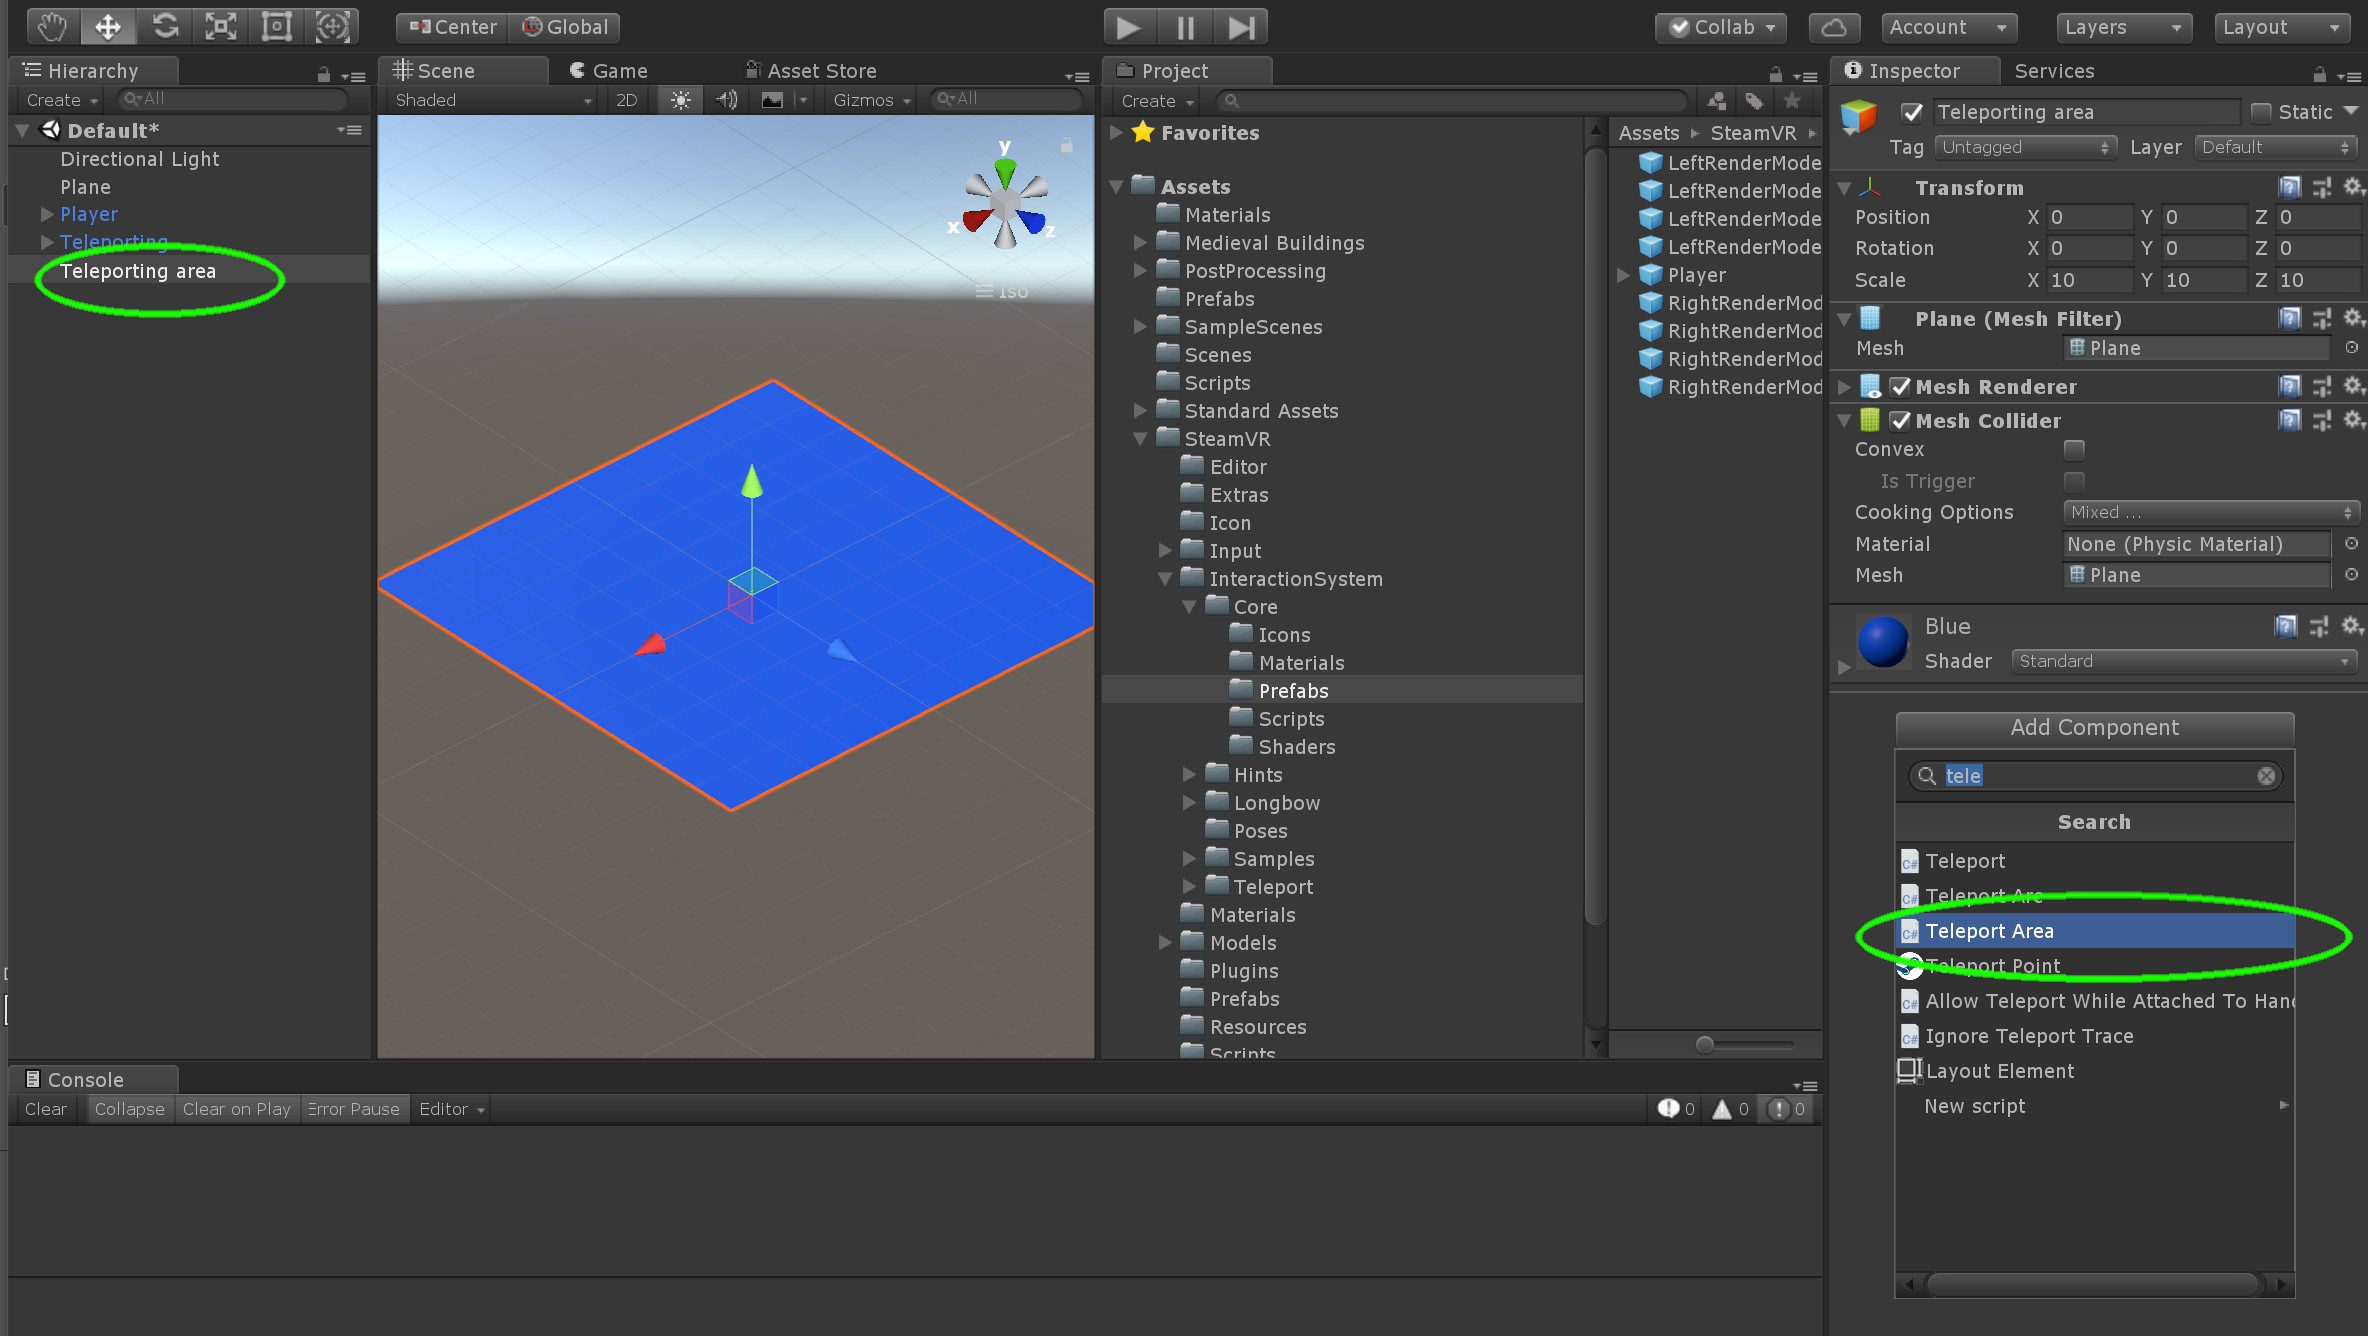
Now let's add the "Teleport Area" script to our new gameObject, please notice that if you are importing a custom mesh to use it as a Teleporting Area you have to make sure that it has a "Mesh Collider" component attached, in this case, as we duplicated a 3D object created directly in Unity, the Mesh collider is attached by default. With the "Teleporting Area" gameObject selected, click the "Add component" button in the "Inspector" panel and type "Teleport Area" and click over the "Teleport Area" script.
Finally, we need to move the "Teleporting Area" slightly up to place on top of the first plane, this is to avoid conflict between the colliders on both of the planes, With the "Teleport Area" gameObject selected, type "0.1" in the "Y" position slot of the transform component.

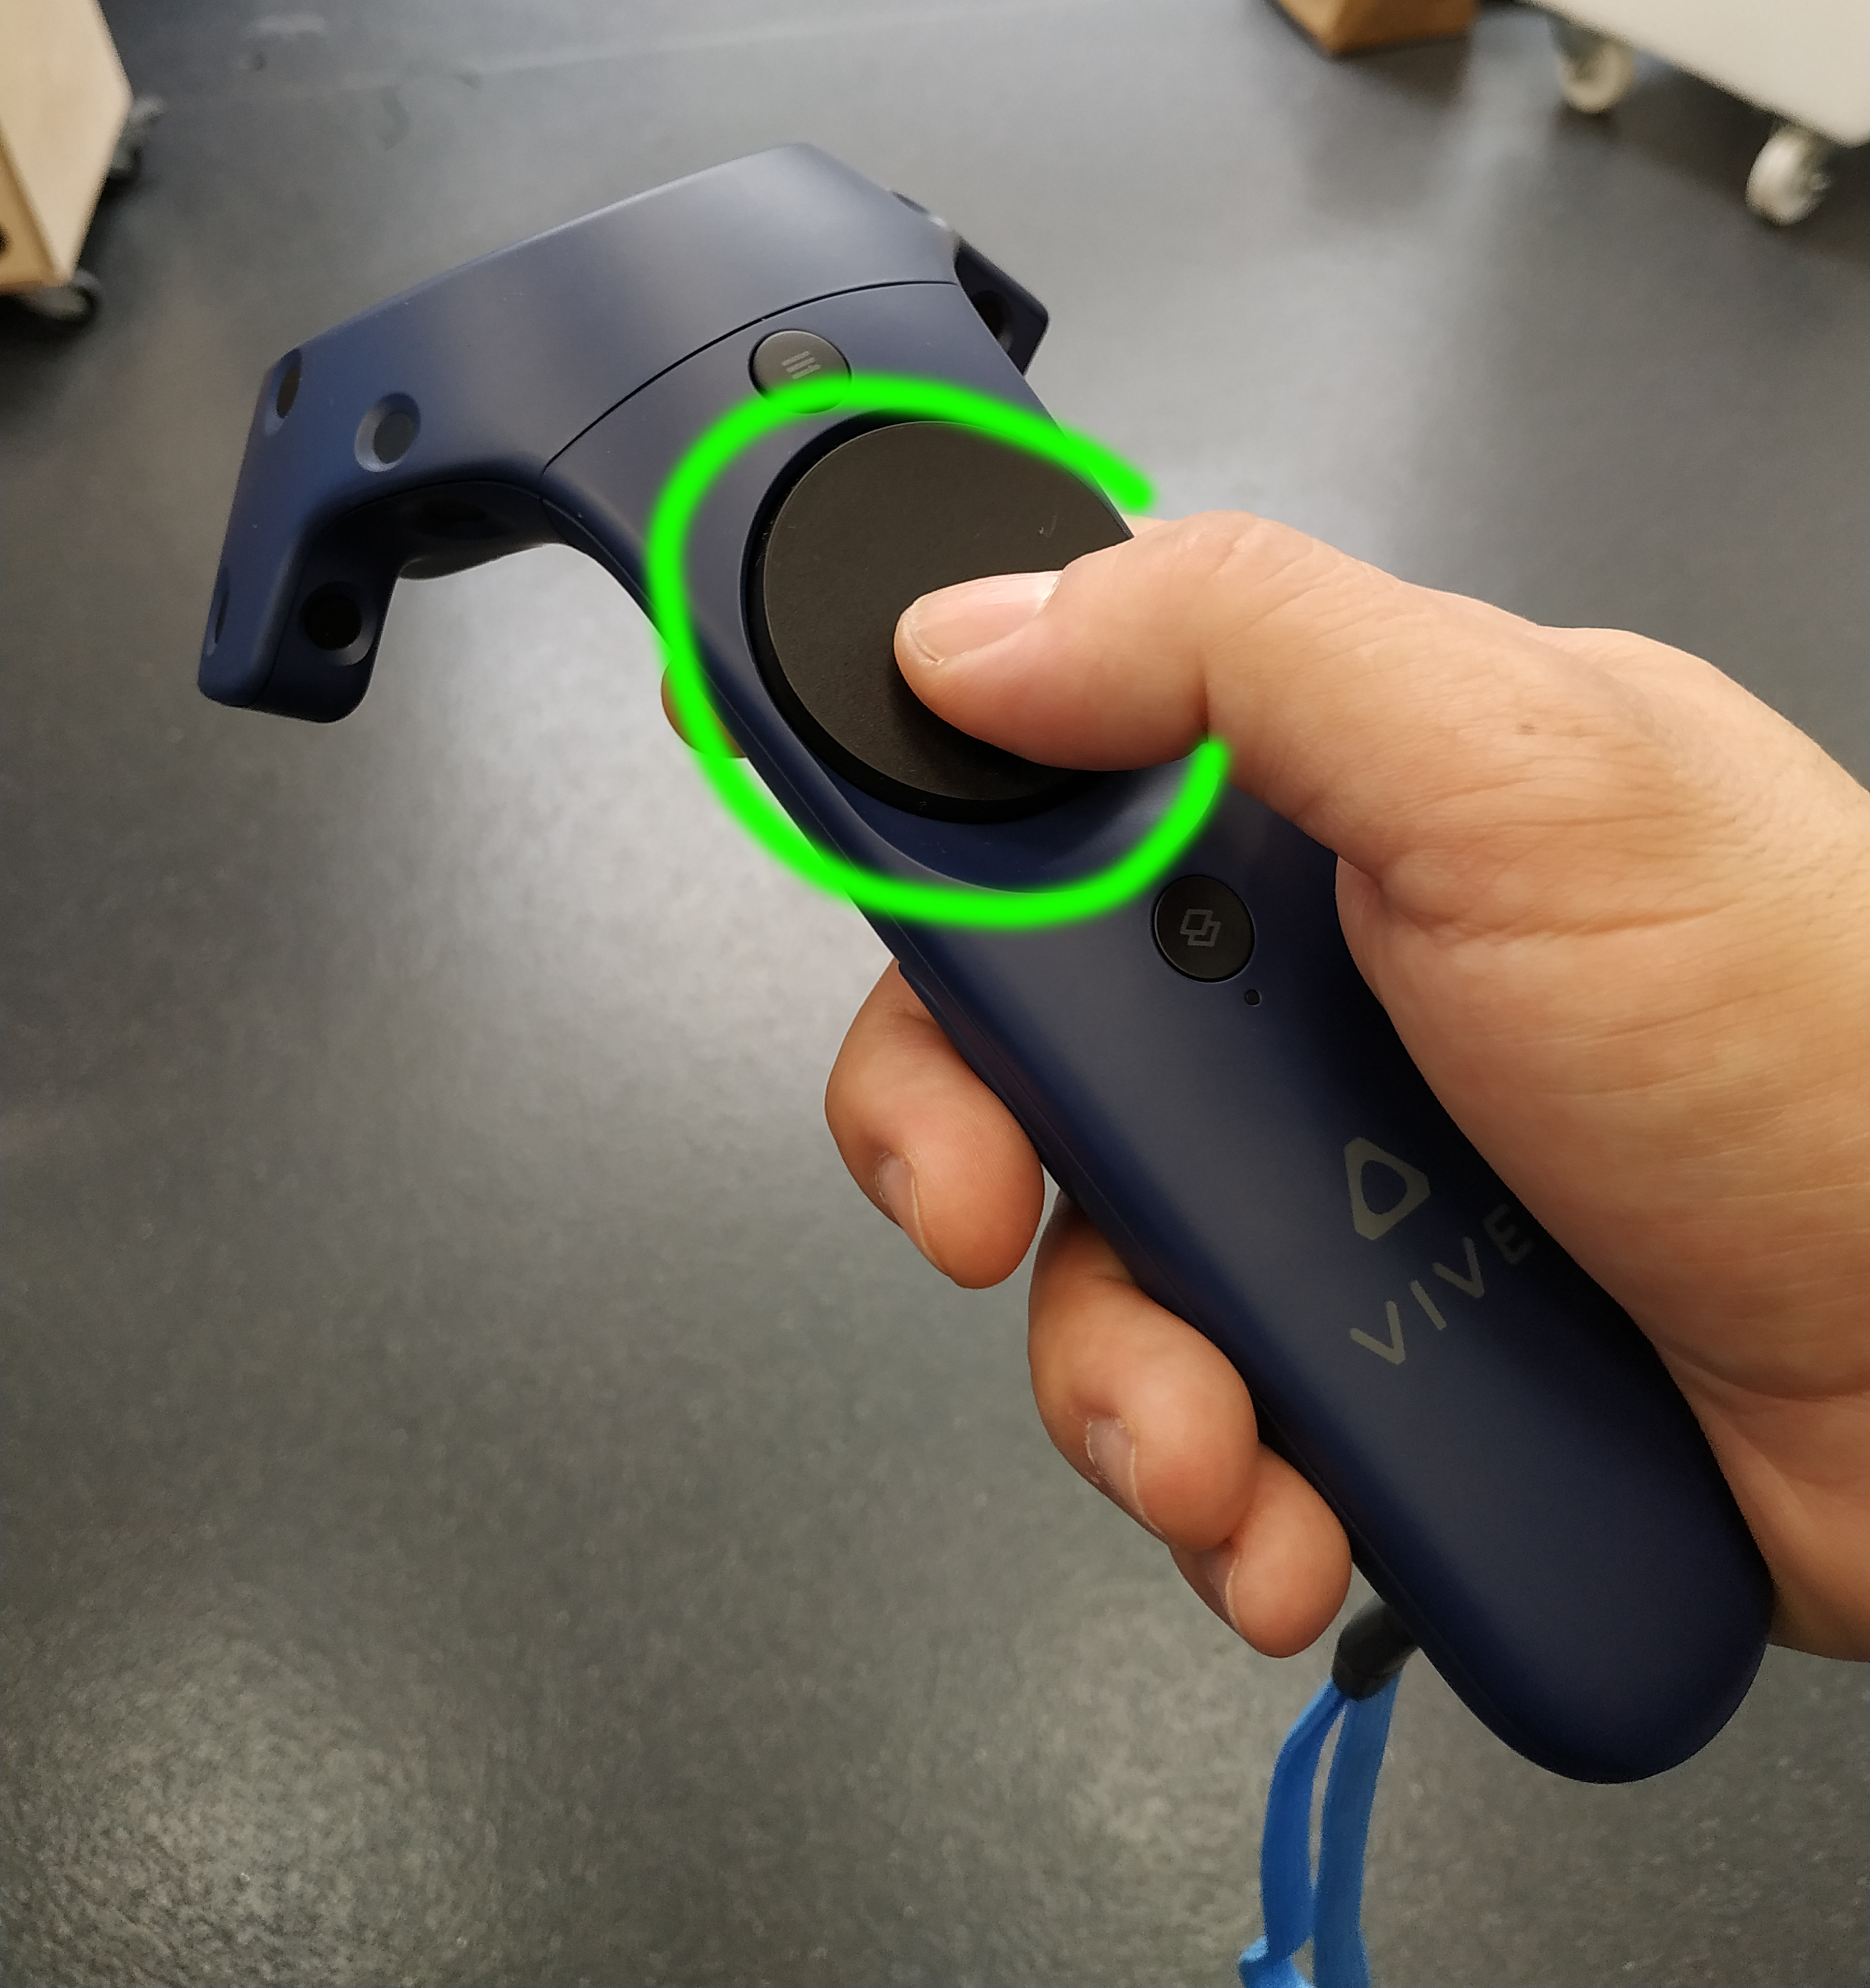
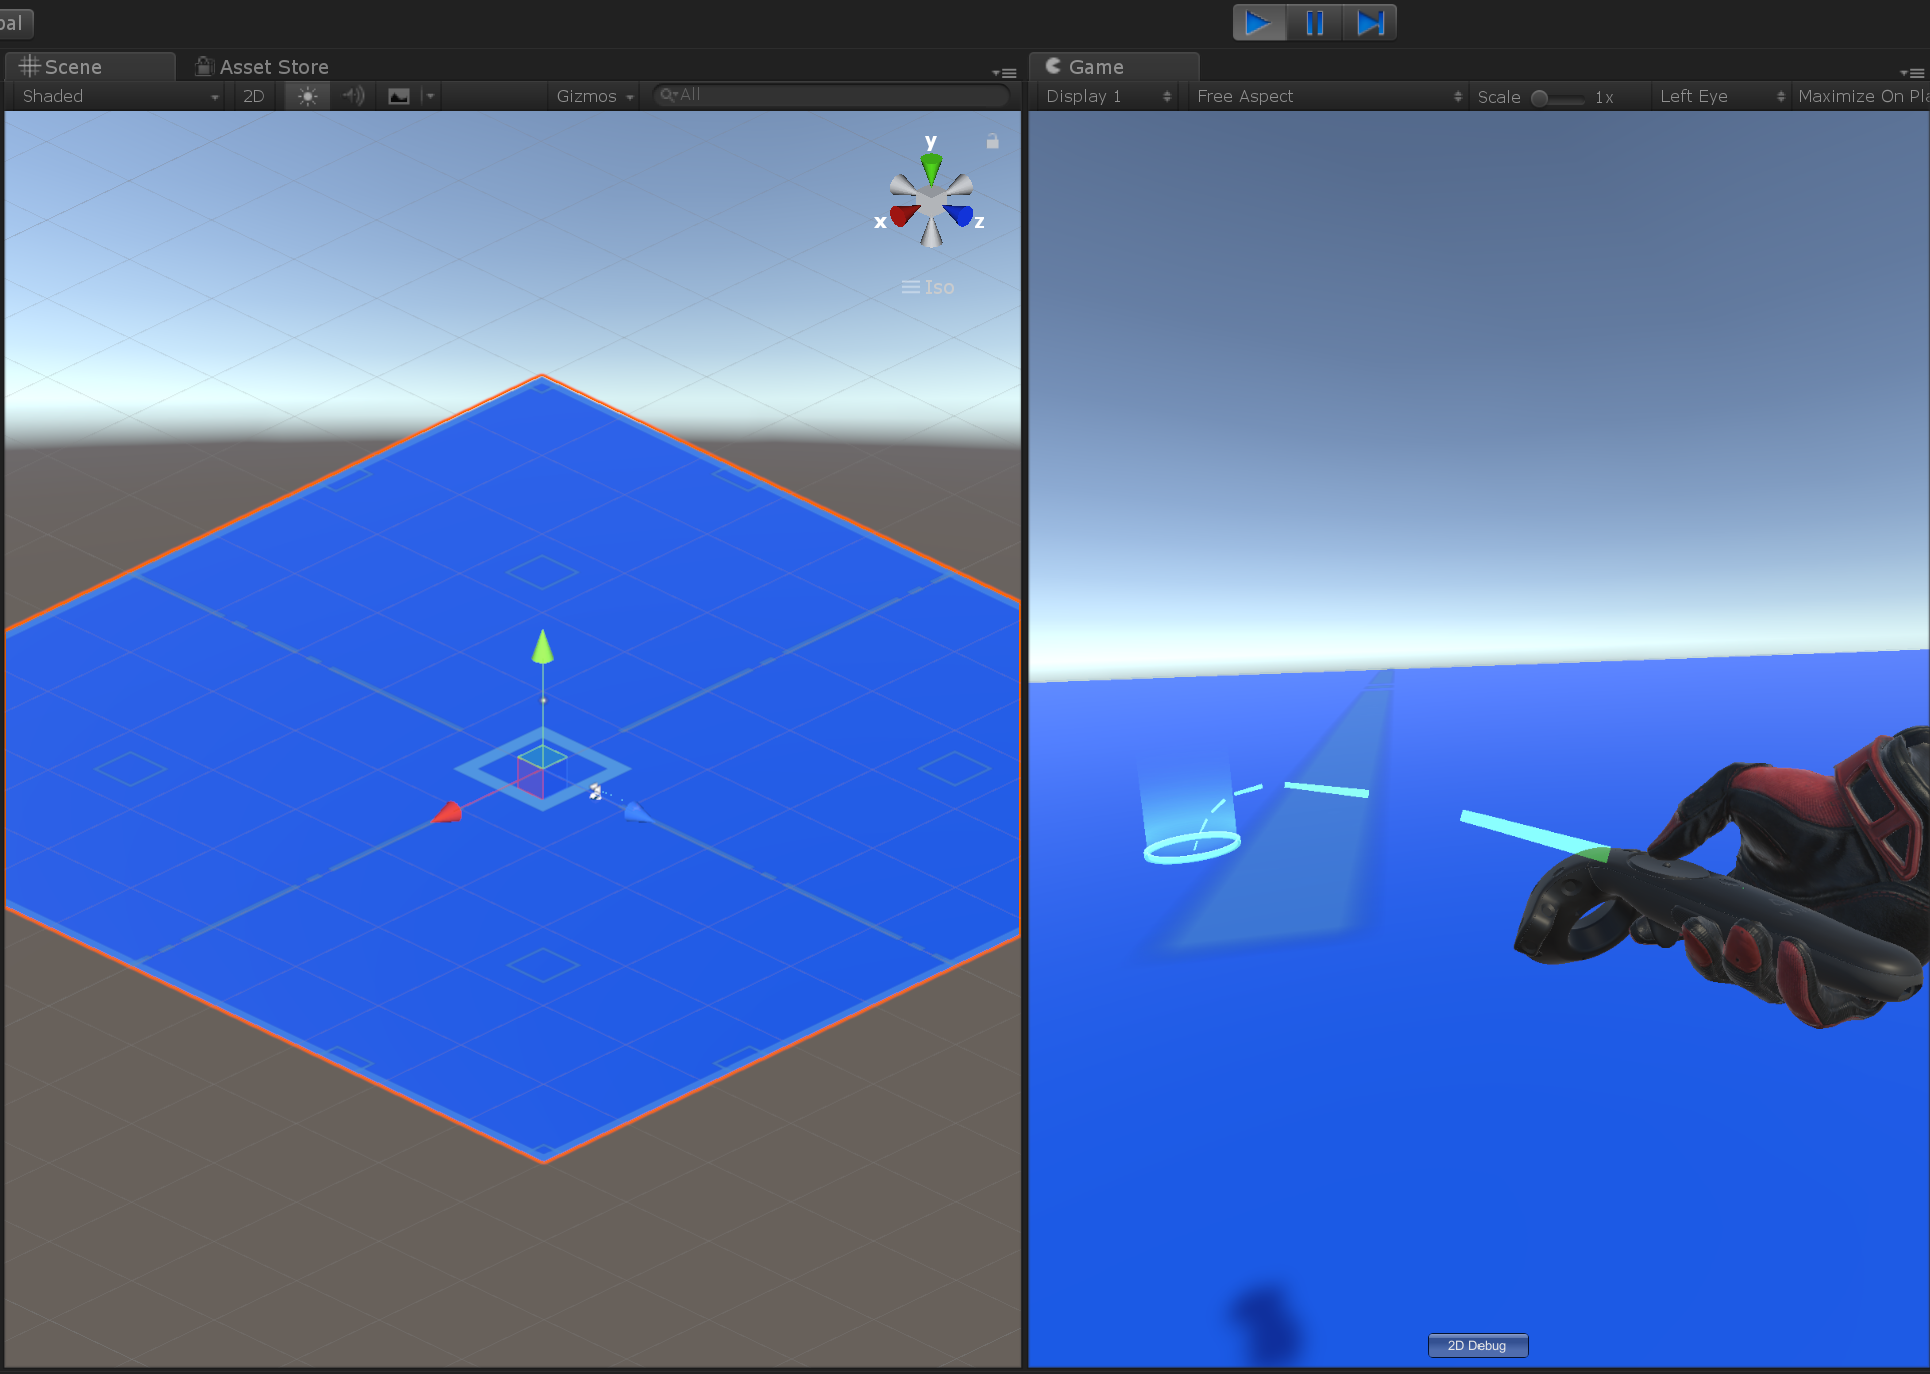
Now we are ready to test the Teleporting feature, Just hit the "Play" button. Once inside of your scene, please press the "Trackpad" button, you will see a "Bézier curve" projecting from the front of your controller to the ground. Try changing the angle of your controller to move the landing point, then, just let go the button and you will be teletransported to that location.