How to Program an ATtiny85 with an Arduino Uno
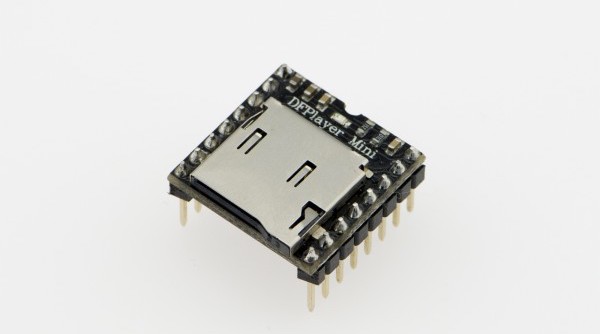
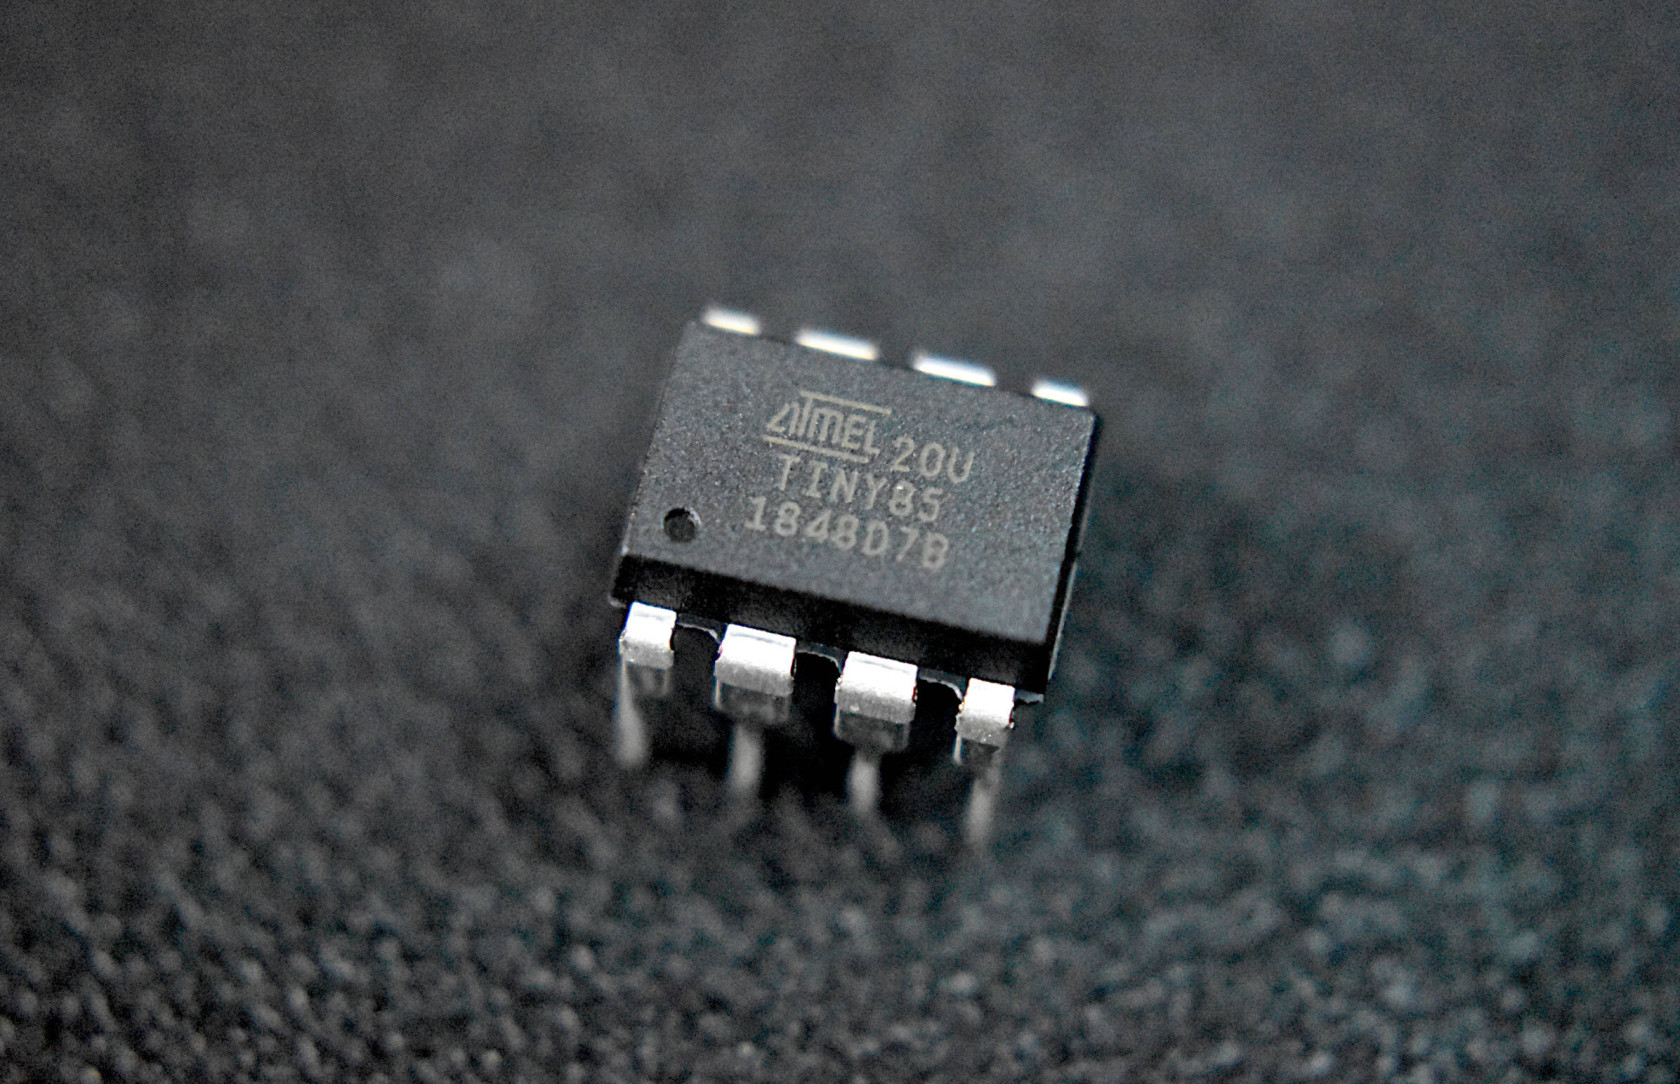
What is aan DFPlayer?ATtiny85?
The DFPlayer Mini MP3 Player For ArduinoATtiny85 is a small8-bit AVR microcontroller based on AVR enhanced RISC architecture. It has an 8-pin interface (PDIP) and lowcomes price MP3 module with an simplified output directly toin the speaker.category Theof modulelow-power canmicrocontrollers. beThis usedmicrocontroller asis a stand alone module with attached battery, speakerdesigned and pushmanufactured buttonsby or used in combination with an Arduino UNO or any other with RX/TX capabilities.Microchip.
Know More
Set the Arduino Uno Into ISP Mode
So that the Arduino can act as a device to upload code to ATtiny85.
File - Examples - Arduino ISP - ArduinoISP
Add this line #define USE_OLD_STYLE_WIRING to the code before setup()
UPLOAD!
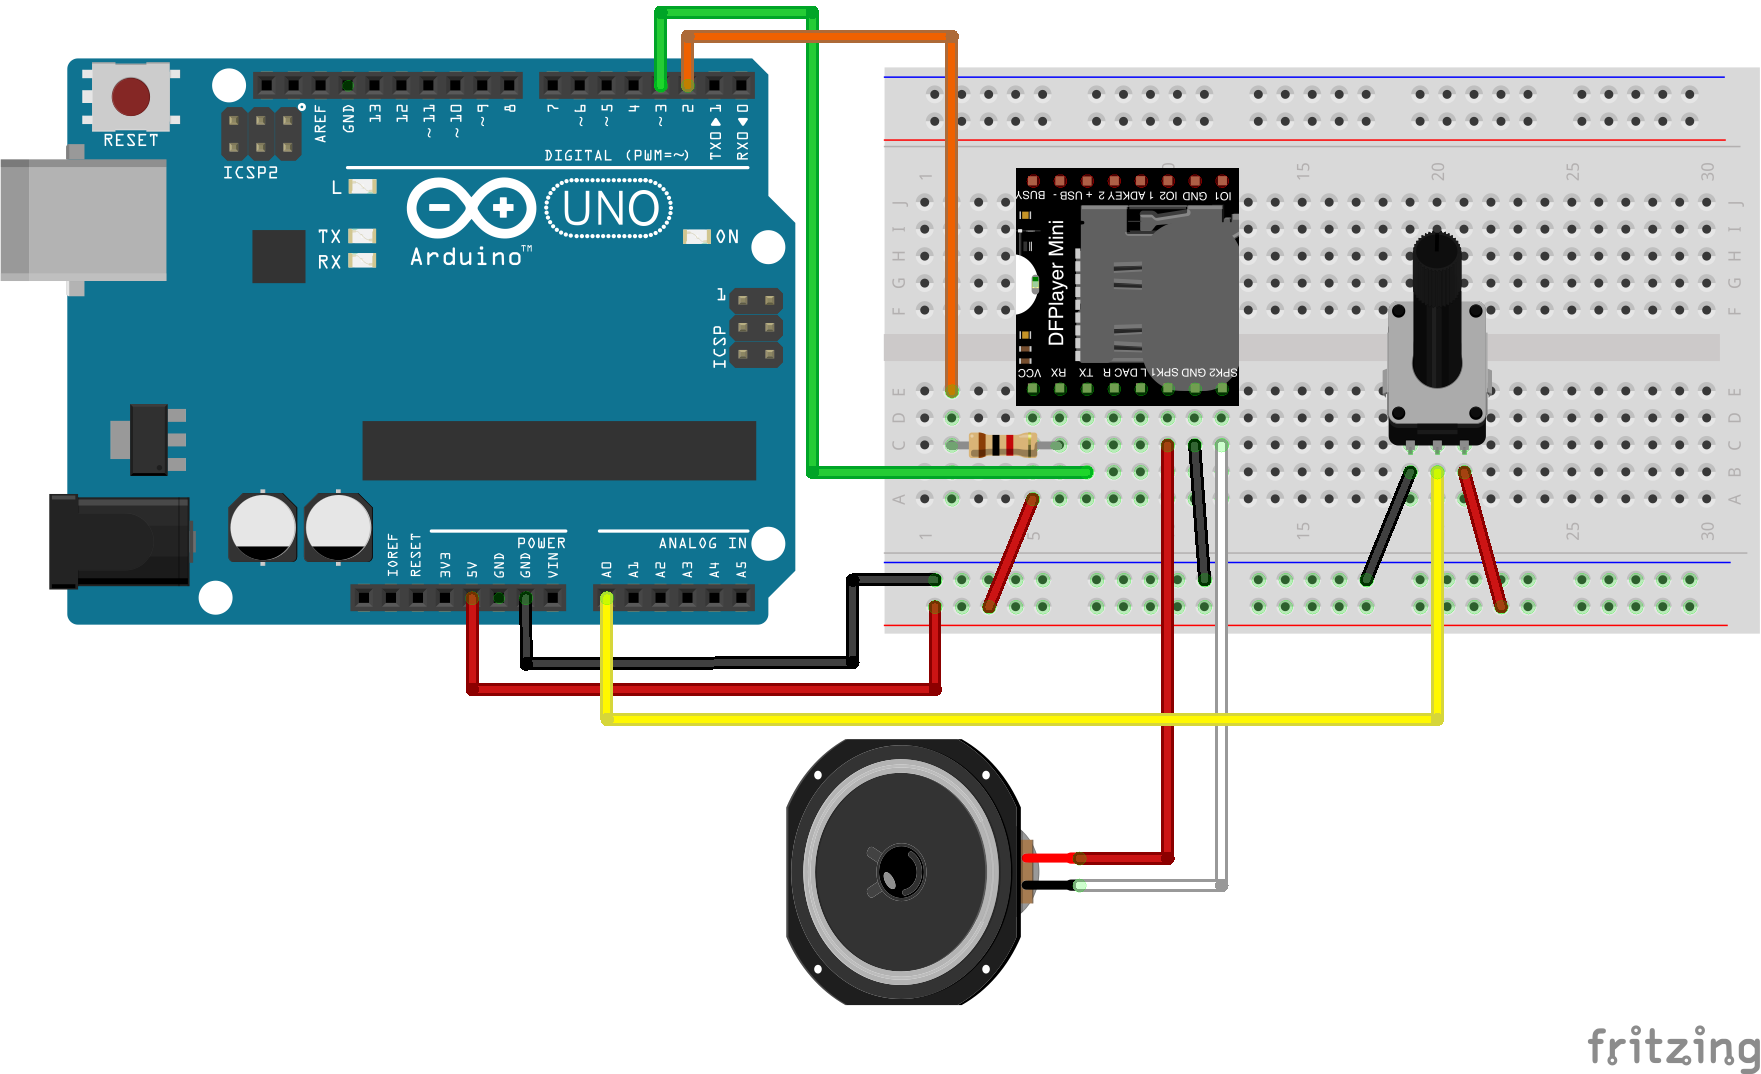
Wiring
Wiring up the sensor is quite complex, theThe pins are not labelled so you will have to refer to the pinout.
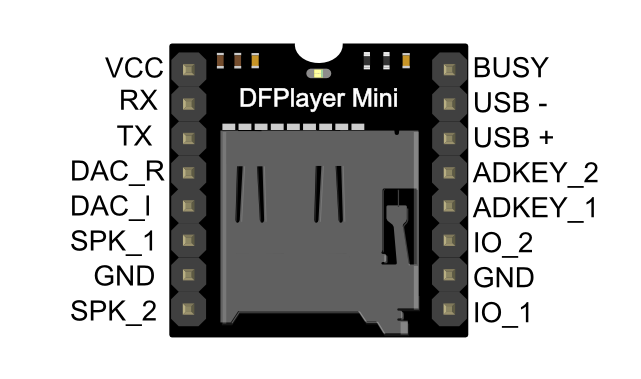
 Arduino --> ATtiny85
DFplayer Mini Wiring
VCC to5V --> Vcc (Power)RX to D2 via 1K resistorTX to D3SPK_1 to Speaker(+)red wire- GND
to--> GND (Ground)4) SPK_2Pinto13Speaker(-)->blackPinwire2 (7)- Pin 12 --> Pin 1 (6)
- Pin 11 --> Pin 0 (5)
- Pin 10 --> Reset (1)
potentiometer Wiring
File handling
The order you copy the mp3 into micro SD card will affect the order mp3 played , which means play(1) function will play the first mp3 copied into micro SD card.
MACOnly User Attention! Ifwhen you are usinguploading Mac OS Xcode to copyATtiny85
thePut mp3,a the10uF filecapacitor systembetween willGND automaticallyand addRESET hiddenon filesArduino like: "._0001.mp3" for index, which this module will handle as valid mp3 files.
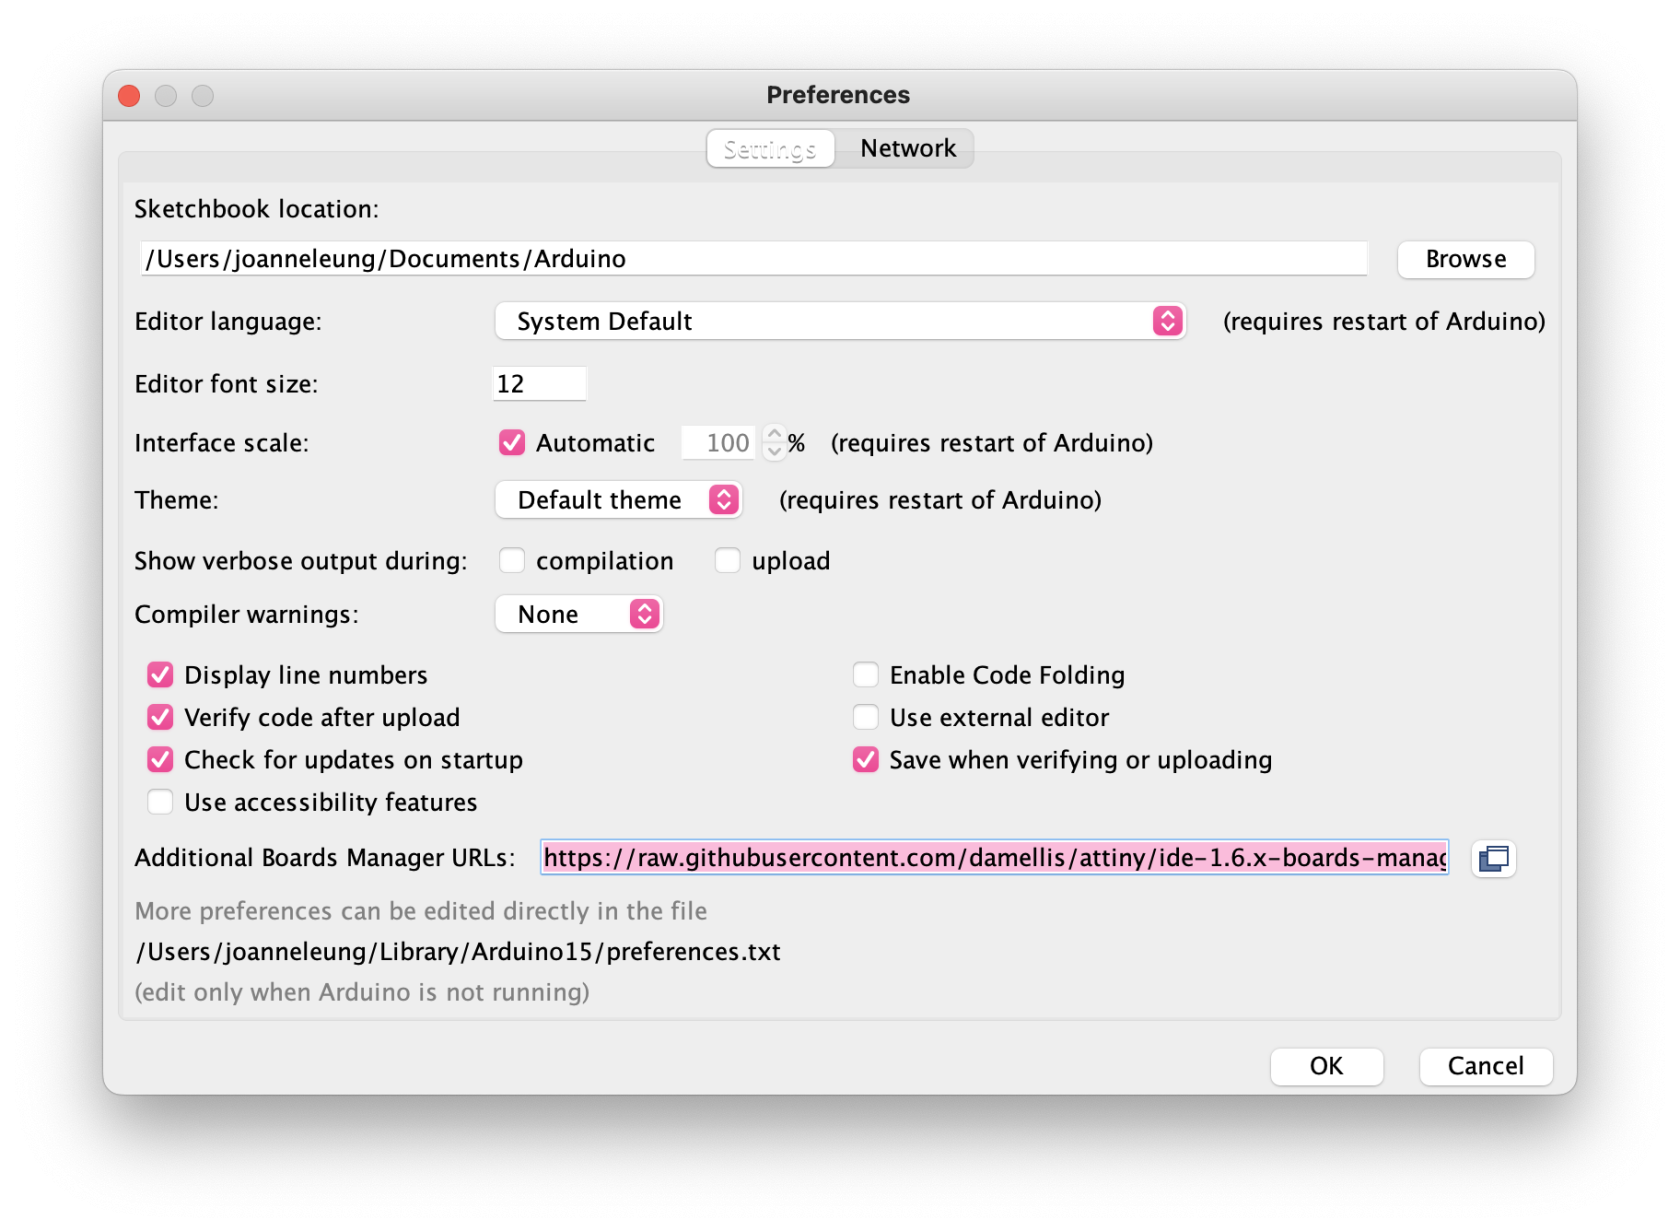
Adding Attiny85 to Boards Manager
ItWe ishave reallyto annoying.make SoATtiny youcompatible with Arduino IDE first, so that we can changechoose YourSDCardNameATting85 infrom Tools -> Board
Go to Arduino Preference
Copy the below commandcode and then runpaste it ininto terminalAdditional , toBoards eliminateManager thoseURLsfiles.
dot_cleanyou /Volumes/<YourSDCardName>
Library
DFRobotDFPlayerMini library will be used for this module. Wealready have a tutorialboard onmanager URL just add a comma before pasting. Click OK and restart Arduino IDE.
https://raw.githubusercontent.com/damellis/attiny/ide-1.6.x-boards-manager/package_damellis_attiny_index.json
Go to installTools , search for ATtiny, then install!
a- libraryBoard - Boards Manager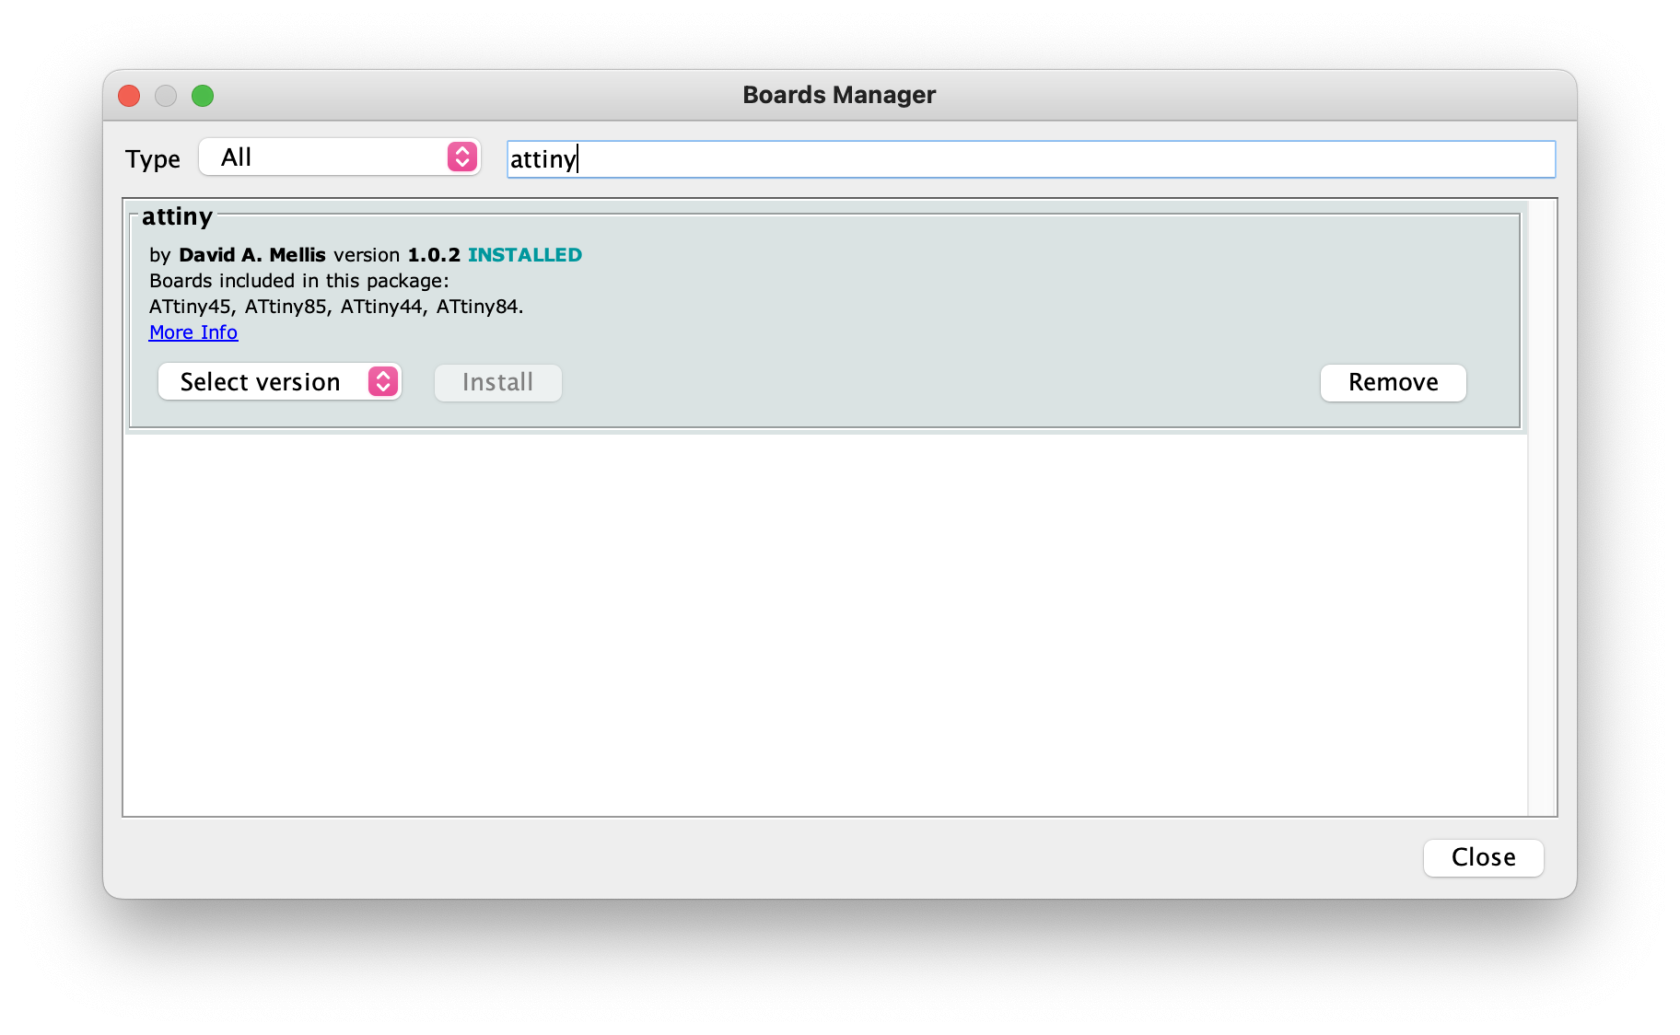
here.
Get Started
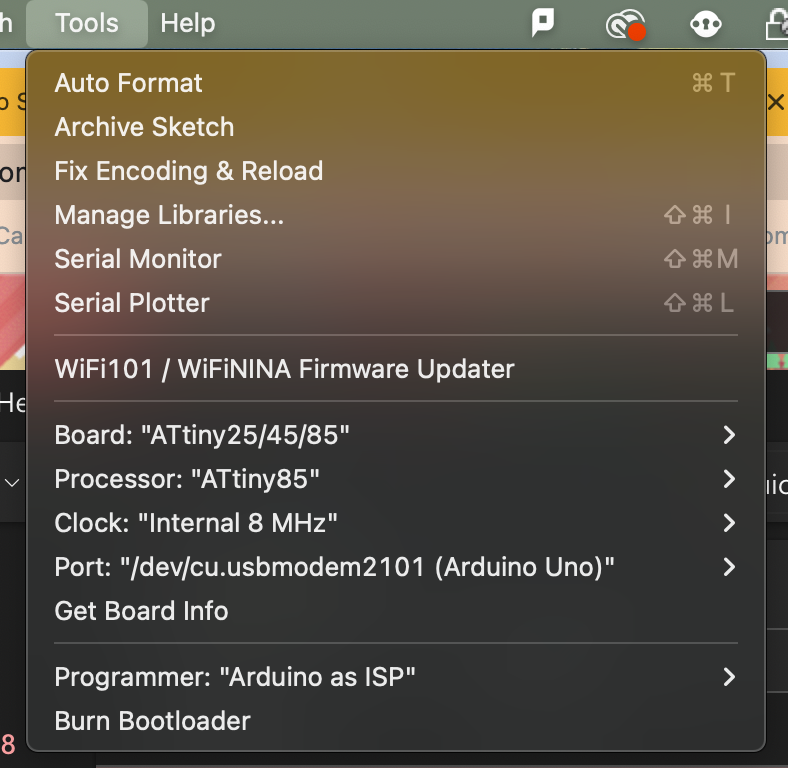
InBefore thisuploading example,the code, we arehave usingto change some settings.
- Tools -> Board scroll to the
potentiometerbottomcontrolselecttwoATtiny25/45/85 - Tools
It->willProcessor-->play8theMHzfirst(internal) - Tools-->Programmer-->Arduino
whenastheISP - Check
turnsthattoallrightwiring, capacitor, andplayboardtheselectionssecondarewhencorrect.
Open up a basic code and upload as usual!
If it turnsdoesn't towork, left.
#include "SoftwareSerial.h" #include "DFRobotDFPlayerMini.h" // Use pins 2 and 3 to communicate with DFPlayer Mini static const uint8_t PIN_MP3_TX = 2; // Connects to module's RX static const uint8_t PIN_MP3_RX = 3; // Connects to module's TX SoftwareSerial softwareSerial(PIN_MP3_RX, PIN_MP3_TX); const int pot = A0; int potValue = 0; // Create the Player object DFRobotDFPlayerMini player; void setup() { pinMode(pot, INPUT); // Init USB serial port for debugging Serial.begin(9600); // Init serial port for DFPlayer Mini softwareSerial.begin(9600); // Start communication with DFPlayer Mini if (player.begin(softwareSerial)) { Serial.println("OK"); // Set volume to maximum (0 to 30). player.volume(30); } else { Serial.println("Connecting to DFPlayer Mini failed!"); } } void loop() { potValue = analogRead(pot); if(potValue > 500 ){ static unsigned long timer = millis(); if (millis()Tools -timerBurn>Bootloader2000) { //2000 is the duration of the audio(1) timer = millis(); //(2) is the 2rd file in the sd card, the order = the order you copied the file to it player.play(2); } }else { static unsigned long timer = millis(); if (millis() - timer > 3000) { //3000 is the duration of the audio(2) timer = millis(); player.play(1); } } }

