How to use a relay module
What is are push buttons/switches?relay?
ButtonsA relay is a switch that opens or closes electrical circuits when activated by a signal between low-powered digital electronics and switcheshigh-powered aredevices. It is handy when the thing you want to control requires higher power (voltage/current) than the microcontroller can give. Arduino can only give max. 5V and 40 mA. In this tutorial, I will use a waywater pump as an example, but it can be applied to a lot of openingother things as well, such as lights and closingactuators. The relay module may vary from model to model, and they have their own maximum voltage and current ratings, so please refer to the datasheet of the one you have.
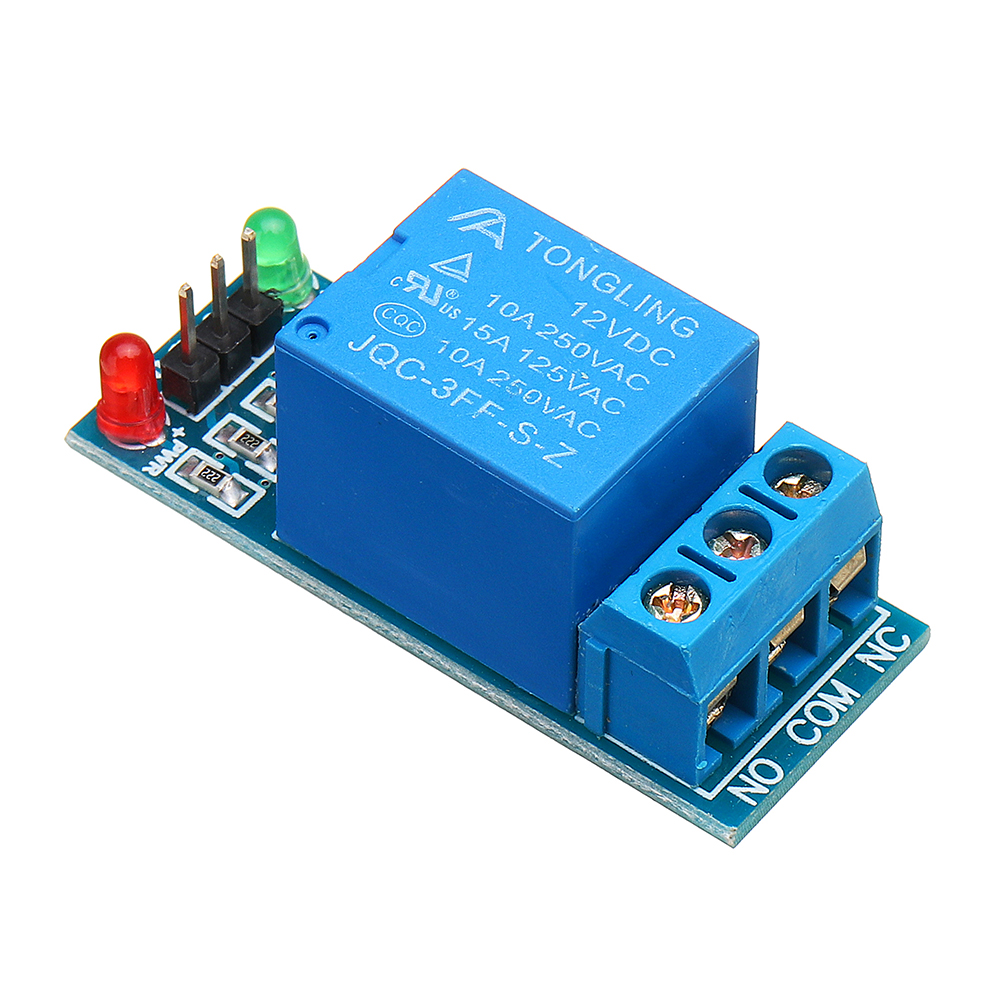
Labels on a circuit,Relay i.e.Module
- VCC/
+breaking-aVoltage,connectionpowerasfor the module, from the microcontroller's 5V - GND/
-- Ground, power for the module, from the microcontroller's GND - IN/SIG - input/ signal, microcontroller's digital output pin
- COM - Common, Connect to the shared wire of the external power supply
You just need to use one of the most rudimentary forms of sensor you can use with an Arduino.these.
There are dozens of different types of switches and buttons, but at their most basic is the momentary push button which we'll be focusing on in the wiring and getting started sections below. However the same approach applies to these as it does to any other type of button or switch.
Different types
RockerNOswitch- Normal Open, Connect to the device’s positive terminalPushNCbutton- TactileNormalbuttonClosed, ReedConnectswitchto Tilttheswitchdevice’s Keypositiveoperated switchRotary switchSlide switchMicro switchToggle switchterminal
There are many different types for different purposes:
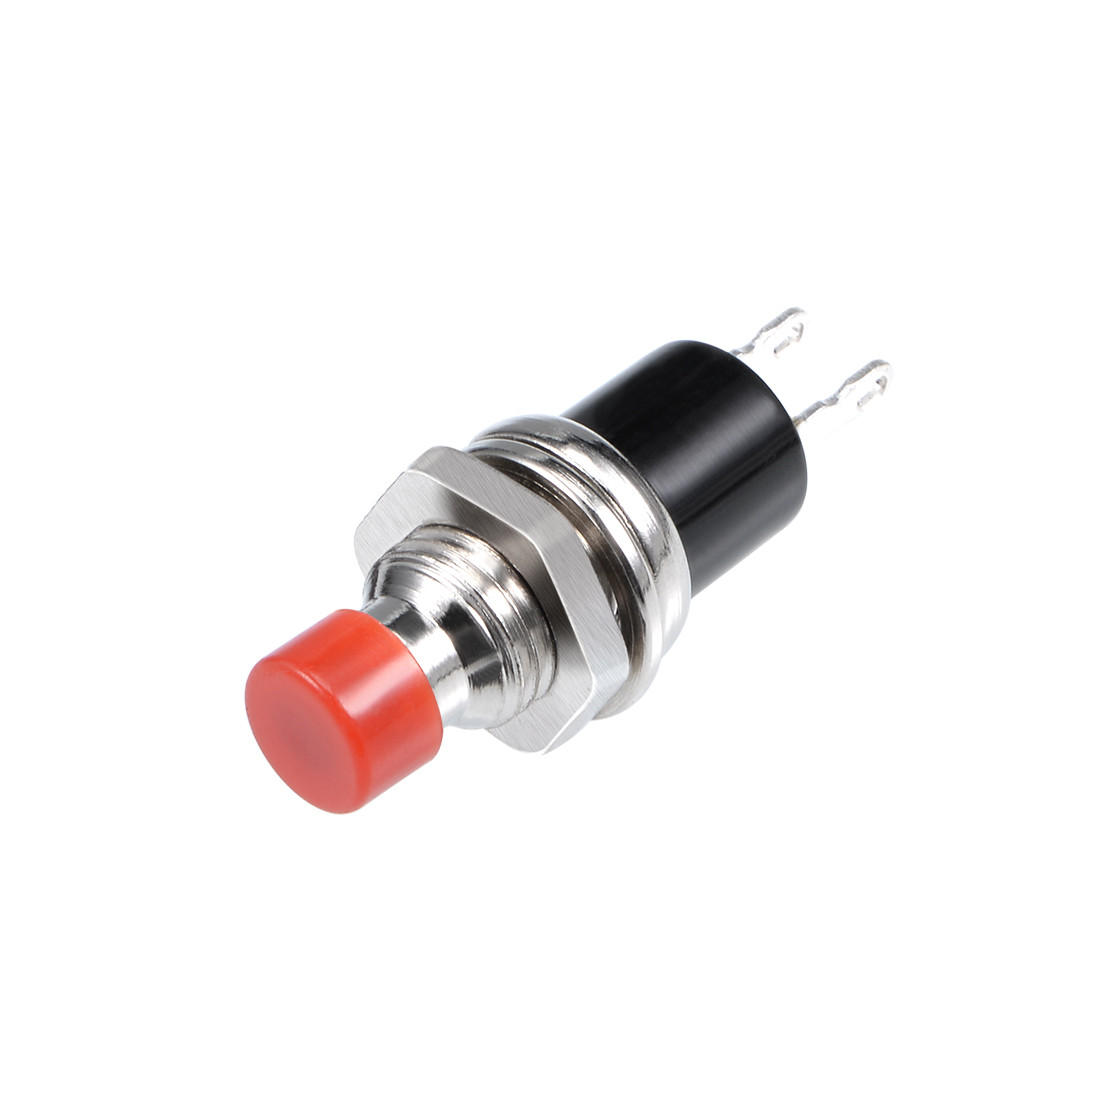
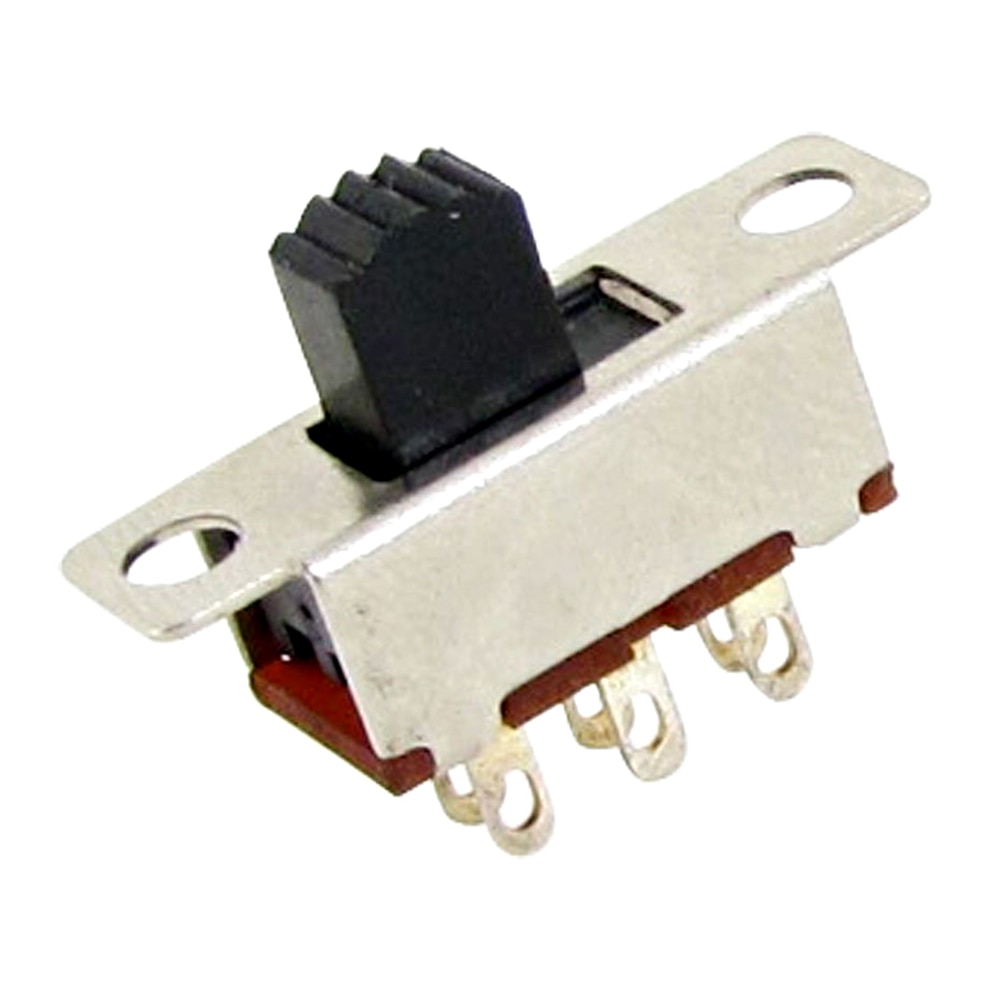
Rocker, slide and toggle switchesClosed workhere moremeans like light switches holding their position, they can be a good way of indicatingwhere the mode of a device, such as playing video forward or backwards.
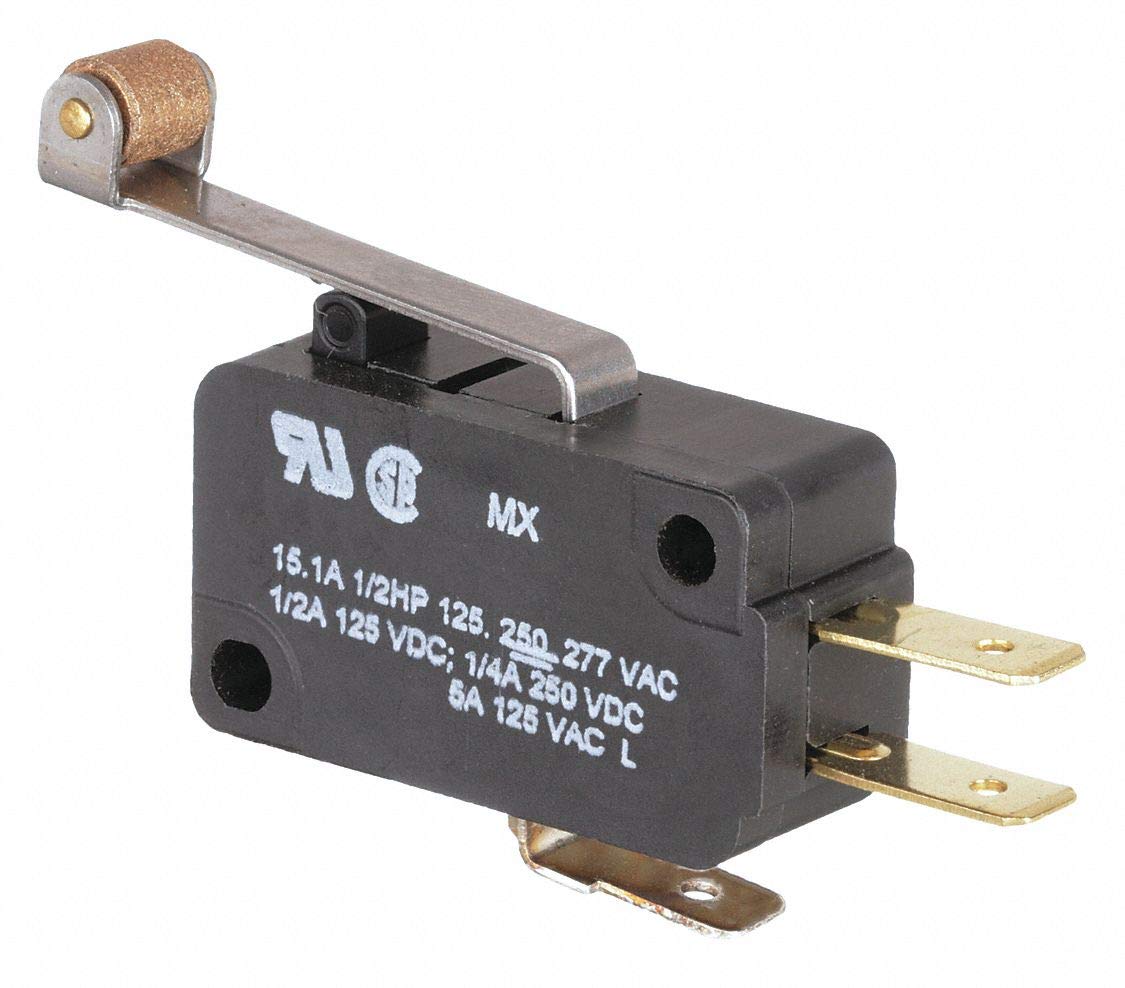
Micro switches can with motors to detect when it has reached the end of movement, such as in a 3D printer to stop the motor going too far over the end, or to detect if a drawcircuit is open or closed. An open circuit is off and a closed circuit is on. When a circuit is normally open, it means the device is by default off and will only turn on when it receives a HIGH/1/TRUE signal from the microcontroller. Vice versa, when a circuit is normally closed, it means the device is by default on and will only turn off when it receives a HIGH/1/TRUE signal from the microcontroller
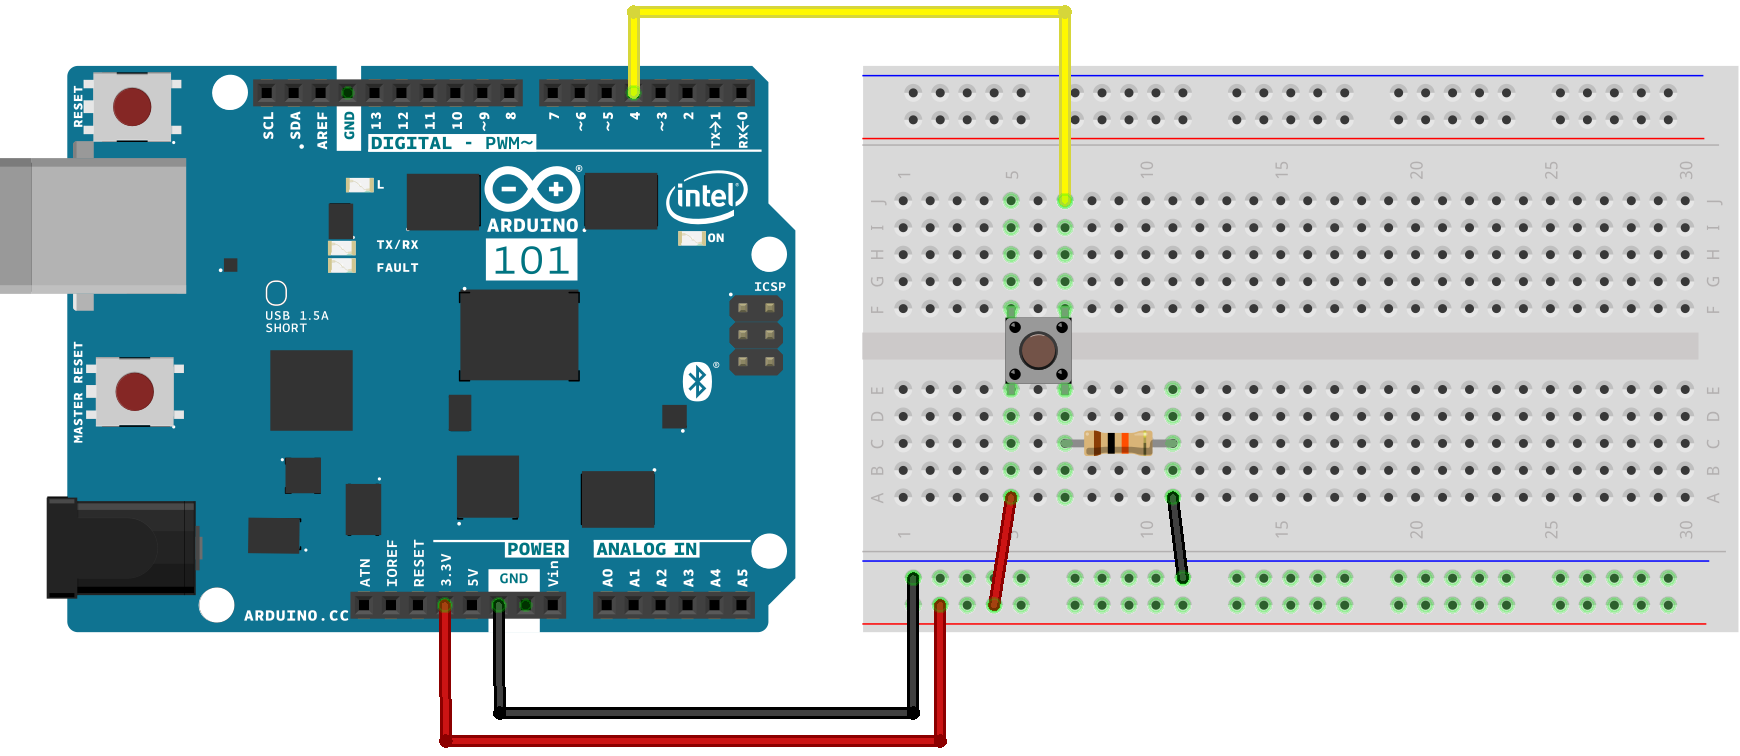
Wiring
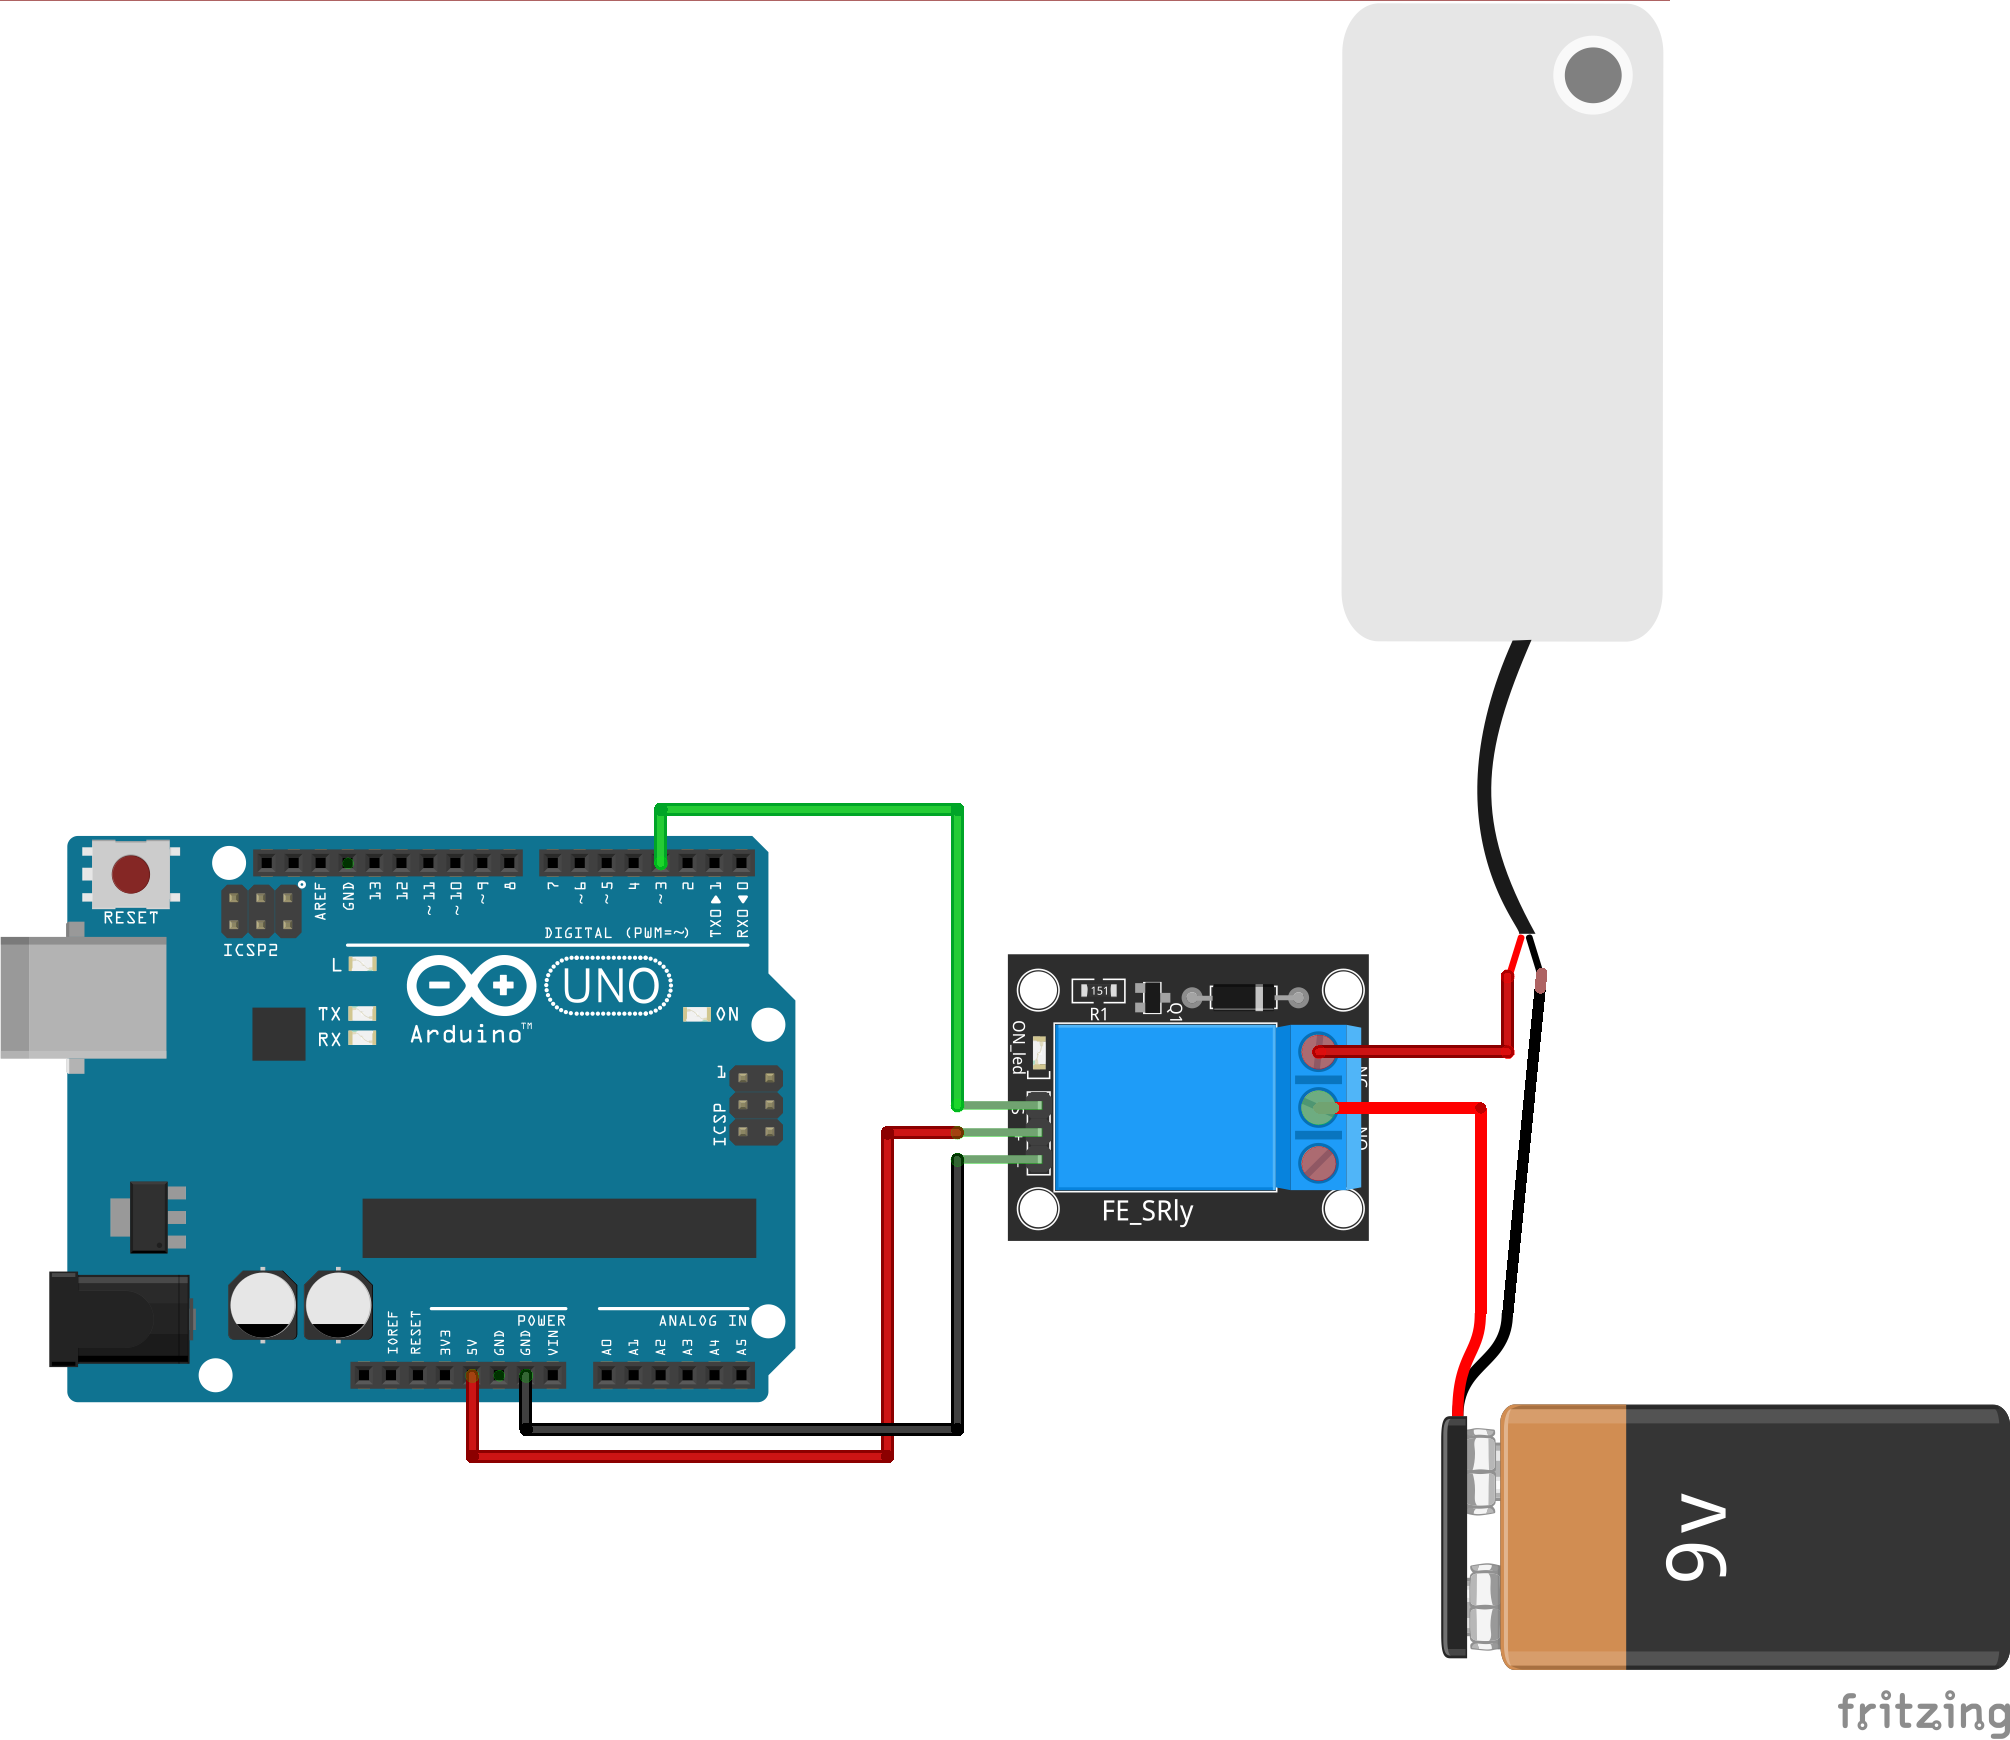
- VCC/
+buttons-and5V - GND/
-is-simple,GND - IN/SIG
there-ispina3 - NO
you-mightred(+)notwirehave thought about.Although a push button like that inof thediagramwateronlypump - COM
two-connections, which are closed by pressing the button, you have to add a resistor to make the circuit work properly. - connect the
Arduinoblack(-)pinwirethrough a high value 10KΩ resistor to ground, this allowsof thecircuitwatertopumpquicklyandreachblack(-)0V when the button is released but prevents large amountswire ofcurrentbatteryflowingtogether
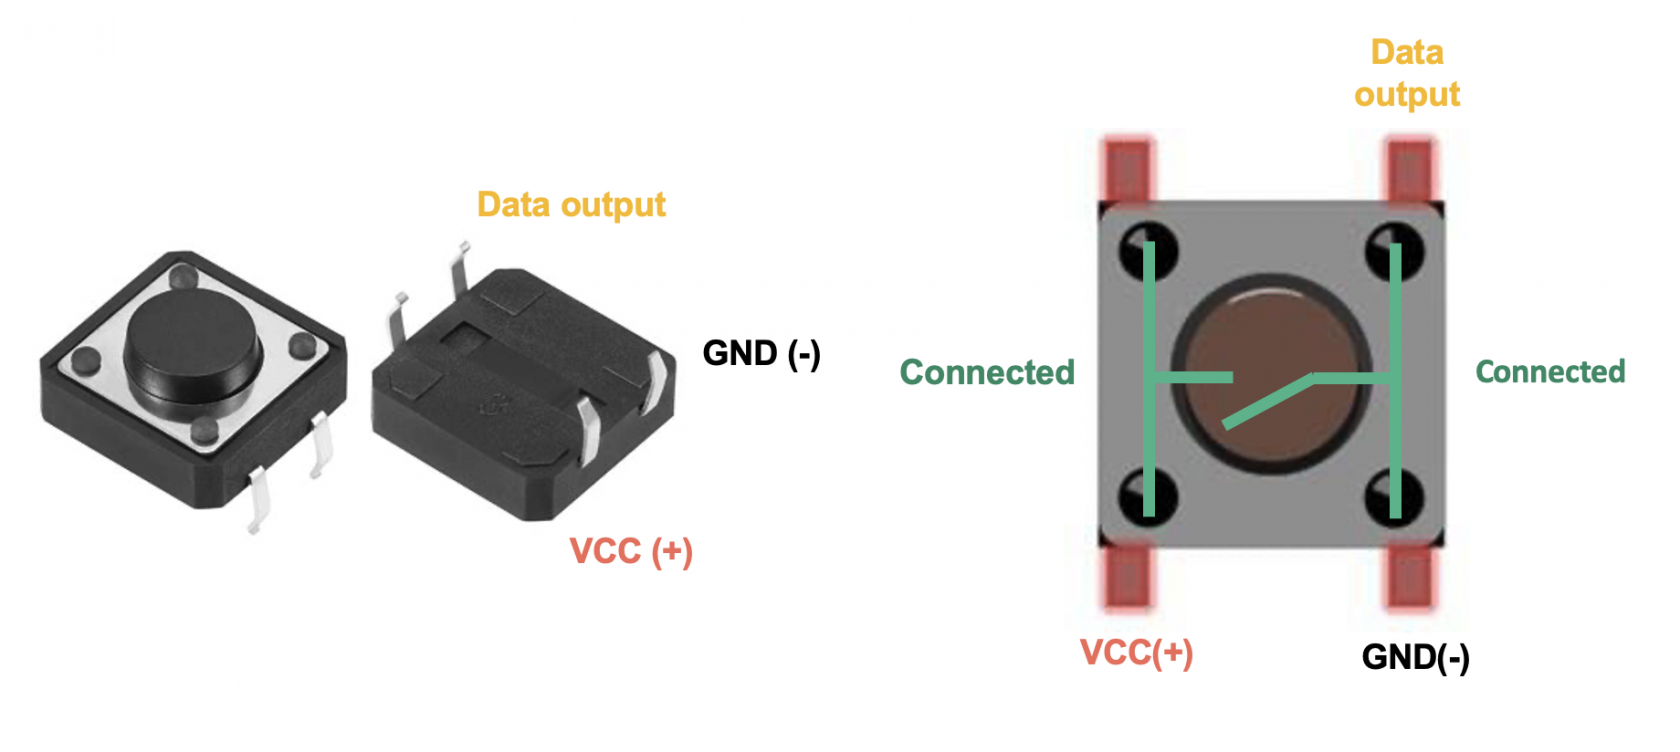
It's not possible however to do this otherwise when you apply 5V by closing the circuit you would create a short circuit, instead we
Getting started
The following is a simple circuitcode that will get your button controllingmake the LEDwater builtpump intoturn theon Arduino.for 1 second and off for 1 second.
#defineconst ledPinint 13RELAY_PIN #define= buttonPin3;  4// the Arduino pin, which connects to the IN pin of relay

// the setup function runs once when you press reset or power the board
void setup() {
  pinMode(// ledPin,initialize OUTPUTdigital );pin as an output.
  pinMode(RELAY_PIN, buttonPin, INPUT )OUTPUT);
}

// the loop function runs over and over again forever
void loop() {
  booleandigitalWrite(RELAY_PIN, btnState = digitalRead( buttonPin )HIGH); if//turn (on
  btnState == HIGH ) {delay(1000);
  digitalWrite(RELAY_PIN, ledPin, HIGH )LOW); }//turn elseoff
  {
    digitalWrite( ledPin, LOW )delay(1000);
  }
}
If you want to add a toggle functionality such that one press causes the LED to come on, and another press then turns it off, so you don't have to hold the button down things get a little bit more complex.
The Arduino is a powerful computer and operates many times faster than human perception, as such when the mechanical push button is closed there is a small amount of 'bounce' where the circuit makes and breaks the connection a few times before it settles, this is detected by the Arduino as multiple presses.

This diagram shows the signal bouncing up and down over a period of 10µS (0.00001 seconds)
In effect this means that each time you press the button to toggle just once it toggles multiple times, you can fix this either with a small capacitor, or modifications to your Arduino sketch.
The code here adds two major changes, first it tracks the current and previous button state through each loop meaning it can see if the button has changed from LOW to HIGH, and then adds a delay of 75ms to allow the button to settle but keep it fast enough that the user doesn't perceive this delay.
#define ledPin 13
#define buttonPin 4

boolean ledState = LOW;
boolean prevBtnState = LOW;

void setup() {
  pinMode( ledPin, OUTPUT );
  pinMode( buttonPin, INPUT );
}

void loop() {
  boolean btnState = digitalRead( buttonPin );

  if ( btnState == HIGH && prevBtnState == LOW ) {
    ledState = ! ledState;
    delay( 75 );
  }

  digitalWrite( ledPin, ledState );

  prevBtnState = btnState;
}

