How to use a relay module
What is relay?
A relay is a switch that opens or closes electrical circuits when activated by a signal between low-powered digital electronics and high-powered devices. It is handy when the thing you want to control requires higher power (voltage/current) than the microcontroller can give. Arduino can only give max. 5V and 40 mA. In this tutorial, I will use a water pump and a 1-channel 5V relay module as an example, but it can be applied to a lot of other things as well, such as lights and actuators. The relay module may vary from model to model, and they have their own maximum voltage and current ratings and power requirements, so please refer to the datasheet of the one you have.
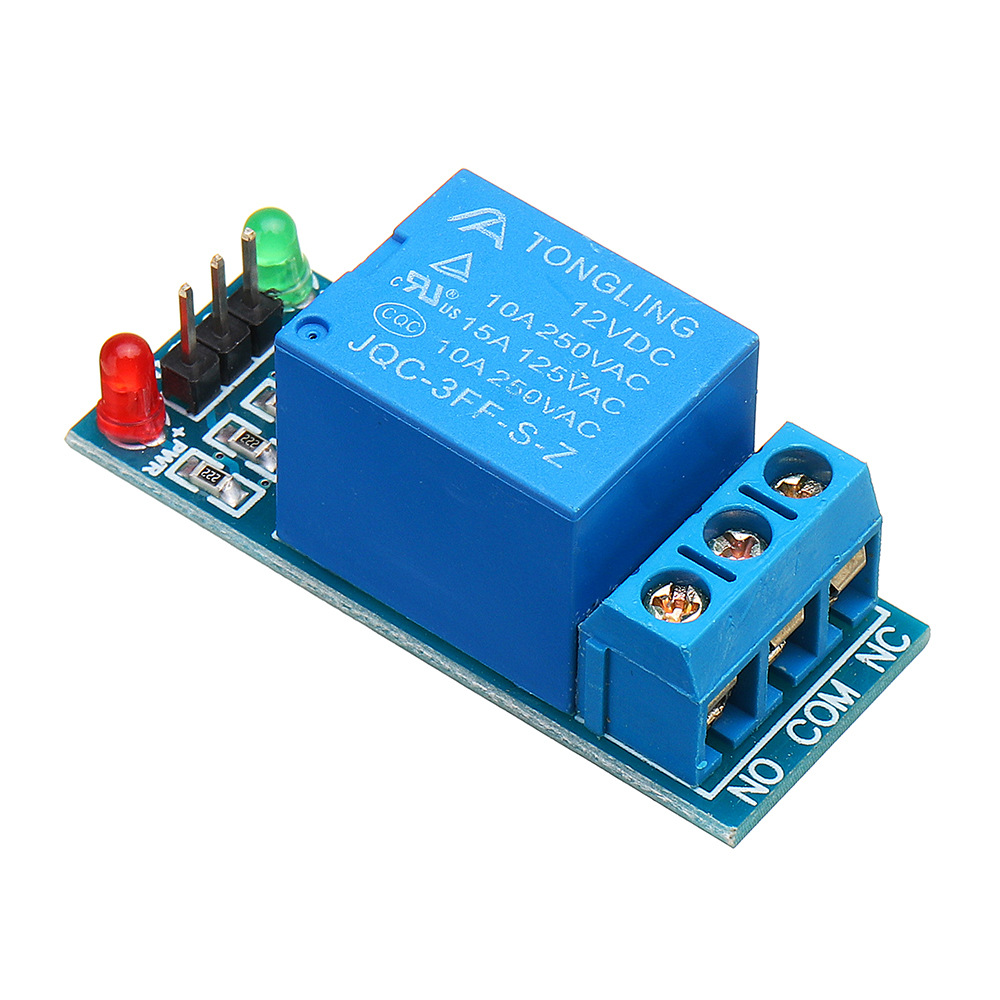
Relay module has different models providing 1/2/4/6/8 channel(s). An 8-channel relay module means it can control 8 devices. In this tutorial, I will be only using a 1 channel relay to control one water pump.
Labels on a Relay Module
- VCC/
+- Voltage, power for the module, depends on the module's need - GND/
-- Ground, power for the module, from the microcontroller's GND - IN/SIG - input/ signal, microcontroller's digital output pin
- COM - Common, Connect to the shared wire of the external power supply
You just need to use one of these.
- NO - Normally Open, Connect to the device’s positive terminal
- NC - Normally Closed, Connect to the device’s positive terminal
Open and Closed here means where the circuit is open or closed. An open circuit is off and a closed circuit is on. When a circuit is normally open, it means the device is by default off and will only turn on when it receives a HIGH/1/TRUE signal from the microcontroller. Vice versa, when a circuit is normally closed, it means the device is by default on and will only turn off when it receives a HIGH/1/TRUE signal from the microcontroller
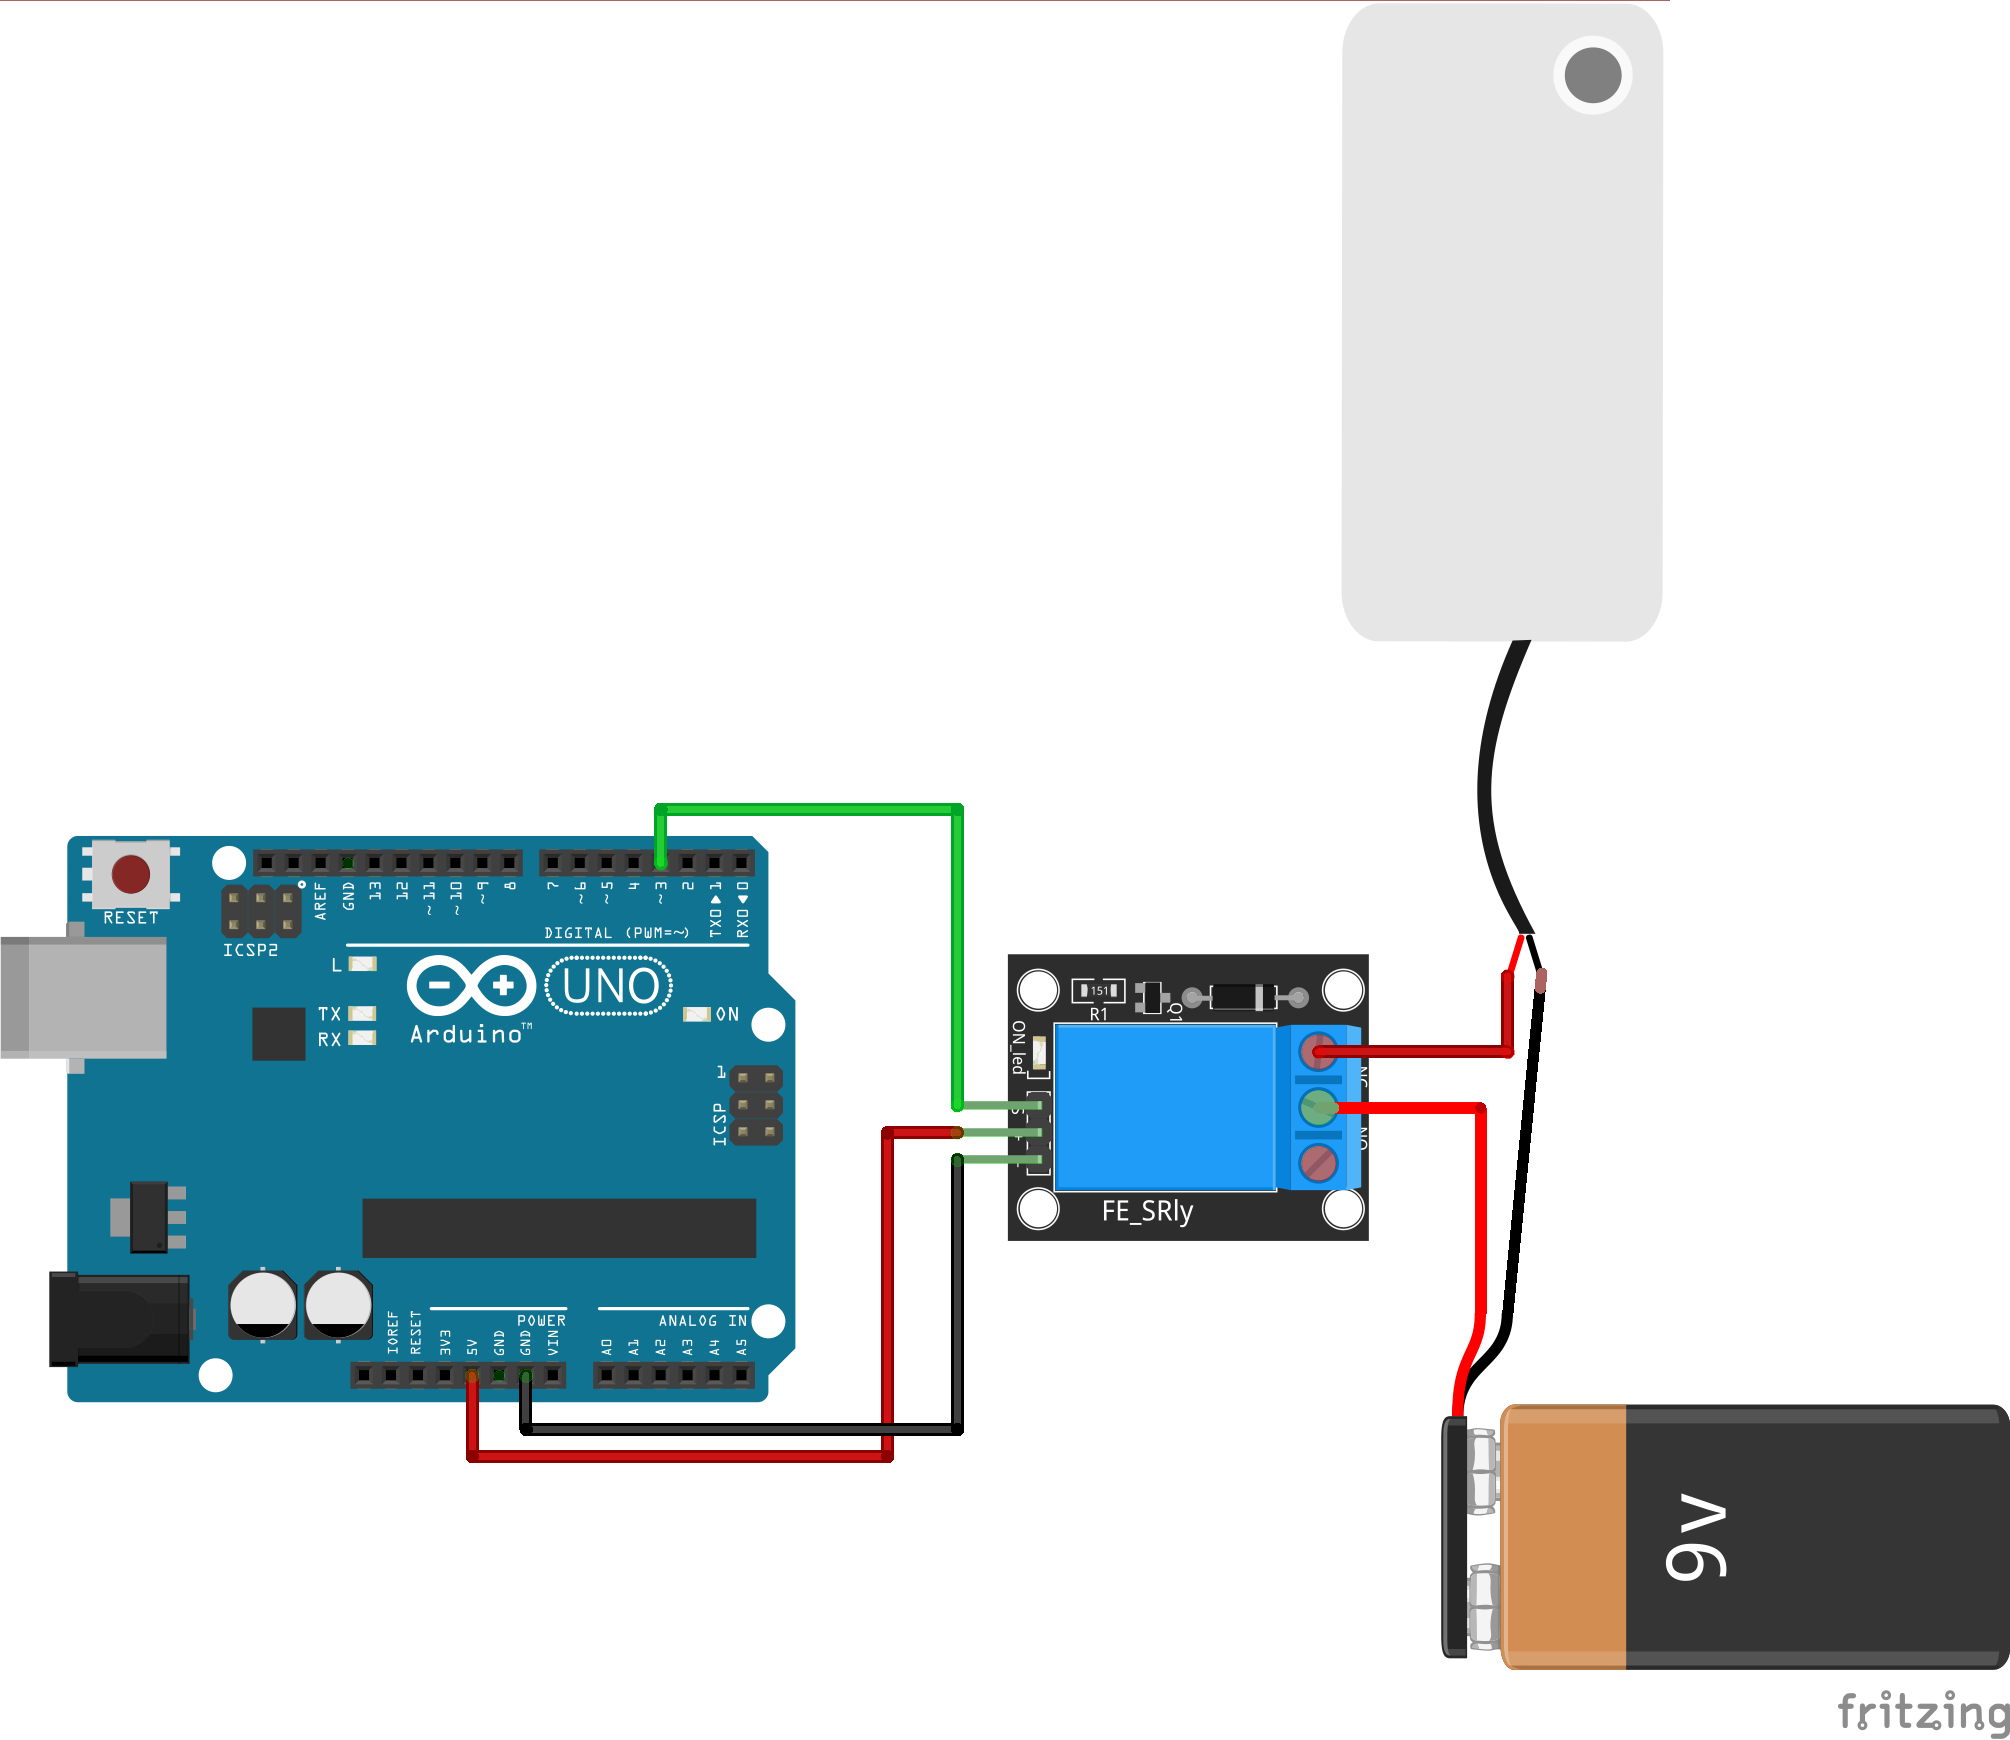
Wiring
- VCC/
+- 5V - GND/
-- GND - IN/SIG - pin 3
- NO - red(+) wire of the water pump
- COM - red(+) wire of battery
- connect the black(-) wire of the water pump and black(-) wire of battery together
Getting started
The following is a simple code that will make the water pump turn on for 1 second and off for 1 second.
const int RELAY_PIN = 3;  // the Arduino pin, which connects to the IN pin of relay

// the setup function runs once when you press reset or power the board
void setup() {
  // initialize digital pin as an output.
  pinMode(RELAY_PIN, OUTPUT);
}

// the loop function runs over and over again forever
void loop() {
  digitalWrite(RELAY_PIN, HIGH); //turn on
  delay(1000);
  digitalWrite(RELAY_PIN, LOW); //turn off
  delay(1000);
}