Projection Mapping in MadMapper
Why use MadMapper?
MadMapper is a powerful tool for projection mapping, especially when working at large scales — like projecting onto a building facade. Unlike TouchDesigner, MadMapper isn't free, but a 30-day demo version is available. The demo is great for testing but won't let you save projects.
Our lab holds a limited number of full licenses. These cannot be installed on personal devices, but you can borrow a machine with MadMapper pre-installed — just contact us.
If you're working on a large-scale projection (anything over 3 meters), MadMapper’s high-resolution output is ideal. Start by installing the DEMO version here: https://madmapper.com/madmapper/software.
Software Setup
Before launching MadMapper, make sure your displays are not mirrored:
-
macOS: Go to System Preferences > Displays, and uncheck "Mirror Displays".
-
Windows: Go to Display Settings, and choose "Extend these displays".
Import your content
MadMapper comes with a few built-in visuals, but to add your own:
-
Click the + icon on the right side to import images or videos.
-
You can also use Syphon or webcams as live inputs.
-
Drag your imported content into the empty area on the left to start working with it.
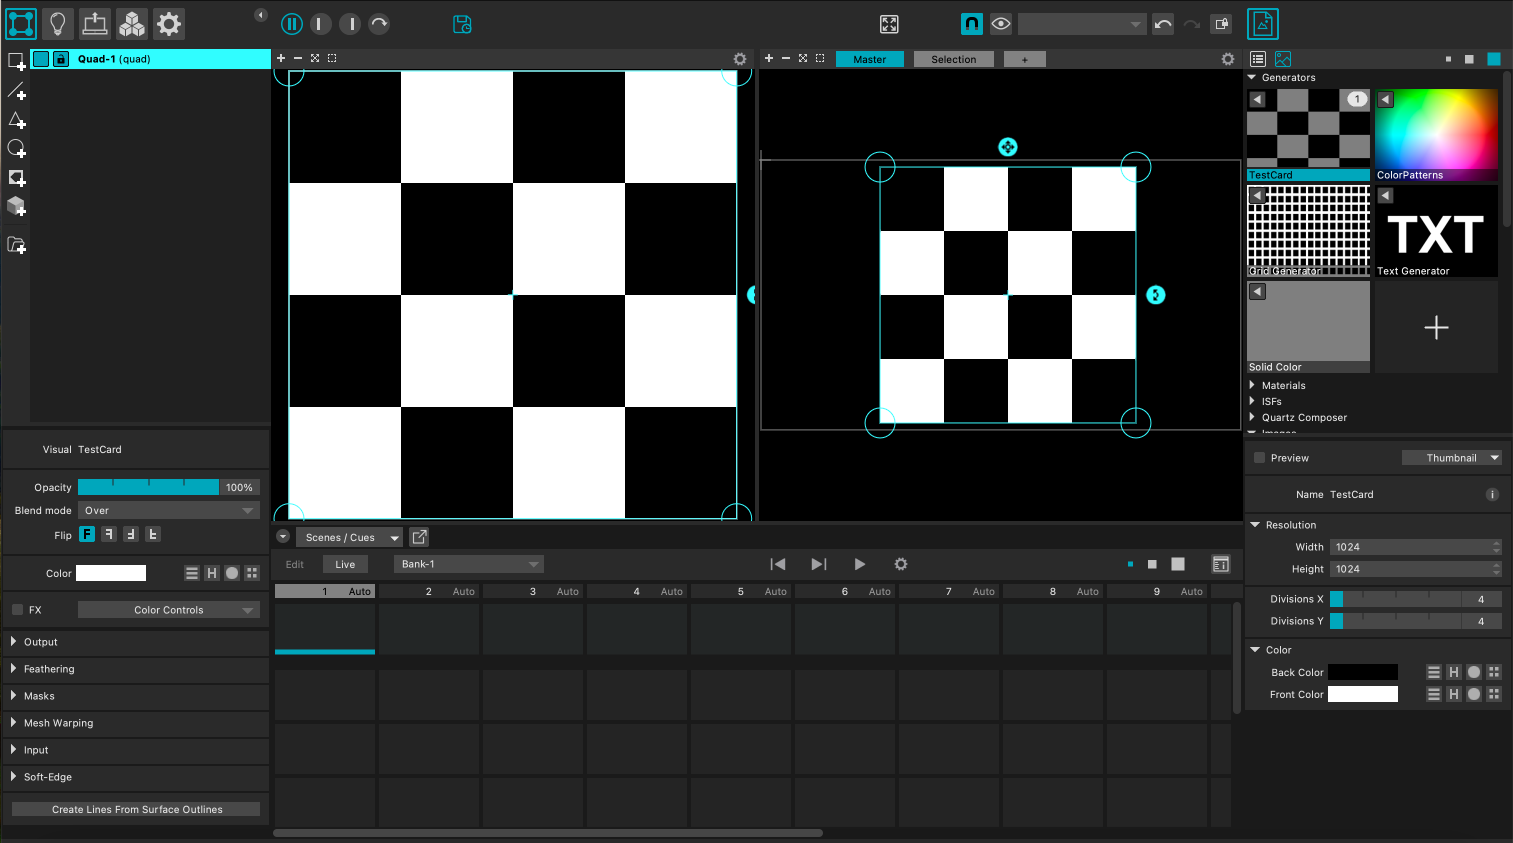
Adjusting and Transforming
MadMapper’s interface is split into two key areas:
-
Left side: Edit content—resize, crop, rotate, etc.
-
Right side: Map the content—adjust corners, apply masks, and shape your projection surface.
Project your output
-
Click the projector icon (top left).

-
Choose your projector from the list under Output Destination.
-
Adjust the Output Size if needed, or let it auto-adapt.
-
Enter Fullscreen mode via the Output > Fullscreen Mode menu or by pressing
Cmd + U(useCmd + Tto exit Fullscreen).
More resources are also available here: https://madmapper.com/madmapper/tutorials.