Projection Mapping in MadMapper
Why should you use MadMapper?
While MadMapper is a popular alternative to Touchdesigner for projection mapping, the main disdavantagedisadvantage is that MadMapper is not free. Students can download and use a free demo version for up to 30 days however this is only useful for testing, as this version is limited and you won't be able to save your project. This lab holds a few licenses, these can't be installed on personal equipment so please contact us if you're interested in borrowing a machine with the full MadMapper license. So why would you go through all of this? Well if you want to project on anything bigger than 3m, say the facade of a building, MadMapper allows for really high resolution! If that's the case go ahead and install the DEMO version to begin with: https://madmapper.com/madmapper/software.
Software Setup
Before you actually start mapping, a few more steps are necessary; In the Monitors section of your System Preferences (Mac) or in the Displays section of your System (Win), you need to make sure that the screens are not mirrored (mirror or mirrored screen). On macOS, uncheck the «Mirror Displays» option.
On Windows, choose «Extend these displays».
Import your content in MadMapper
MadMapper offer a couple of interesting graphics to play around with but if you want to load your own content head to the right end side of the software and click on the + icon to add any images or videos. MadMapper also supports Syphon and and webcams as inputs. Once you have uploaded your content, drag and drop it in the empty area to the left.
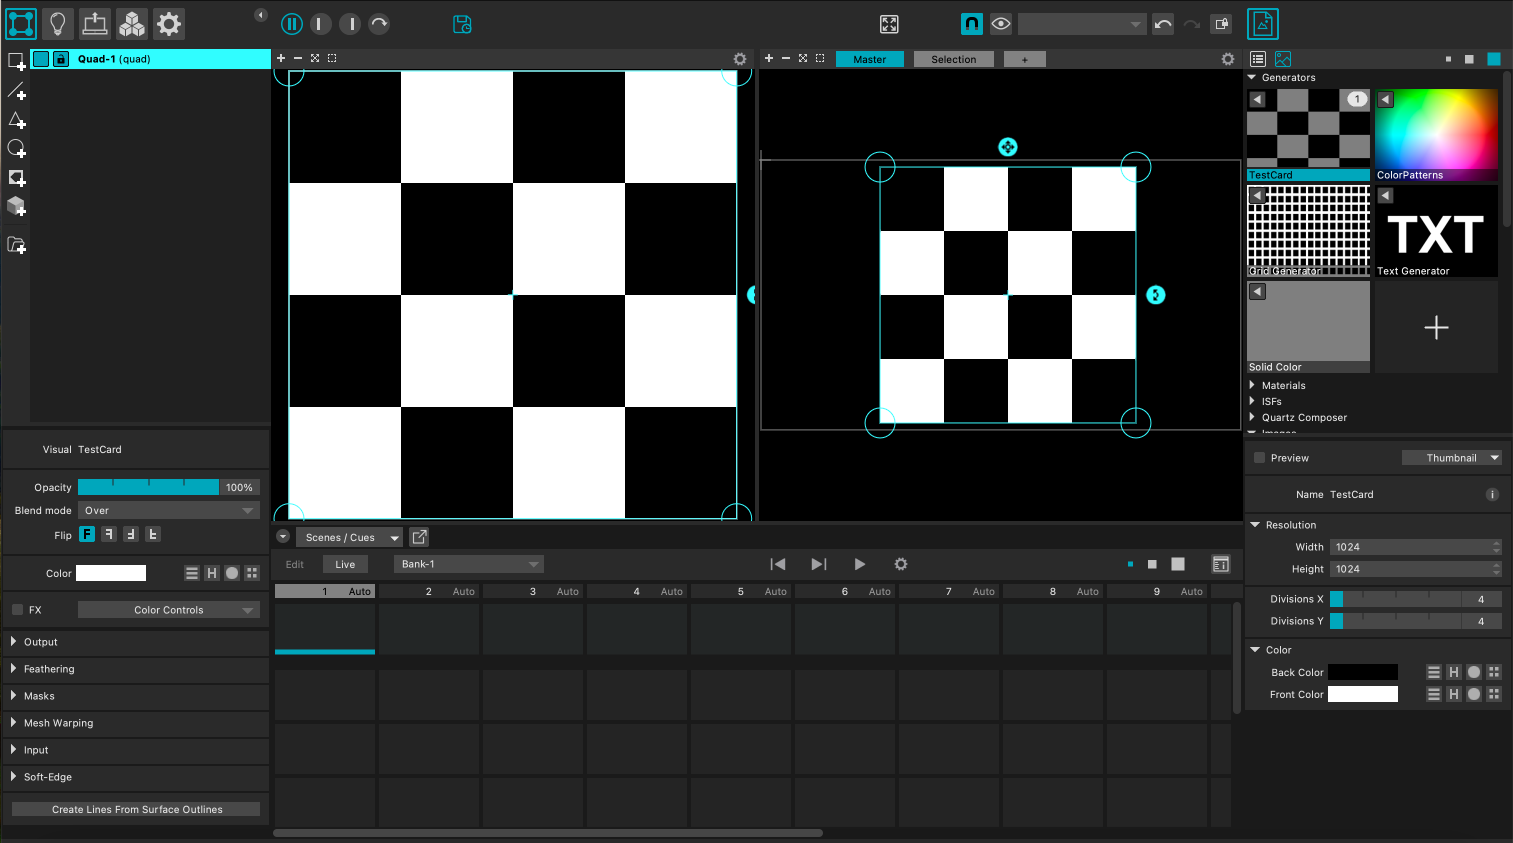
Adjusting and Transforming
The interface is divided into two main areas; The left hand side allows you to edit the content itself, you can rotate it, resize it to crop anything out etc,. The right end side allows you to MAP your content onto an area. This is where you can adjust the shape of your projection, map to corners of an object, apply masks, etc,.
Project your output
![]()
Once your content is ready, click on the projector icon at the top left area of your interface. If you have already connected your projector, here you should be able to select from the projector list. Once your projector has been correctly selected in Output Destination, you will be able to see its information below and you can also edit its Output Size - Next to the Output Size, two buttons allow you to lock/unlock the output size or automatically adapt it to the resolution of the projector selected in Destination. Switch to Fullscreen mode, either via the Output/Fullscreen Mode menu or by using the keyboard shortcut cmd +u (cmd +t to exit Fullscreen mode) to project your content.