Projection Mapping in MadMapper
Why should you use MadMapper?
While MadMapper is a popularpowerful alternative to Touchdesignertool for projection mapping, theespecially mainwhen disadvantageworking isat thatlarge scales — like projecting onto a building facade. Unlike TouchDesigner, MadMapper isisn't notfree, free. Students can download and usebut a free30-day demo version foris upavailable. toThe 30 days however thisdemo is only usefulgreat for testing,testing as this version is limited and youbut won't belet able toyou save yourprojects. project.
Our lab holds a fewlimited licenses,number theseof can'tfull licenses. These cannot be installed on personal equipmentdevices, sobut pleaseyou contactcan us if you're interested in borrowingborrow a machine with the full MadMapper license.pre-installed So— whyjust wouldcontact youus.
If throughyou're all of this? Well if you want to projectworking on a large-scale projection (anything biggerover than3 3m,meters), say the facade of a building, MadMapper allows for really high resolution! If that'MadMapper’s thehigh-resolution caseoutput gois aheadideal. andStart installby installing the DEMO version to begin with:here: https://madmapper.com/madmapper/software.
Software Setup
Before youlaunching actually start mapping, a few more steps are necessary; In the Monitors section of your System Preferences (Mac) or in the Displays section of your System (Win), you need toMadMapper, make sure thatyour the screensdisplays are not mirroredmirrored:
-
mirroredmacOS:
screen).GoOntomacOS,System Preferences > Displays, and uncheckthe «"MirrorDisplays»Displays".option.On -
Windows: Go to Display Settings, and choose
«"Extend thesedisplays»displays".
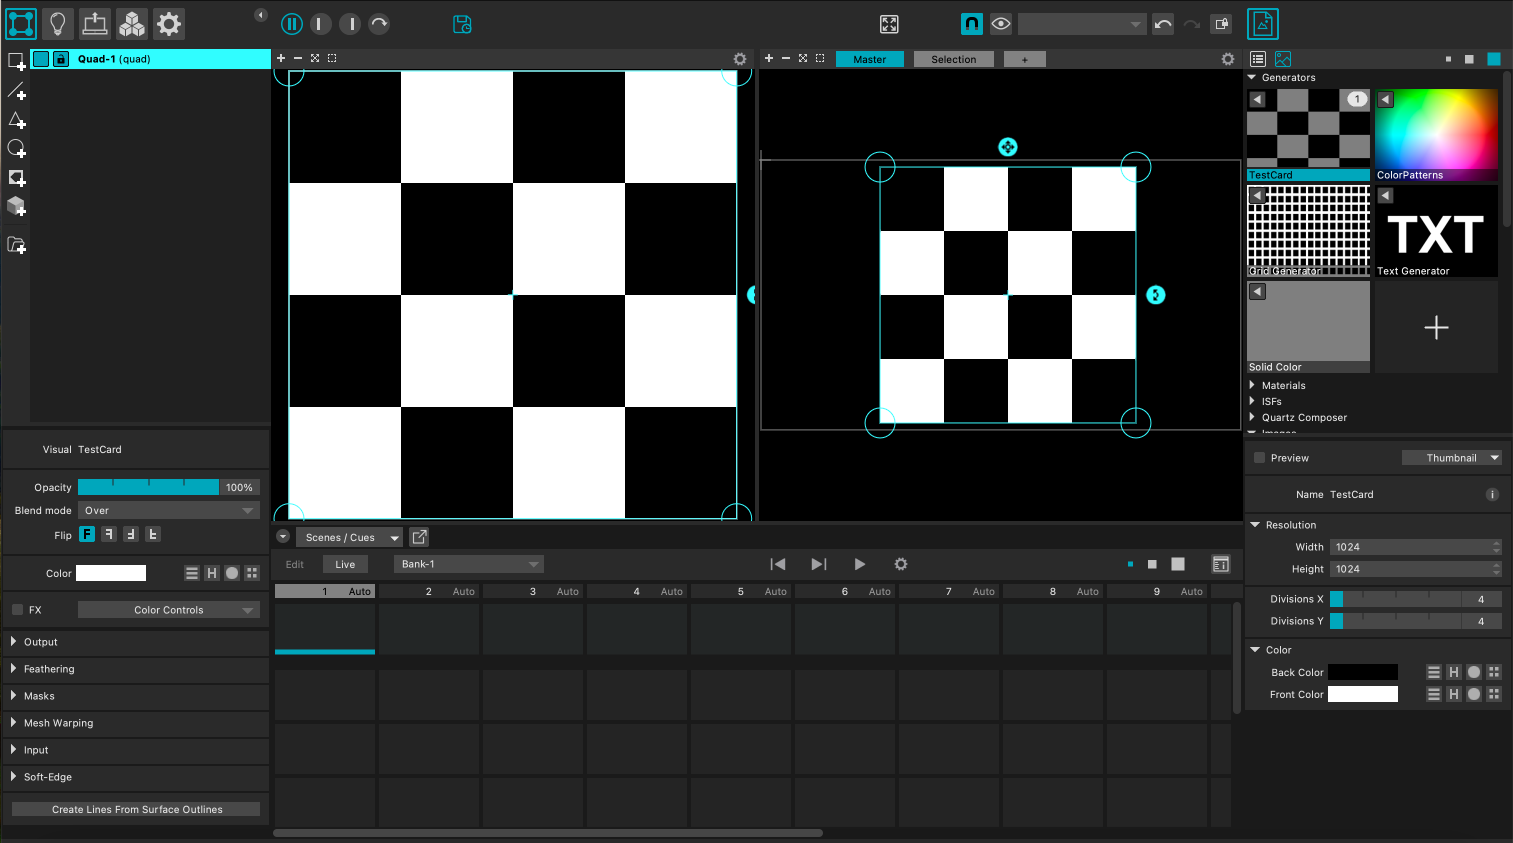
Import your content in MadMapper
MadMapper offercomes with a couplefew ofbuilt-in interestingvisuals, graphicsbut to play around with but if you want to loadadd your ownown:
-
to the right end side of the software and click onClick the + icon on the right side to
add anyimport images or videos.MadMapper -
You can also
supportsuse Syphonand andor webcams as live inputs.Once -
have uploadedDrag your
content,importeddragcontentand drop it ininto the empty areatoon theleft.left to start working with it.
Adjusting and Transforming
TheMadMapper’s interface is dividedsplit into two mainkey areas;areas:
-
handLeft
sideside:allowsEdityoucontent—resize,tocrop,editrotate, etc. -
Right side: Map the
content itself, you can rotate it, resize it to crop anything out etc,. The right end side allows you to MAP your content onto an area. This is where you cancontent—adjustthe shape of your projection, map to corners of an object,corners, apply masks,etc,.and shape your projection surface.
Project your output
-

Click the projector icon (top left).Once
-
Choose your
content is ready, click on theprojectoricon at the top left area of your interface. If you have already connected your projector, here you should be able to selectfrom theprojectorlistlist.underOnce your projector has been correctly selected inOutputDestination,Destination.you -
beAdjust
abletheto see its information below and you can also edit itsOutput Size-ifNext to the Output Size, two buttons allow you to lock/unlock the output sizeneeded, orautomatically adaptlet ittoauto-adapt.the -
ofEnter
the projector selected in Destination. Switch toFullscreenmode, eithermode via theOutput/Output > Fullscreen Mode menu or byusing the keyboard shortcut cmdpressingCmd +(uUcmduseCmd +to exittTFullscreenFullscreen).mode)