How to image a Raspberry Pi
What is Raspberry Pi?
Raspberry Pi is a series of small single-board computers. The Raspberry Pi project originally leaned towards the promotion of teaching basic computer science in schools and in developing countries. It is widely used in many areas because of its low cost, modularity, and open design.
The Raspberry Pi Foundation provides Raspberry Pi OS , a Debian-based Linux distribution for download. It promotes Python and Scratch as the main programming languages, with support for many other languages.
How to image a RaspberryPi?
There is an official video showing how if you prefer.
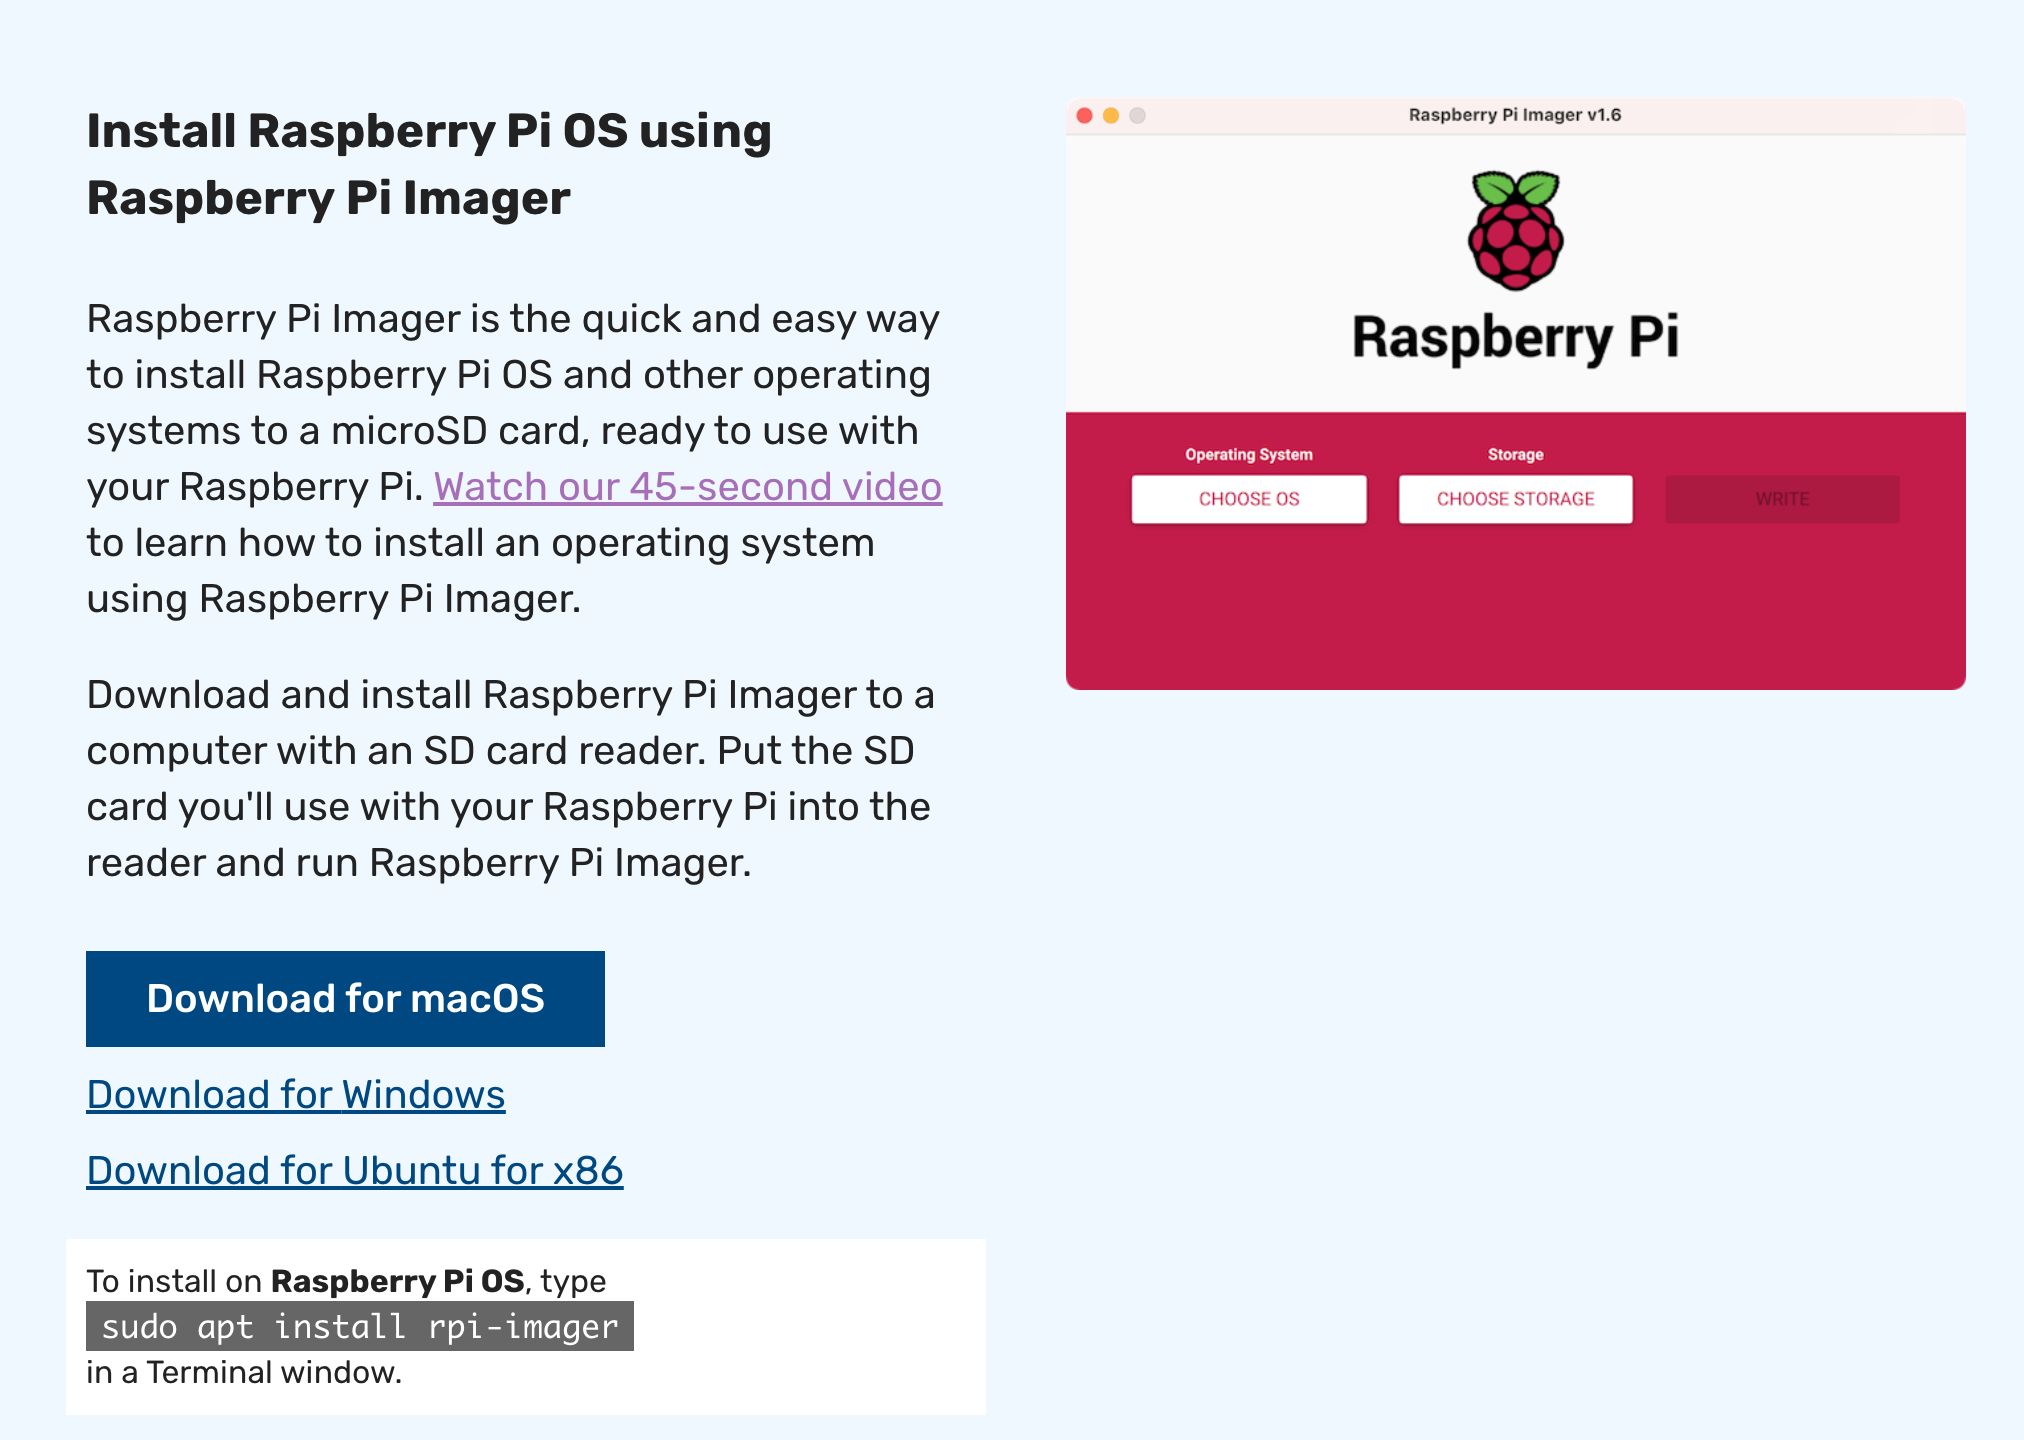
1. Download the Raspberry Pi Imager
Go the Raspbeery Pi official site to download the software. Choose the suitable version for yourself.
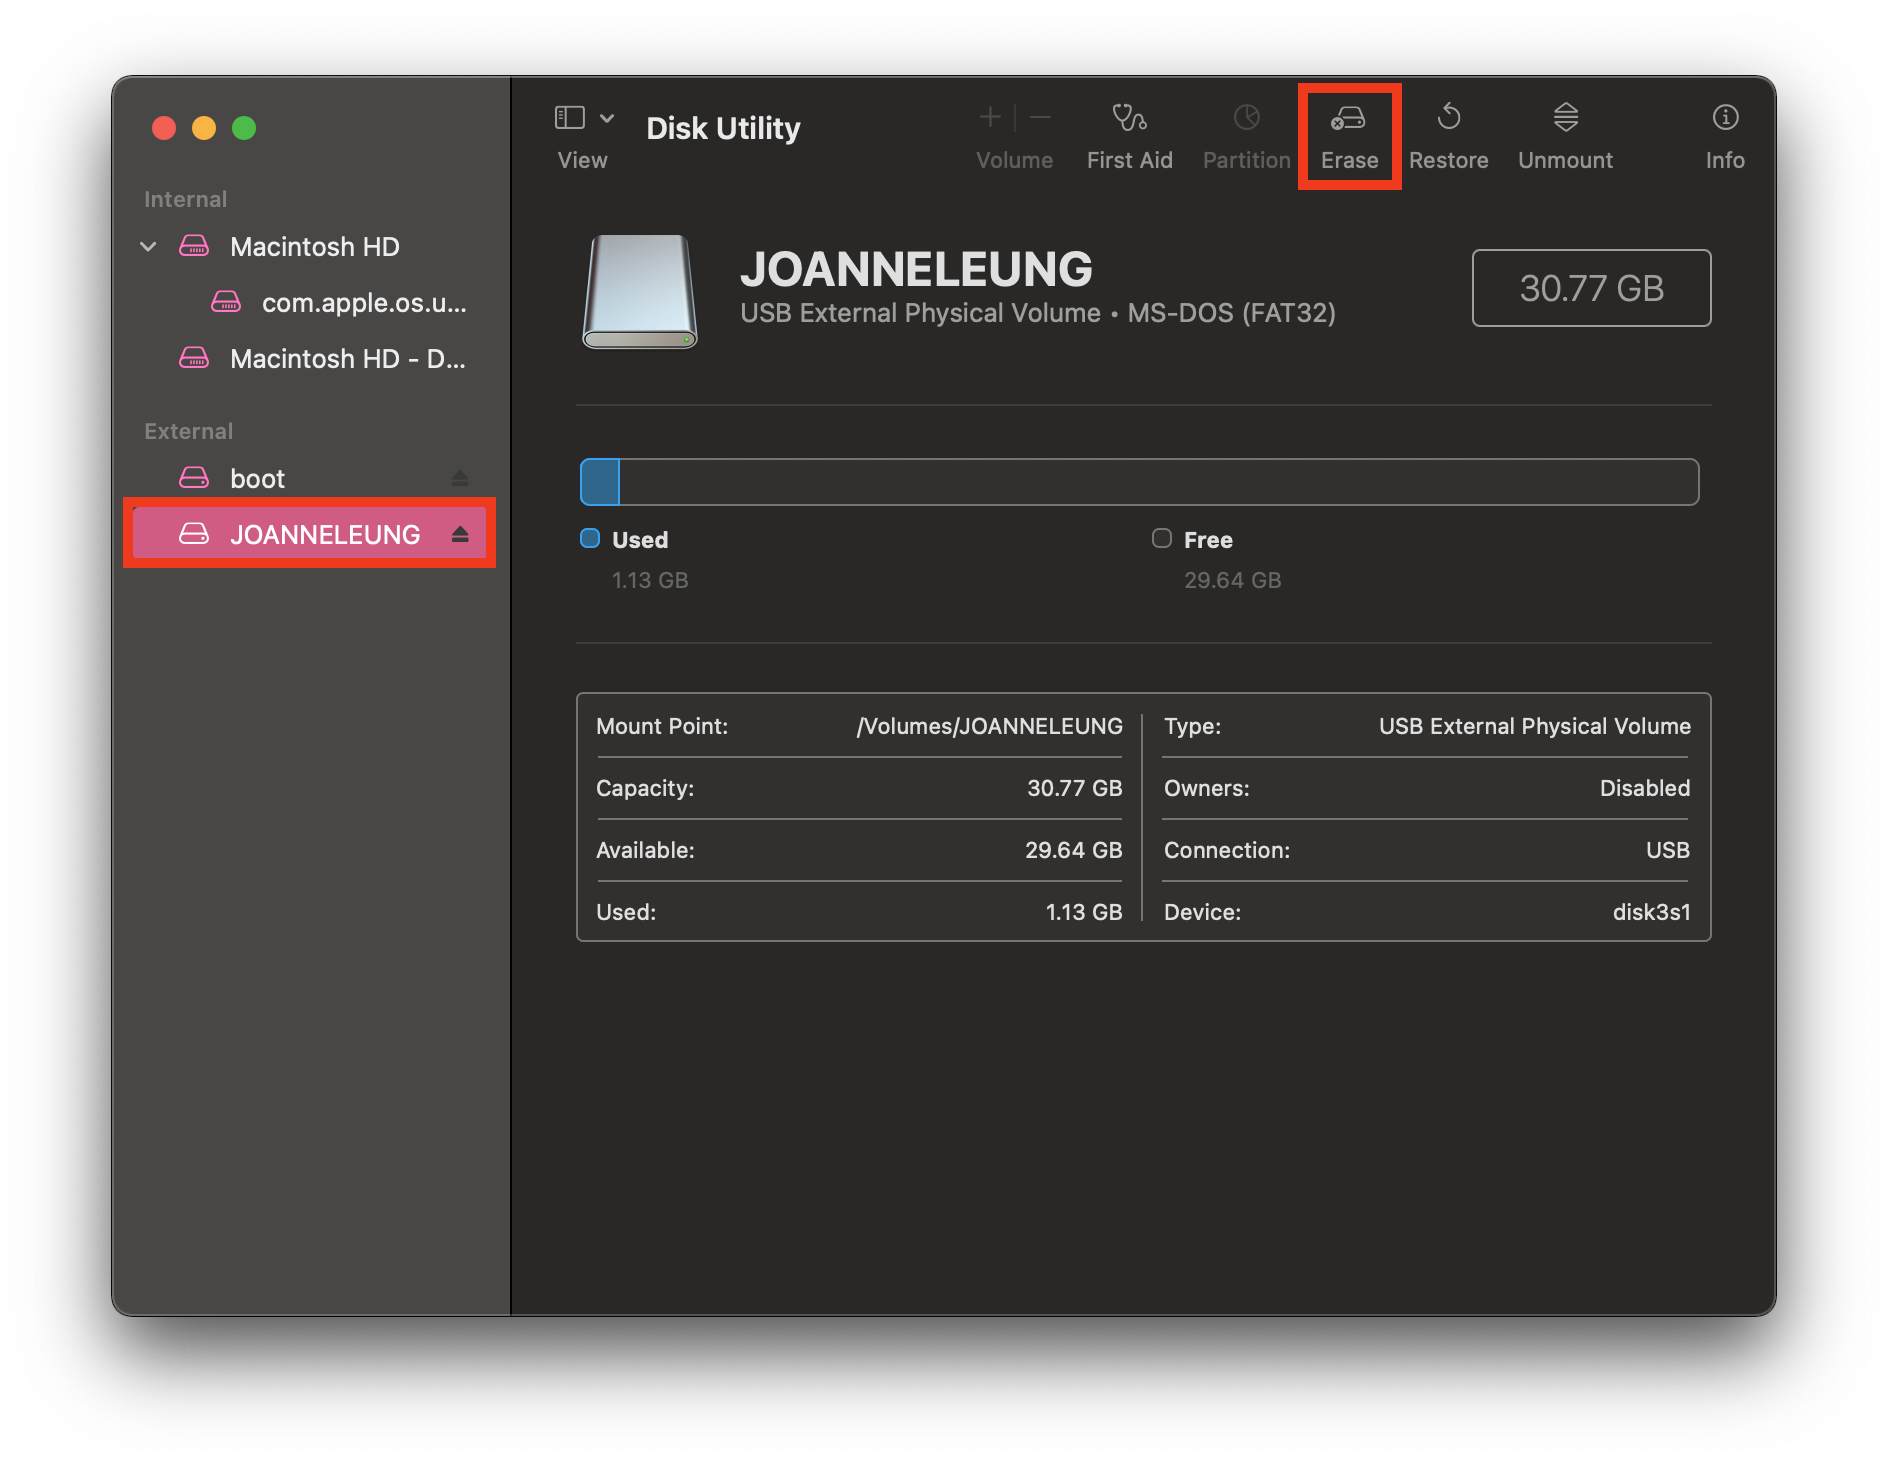
2. Insert your SD card
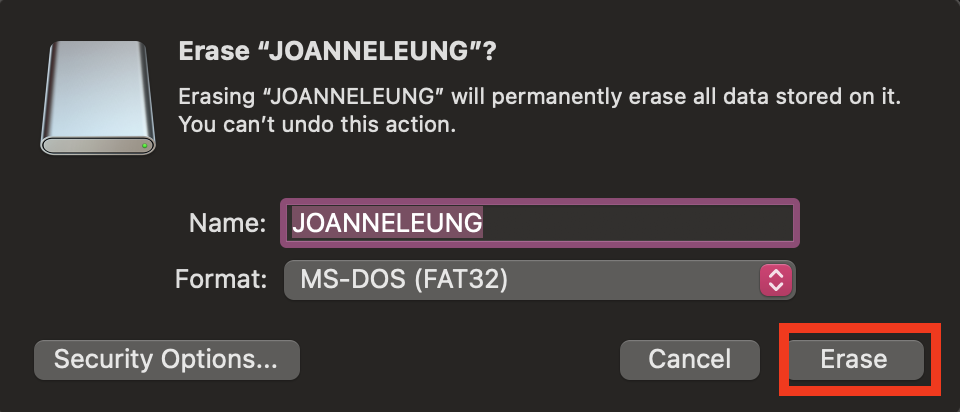
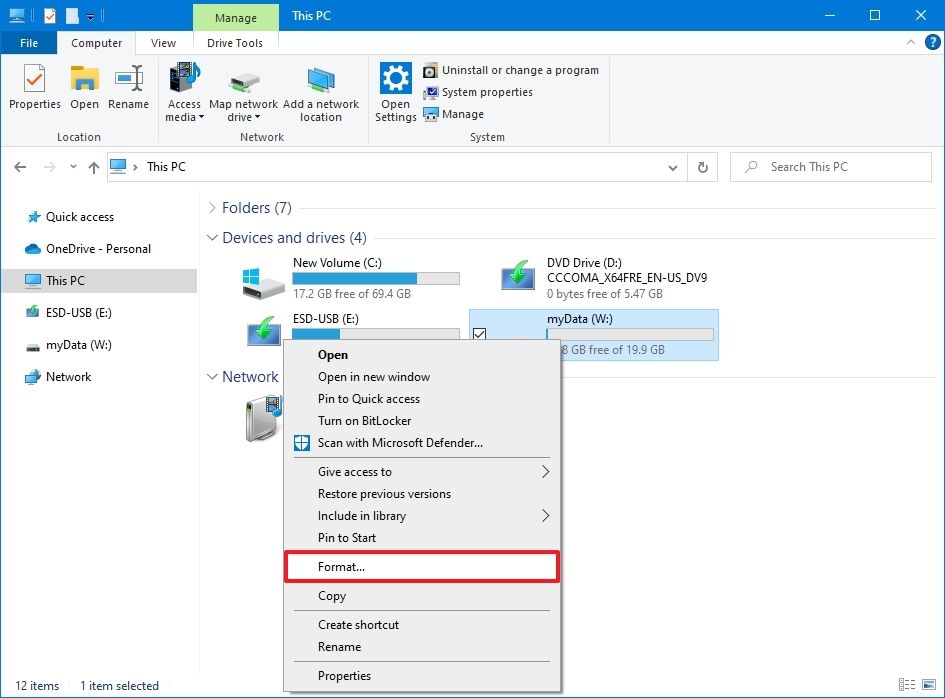
A CTL Pi kit should contain a SD card. Insert the SD card to your computer. It is always a good habit to format the SD before imaging it.
- MAC - Disk Untility
- Windows - File Explorer

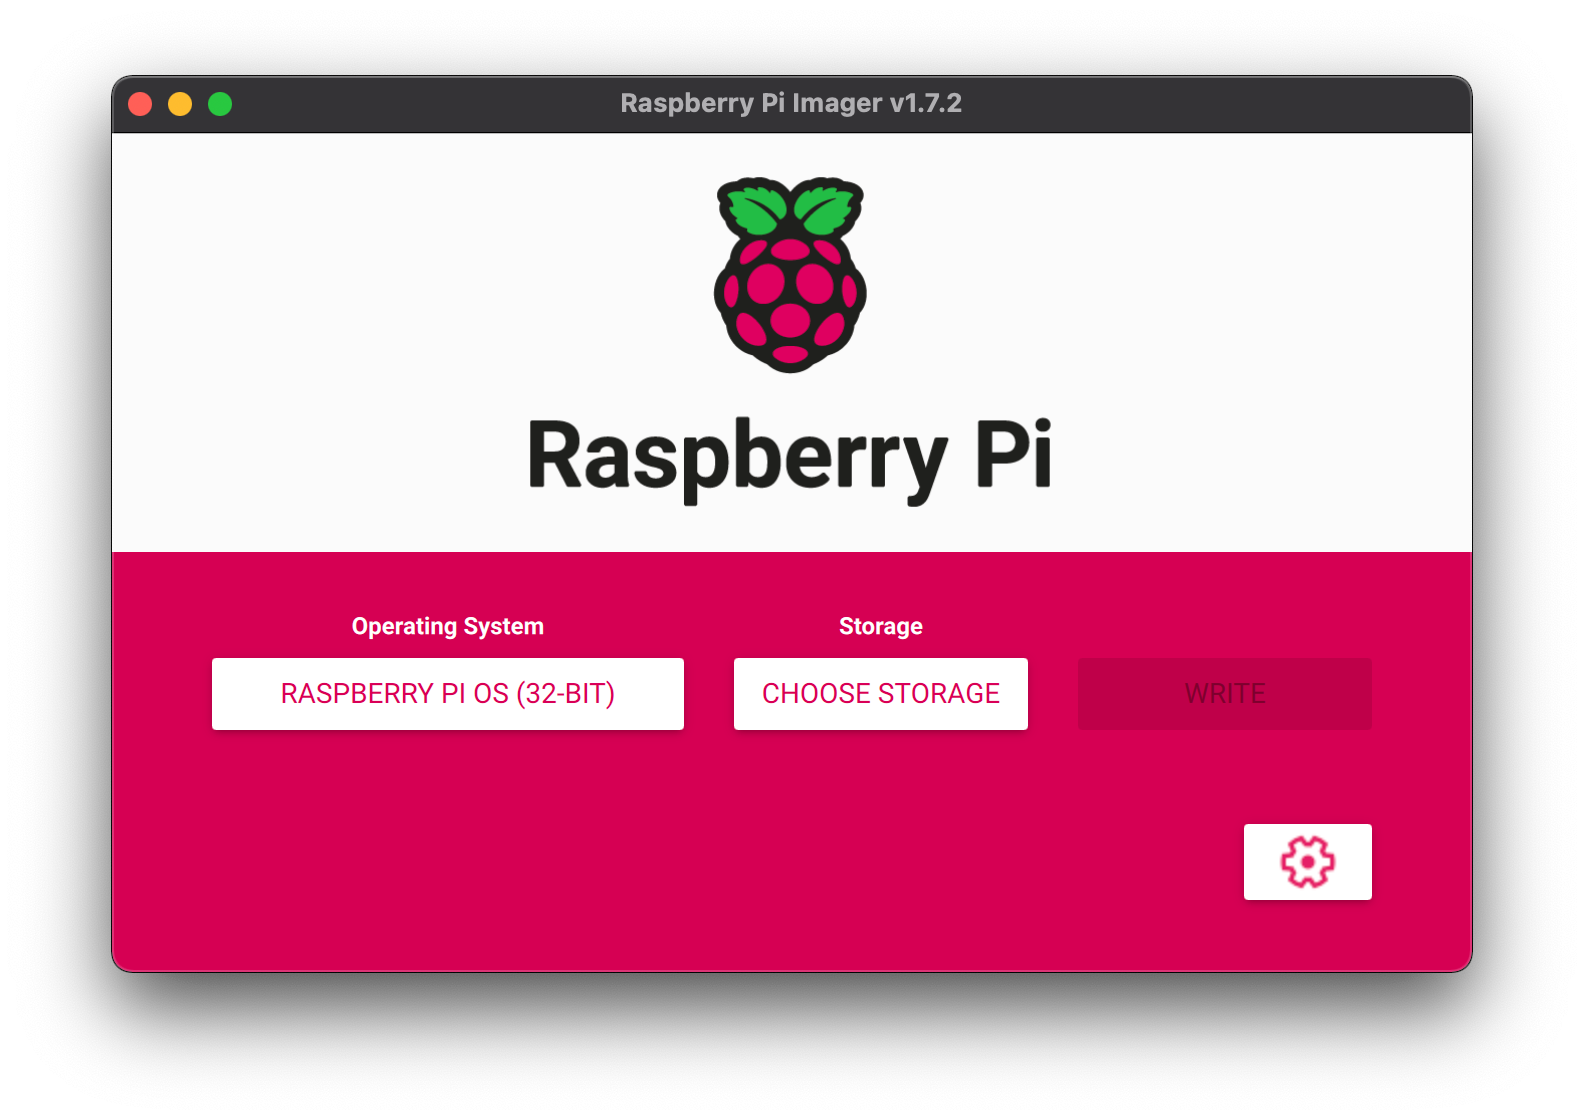
3. Open Raspberry Pi Imager
Using Raspberry Pi Imager software to Install the Raspberry Pi OS to the SD card.
- “Operation System”, select Raspberry Pi OS
- “Storage”, select the SD card
Once the pi is imaged, it is a ready to go mini computer. Eject the SD card from your computer, plug it into the Pi, power the Pi, it's done!