How to image a Raspberry Pi
How to image a Raspberry Pi?
There is an official video showing how if you prefer.
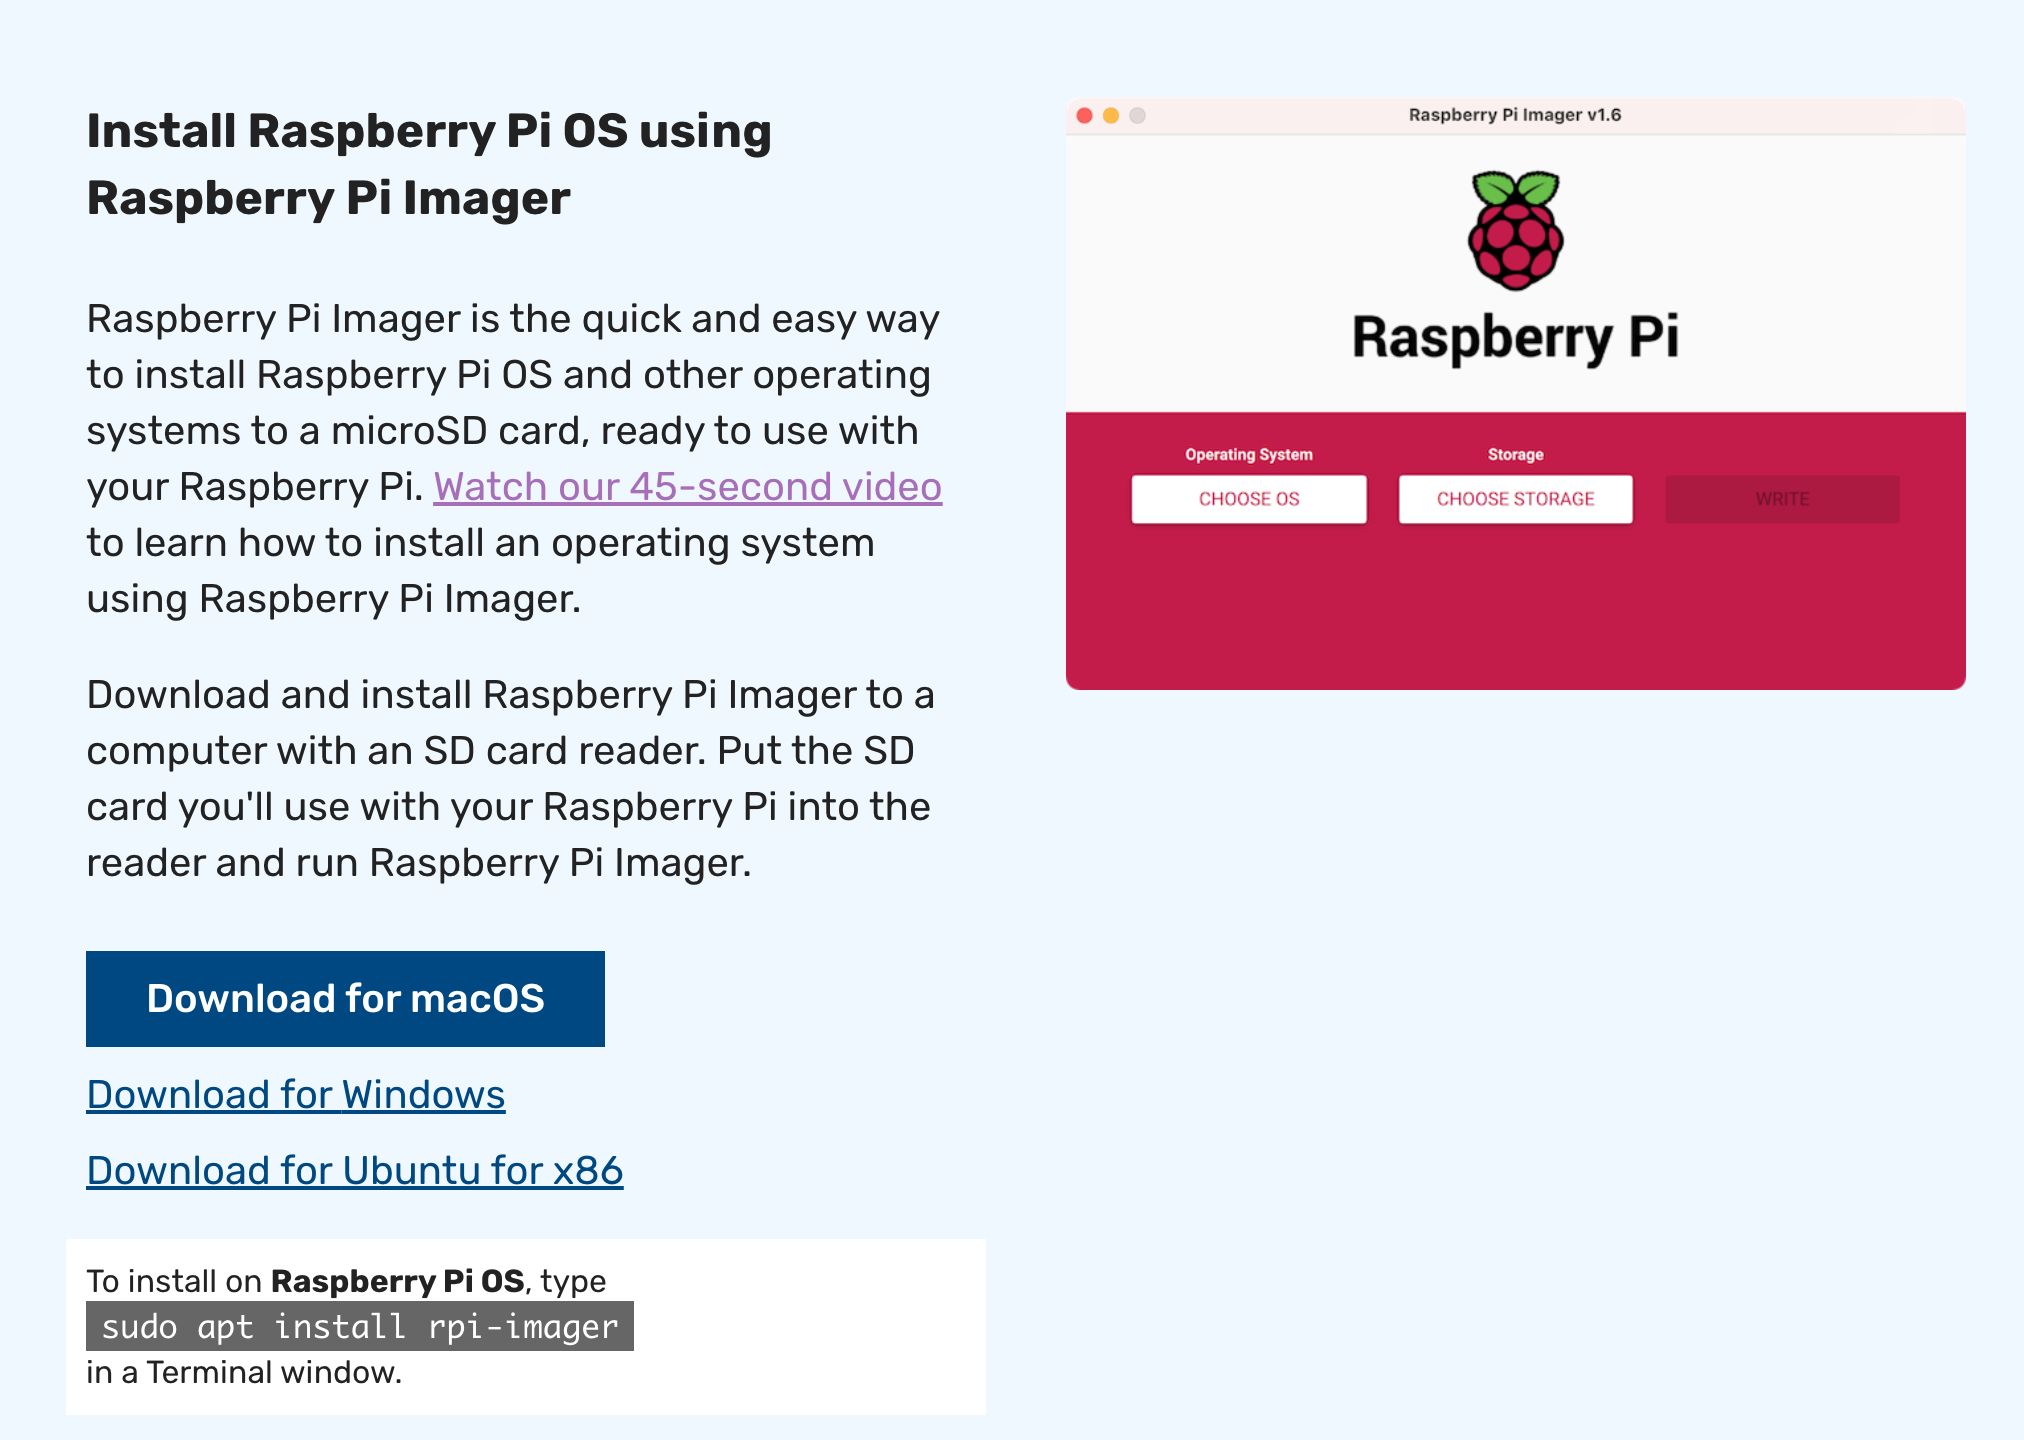
1. Download the Raspberry Pi Imager
Go to the Raspbeery Pi official site to download the software. Choose a suitable version for yourself.
2. Insert your SD card
A CTL Pi kit should contain an SD card. Insert the SD card into your computer. It is always a good habit to format the SD card before imaging it. You need the SD card to be in FAT32 format.
Open Raspberry Pi Imager v1.8.4, you can format the SD card directly.
-
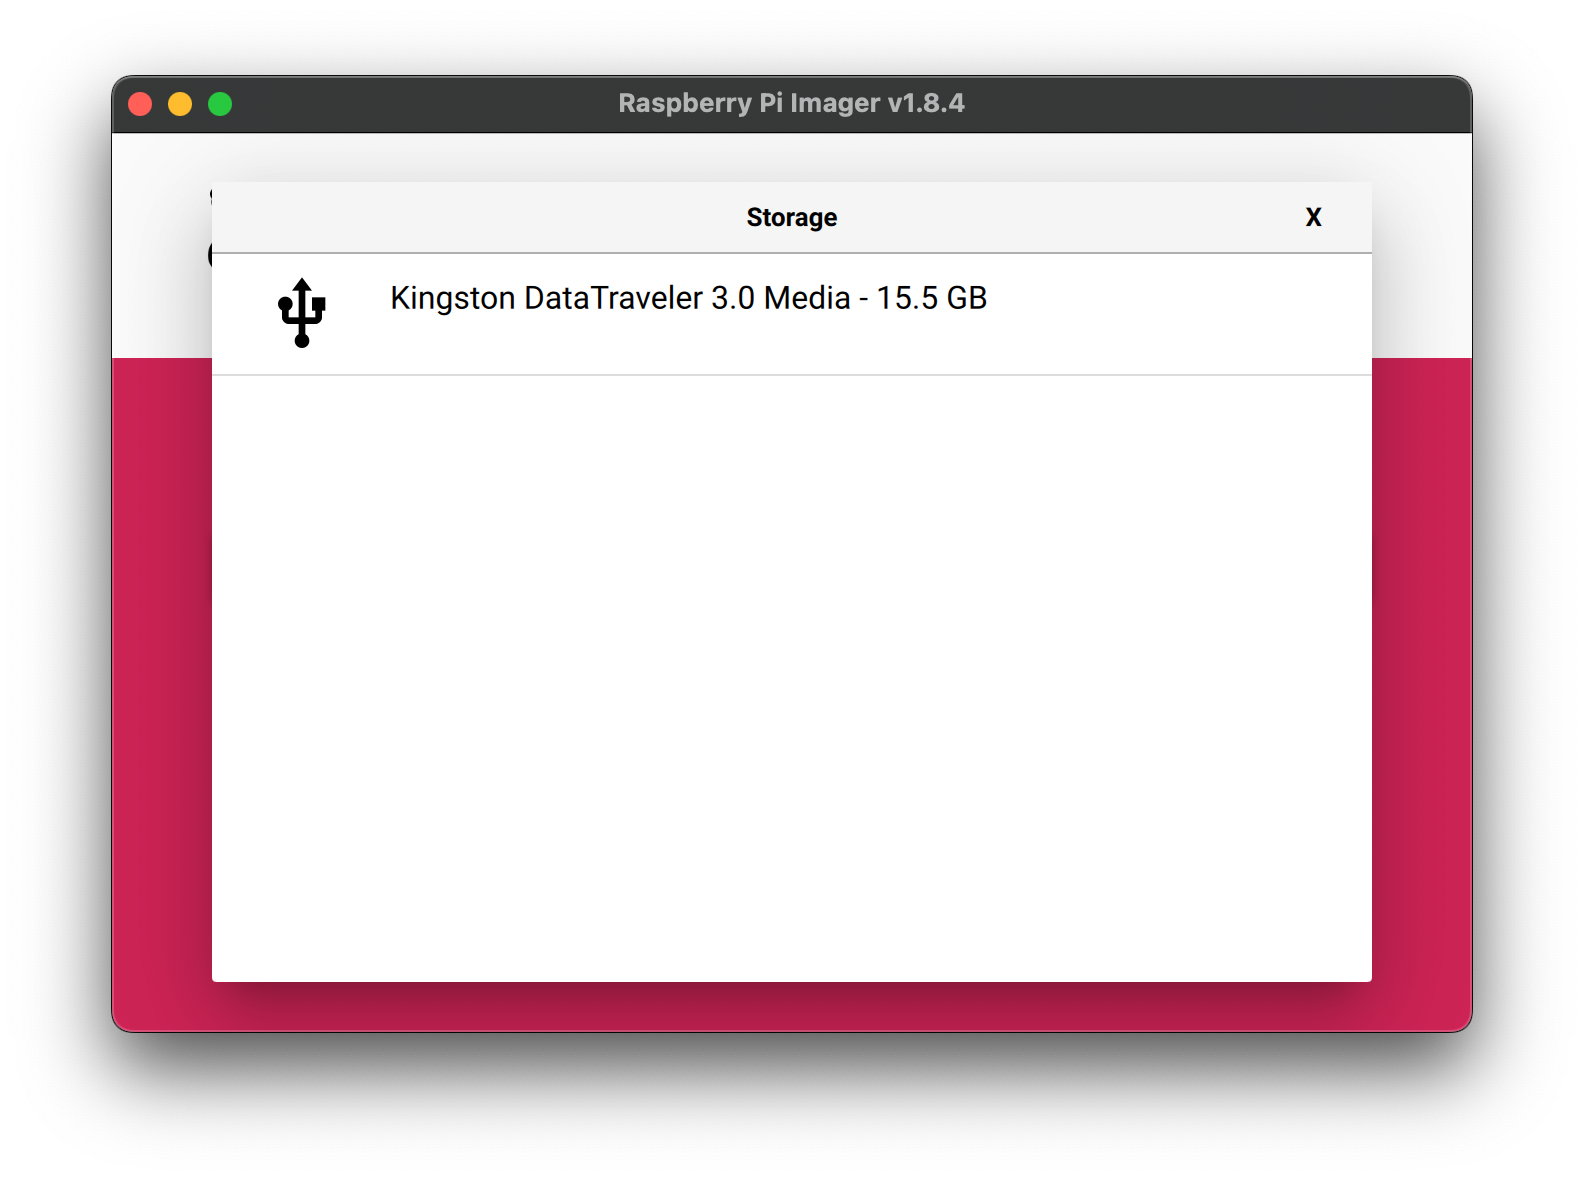
Storage, select the SD card -
Operating System-Erase
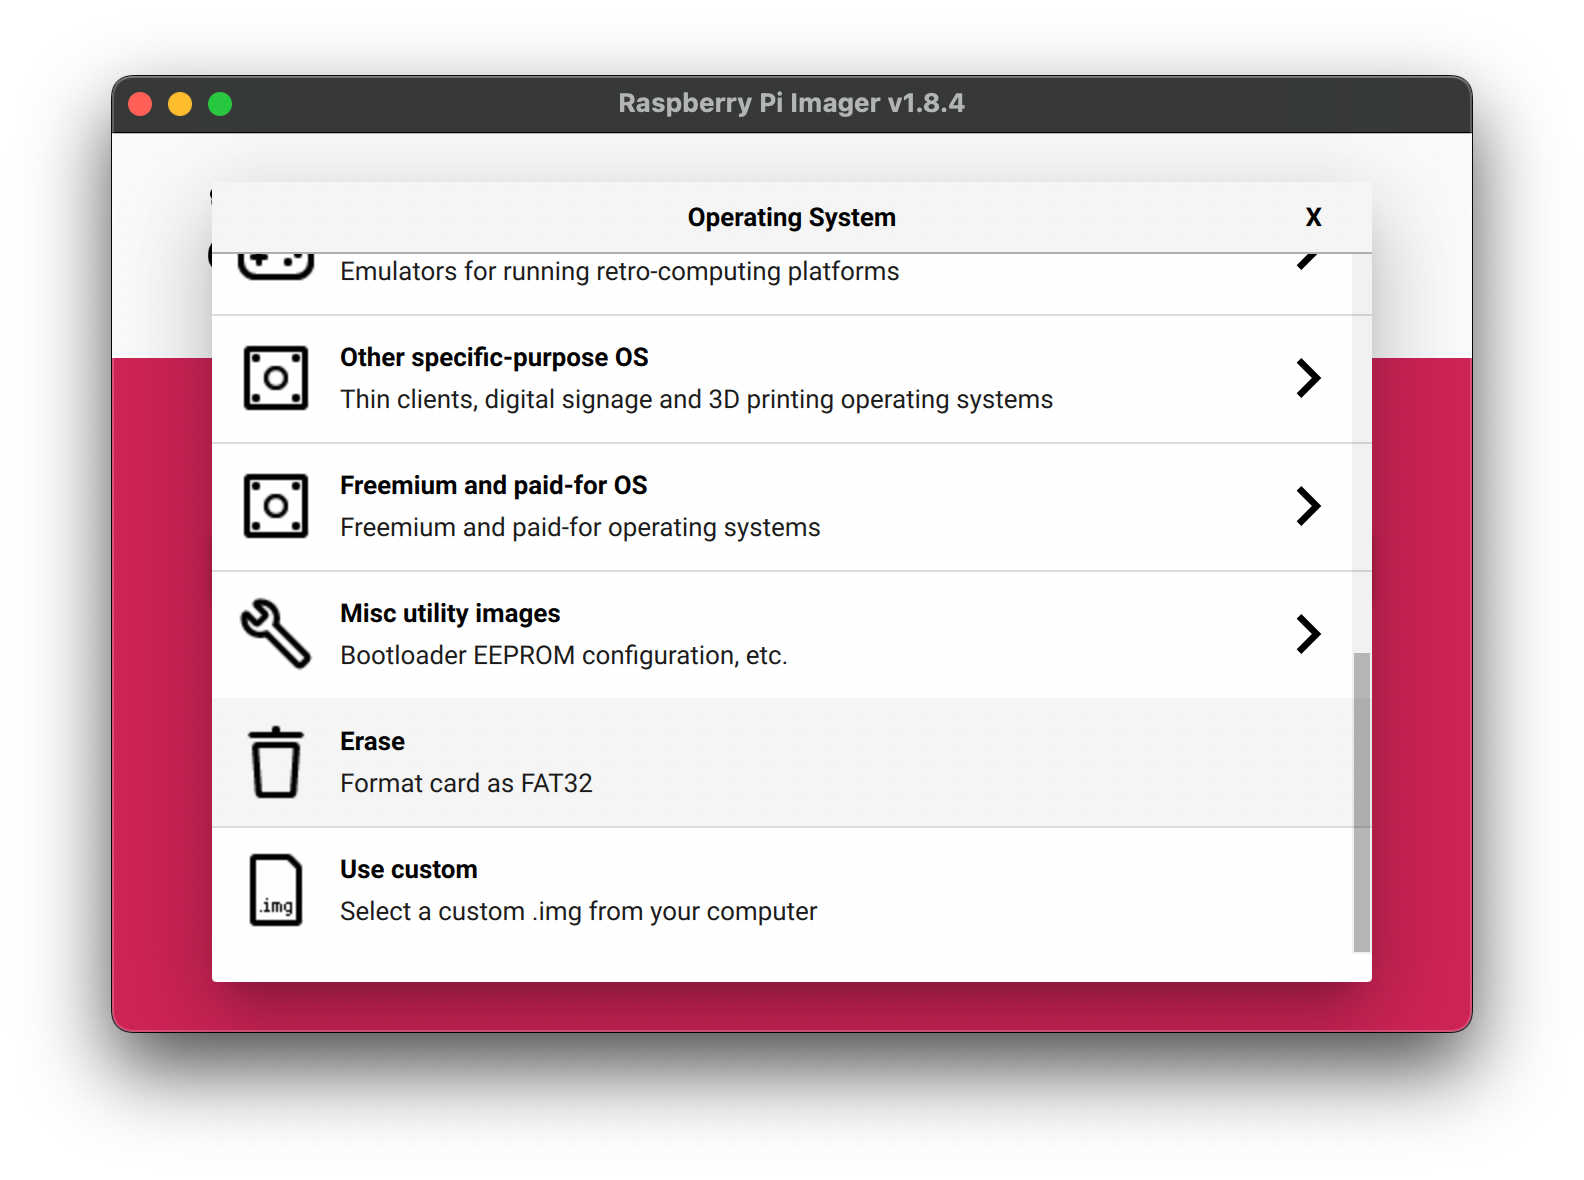
- Click
Nextand wait for it to finish.
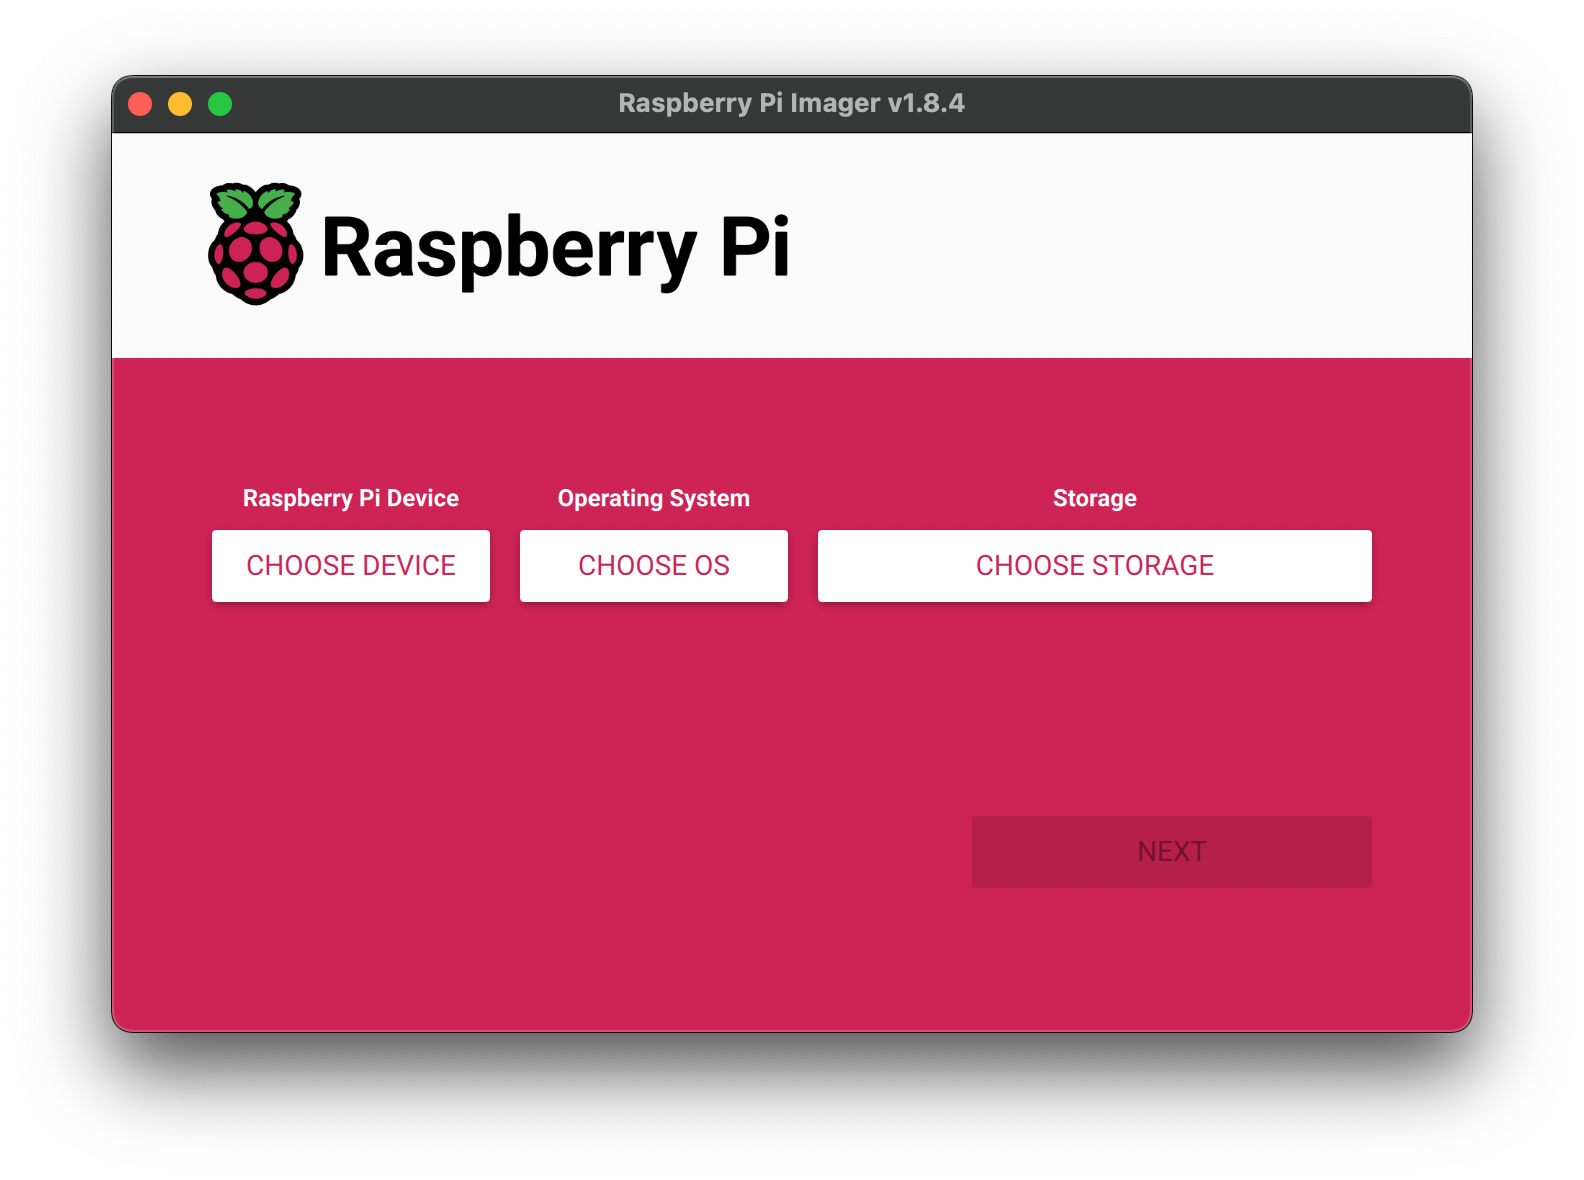
3. Image your Pi
Using Raspberry Pi Imager software to Install the Raspberry Pi OS to the SD card.
-
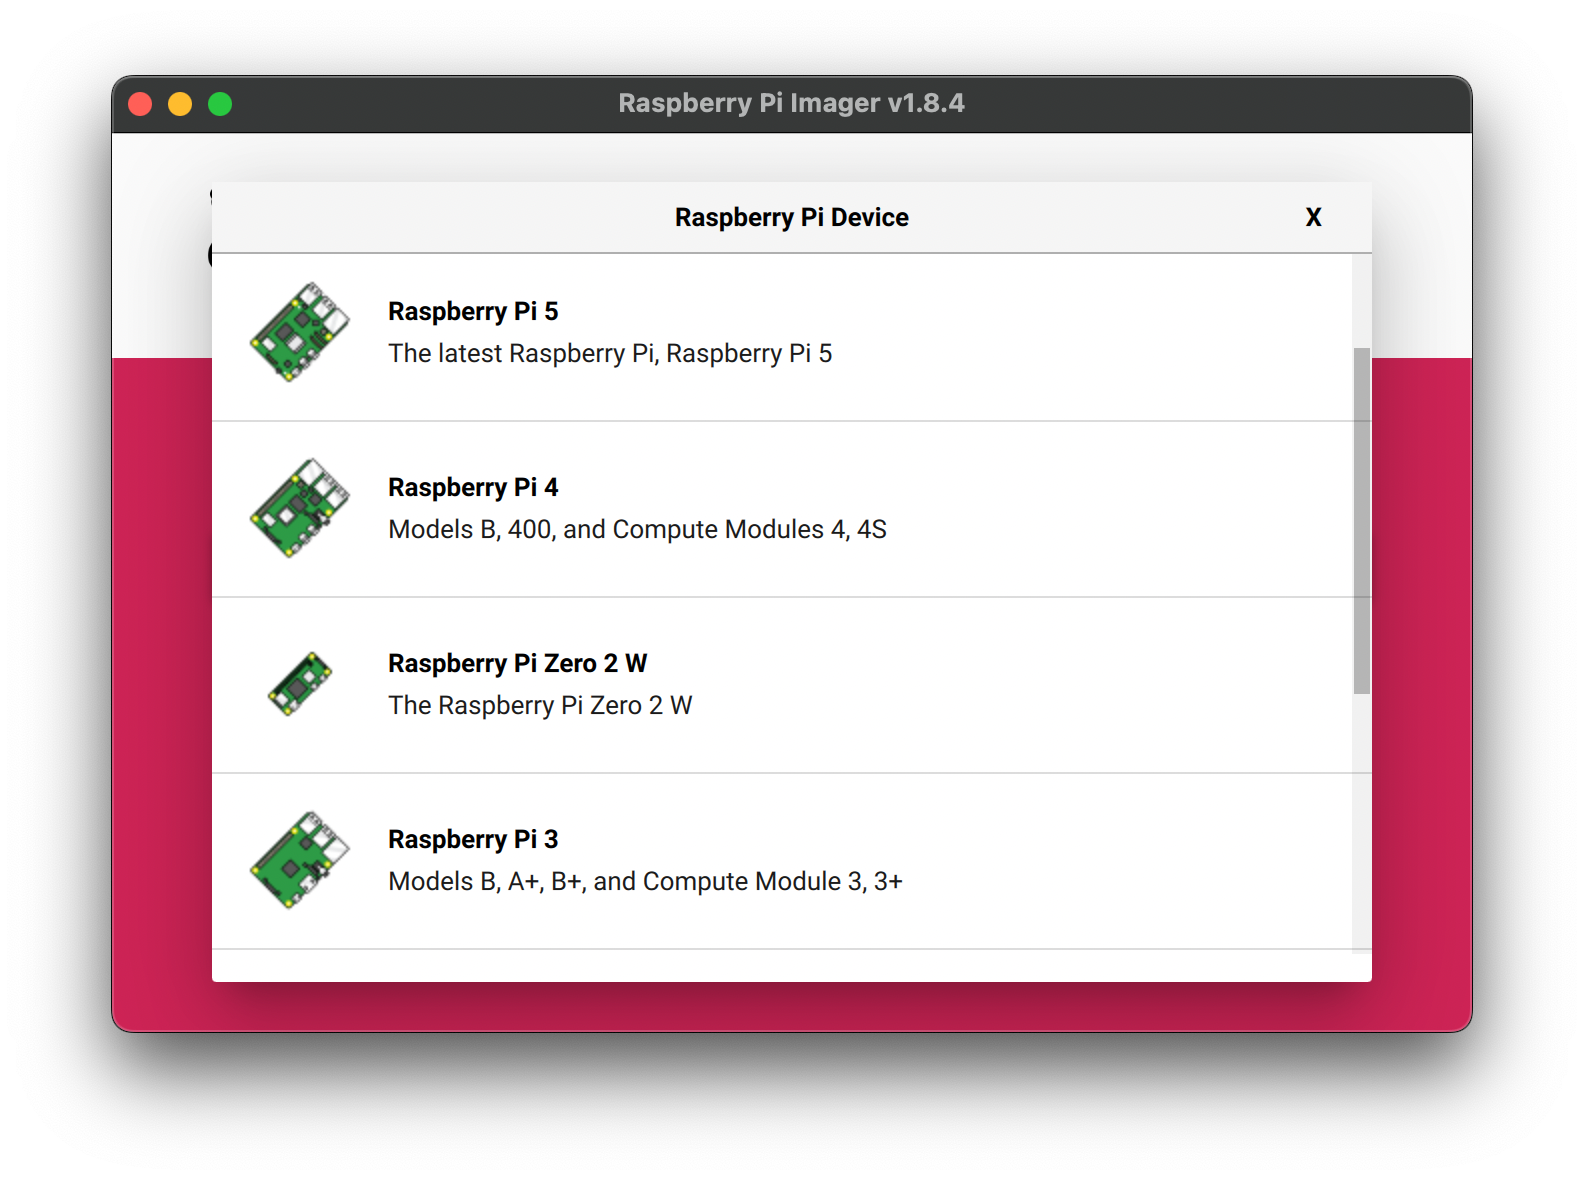
Raspberry Pi Device, select Raspberry Pi Model
-
Operation System, select Raspberry Pi OS, if you are not sure which to choose, choose the recommended one.
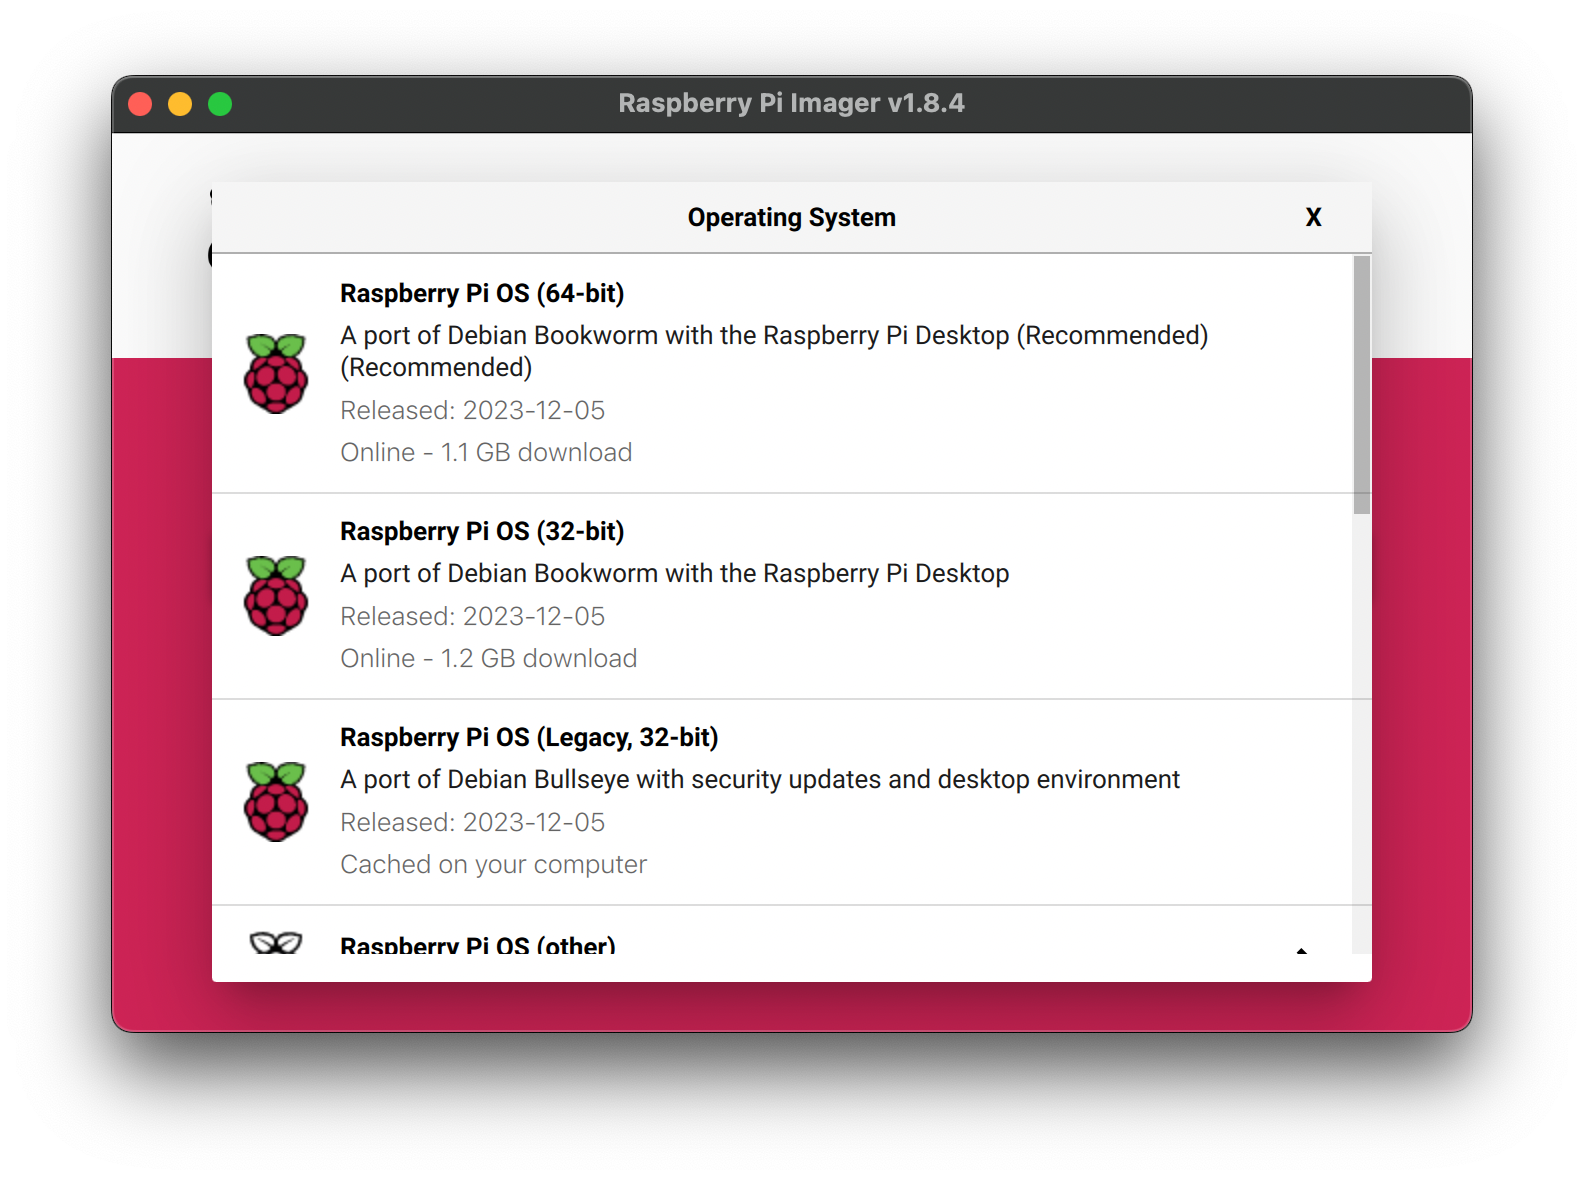
-
Storage, select the SD card
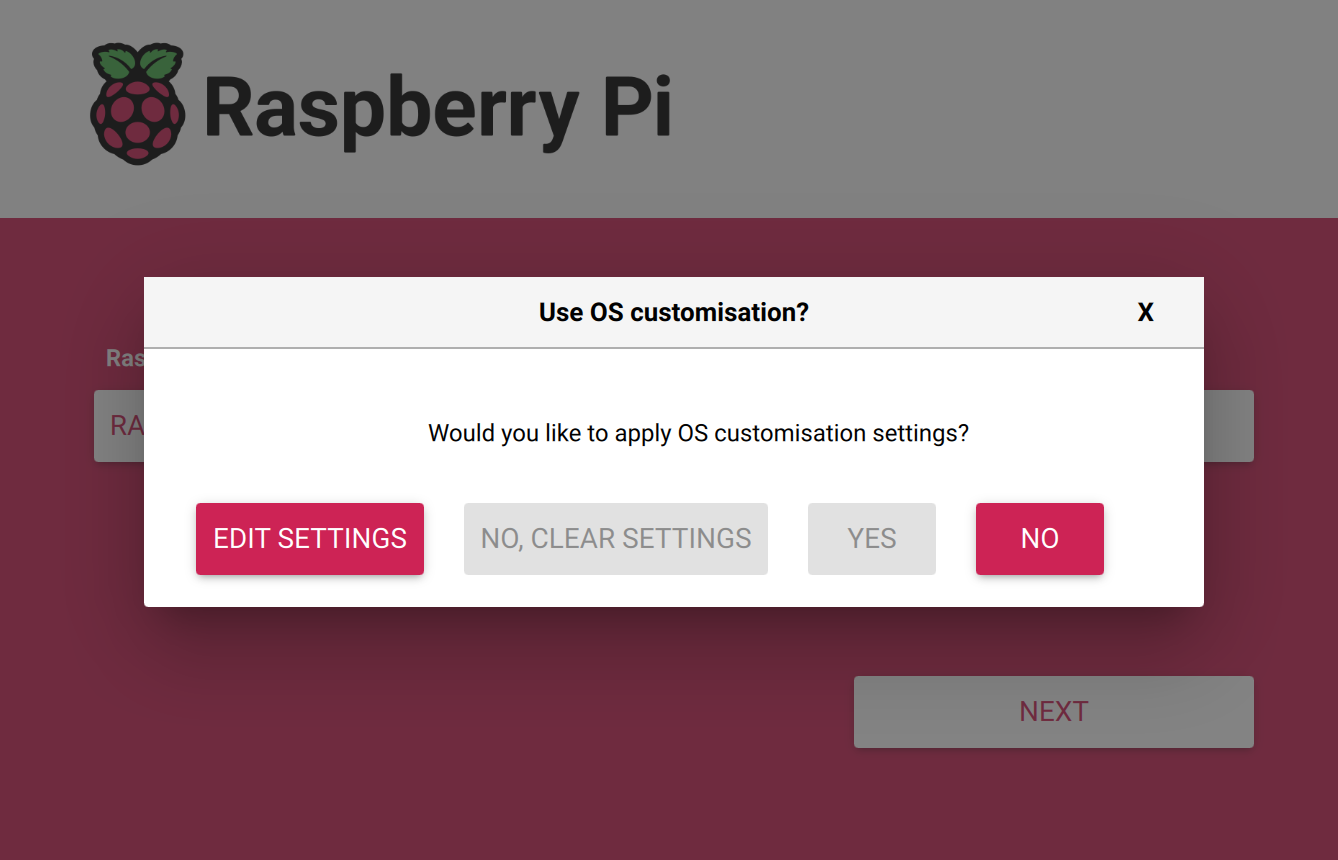
- Click
Next, then you will be prompted with "Would you like to apply OS customisation settings?", and chooseNO.
Once the pi is imaged, it is a ready to go mini computer. Eject the SD card from your computer, plug it into the Pi, power the Pi, it's done!