How to Configure a Raspberry Pi for the first time
Once your Raspberry Pi is imaged, it is ready to go! We have a more detailed tutorial for imaging the Pi. Now we can move on to configuration when you turn on your Pi for the first time.
1. Power up the Raspberry Pi
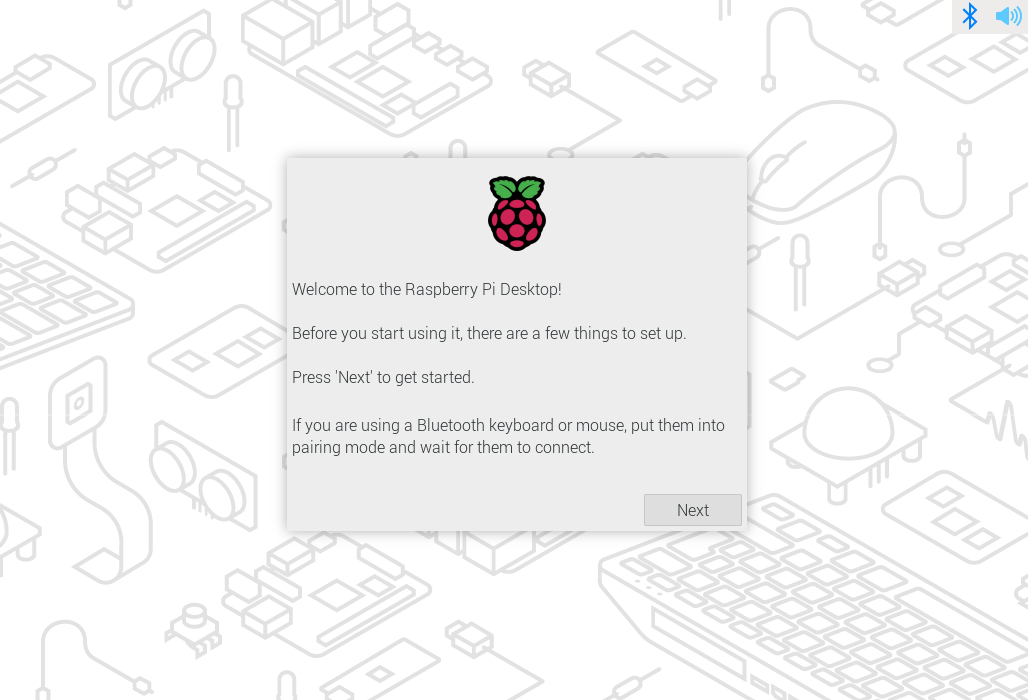
When you plug in the power supply and all other equipment you need, the Pi should start booting automatically. If your Raspberry Pi does not turn on within 5 minutes, check the status LED, and try re-image the SD card.
If everything goes right, you should see this.
2. Locale
You need to set your country, language, time zone, and keyboard layout.
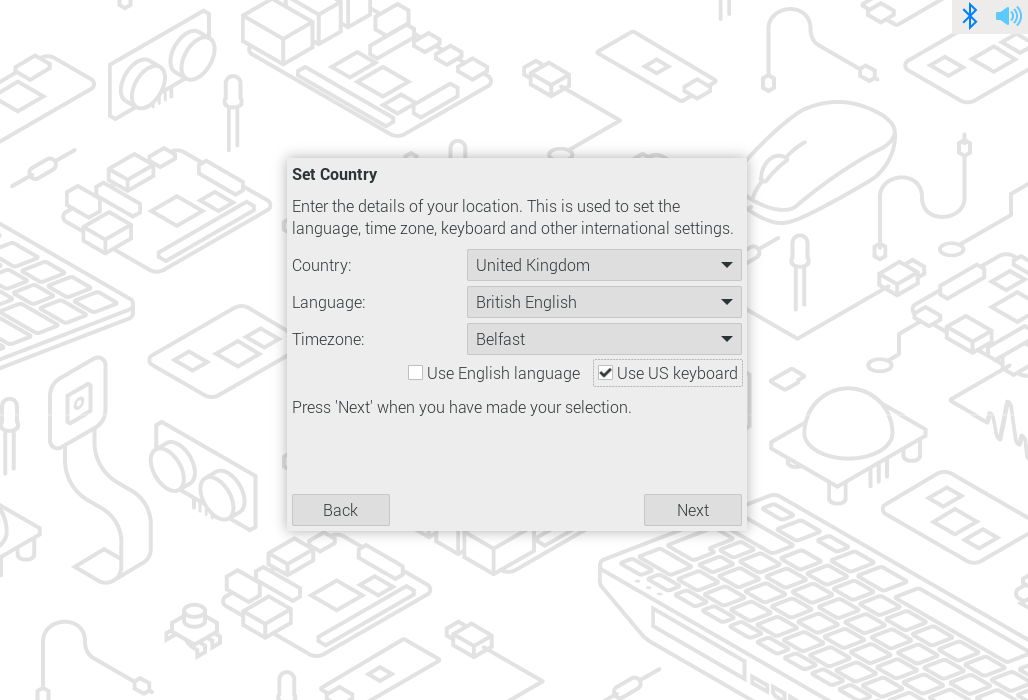
When you are setting up the keyboard, make sure the keyboard is plugged in. If you uncheck the Use US keyboard, it will set up the keyboard corresponding to your Country. The main difference between US and UK keyboards is the positions of @,", £ and #. There are many variants of keyboards, even just for US/UK keyboards. You can change that after the initial setup. Check this tutorial for changing the keyboard layout.


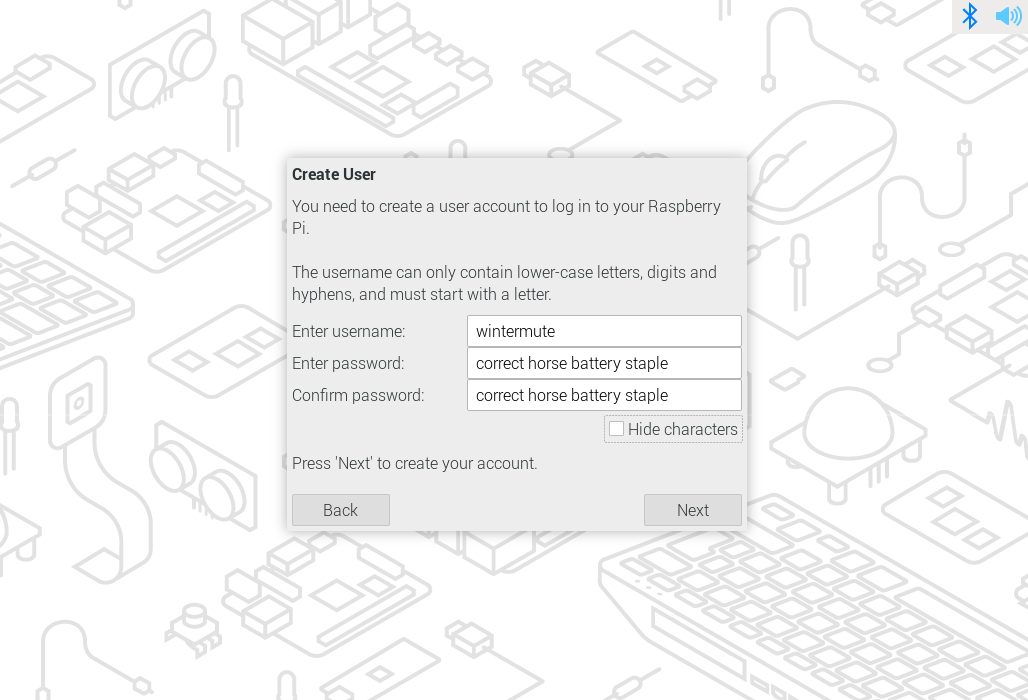
3. User
You can set your username and password here. For some older Raspberry Pi OS, it has a default username and password, which is username: [ pi ] ; password: [ raspberry ].
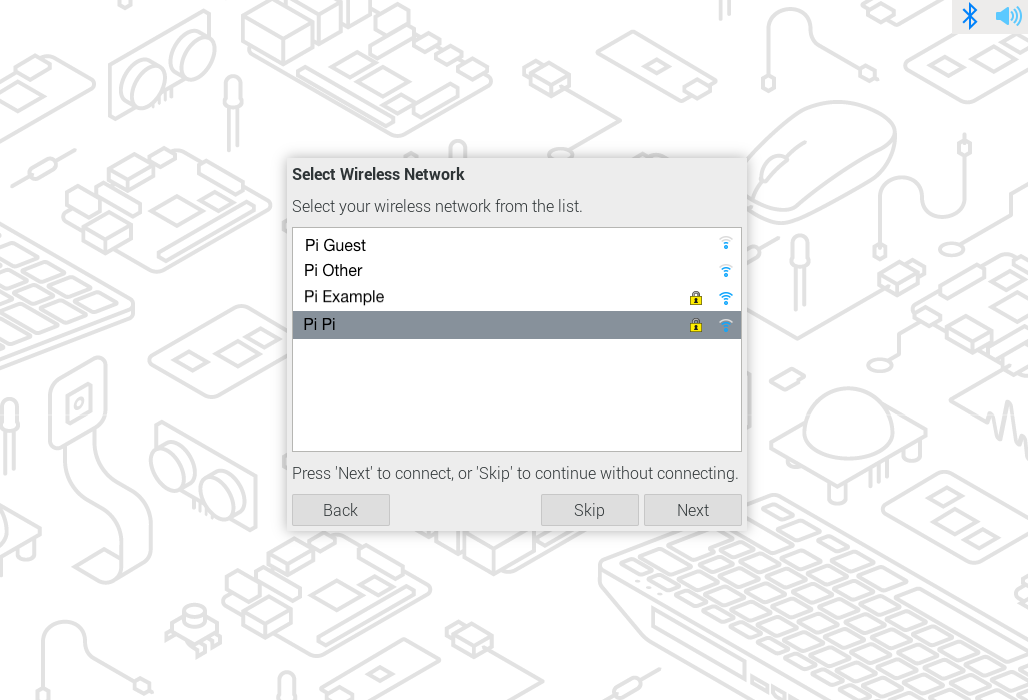
4. Wifi
You can log in to the WIFI as usual with SSID and password. For some networks, such as UAL wifi, you need to sign in with your UAL account, which will not work for most Pi. In that case, you will need an Ethernet cable to access to the internet.
5. Brower
Google Chrome and Firefox are both preinstalled, you just need to choose one as your default browser. You can still access the other run from the start menu.

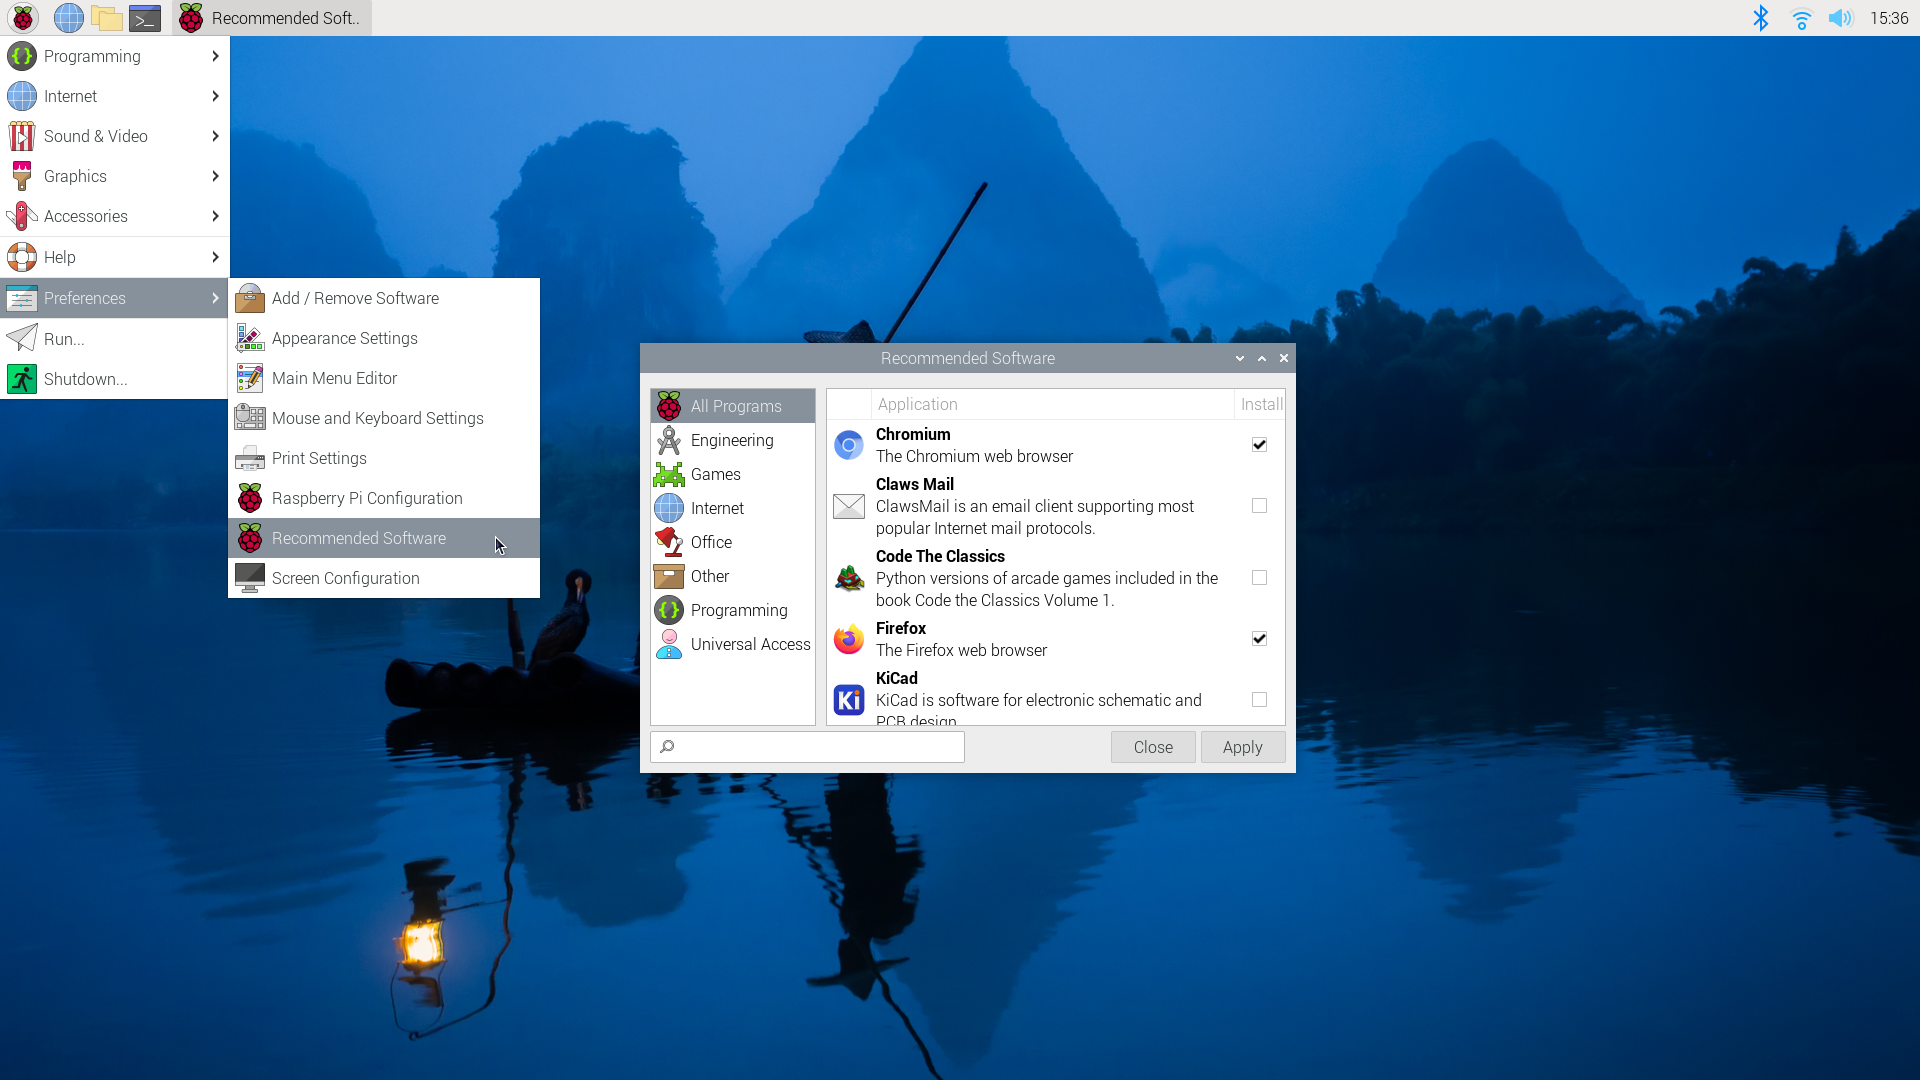
6. Recommended Software
Raspberry Pi comes with many essential applications pre-installed so you can start using them straight away, such as Thonny. You can go to Start - Preference - Recommended Software, explore the list and download the ones you need.