What is a Raspberry Pi Pico?
What is Raspberry Pi Pico?
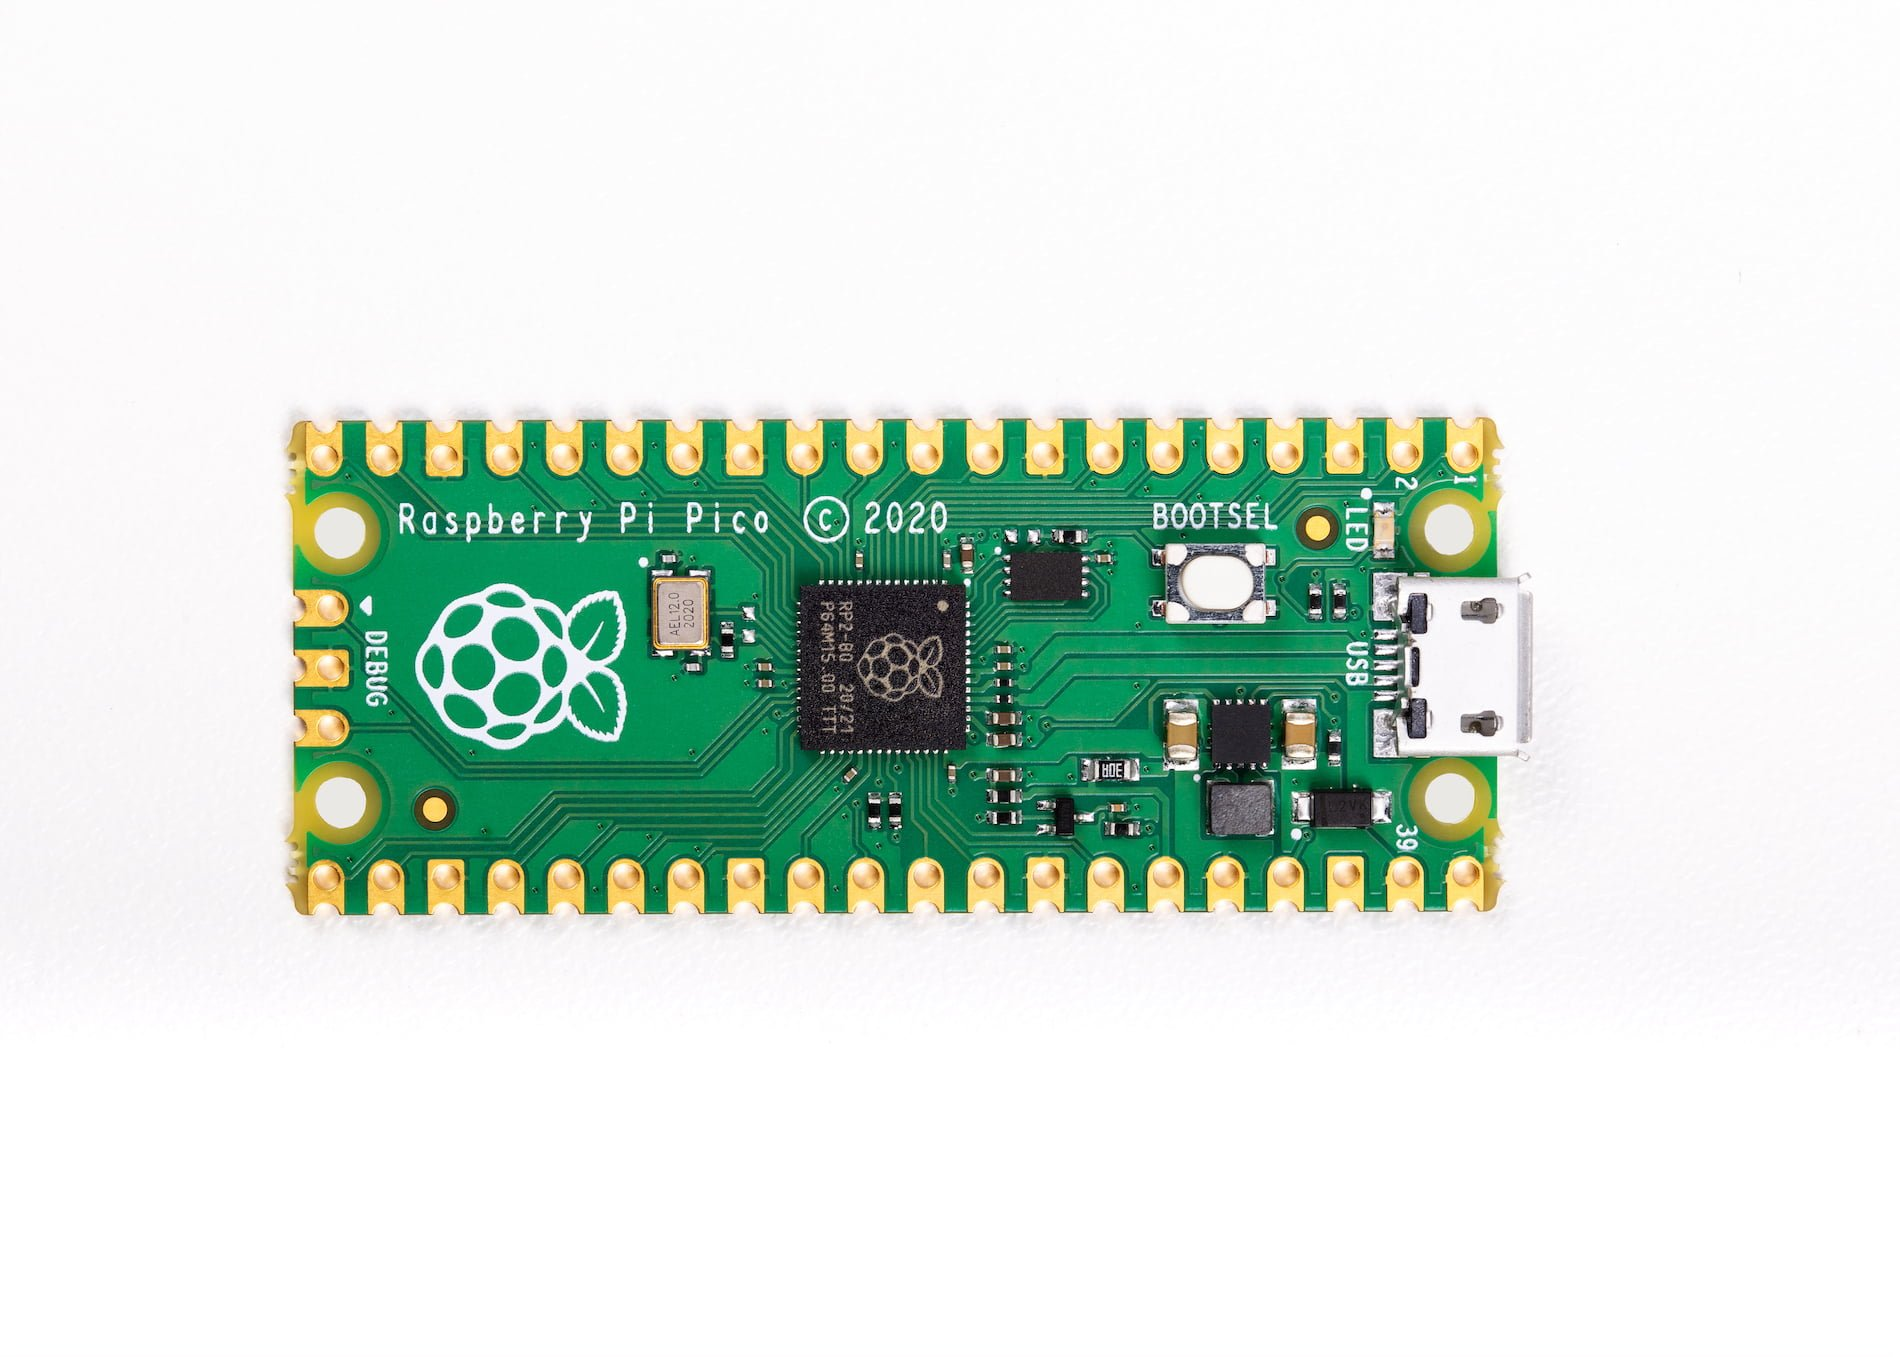
The Raspberry Pi Pico is a microcontroller board developed by the Raspberry Pi Foundation. It was announced in January 2021 and represents a departure from the traditional single-board computers (SBCs) that the Raspberry Pi Foundation is known for, such as the Raspberry Pi 3 or 4. Instead of being a full-fledged computer, the Raspberry Pi Pico is a microcontroller board designed for embedded projects and electronics prototyping. It is closer to an Arduino than a Raspberry Pi.
The Pico includes 26 programmable general-purpose input/output (GPIO) pins, which can be used for various digital and analogue tasks. The Pico can be programmed using MicroPython, a lightweight version of the Python programming language designed for microcontrollers. It also supports C and other programming languages. To know more about Pico.
At the moment, The Raspberry Pi Pico family currently consists of four boards; Raspberry Pi Pico, Pico H , Pico W, and Pico WH. Raspberry Pi Pico W and Pico WH have on-board single-band 2.4GHz wireless interfaces.
Set up your Pico
- Solder header pins onto the Pico, you can choose the types that you prefer.
- Choose a programming language for your Pico, in this tutorial, we will be using MicroPython.
- Download the correct MicroPython
.uf2file for your board. Raspberry Pi Pico or Raspberry Pi Pico W - Push and hold the BOOTSEL button.
- Plug your Pico into your computer with a USB cable.
- It will show up as an external drive called RPI-RP2.
- Copy the MicroPython
.uf2file onto the RPI-RP2. - Pico will reboot, then you are ready to go!
Download Thonny
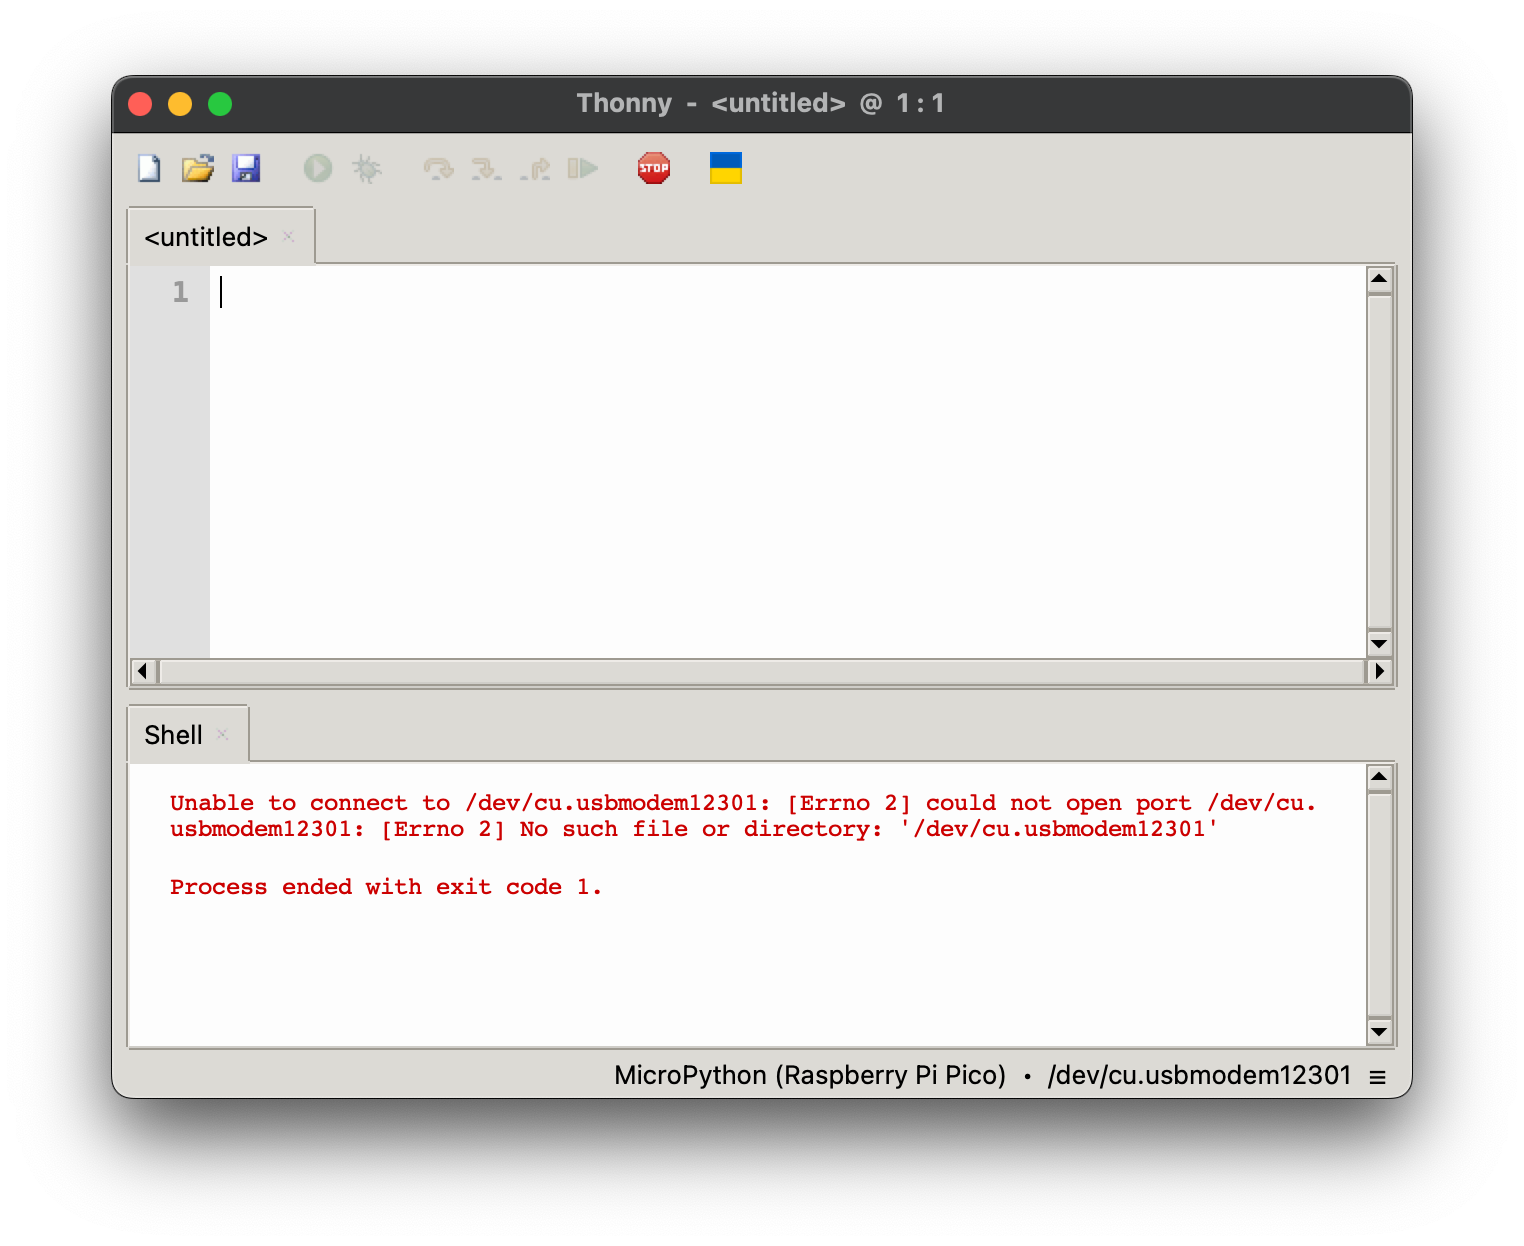
Thonny is an integrated development environment (IDE) for Python programming. It is designed with beginners in mind and provides a simple and clean interface for writing and running Python code. Thonny includes features such as an interactive Python shell, a built-in package manager, and the ability to easily install and manage Python packages. Download here.
Get Started
This example code will blink the built-in LED every 0.5 seconds, using the machine library and the time module.
- Put in your code
from time import sleep
from machine import Pin
led = Pin("LED", Pin.OUT)        #create LED object from pin13,Set Pin13 to output

while True:
  led.value(1)            #Set led turn on
  time.sleep(0.5)         #stay on for 0.5 seconds
  led.value(0)            #Set led turn off
  time.sleep(0.5)         #stay off for 0.5 seconds
-
Choose the board and port at the right bottom corner.

-
You can hit the green play button now, it will be blinking!
-
After testing the code and you are happy about it, save the code as
main.pyon Raspberry Pi Pico.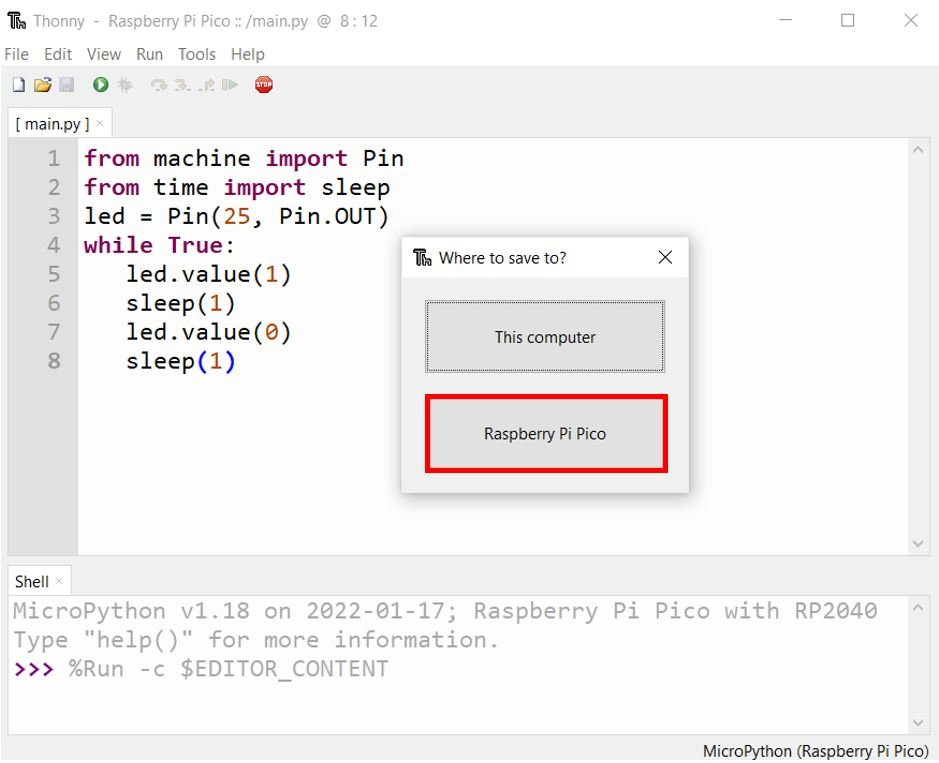
-
Pico will run any code named
main.pyautomatically whenever it is powered. But remember to save a file with an identifiable file name on your computer, otherwise you will end up with a bunch ofmain.pywithout knowing what they do. -
At this point, you don't need your computer anymore. You can power the Pico with a phone charger or battery.

