How to use Waveshare E-Paper Display with Raspberry Pi
What is a Waveshare E-Paper Display?
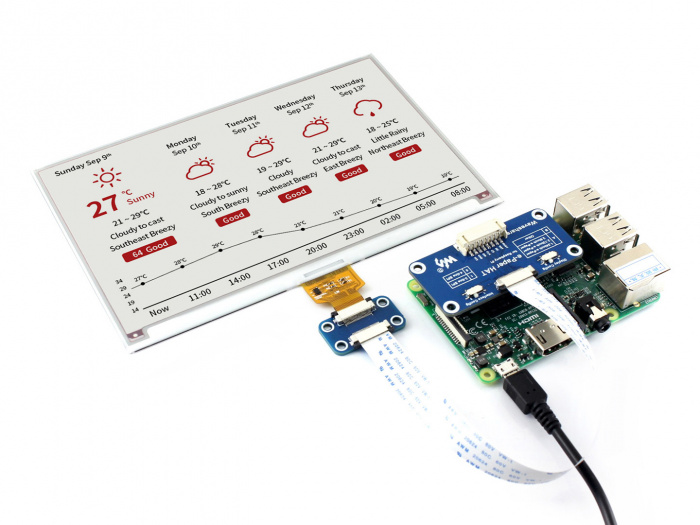
In this tutorial, we will be using the Waveshare model epd7in5V2, a Raspberry Pi 3 and Python as the programming language. The display is also compatible with Arduino, C and Jetson Nano. For more information or tutorials, please visit the official guide.
Connection
Disconnection from Power
Disconnect the power supply to the Raspberry Pi before you proceed with any connection.
The display comes with an e-paper Driver HAT, so simply plug in.
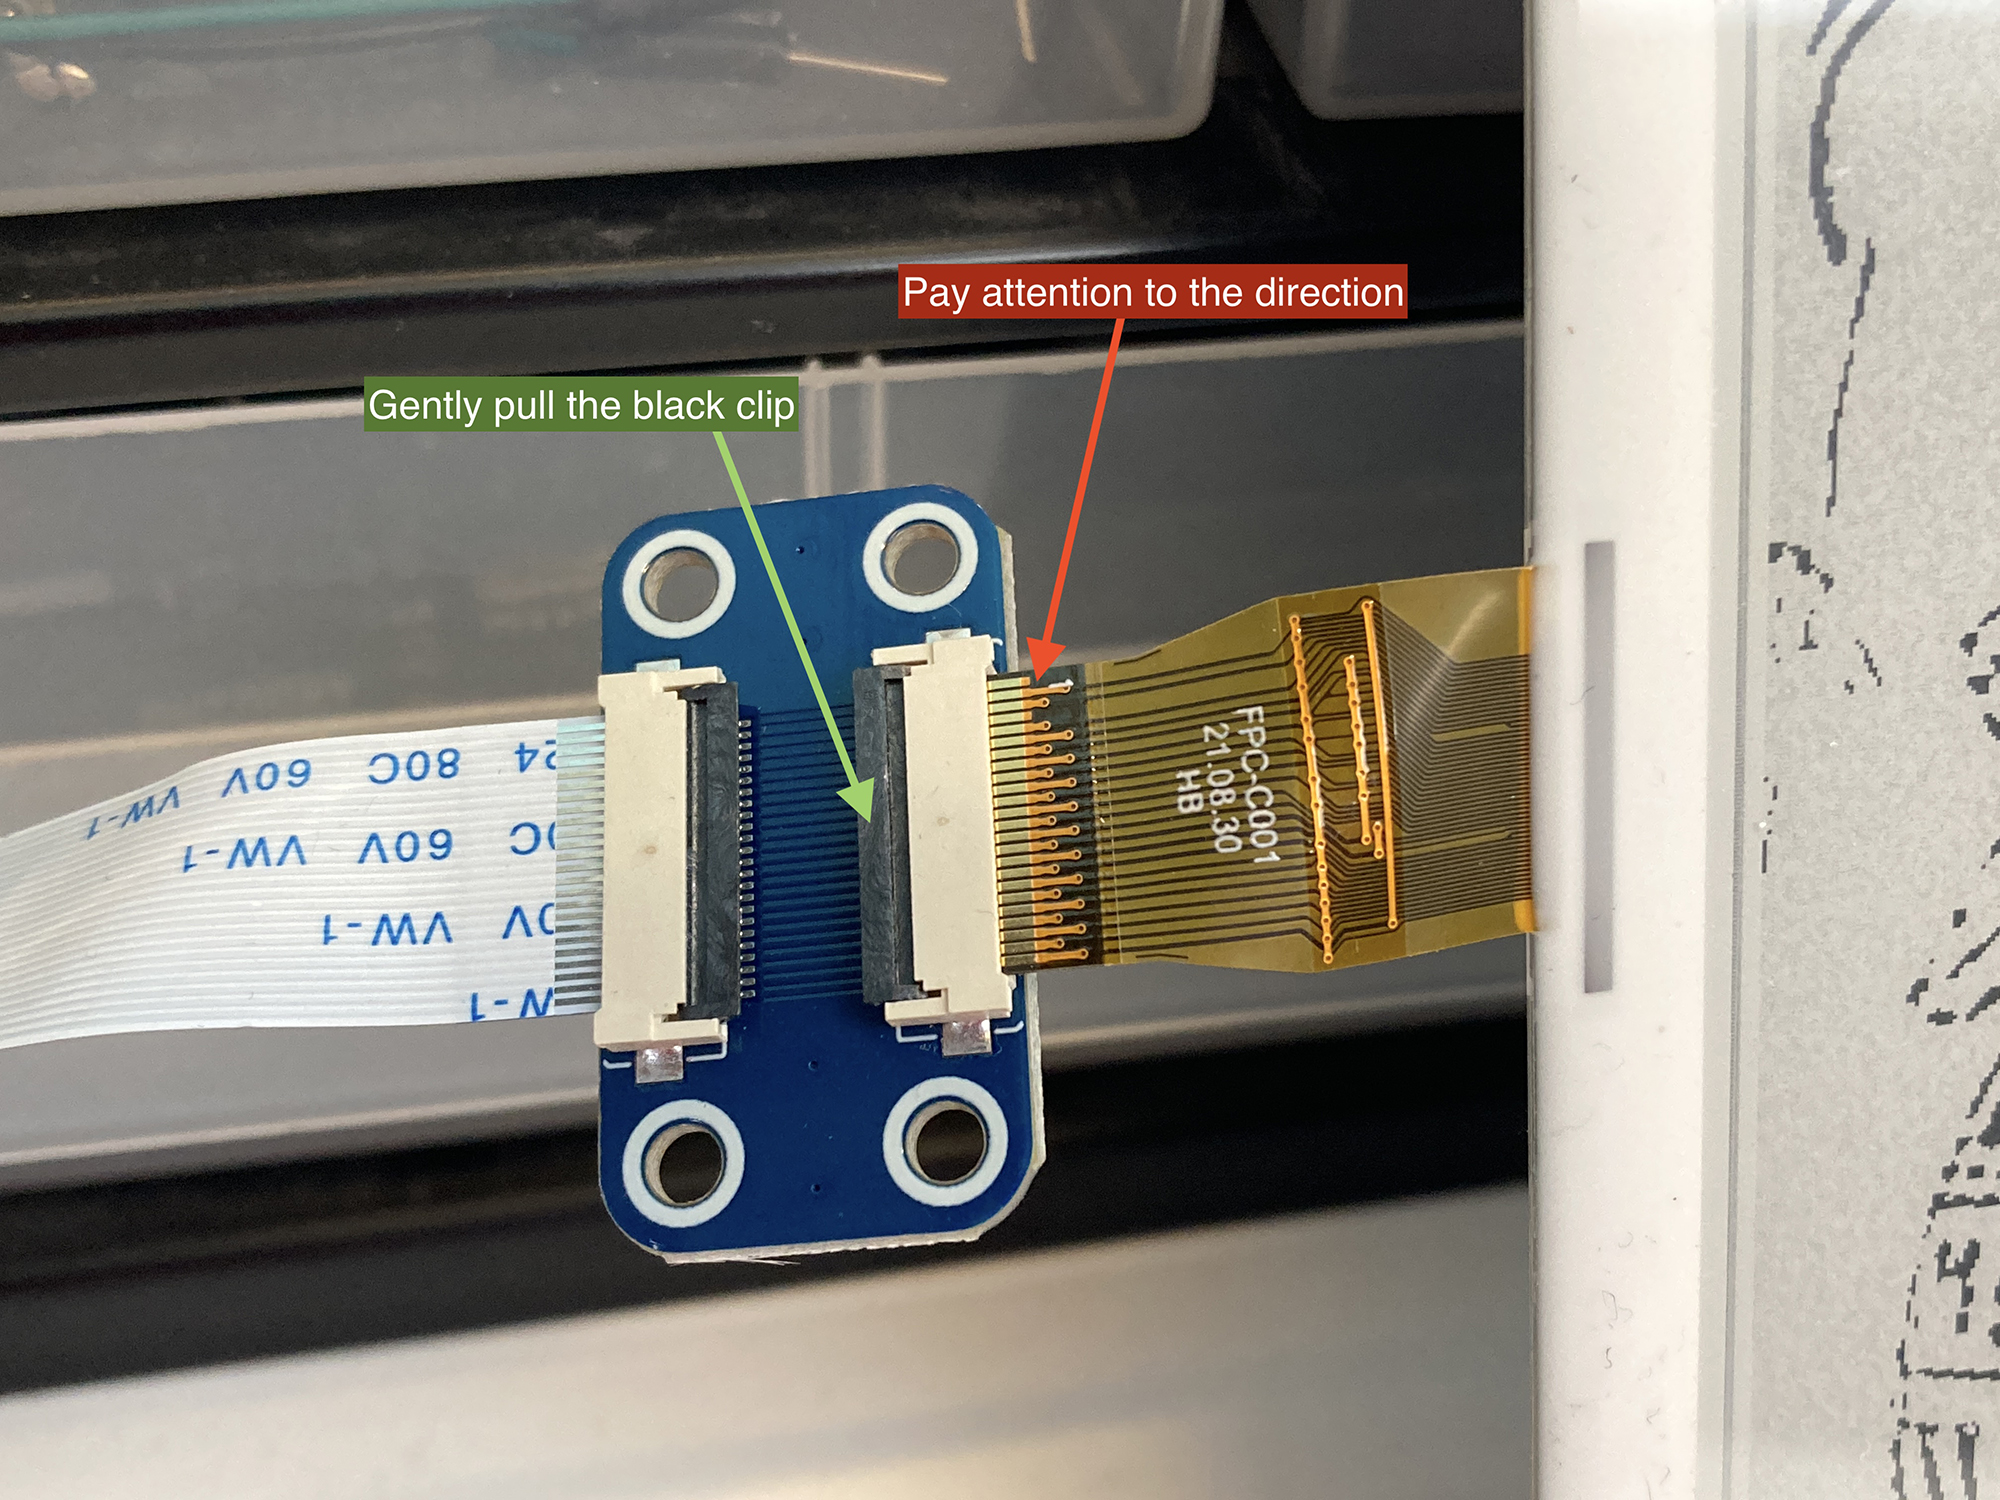
You may need to insert the ribbon cable (the golden one) from the display to the HAT.
- Gently pull up the black clip (green arrow)
- Insert the golden cable (red arrow, pay attention to the direction)
- Press down the black clip to secure it.
Setting Up the Pi
Enable SPI in pi
- Input this command
sudo raspi-configin the Terminal. - Navigate to Interface Options → SPI → Enable
- Reboot the pi by
sudo reboot
Install Python Library
sudo apt-get update
sudo apt-get install python3-pip
sudo apt-get install python3-pil
sudo apt-get install python3-numpy
sudo pip3 install RPi.GPIO
sudo pip3 install spidev
Download Python Example code from Github
git clone https://github.com/waveshare/e-Paper.git
Go to the Directory (folder) where the example codes are located
cd e-Paper/RaspberryPi_JetsonNano/python/examples/
Run the Python Code
You can either run the code from the Terminal or use a Python-based software such as Visual Studio or Thonny. In Terminal:
python3 epd_7in5_V2_test.py
The display should now be blinking and have some demos displayed.
Something more
The below code is to draw a rectangle with random size and location on the display.
#!/usr/bin/python
# -*- coding:utf-8 -*-
import sys
import os
libdir = os.path.join(os.path.dirname(os.path.dirname(os.path.realpath(__file__))), 'lib')
if os.path.exists(libdir):
    sys.path.append(libdir)

import logging
import random
from waveshare_epd import epd7in5_V2
import time
from PIL import Image,ImageDraw,ImageFont
import traceback

logging.basicConfig(level=logging.DEBUG)

try:
    logging.info("epd7in5_V2 Demo")
    epd = epd7in5_V2.EPD()

    logging.info("init and Clear")
    epd.init_fast()
    epd.Clear()

    #print(f"Display Width: {epd.width}, Display height: {epd.height}")
    # Display Width: 800, Display height: 480
    # Create a blank image
    Himage = Image.new('1', (epd.width, epd.height), 255) #255: white, clear the frame
    draw = ImageDraw.Draw(Himage)

#Drawing function Argyments:
# draw.rectangle((x1, y1, x2, y2), outline=0, fill=None)
# draw.arc((x1, y1, x2, y2),startAngle, endAngle, fill=0), (x1, y1, x2, y2) bounding box of the ellipse that the arc is part of
# draw.chord((x1, y1, x2, y2), startAngle, endAngle, outline=0, fill=None), different to arc as it will close the shape and allow fill colour
# draw.line((x1, y1, x2, y2), fill=0, width=1)

    while True:
        #Generate a random pattern
        draw.rectangle((random.randint(10,epd.width-10), random.randint(10,epd.height-10), random.randint(10,epd.width-10), random.randint(10,epd.height-10)), outline=0)

        #Display the generated image
        epd.display(epd.getbuffer(Himage))

        #Hold the frame for 2 seconds
        time.sleep(2)

#     logging.info("Goto Sleep...")
#     epd.sleep()

except IOError as e:
    logging.info(e)

except KeyboardInterrupt:
    logging.info("ctrl + c:")
    epd7in5_V2.epdconfig.module_exit(cleanup=True)
    exit()