What is a Raspberry Pi Pico?
What is Raspberry Pi?
Raspberry Pi is a series of small single-board computers. The Raspberry Pi project originally leaned towards the promotion of teaching basic computer science in schools and developing countries. It is widely used in many areas because of its low cost, modularity, and open design.
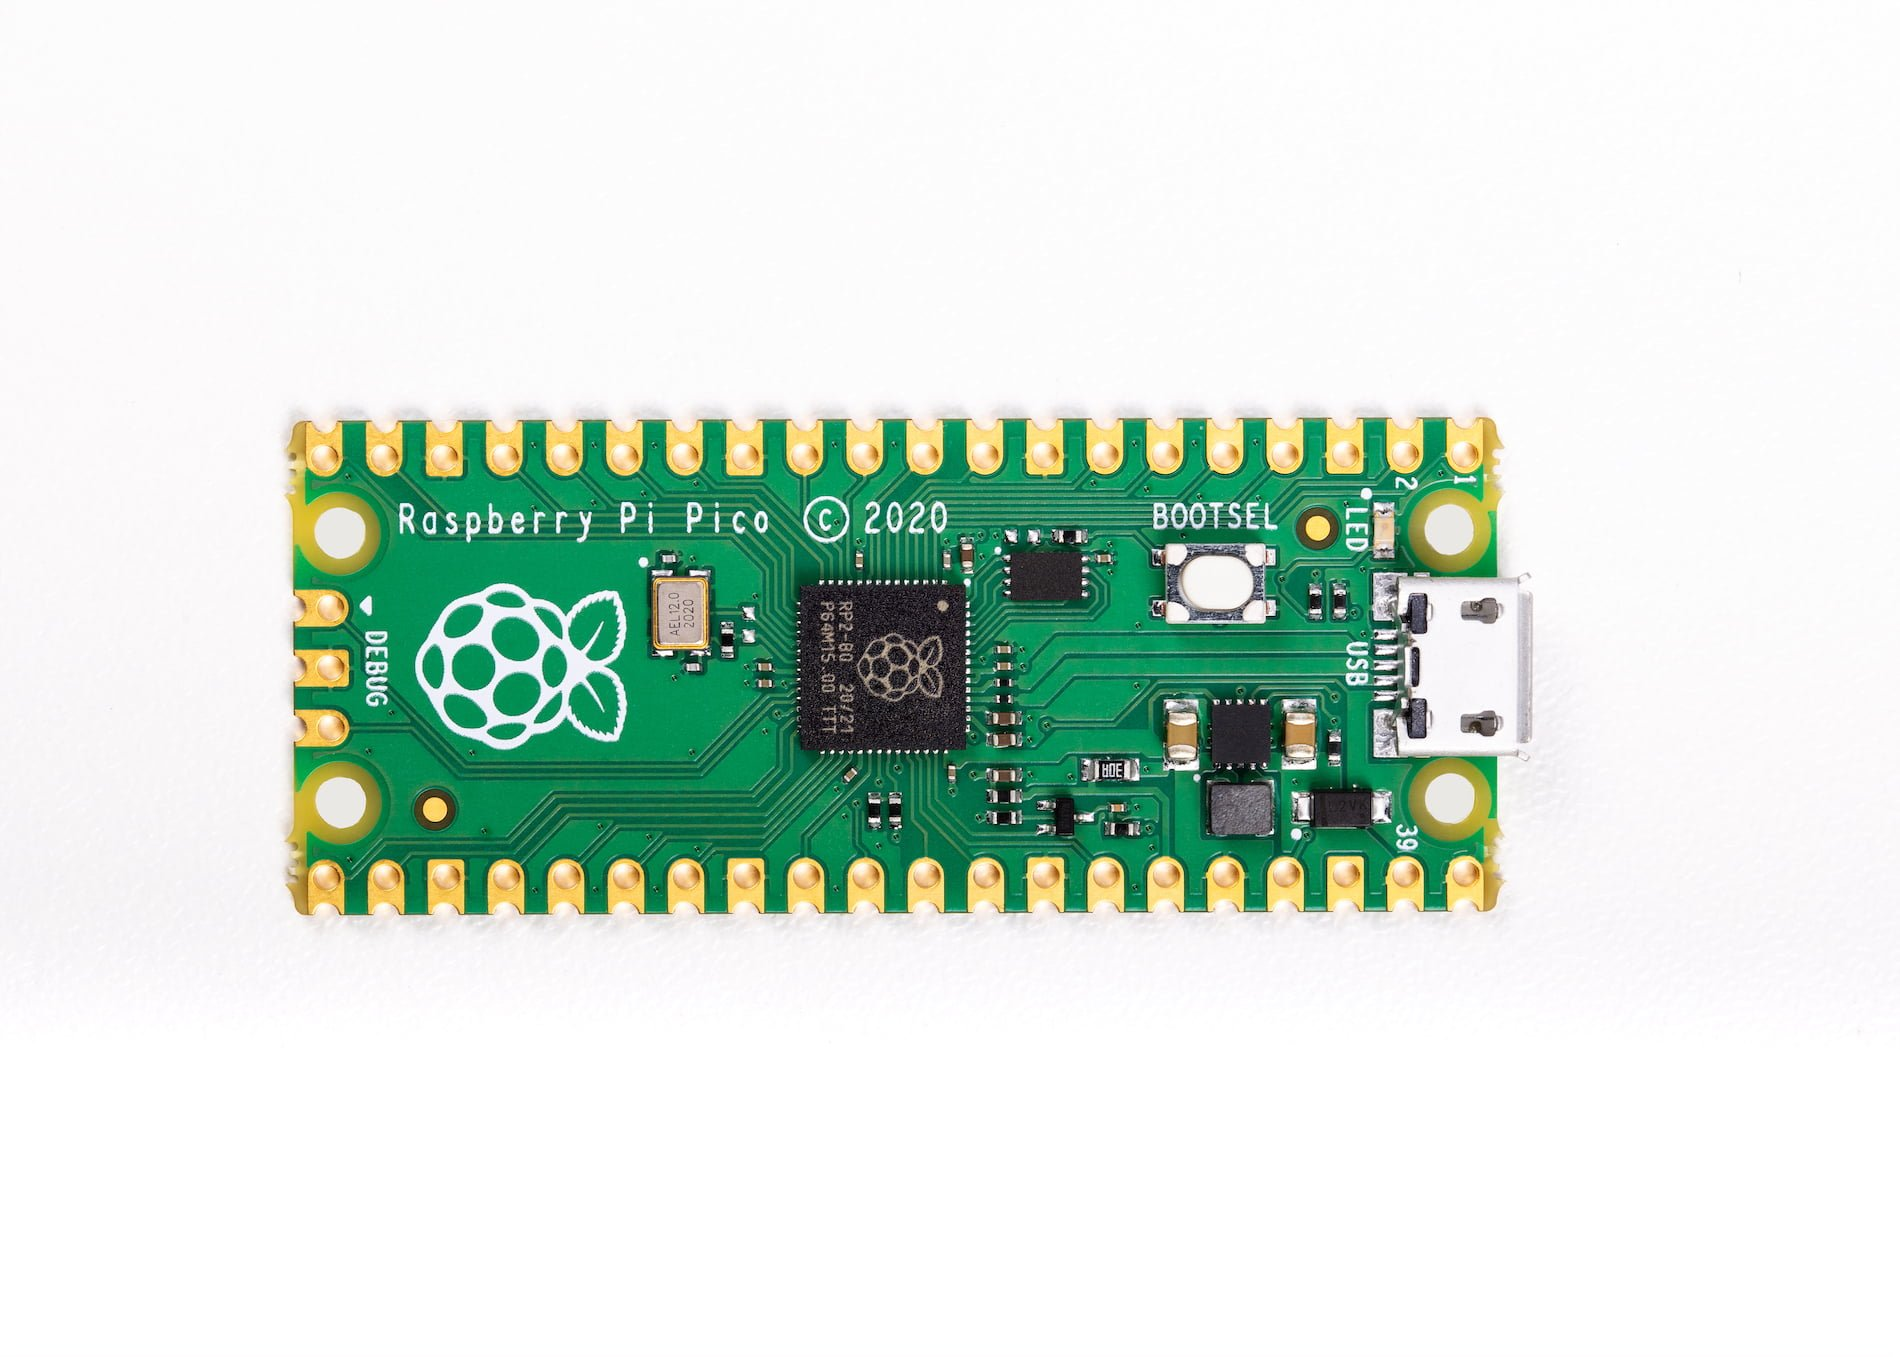
The Raspberry Pi FoundationPico providesis a microcontroller board developed by the Raspberry Pi OS,Foundation. It was announced in January 2021 and represents a Debian-baseddeparture Linuxfrom distributionthe fortraditional download.single-board Itcomputers promotes(SBCs) Pythonthat andthe ScratchRaspberry Pi Foundation is known for, such as the mainRaspberry Pi 3 or 4. Instead of being a full-fledged computer, the Raspberry Pi Pico is a microcontroller board designed for embedded projects and electronics prototyping. It is closer to an Arduino than a Raspberry Pi.
The Pico includes 26 programmable general-purpose input/output (GPIO) pins, which can be used for various digital and analogue tasks. The Pico can be programmed using MicroPython, a lightweight version of the Python programming languages,language with supportdesigned for manymicrocontrollers. It also supports C and other programming languages. To know more about Pico.
At the moment, The Raspberry Pi Pico family currently consists of four boards; Raspberry Pi Pico, Pico H , Pico W, and Pico WH. Raspberry Pi Pico W and Pico WH have on-board single-band 2.4GHz wireless interfaces.
ThingsSet up your Pico
- Solder header pins onto the Pico, you
needcan tochoose knowthe abouttypes that you prefer.
- Choose a programming language for your
Pi
Pico, in this tutorial, we will be using MicroPython.
.uf2 file for your board. Raspberry Pi .uf2 Things
Raspberry Pi is a single-board computer. You can image it as the core of your computer but has no monitor, keyboard or mouse. It can run automated functions without all those things, but you still need them whenthen you are settingready up.to Allgo!
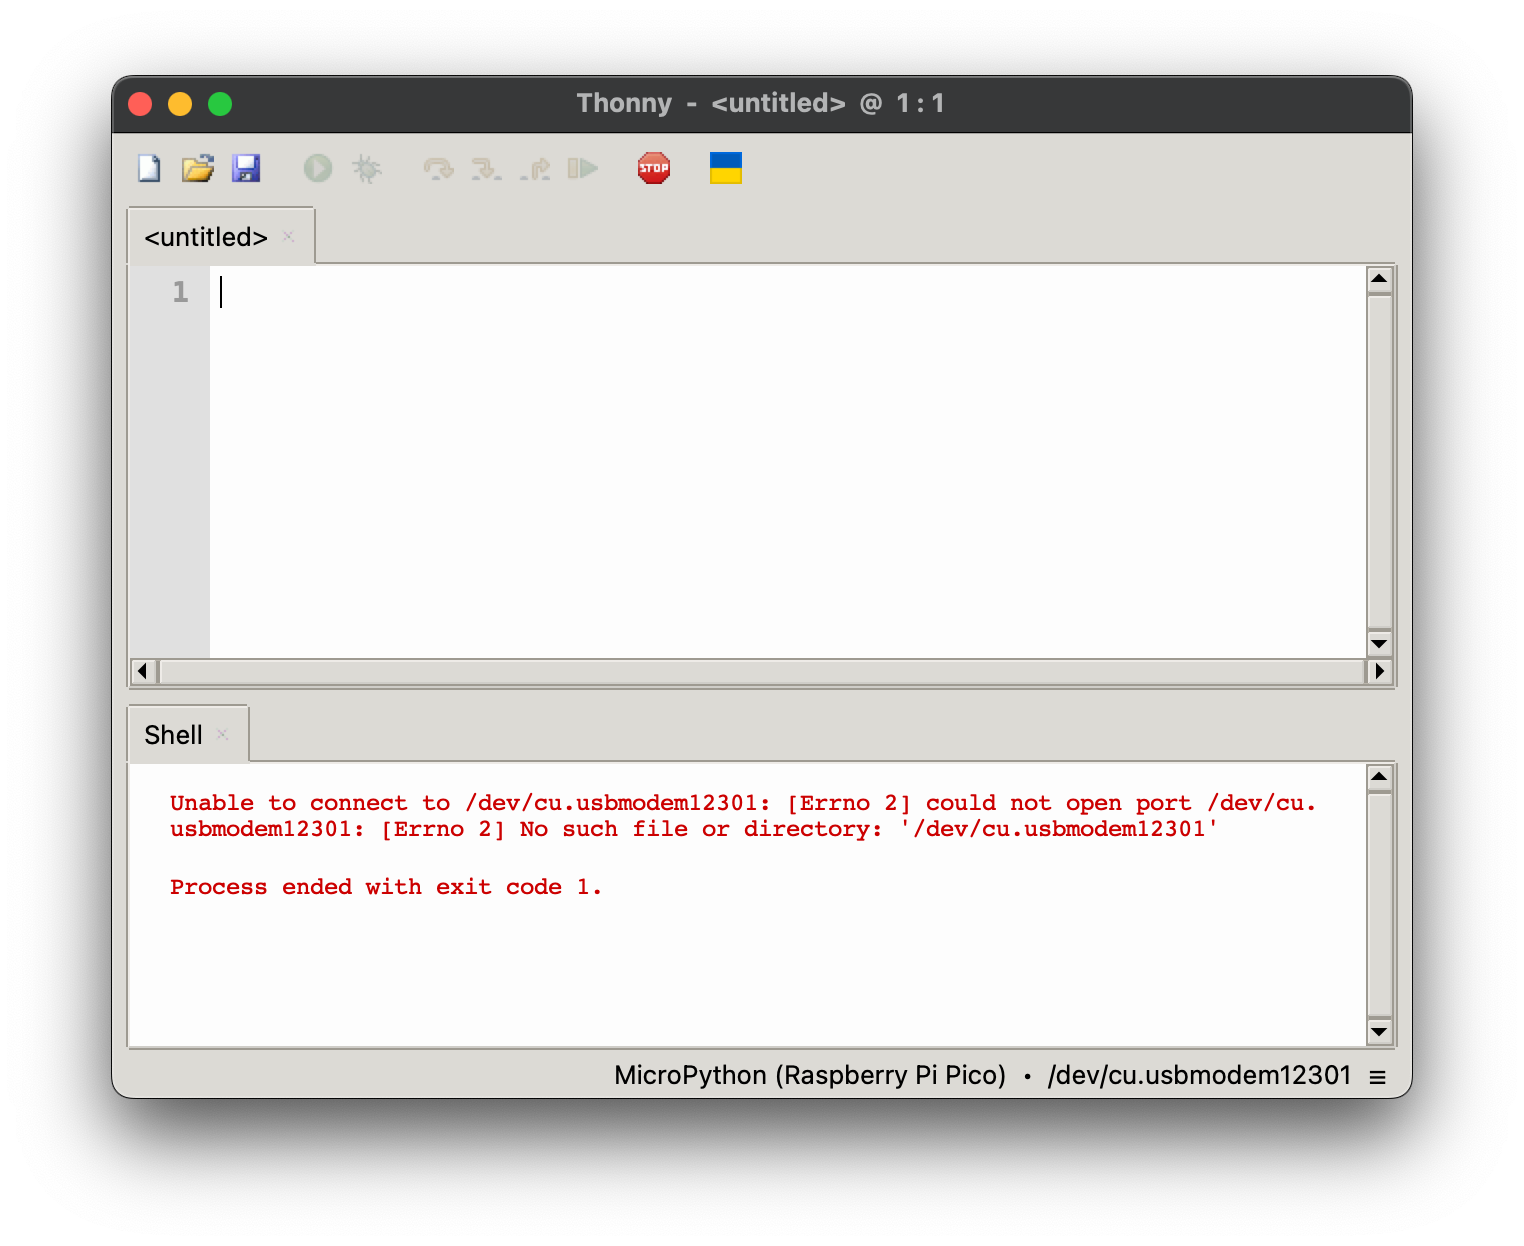
Download areThonny
Thonny is an integrated development environment (IDE) for Python programming. It is designed with beginners in themind CTHand Raspberryprovides Pi'sa kit.
1.and Screen
clean Youinterface canfor usewriting anyand screen,running Python code. Thonny includes features such as longan asinteractive itPython hasshell, a HDMIbuilt-in portpackage manager, and youthe haveability ato powereasily supplyinstall forand manage Python packages.
Download here.
Get Started
This example code will blink the screen.
2.LED HDMIevery cable
0.5 Differentseconds, modelsusing havethe differentmachine typeslibrary ofand HDMIthe ports,time you will need to find HDMI cable that matches your Pi.module.
PiPut3:instandardyourHDMI port x1Pi 4 & Pi 5: micro HDMI port x2code
3.from Mousetime andimport withsleep
cable
from from Mousetime andimport withsleep
cableYoumachine canimport alsoPin
useled the= BluetoothPin("LED", withPin.OUT) a#create dongleLED typeobject offrom mousepin13,Set &Pin13 keyboard.
4.output
Powerwhile Supply
True:
Differentled.value(1) models#Set haveled differentturn needson
time.sleep(0.5) #stay on for Power0.5 supply.seconds
Itled.value(0) is#Set notled necessaryturn tooff
buytime.sleep(0.5) the#stay official power supply. However, you will need to find one that matches the needs of your pi, please refer to the official document.
Raspberry Pi Zero 2 / Pi 3: 5V, 2.5A; Micro USBRaspberry Pi 4: 5V, 3A; USB-CRaspberry Pi 5: 5.1V, 5A; USB-C
5. SD card
The SD card acts as the hard drive of your Raspberry Pi. The higher storage means your pi can save more things on it. BUT, you have to be aware of the types and sizes of the SD card. There is a listoff for you0.5 toseconds
check the specific SD card's compatibility with Pi.
In general, I will suggest using one with at least 16GB.
6. Good to have
-
Ethernet Cable - In case you cannot log in toChoose theWIFI,boardespeciallyandforportnon-openatnetworks.the right bottom corner.
-
FansYou-canOverheatinghitistheagreencommonplayproblembuttonfornow,Pi,itespeciallywillwhenberunning for hours.blinking! -
CamerasAfter-testingWiththecameras,code and youcanaredohappy about it, save the code asmain.pyon Raspberry Pi Pico.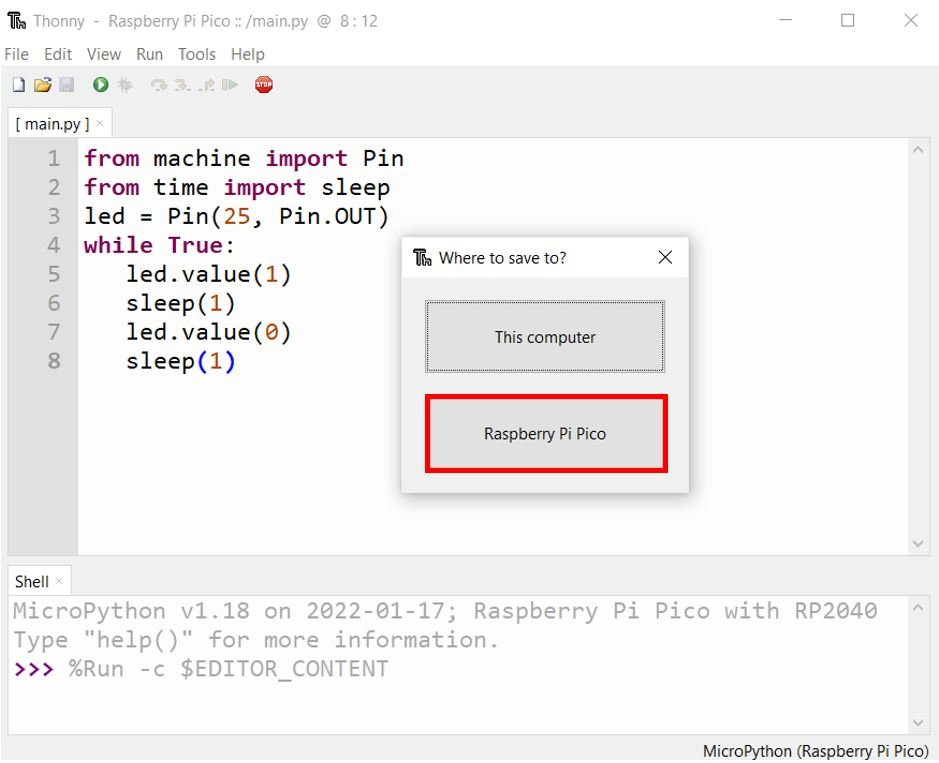
-
Pico will run any code named
main.pyautomatically whenever it is powered. But remember to save alotfile with an identifiable file name on your computer, otherwise you will end up with a bunch ofinterestingmain.pyprojectswithout knowing what they do. -
At this point, you don't need your computer anymore. You can power the Pico with
computeravisionphoneandchargerimages.or battery.

