Adding content - 3D model from the internet
There are many online libraries where you can download pre-existing 3d models for use within your project. The libraries range from online repositories for museums and public institutions to marketplaces where 3D artists can sell models they have created for use in video games, medical animation, architectural visualisation, etc.
Paying for models is very expensive and we strongly recommend searching for free options as there are many out there.
A list of libraries and the types of models they stock can be found here.
What kind of model are you looking for?
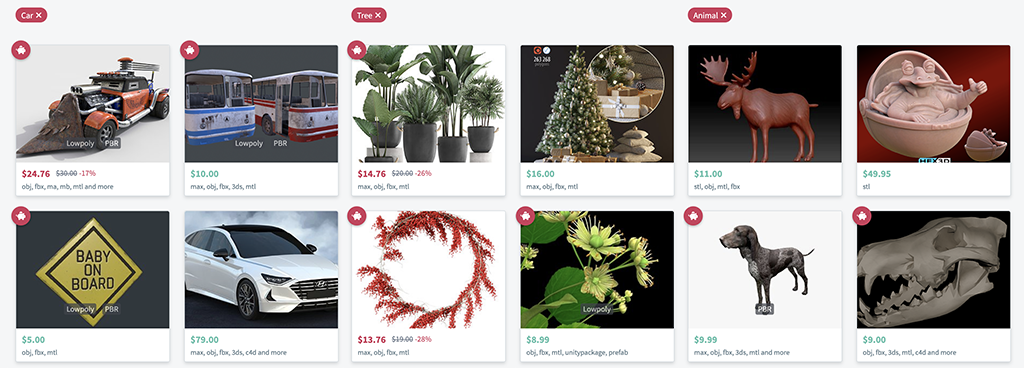
Depending on the model you want you might need to look for it in a particular library. Some libraries are very specialised and only stock models of a particular type - plants & vegetation, or characters for example.
A list of libraries and the types of models they stock can be found here.
How to know if the model will work in Spark AR before you download?
Model libraries will stock models for a variety of different uses and this often affects the way in which the model has been produced, how big they are in terms of file size (their resolution), and how appropriate they are for use in mobile based AR. As a general rule - the larger the file size = the less likely it is to work in mobile based AR. You should test to see if the model will work well in your project.
You might want to avoid -
Models that have been made from a museum collection are often free to use but very large in terms of their file size. This is because they are made by 3D scanning real world objects which creates very high resolution models made from a huge amount of polygons. Although these models can look really good they are often too large to use in mobile AR because of the specifications of the hardware involved. You might need to test the model first to see if will work on your phone.
You might want to use -
Models that have been made to be used in video games are likely to have been modeled with that specific purpose in mind - where file size is really important. That means they will be optimised for use in video games with the smallest file and texture size. Often for video games models will come in a number of resolutions so that you can choose the right one for your purpose. These models are likely to work well for mobile based AR, but they might be harder to find for free.
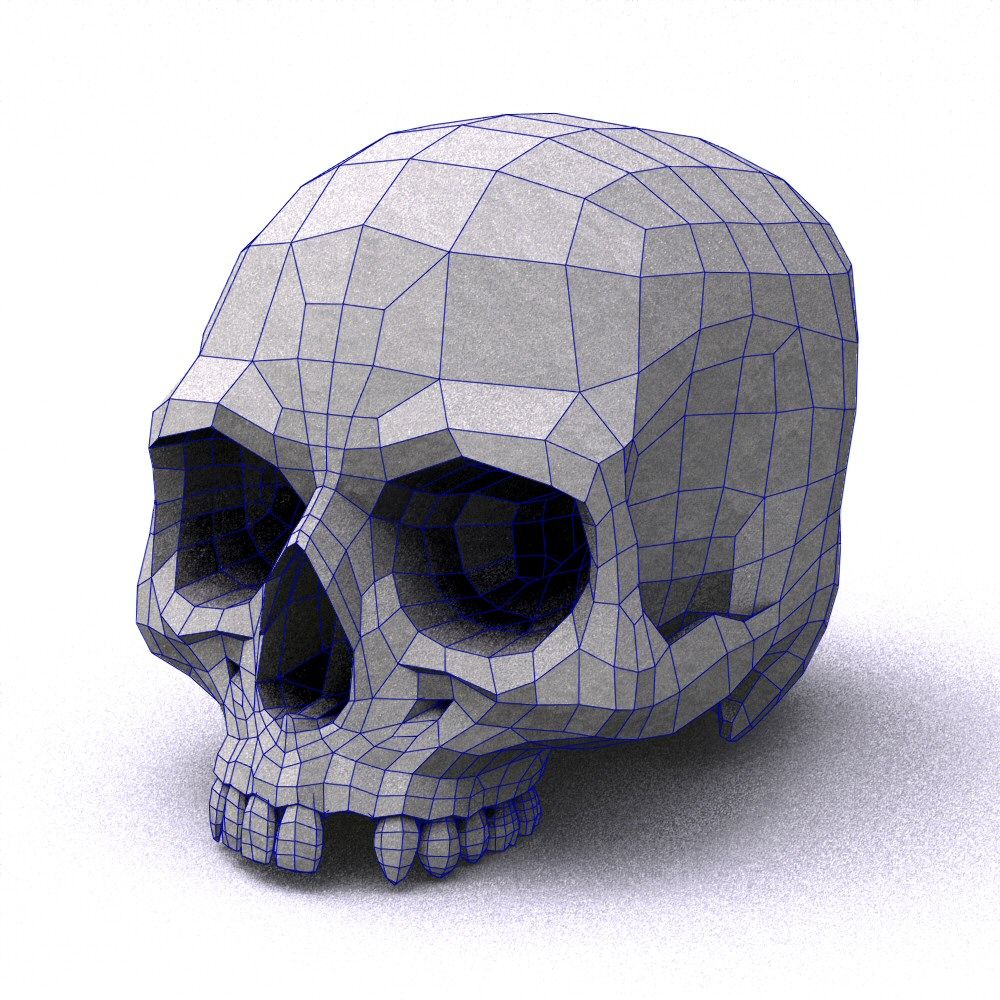
Tip: Some 3d model libraries will let you specify the poly count (the number of faces that make up your model). Additionally, try adding the phrase “Low poly” to your search for models.
What file format do you need?
Before downloading a model you need to check that it is available in a format that the program you are using can support. For a Spark AR a full list of supported file formats can be found here.
FBX and OBJ are two standard 3D file formats that can be imported and exported from a number of programs and both are supported by SPARK AR.
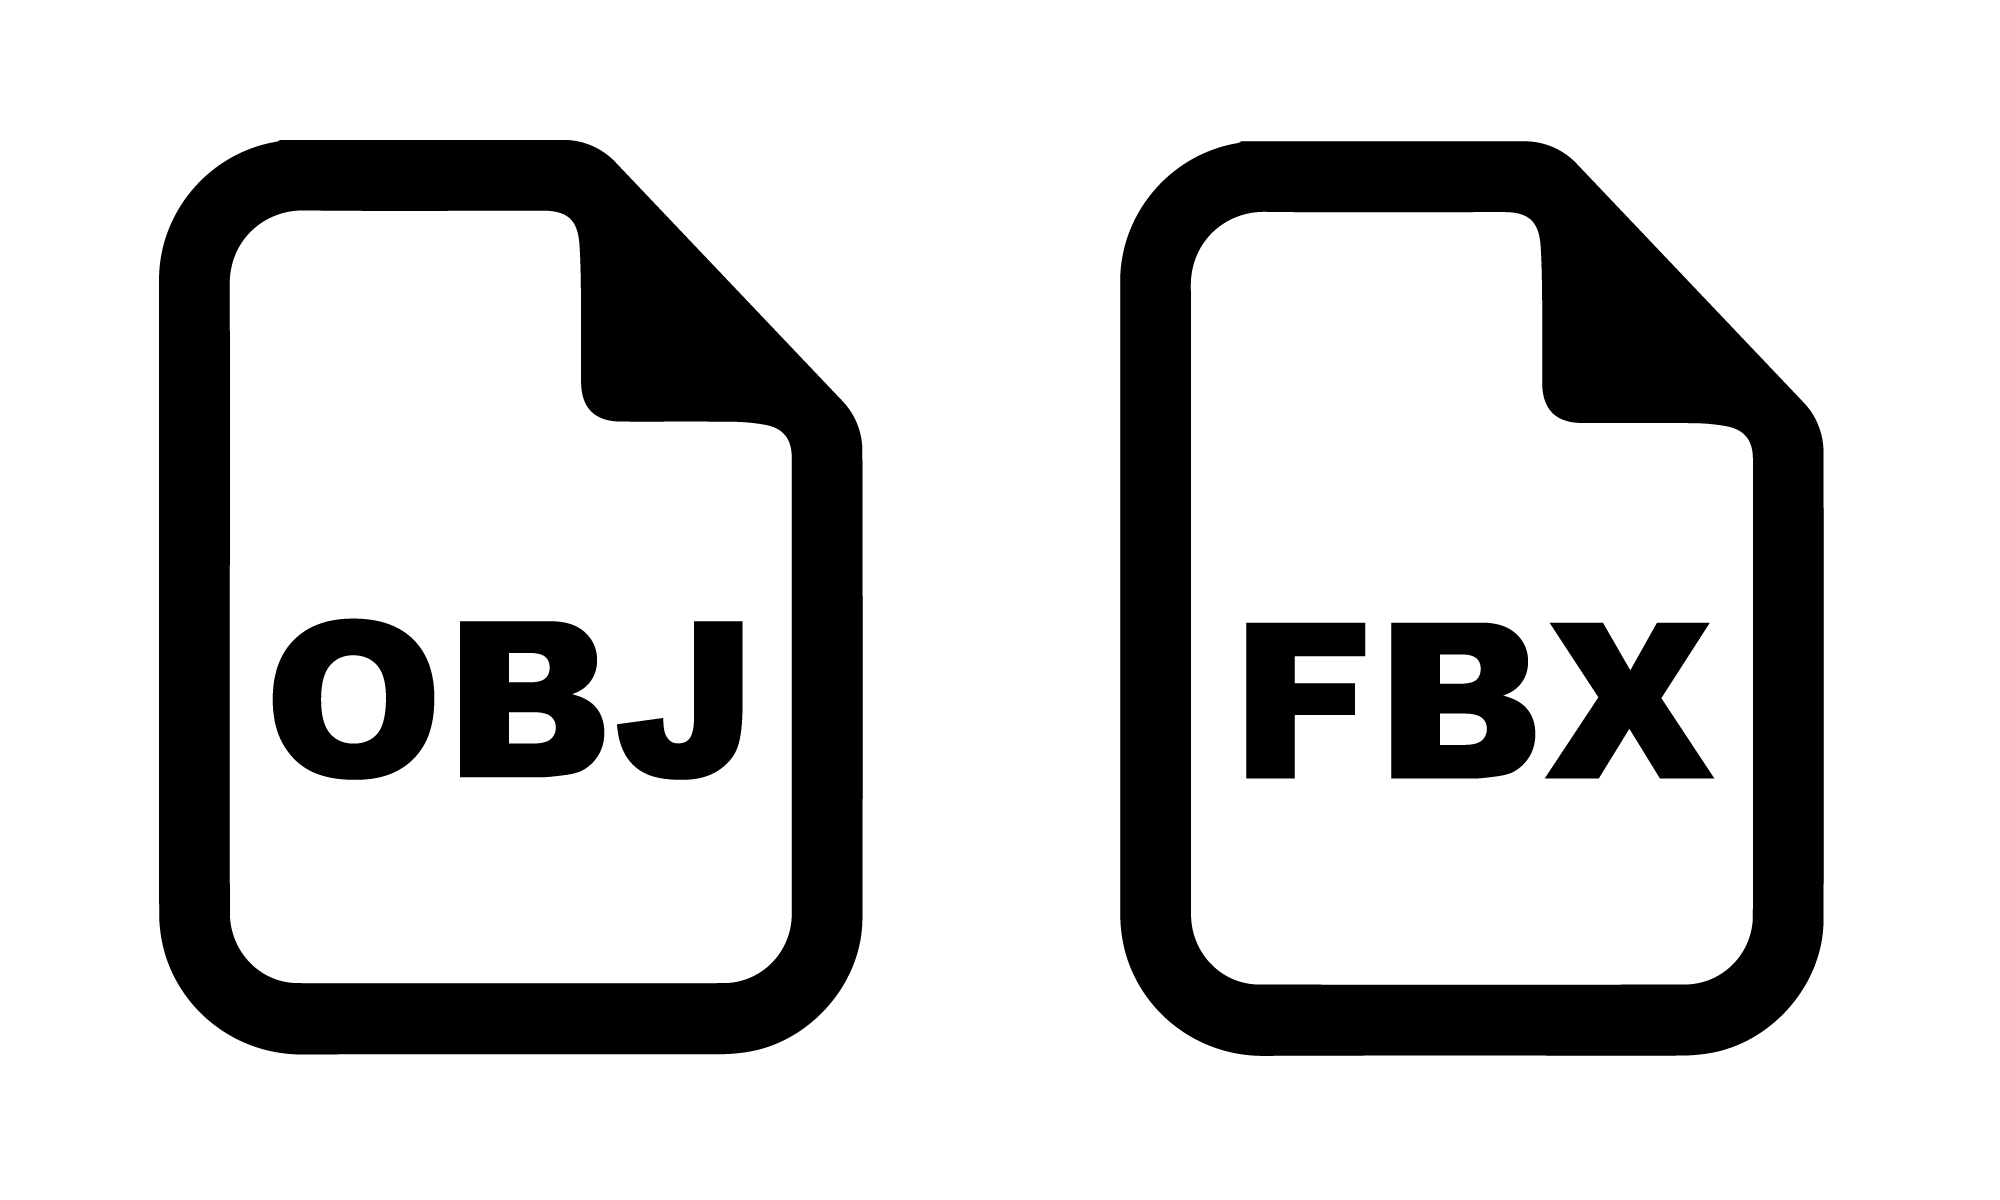
OBJ file format
.obj files (also known as wavefront.obj in some programs) store 3d geometry - the points, and surfaces that make up your 3D model. They often come with an MTL file which contains some material data which can be referenced by the .obj file.
FBX file format
.fbx files also contain geometry data, but they are capable of also containing other forms of data such as animation information. If you are looking to import animation into Spark AR this is the file format you will use to do it.
Tip: On the larger professional model libraries you can often specify the file type you want to search for. Search for .obj and .fbx files will mean you get search results that you can use in Spark AR.
Licenses
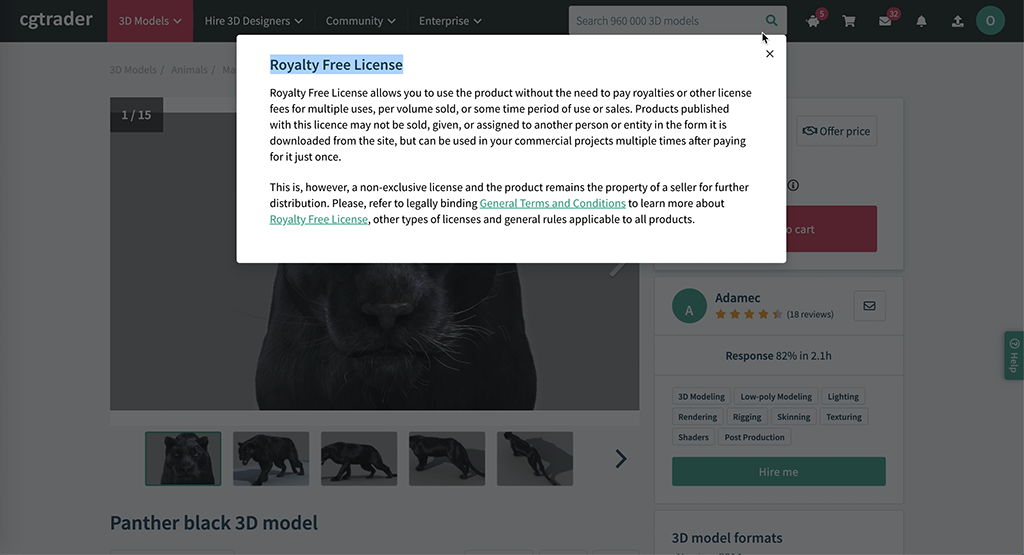
Almost certainly the model you want to use will come with some licensing information attached to it. This will specify how you are able to use your model once it is downloaded.
It is very important that you check that the license the model offers allows you to use it in the way you want to - otherwise you may be breaking the law. Often models that are free will not allow you to use them for commercial purposes but you should check just in case.
Tip: It is always worth keeping a record of where a specific model has come from so you can check the license if you need to later. Additionally, if you have downloaded a model for free it is good etiquette to reference the person who created it.
Downloading a model
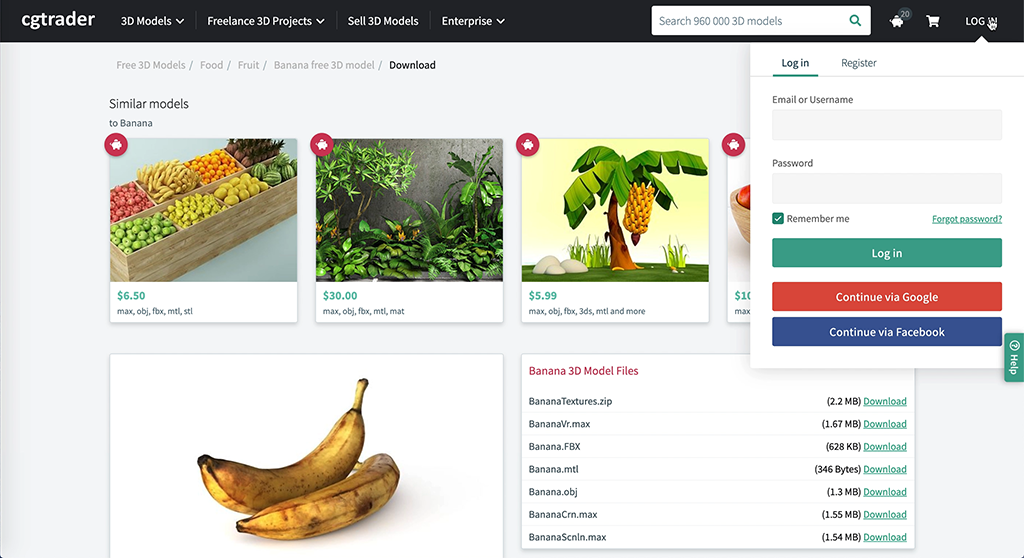
- Depending on the site you are using you may, or may not need to create an account to download a model.
- Check is that you are downloading the right file format (obj, or fbx).
- Once you are happy that it is the right format, you can download it to a convenient location on your computer.
- After the download is complete you should check the contents of the download as there may also be textures that you can use in Spark AR.
Adding a model to your project
-
Click the Add drop down menu in the toolbar
-
Then scroll down and click on 3D Objects and in the menu that pops open click 3D Object.
-
Navigate to the file you want to load and click Open. This will load your model into the scene.
Adding content - Materials and Textures
In a 3d program you combine geometry (the form of the model) and materials (the surface finish) to define what your model looks like.
Shader (Material) Type
There are a few types of material that you can use in Spark AR. These are called Shader Types. For our purposes you can leave this on the default standard shader.
More information on Shader Types can be found here.
A material is built from several components - which Spark AR calls Shader Properties.
Diffuse - This controls the base colour of the material.
Specular - this controls surface highlights and shininess of the object.
Normal - this controls how bumpy the surface looks
Emission - this makes the material appear as though it is emitting light
Alpha - this controls the visibility of the material.
Adding a material
To add a material to your project:
- Click the Add drop down menu in the toolbar
- Then scroll down and click on Material. This will drop a new material into a material folder in your Assets pane.
- Double click your material in the Assets pane and rename the material to something more specific.
- To add the material to your model first select the model in the Scene pane. Then in the Inspector pane you should be able to see information relating to your model. Under Materials click the drop down menu and then click on the name of the material that you want to assign to that model.
Loading a texture
A texture is a 2D image file, usually in JPG or PNG format (these are the only texture file formats Spark AR Supports), that is used to help define the appearance of an object in your scene. For example: a texture might be a wood grain, or gradient image.
Many 3d models will come with their own textures which you can load to add detail to the model. To load a texture:
- First make sure that the material you want to add the texture to is selected in the Asset pane. This will make the material properties visible in the Inspector pane.
- Under the Shader Properties section click the arrow next to Diffuse to maximise that section.
- Next to Texture click Choose File and navigate to the texture you want to load. Click open and your texture should be loaded.
- If the material has been applied to your model you should see it update.
Tip: You can use the colour properties of the diffuse channel to lighten, darken and colourise your texture.