Steam VR setup Tutorial #3 - Interactable object setup
Aims
The aim of this tutorial is to get you started creating objects that you can interact with using your HTC VIVE controllers (Using Steam VR 2.2 plugin).
Please notice that this is part of a series of tutorials progressing from basic concepts to more functional and complex proyects. In previous pages we already explored how to setup the scene you are expected to use for this tutorial.
Prerequisites
-
Setting up the Steam VR plugin.
Steam VR setup tutorial# 1
-
Setting up teleporting feature (Optional).
Steam VR setup tutorial# 2
Getting started
In Steam VR setup tutorial #2 we added a blue material to a plane in order to make it easier for us to see the teleporting feature at work. In this tutorial you are going to learn how to create two "throwable" objects but first we are going to create a plinth to put the throwable objectS on so it is easier to test them.
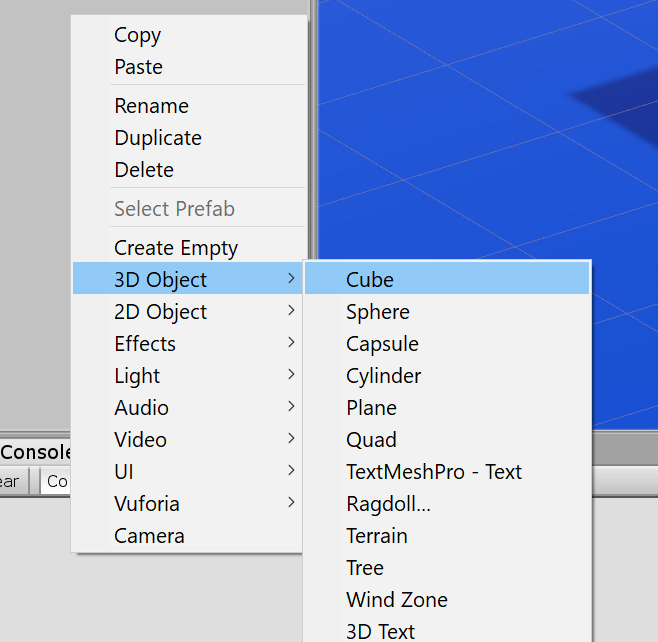
To begin, right-click over the Hierarchy panel and select cube.
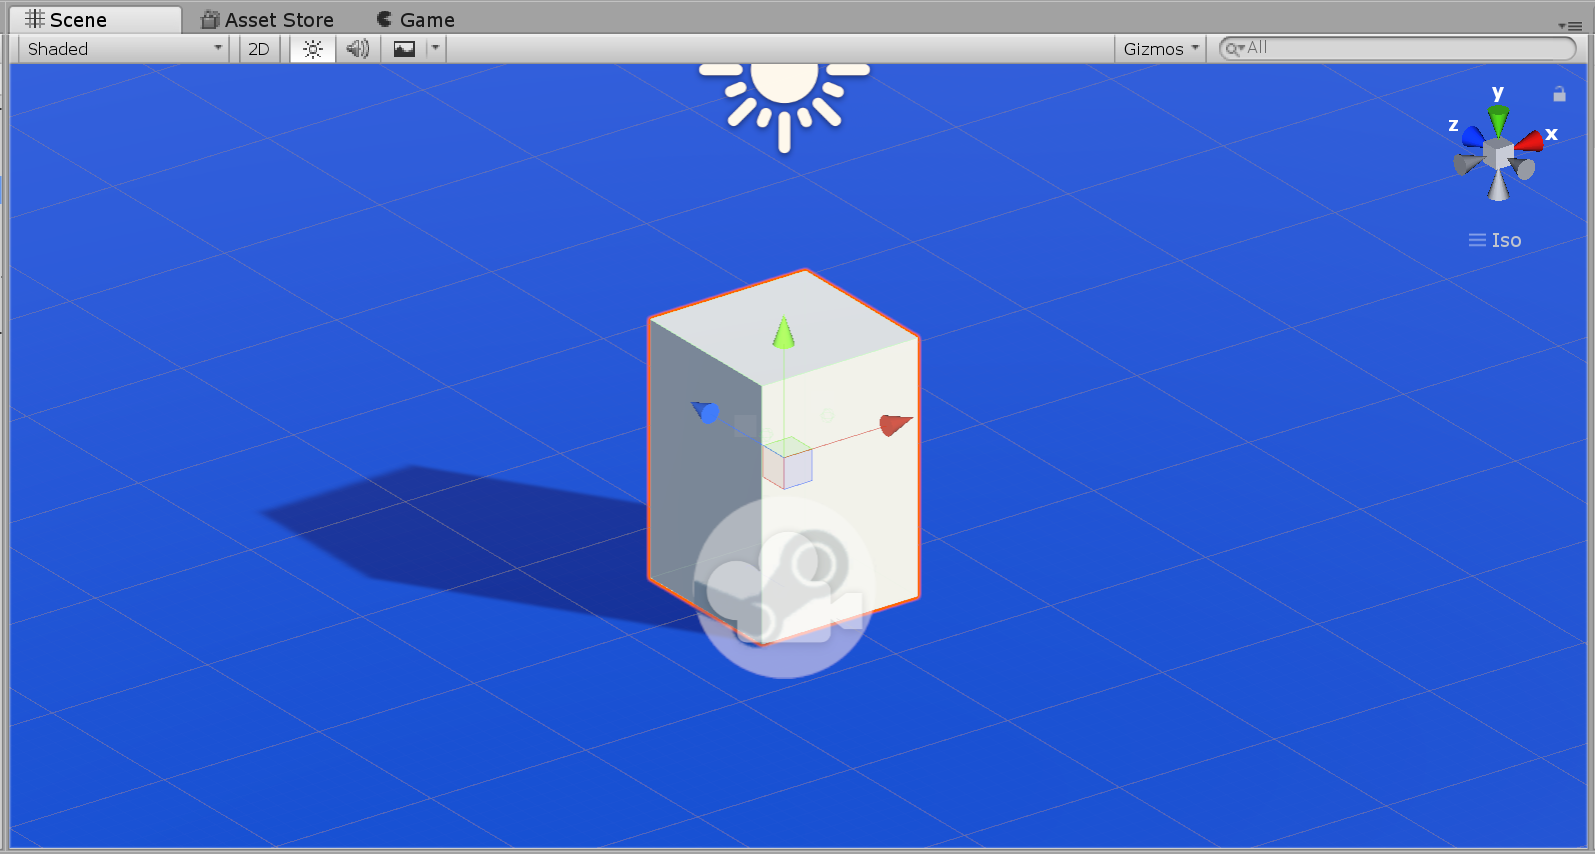
You should now see a cube intersecting the walking plane.
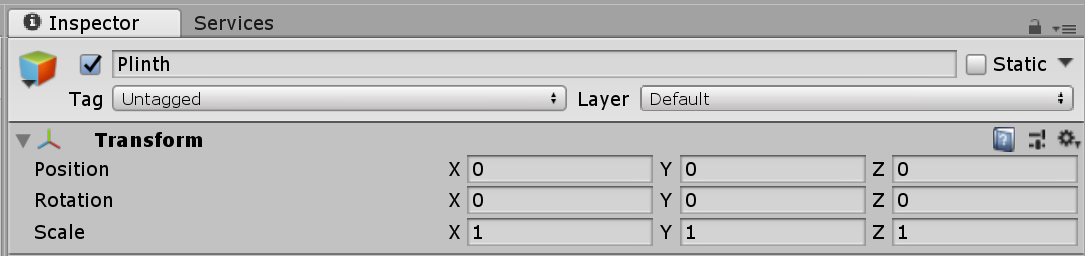
Now let's change the scale and the position to make it look like an actual plinth. With the cube selected look at the Transform component parameters shown on the Inspector, you will see that by default, your cube has the scale set to "1" and both Position and Rotation parameters should be set to "0" an all three axis.
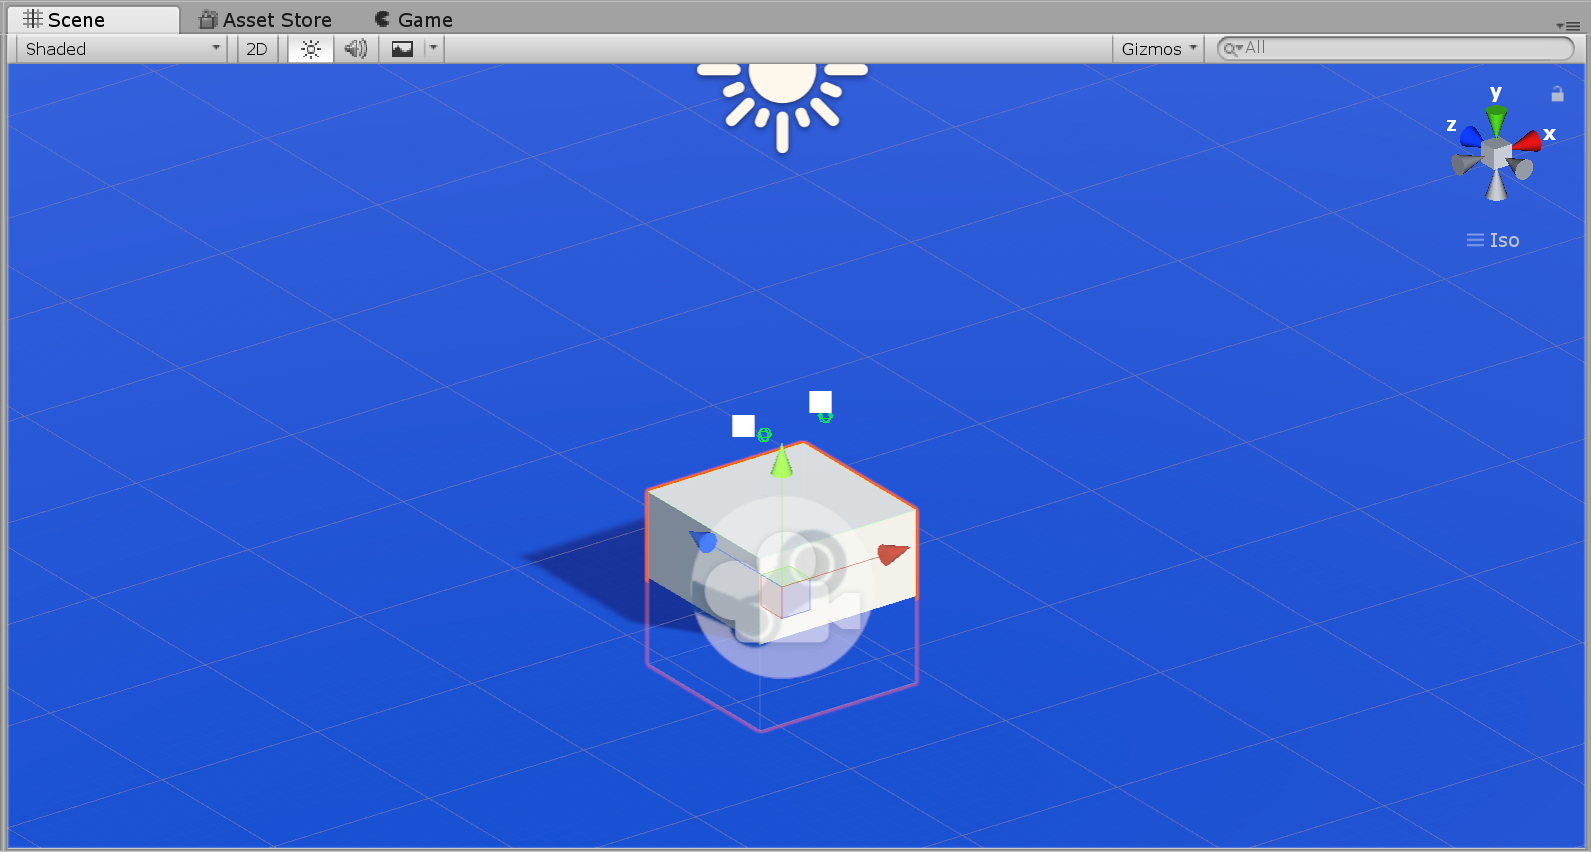
Let's increase the "Y position" value up to 0.75 and the "Y scale" value to 1.5.

Now the cube should be taller and placed at the right height.