Steam VR setup Tutorial #3 - Interactable object setup
Aims
The aim of this tutorial is to get you started creating objects that you can interact with using your HTC VIVE controllers (Using Steam VR 2.2 plugin).
Please notice that this is part of a series of tutorials progressing from basic concepts to more functional and complex proyects. In previous pages we already explored how to setup the scene you are expected to use for this tutorial.
Prerequisites
-
Setting up the Steam VR plugin.
Steam VR setup tutorial# 1
-
Setting up teleporting feature (Optional).
Steam VR setup tutorial# 2
Getting started
In Steam VR setup tutorial #2 we added a blue material to a plane in order to make it easier for us to see the teleporting feature at work. In this tutorial you are going to learn how to create two "throwable" objects but first we are going to create a plinth to put the throwable objectS on so it is easier to test them.
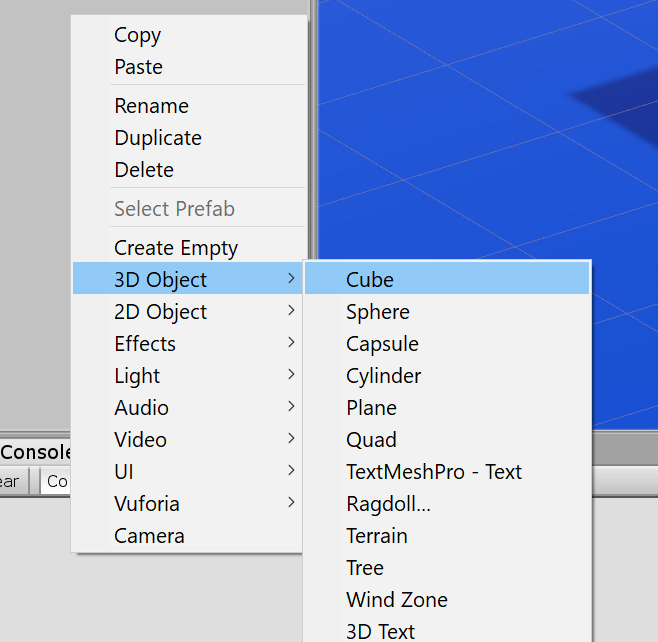
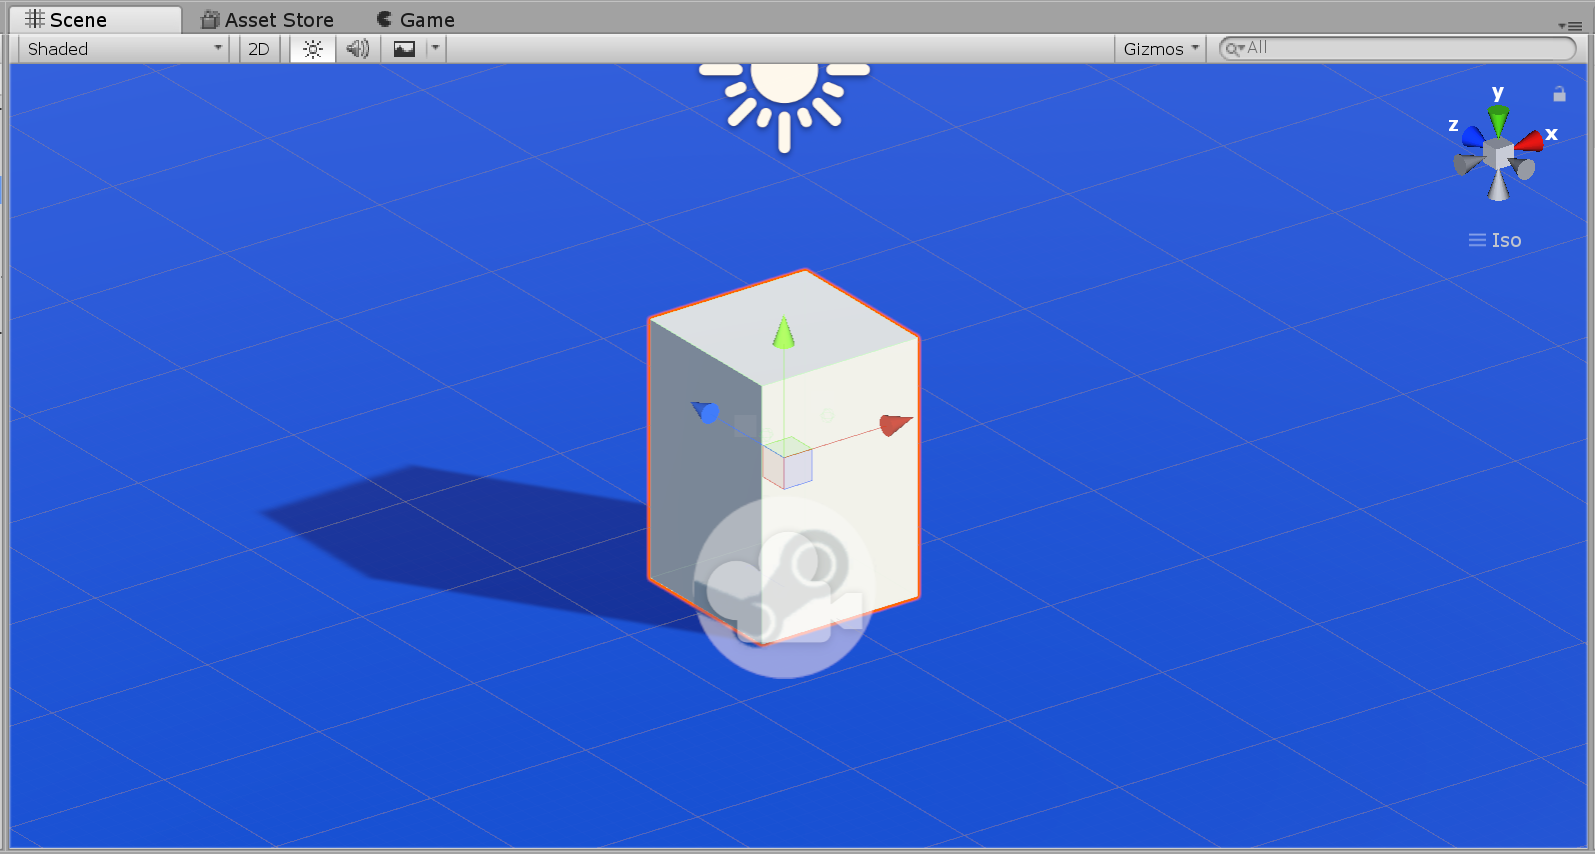
To begin, right-click over the Hierarchy panel and select cube.
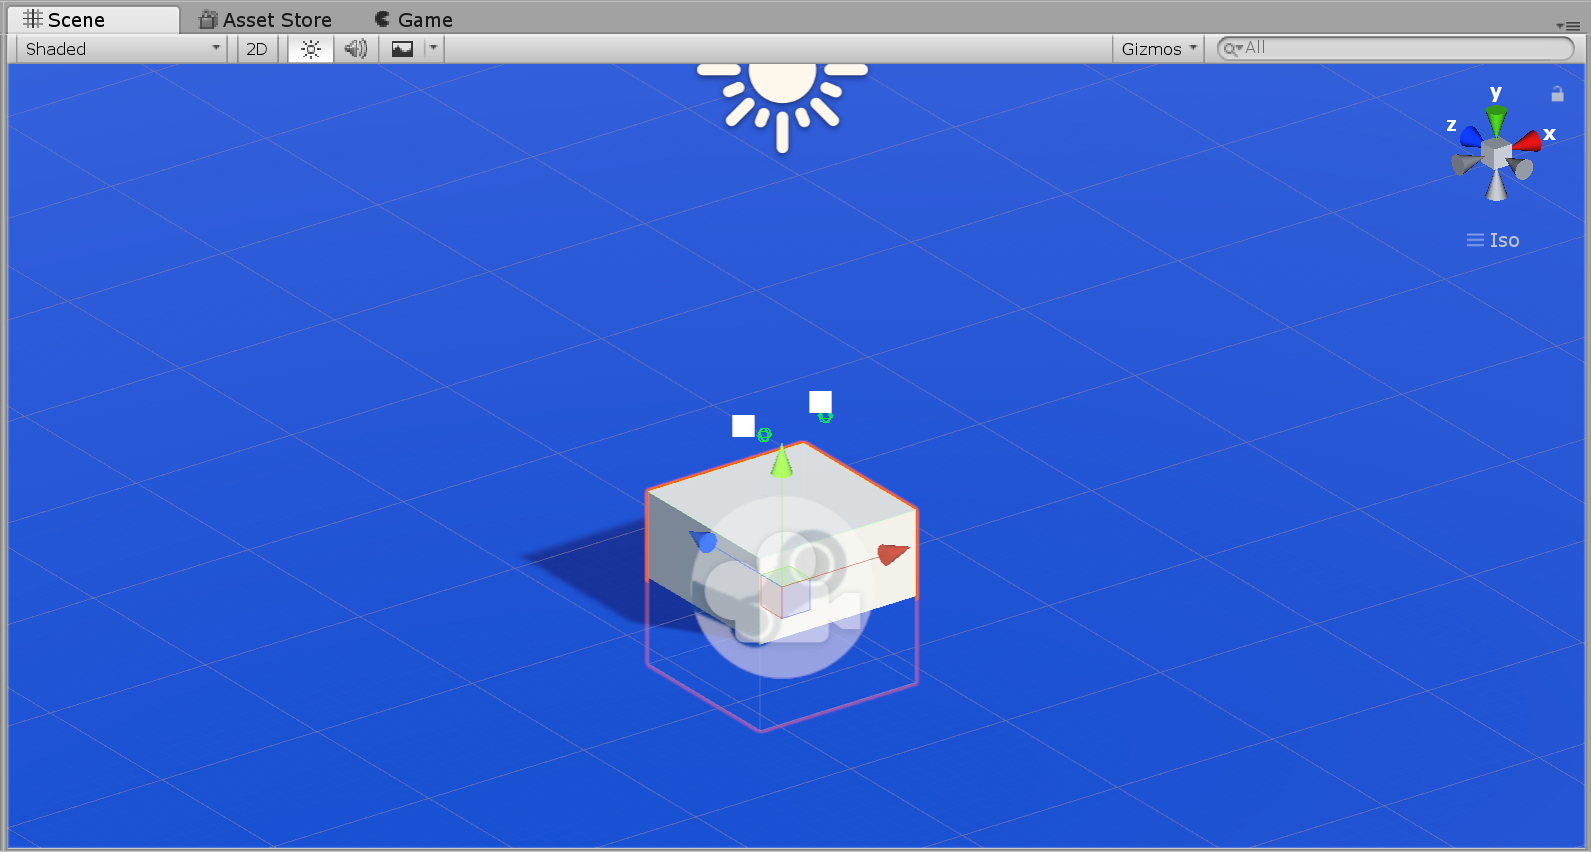
You should now see a cube intersecting the walking plane.
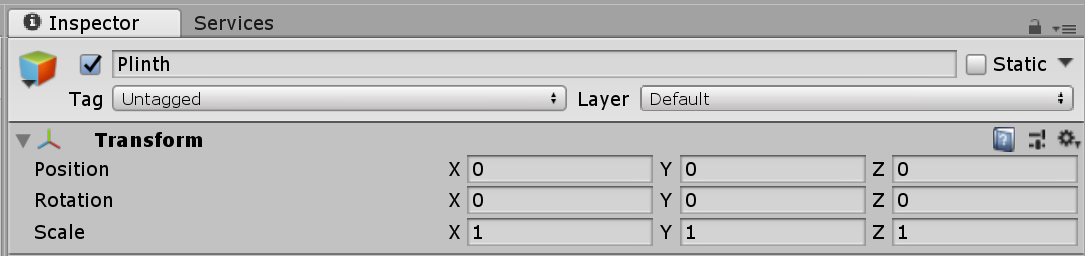
Now let's change the scale and the position to make it look like an actual plinth. With the cube selected look at the Transform component parameters shown on the Inspector, you will see that by default, your cube has the scale set to "1" and both Position and Rotation parameters should be set to "0" an all three axis.
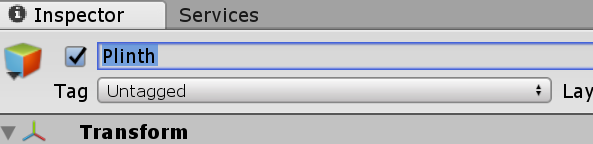
Let's increase the "Y position" value up to 0.75 and the "Y scale" value to 1.5. It is also important to give meaningful names to our objects to keep our scene tidy. In order to change the name of a selected object just left-click inside the text field located on top of the Transform component and type your text.
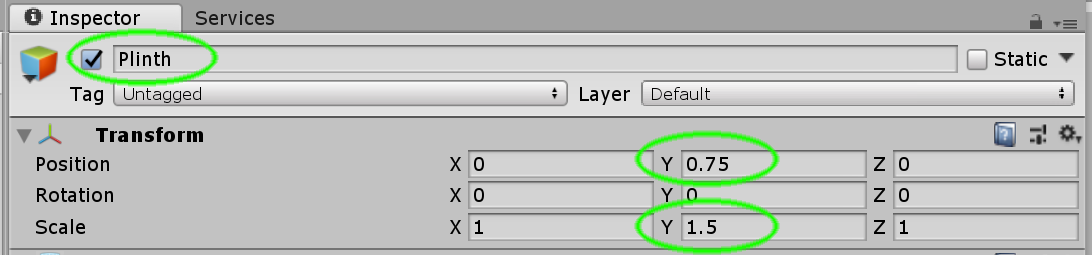
Now our plinth should be taller and placed at the right height.
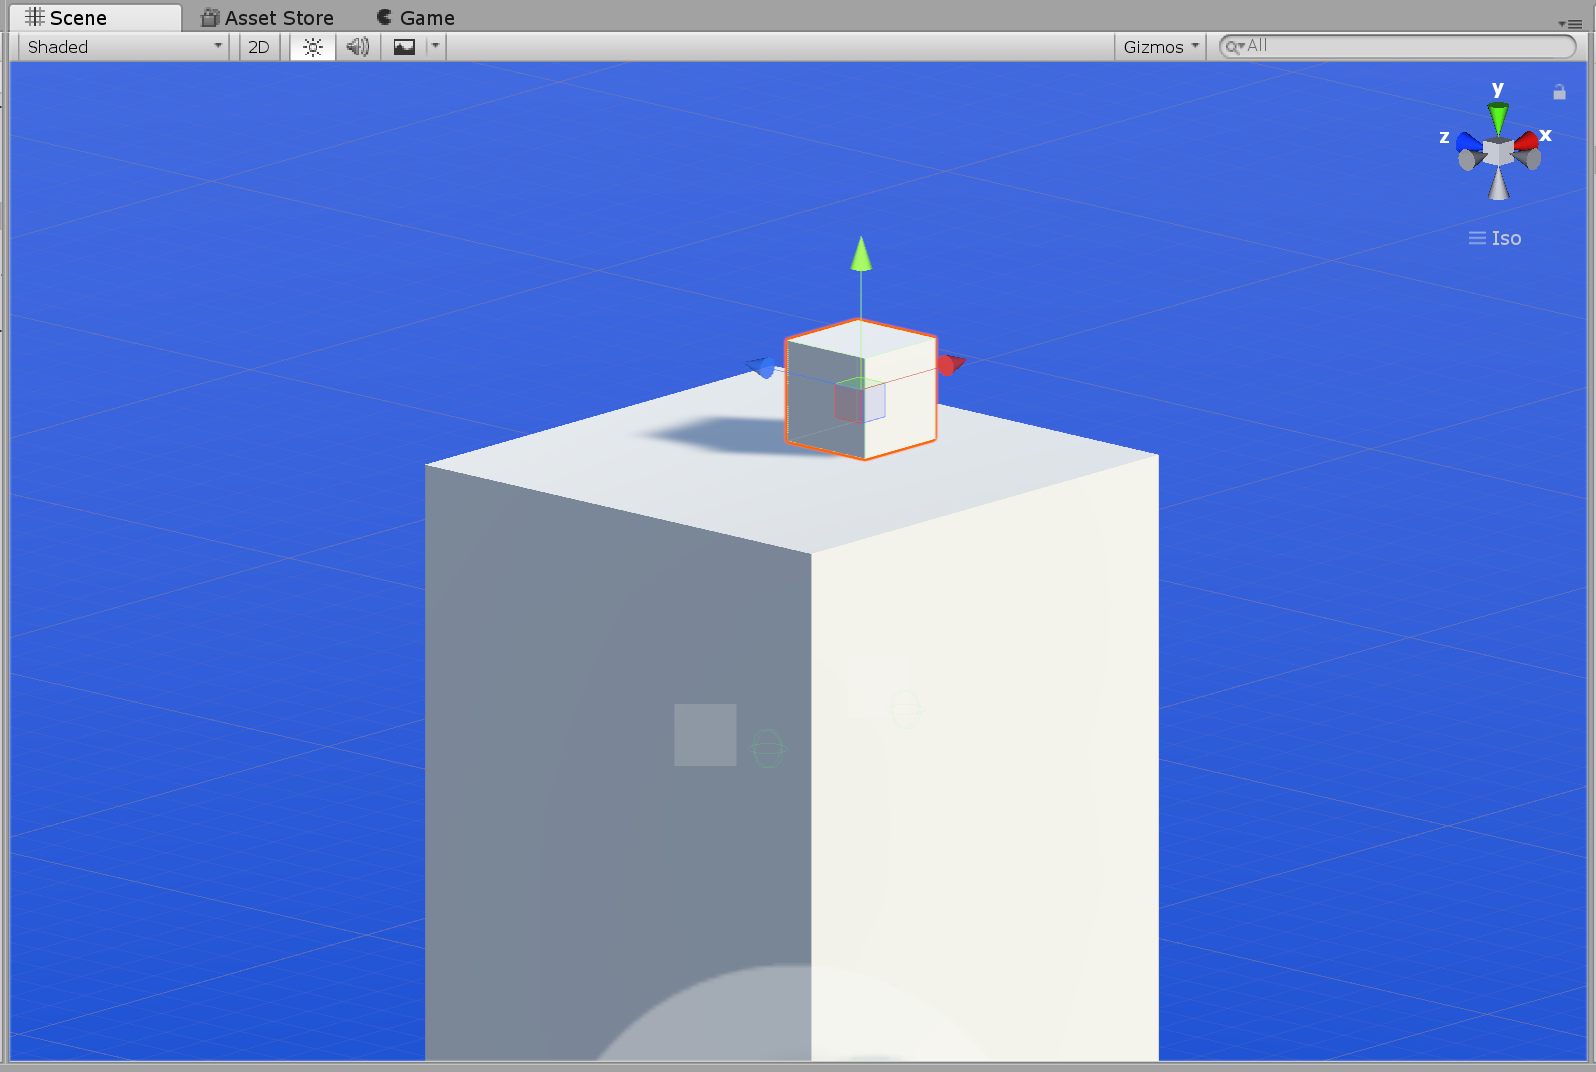
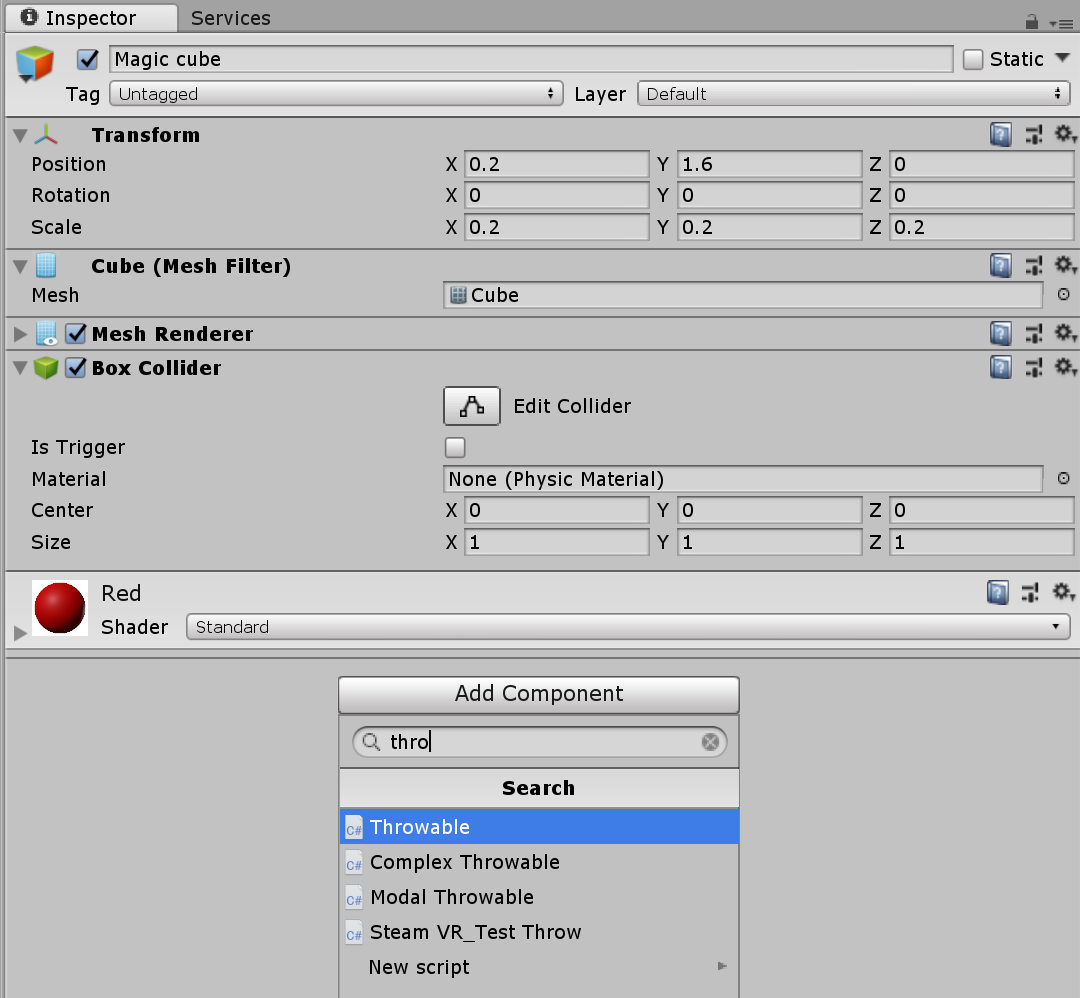
Now we are going to create our interactable objects. To create the first one, right click over the hierarchy panel and select cube. With our new cube selected, lets change the Transform parameters to make it sit on top of our plinth. First change the scale down to 0.2 on all three axis then change the Position values as follows: x=.2, y=1.6 and z=0. Finally, let's put a name to it in order to keep things tidy, you can call it whatever you want, we suggest a meaningful name like "Magic cube".

We should see our "Magic cube" on top of our "Plinth".
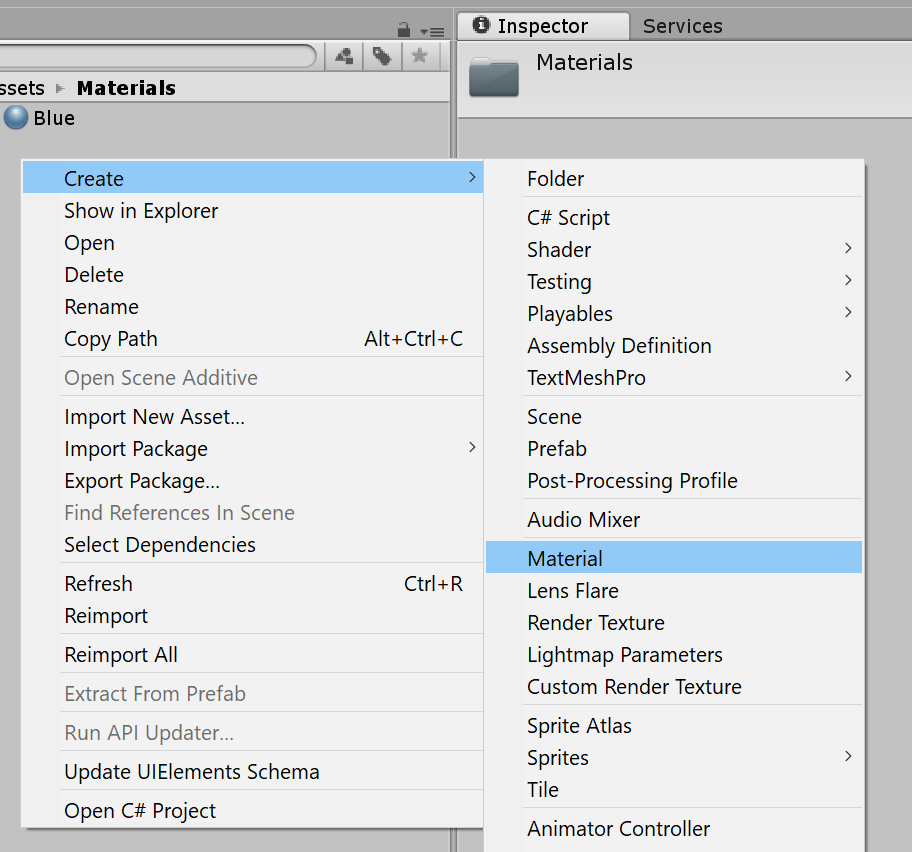
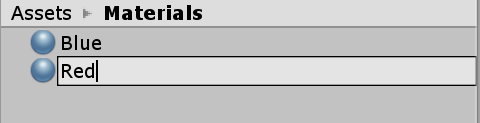
Now, in order to make things look a bit more interesting, let's create and apply a new color material to our interactable object, just right click on top of the project panel and select Create/Material, give it a meaningful name, like "Red" (or any other color you might prefer).
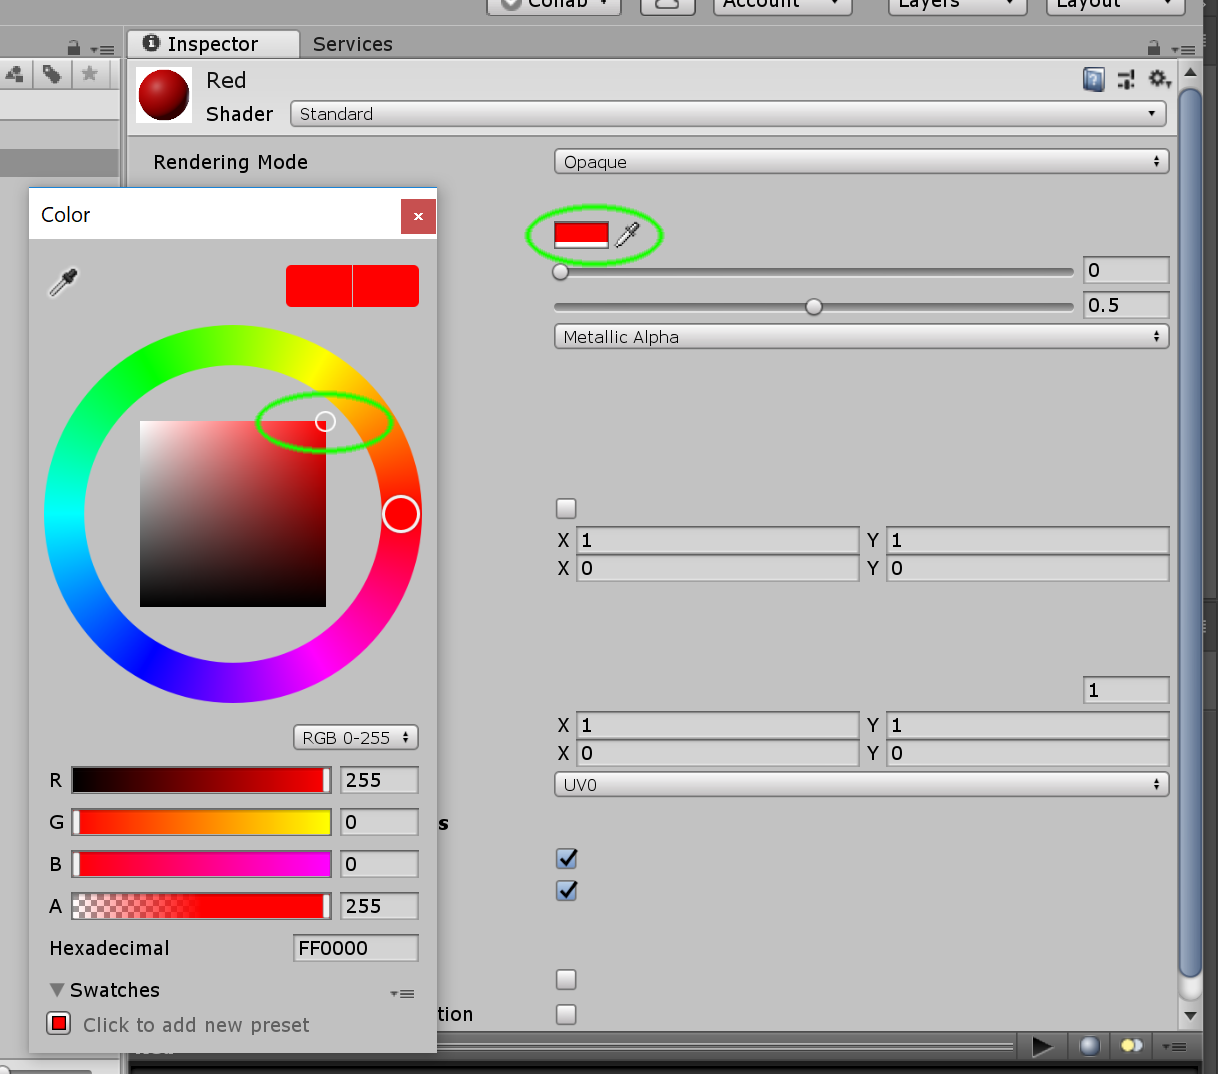
Next, with your material selected, click on top of the "color picker" box shown in the inspector. This will open a color picker window were you can select the color you that corresponds to the name of your material.
Now just drag and drop the material on top of your "Magic cube".
Now we are ready to add the scripts (included on the Steam VR plugin) that are going to make your object interactable. With the "magic cube" selected, press the "Add component" button and type "throwable", this will filter the component list and will highlight the "Throwable" script. Now you just need to either press enter or click on top of it to add it to your object.
You will notice that Unity actually added 4 different components.
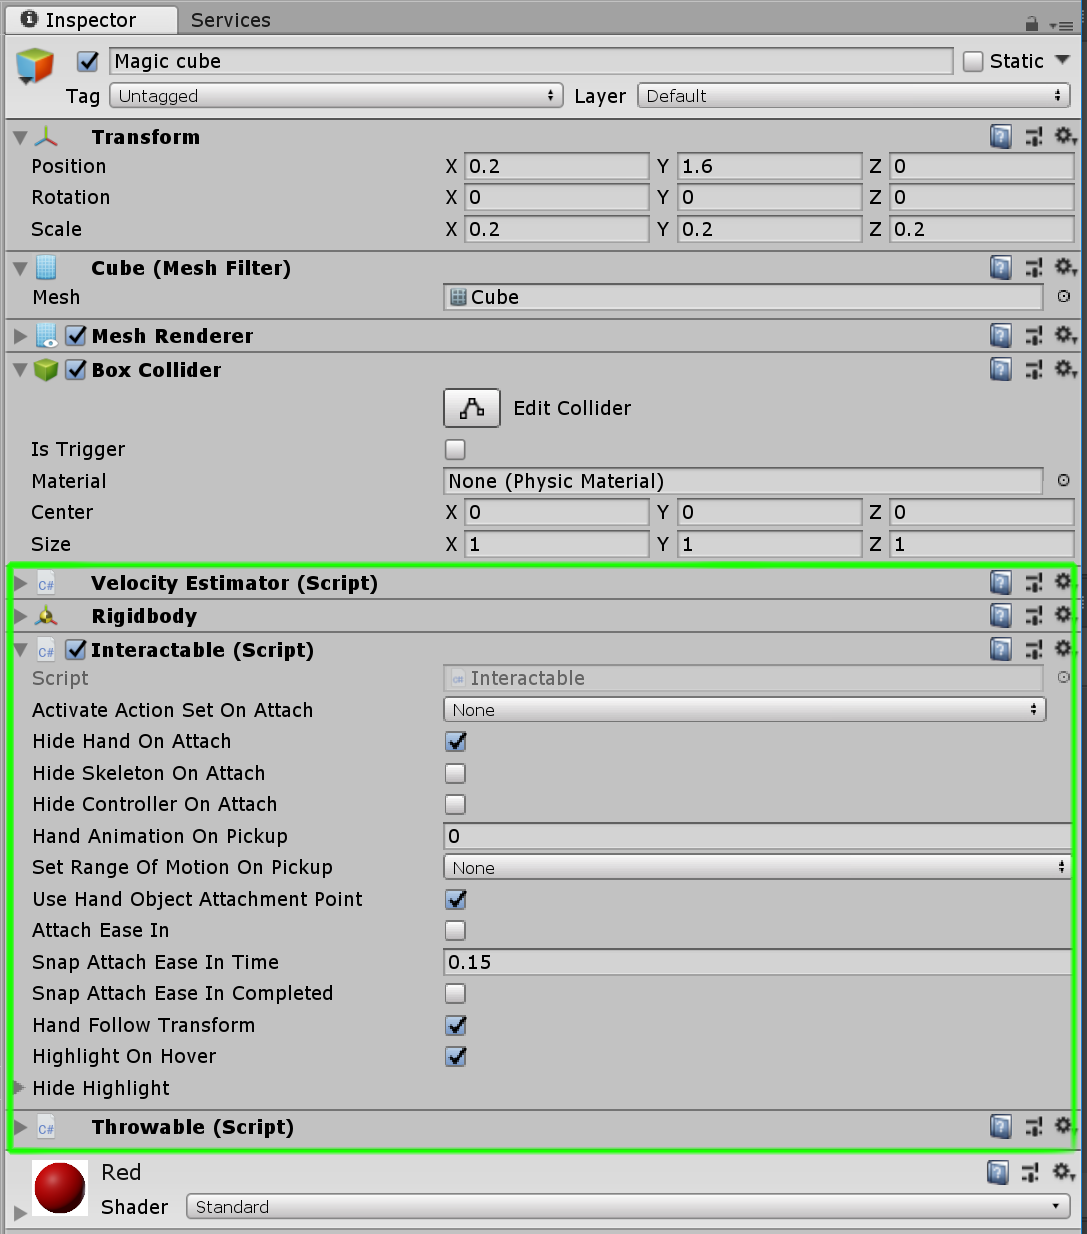
Unity added those components automatically as your interactable object needs all three scripts and also a rigidbody for the object to interact with the physics system. Press play and intersect the cube with the controller and pull and hold the trigger button.
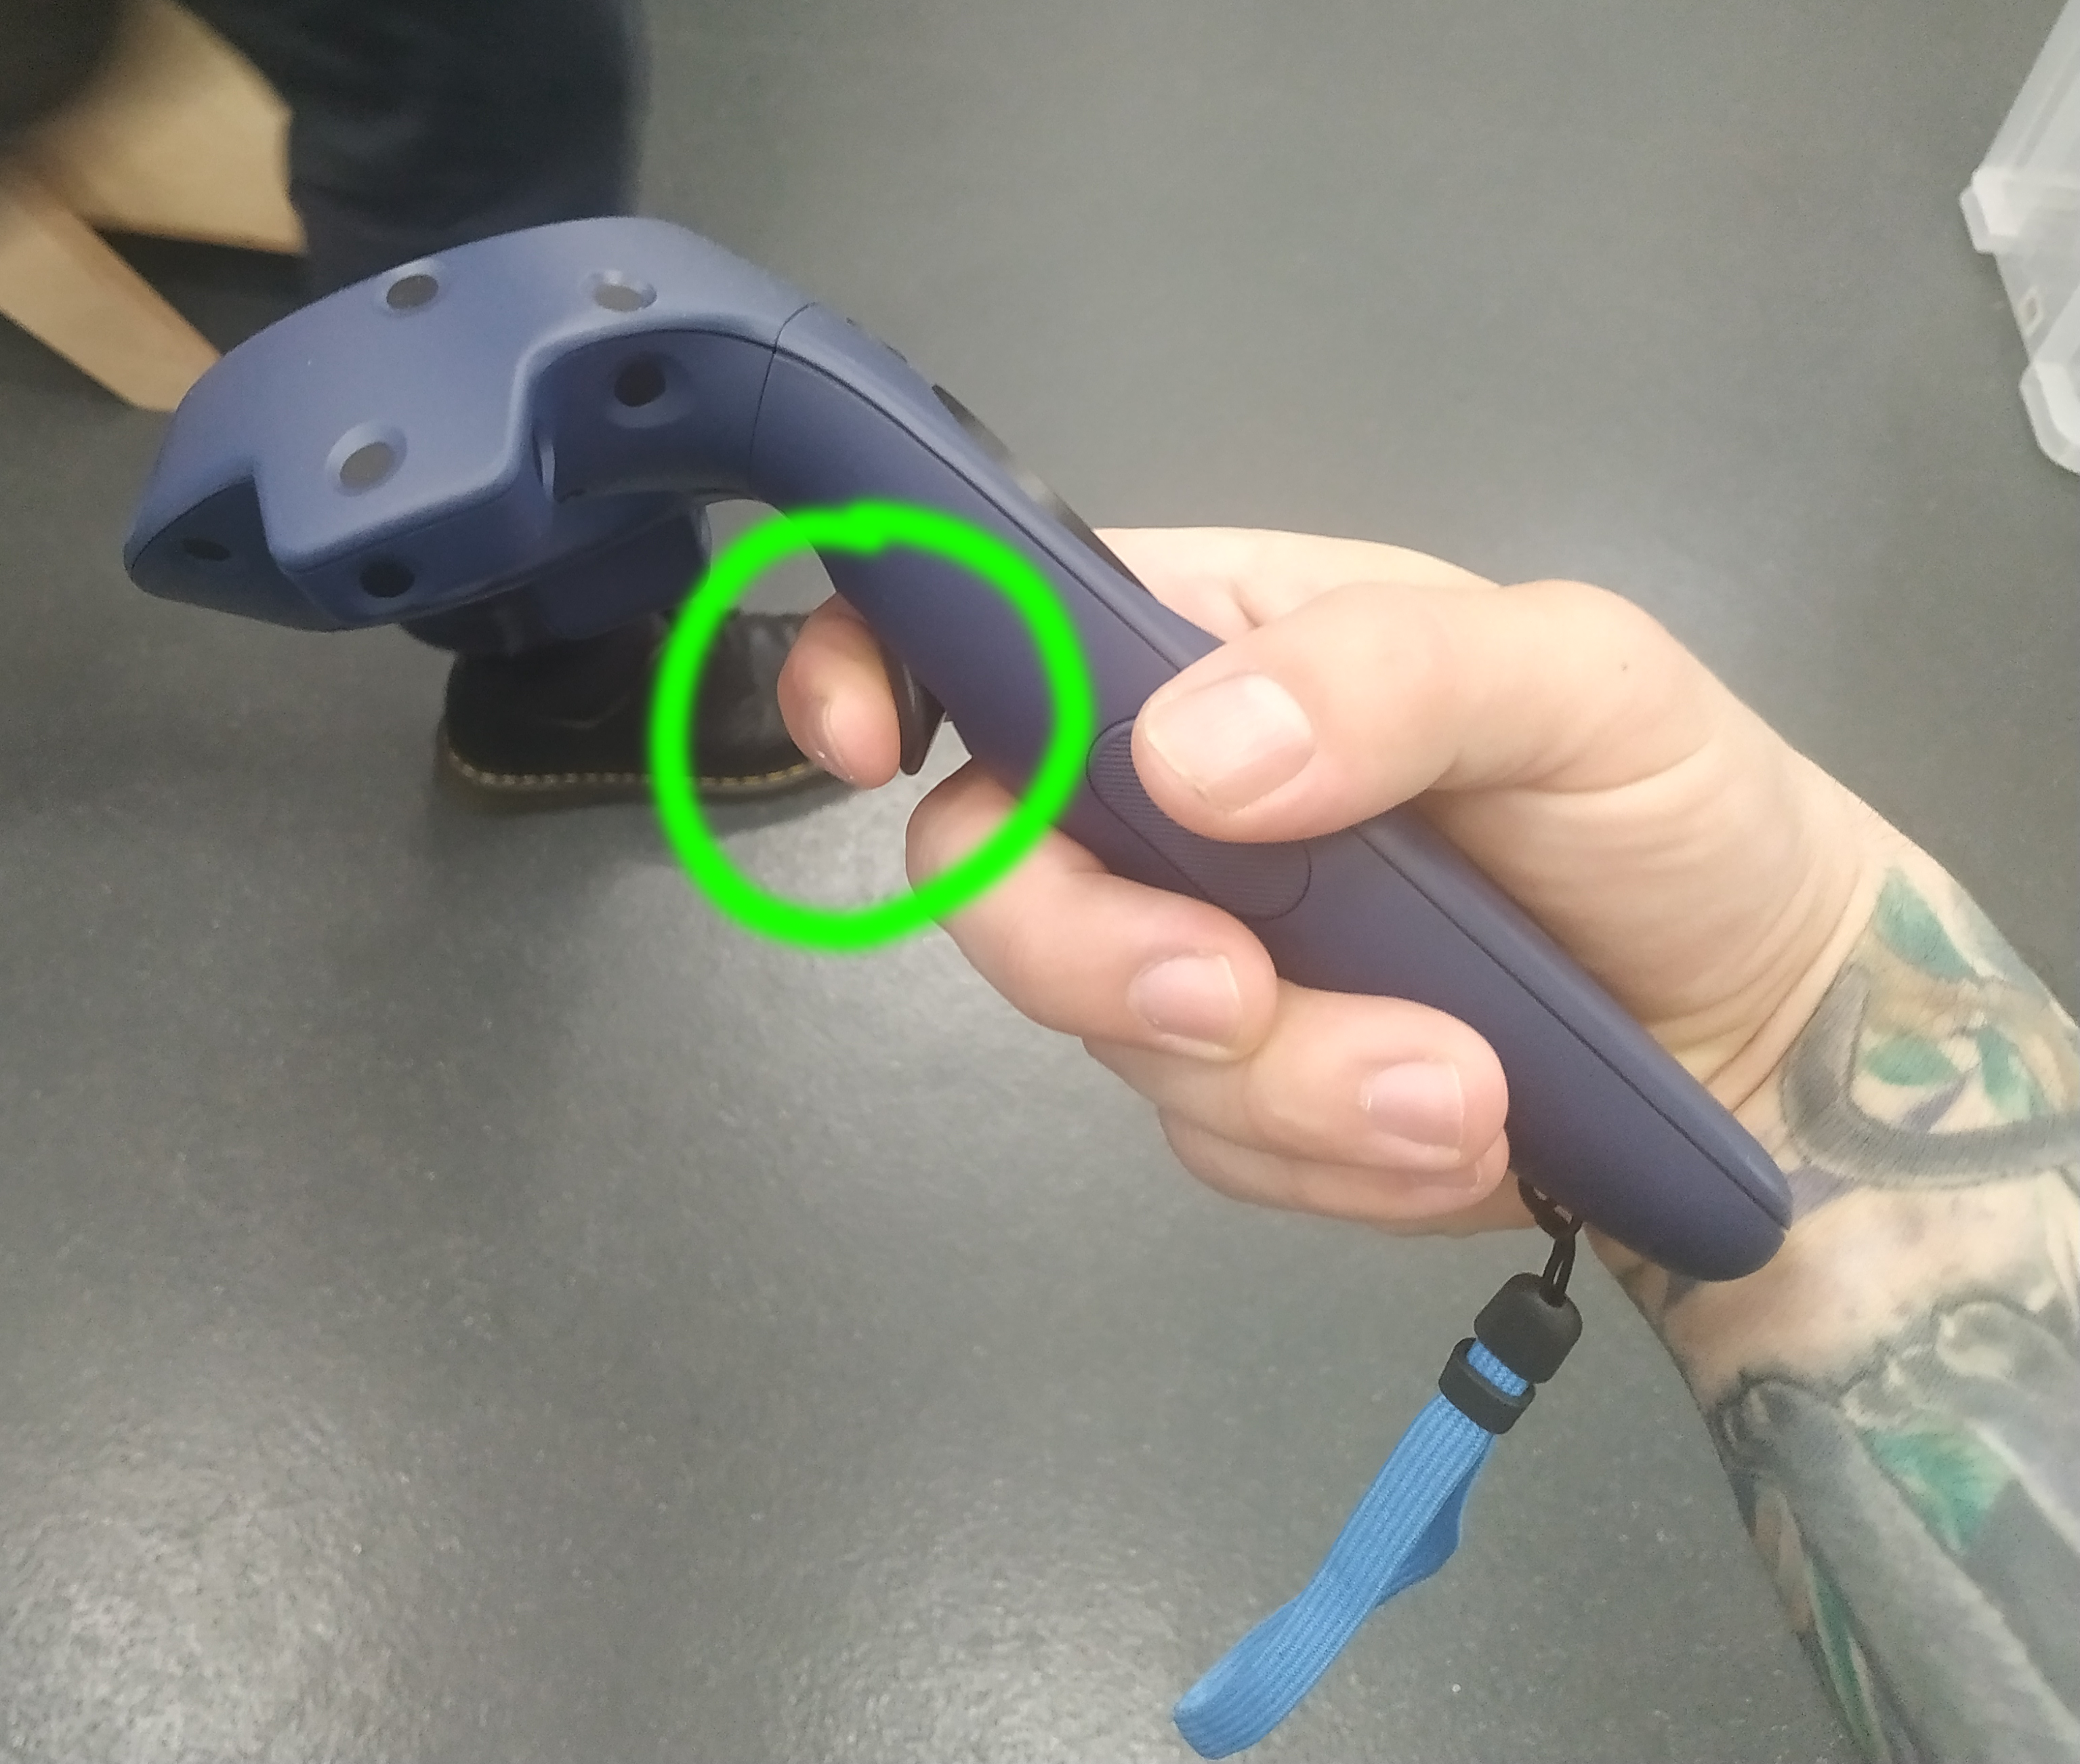
You might notice that both the controller and the virtual hand dissapear once you start holding the cube in the air, if you let go the trigger button, you will notice that the cube falls and both the virtual hand and controller reappear.
Let's take a look at the "Interactable" script to understand what is happening, with the "Magic cube" selected, Take a look at the presets on the "Interactable" script, you will see that the selection box for "Hide hand on attach" is checked.
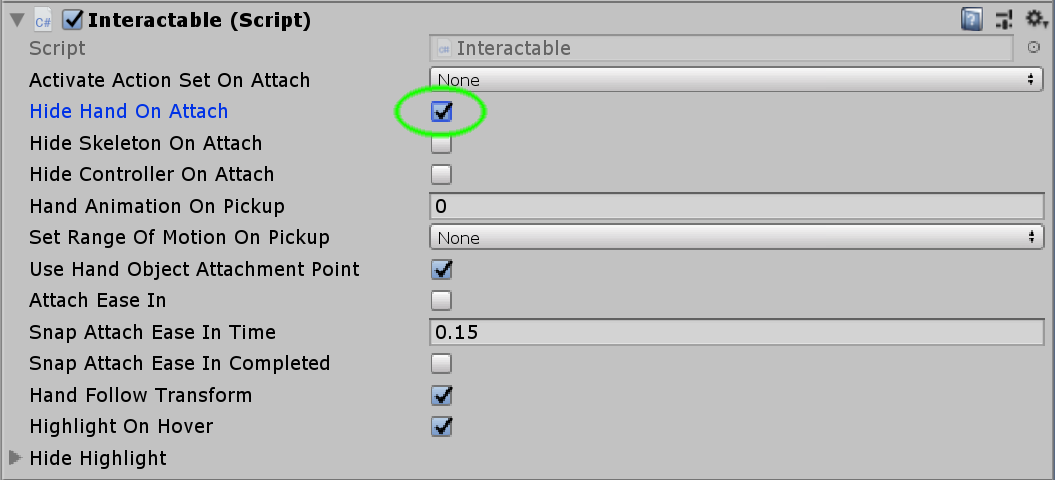
Now let's uncheck the box and try again.

Now the controller is displayed whilst pressing the trigger button, However, the hand seems to be off, to fix this, let's give another look at the properties for the "Interactable" script. Now you might notice that the "Hand follow transform" is also checked, this is making the hand copy the transform values for the "Magic Cube", you just need to uncheck this box and hit Play, now the controller and the hand seem to be working properly.