(MAC) How to use Phomemo Thermal Printer M834
What is Automator?Phomemo Thermal Printer M834?
Apple’sPhomemo AutomatorM834 thermal portable printer that can print black and white text and graphics inklessly on different sizes 216mm/210mm/110mm/80mm/53mm (US Letter/A4/4.33"/3.14"/2.08") of thermal papers.
1. Create Custom paper size
If you are using thermal paper that is not the standard A4 or US Letter size, then you will need to create a custom paper size for your thermal paper.
- Open any files or images, eg. Preview, the click
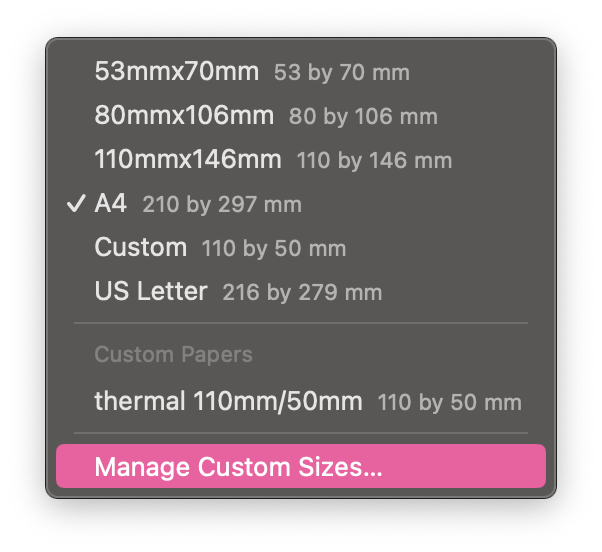
File->Print - Click the drop down menu of Paper Size
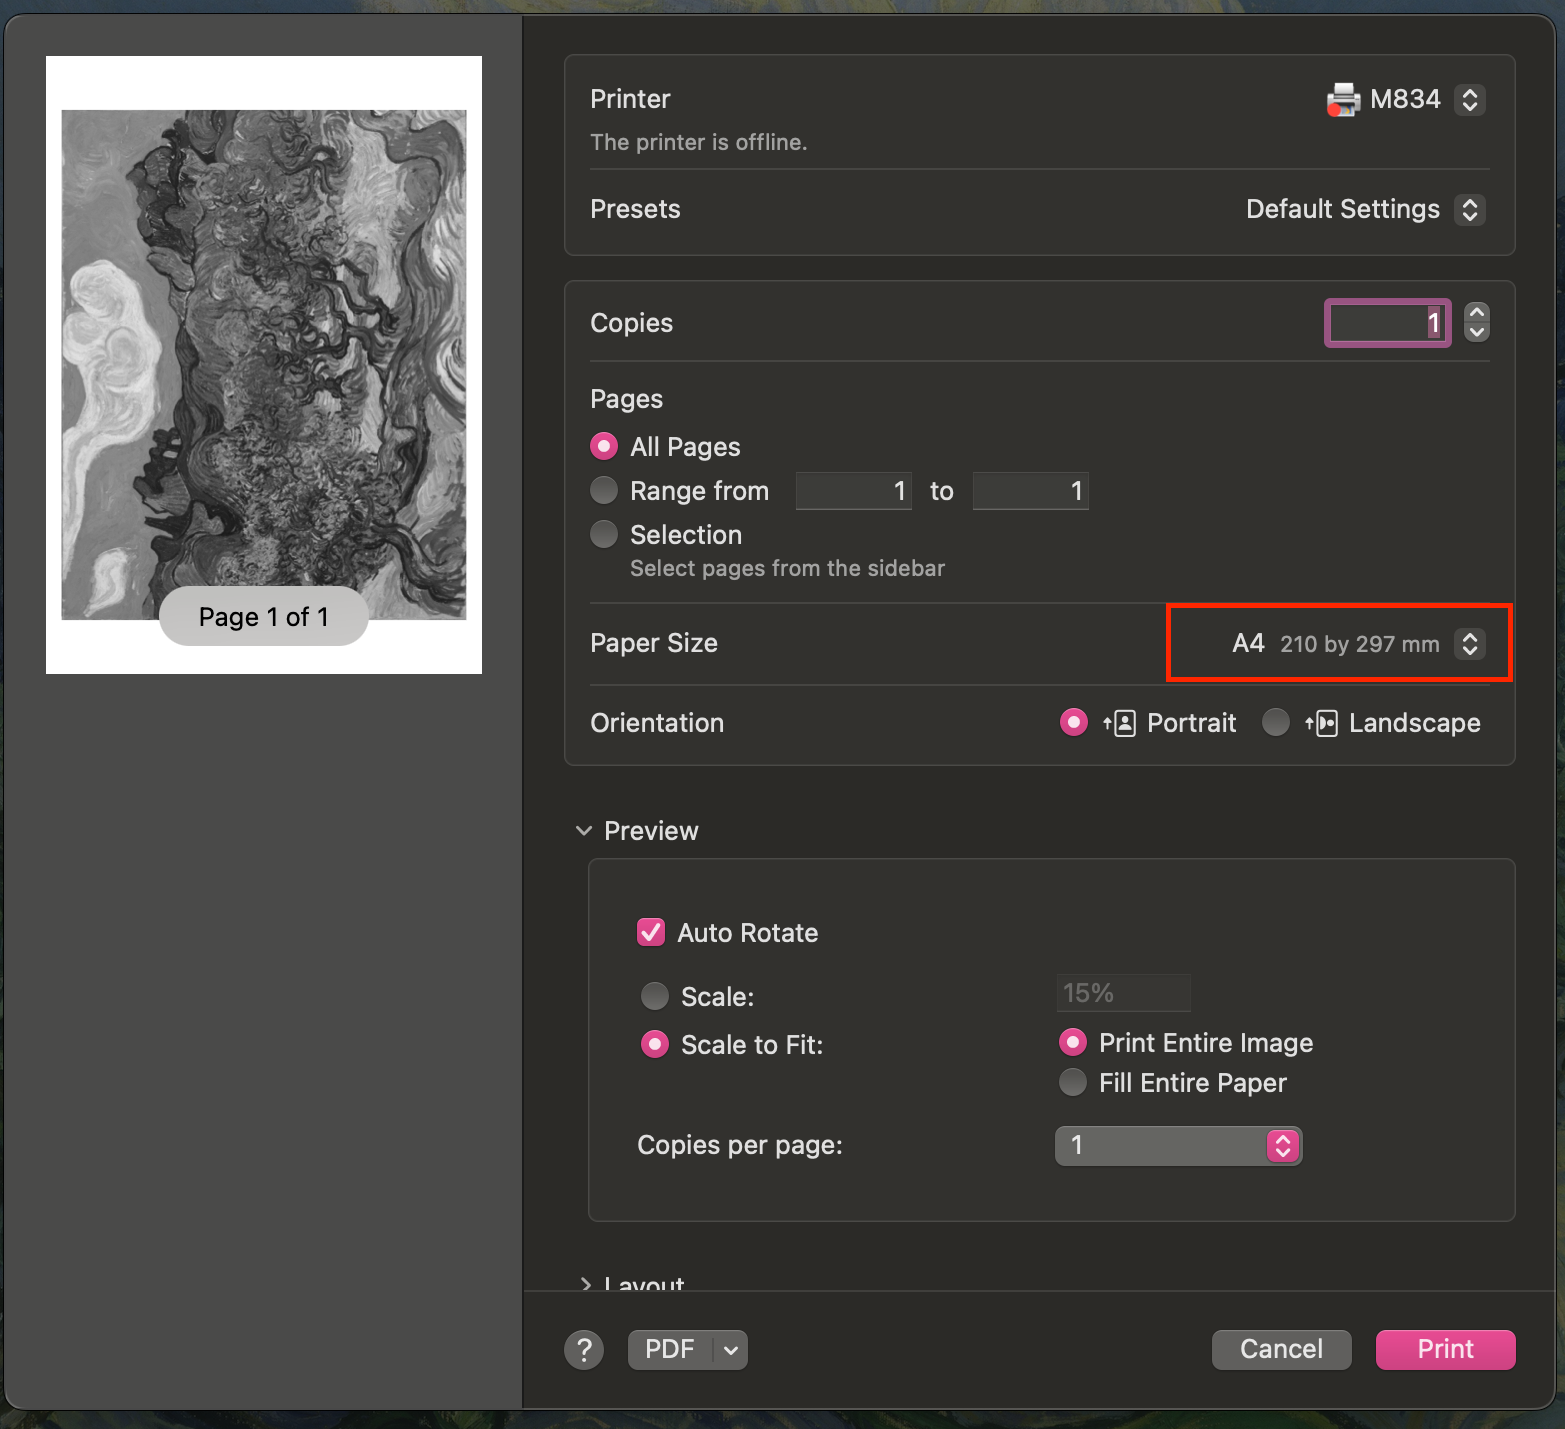
- Click Manage Custom Sizes
- Use the
+button to create a size for your paper. For example in this screenshot, I am using a thermal paper roll of 110mm wide. The height, however, should be based on the height of your graphics/ files, as it is abuilt-inrollMacwhichfeaturemeansthattheallowsheightuserscan be indefinite for the printer. I set the height as 50mm, as my intended printing file is going toeasilybe“program”50mmtheirtall.MacsAttolast,automaticallyrememberexecuteatcertainleastrepetitive3mmtasks,margins.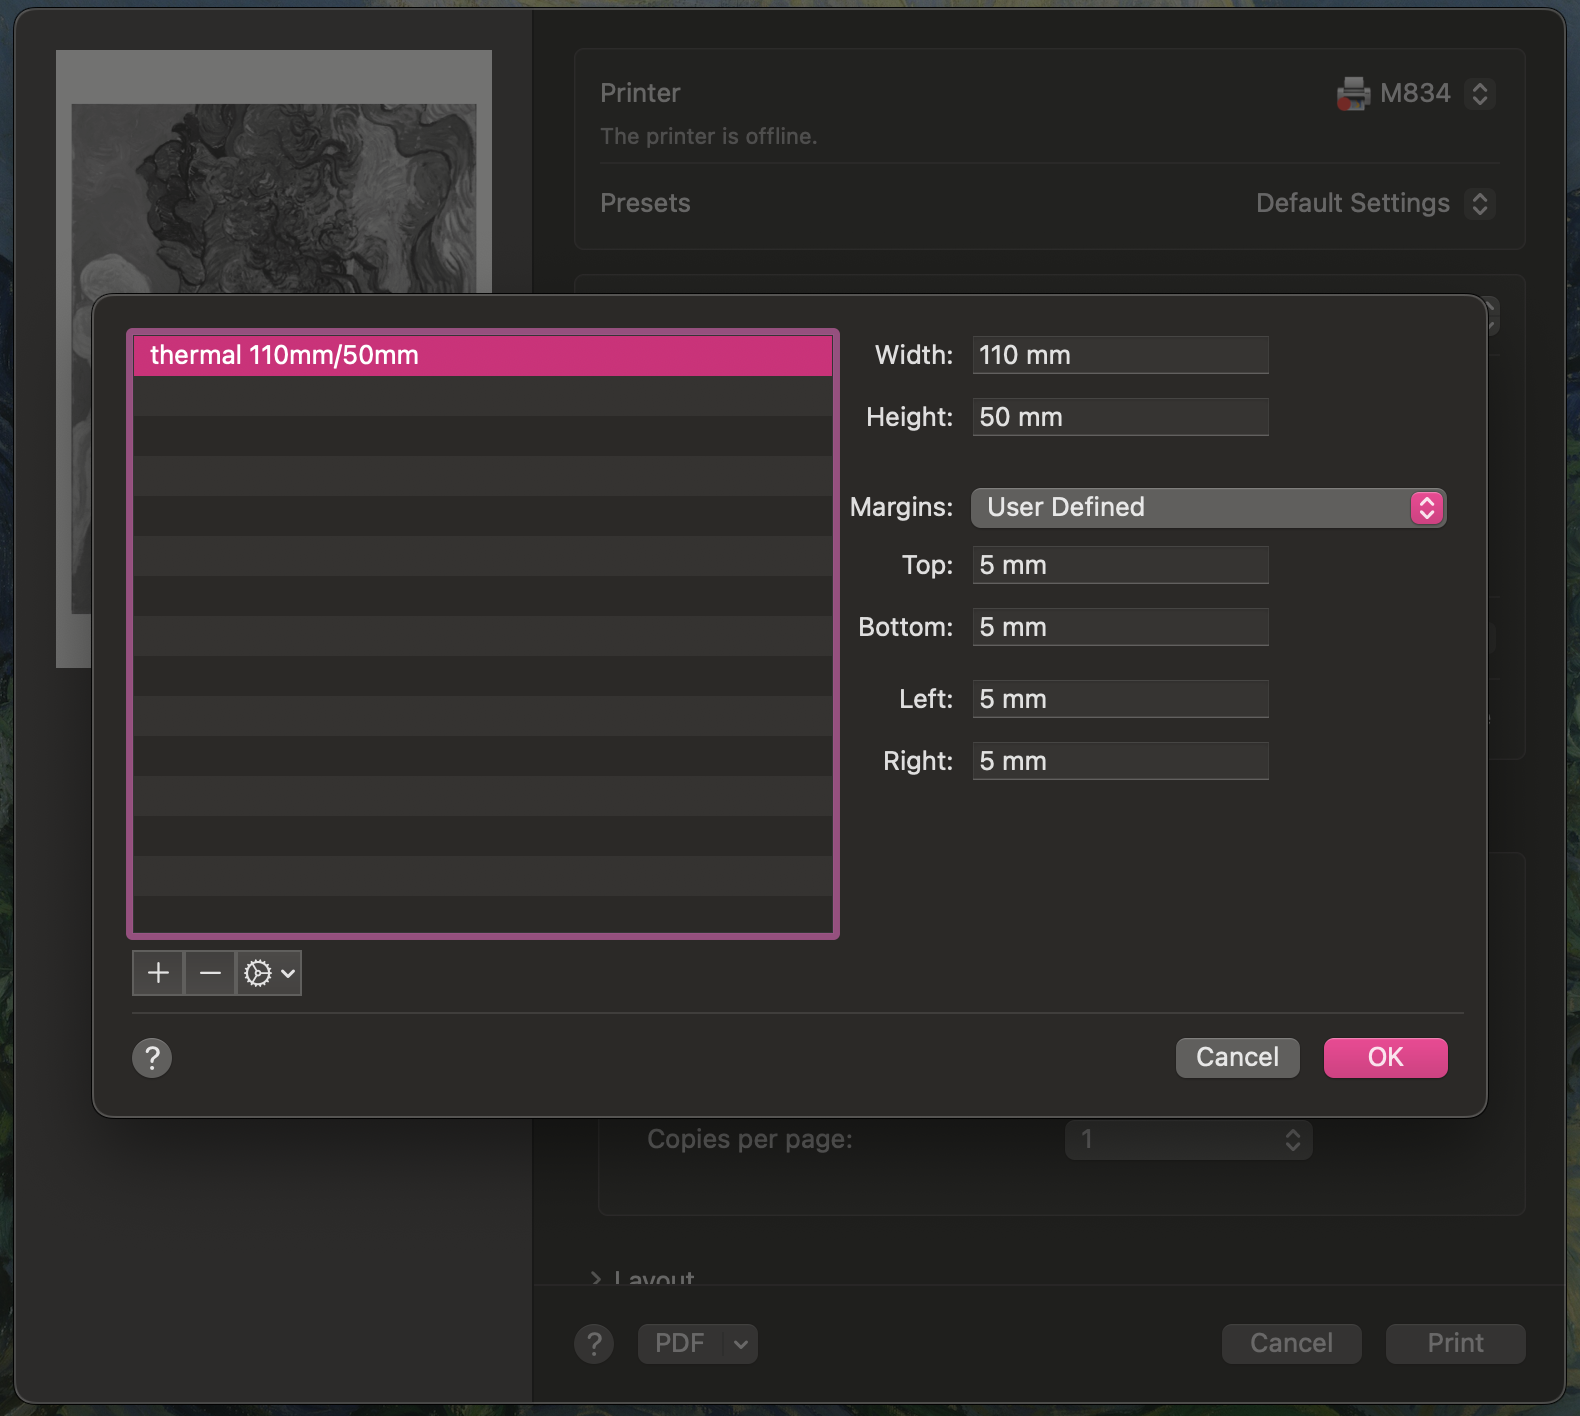
thus


2. bySet removingDefault thePaper size
You will need to performset saidyour tasksnew manually.
Automatorpaper size as the default paper size before you print. Although you can beselect helpfulthe whenpaper size everytime you don'tprint haveinstead, muchit programmingis knowledgeessential orif don'tyou want to do aauto-printing lotin the next step.
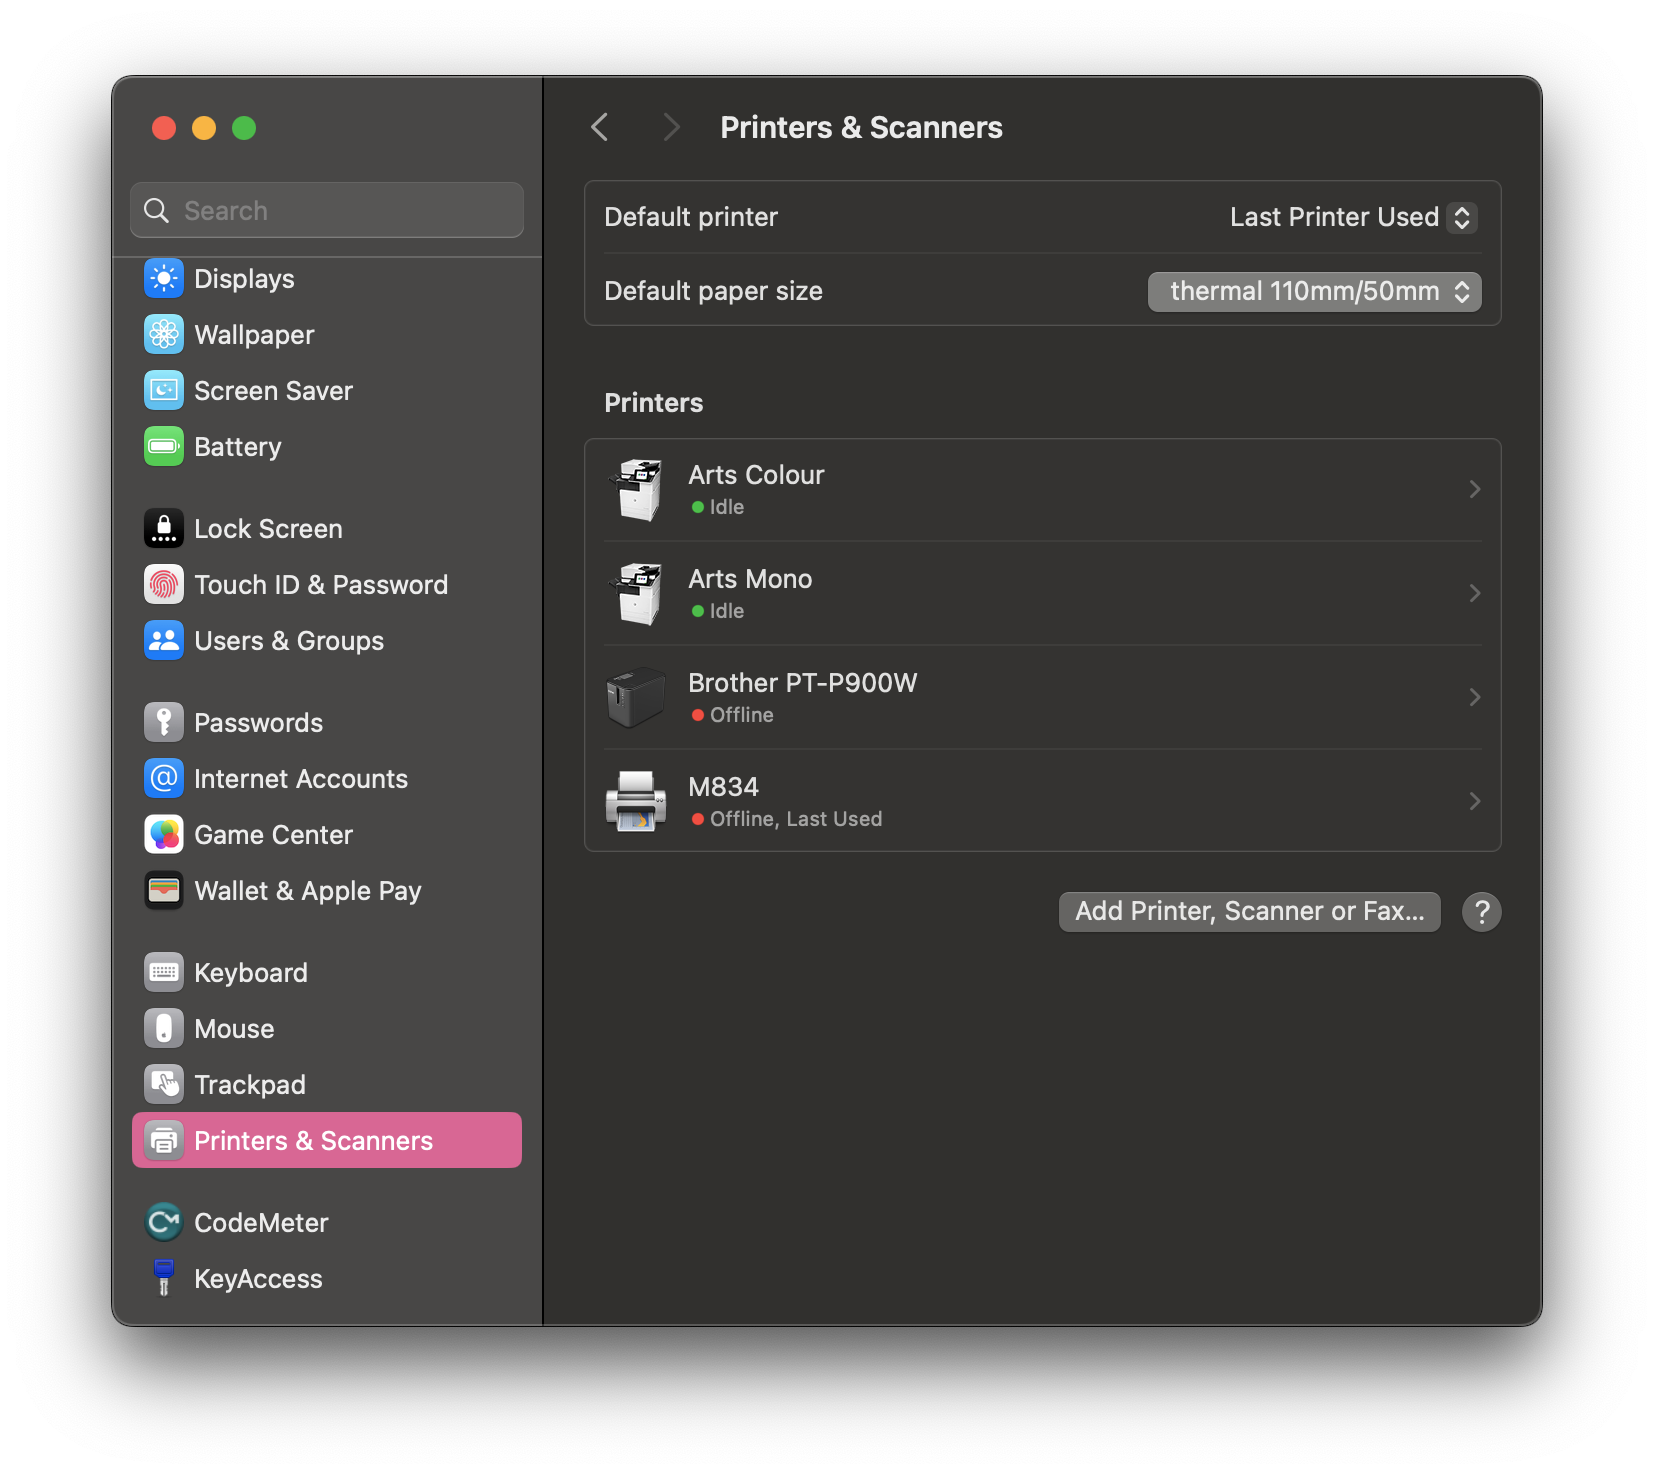
- Go to
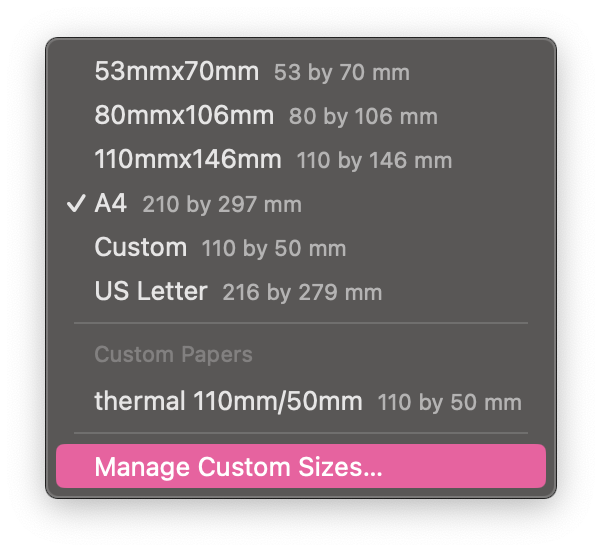
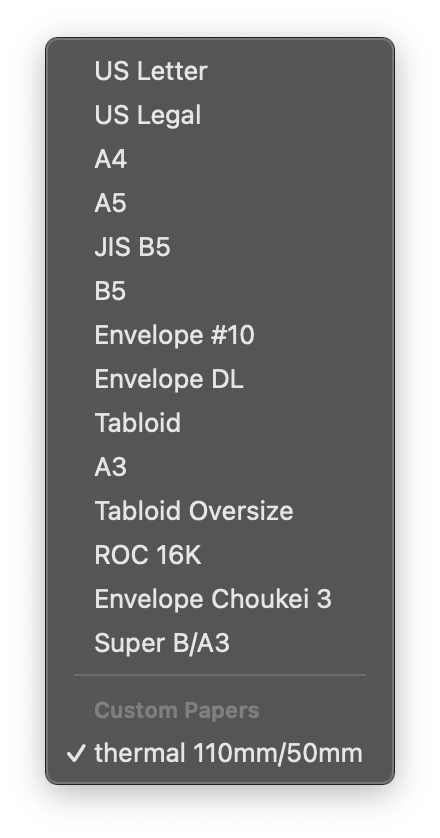
System Settings->Printers & Scanners - Click the drop down menu of
coding.DefaultOnepaperofsize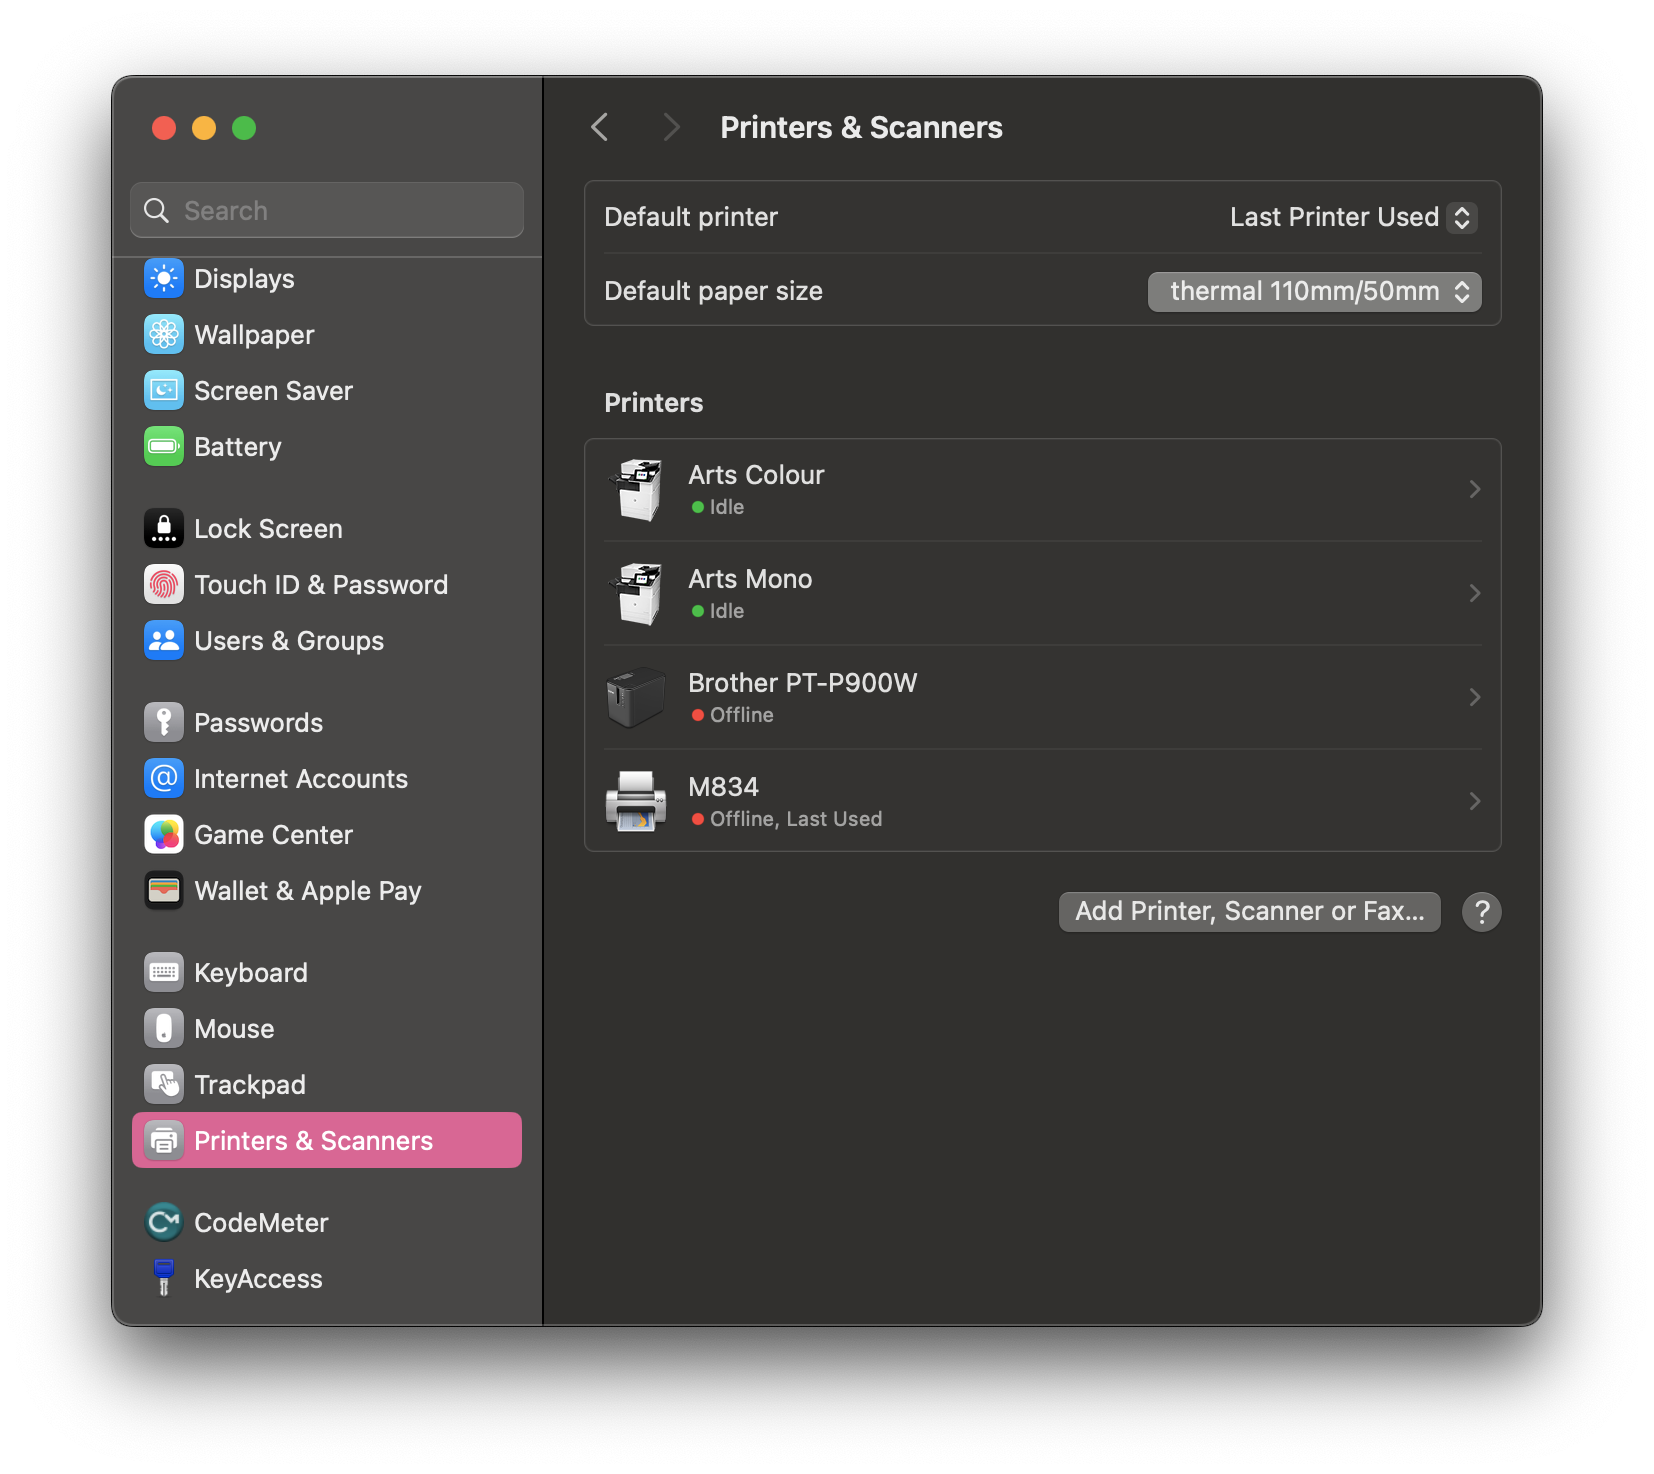
the - Select
commonyourusagenewiscustom paper size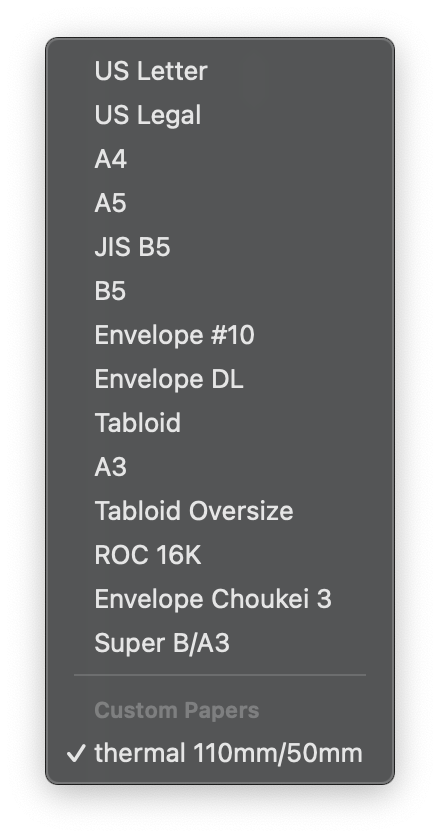
3. Set up Auto-printing.Printing Unfortunately, the app is not available for other operating systems.
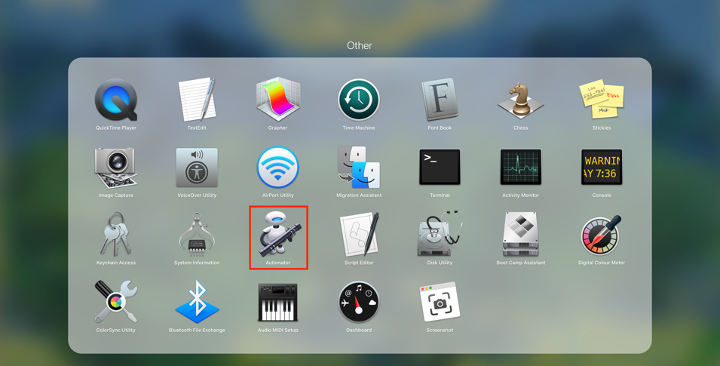
1. Launchwith Automator
Search for "Automator" in Spotlight and launch.
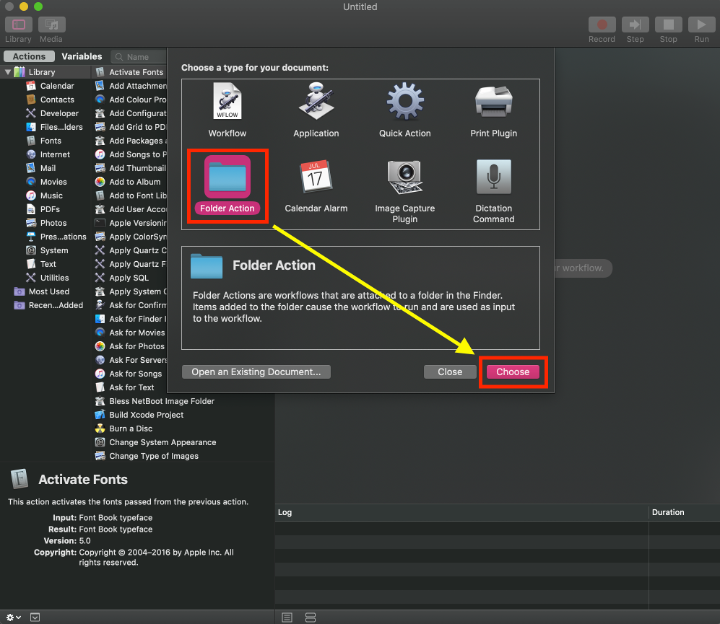
2. Folder Action
You will see this dialogue when you launch Automator and choose Folder Action.
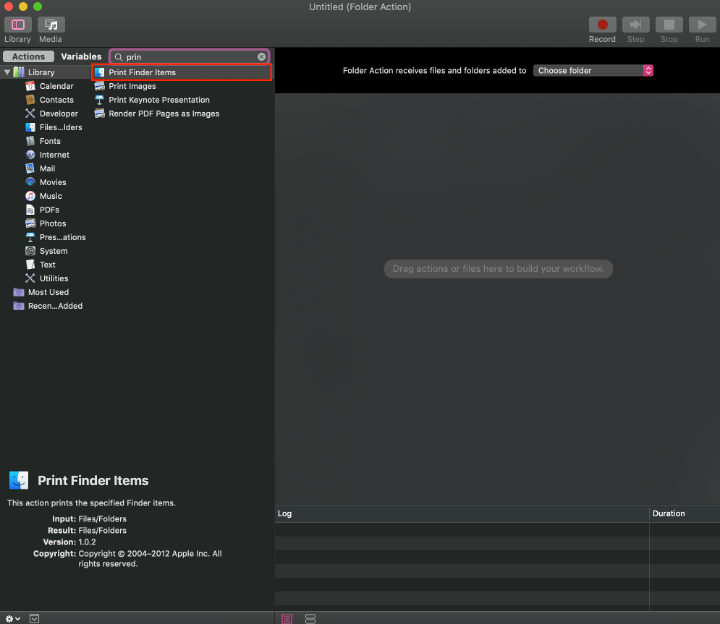
3. Print Finder Items
Drag Print Finder Items to the right side of the window.
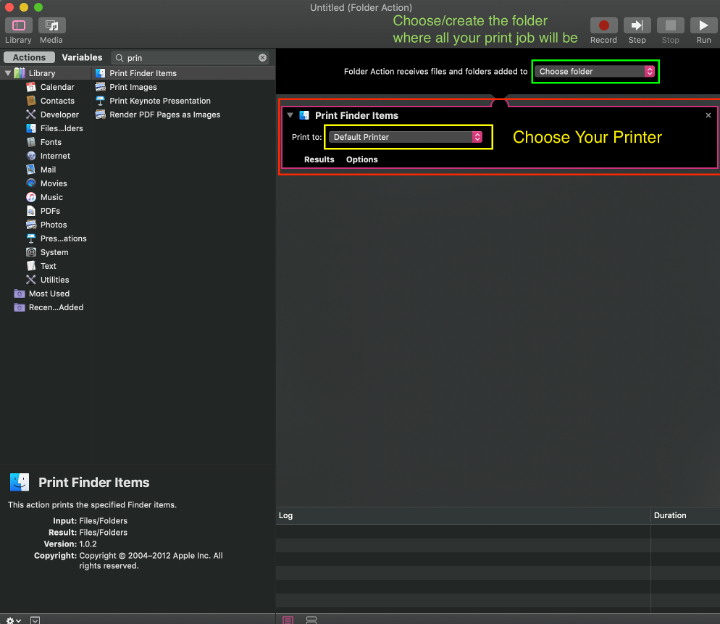
4. Choose Folder & Printer
Choose the folder where you want to put all your printing files and choose the printer that you want to use as the default printer.
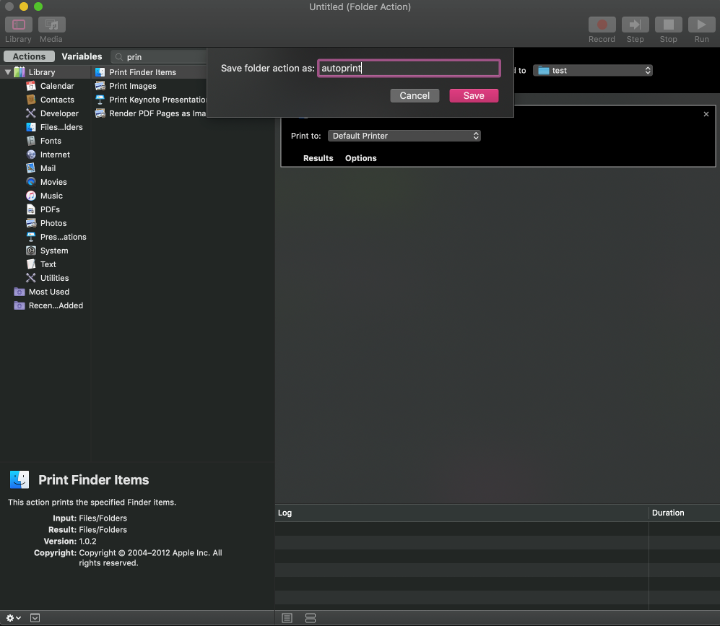
5. Save the Script
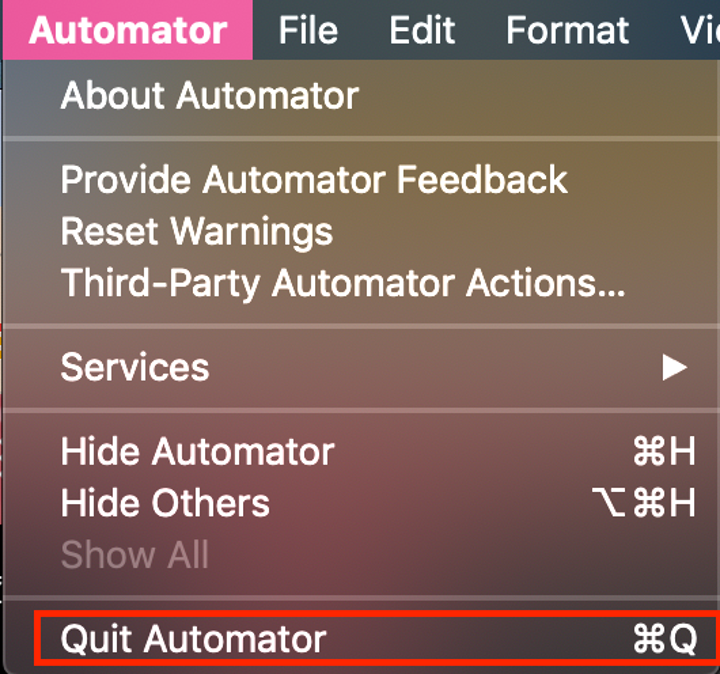
6. Quit Automator
You must quit the Automator for it to work.
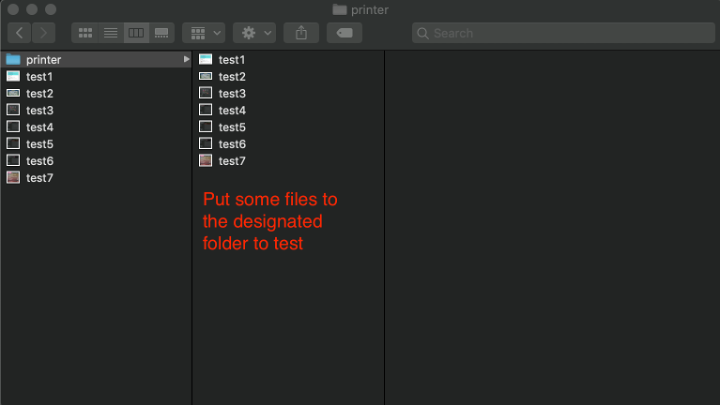
7. Testing
Put some files into the folder you chose above.
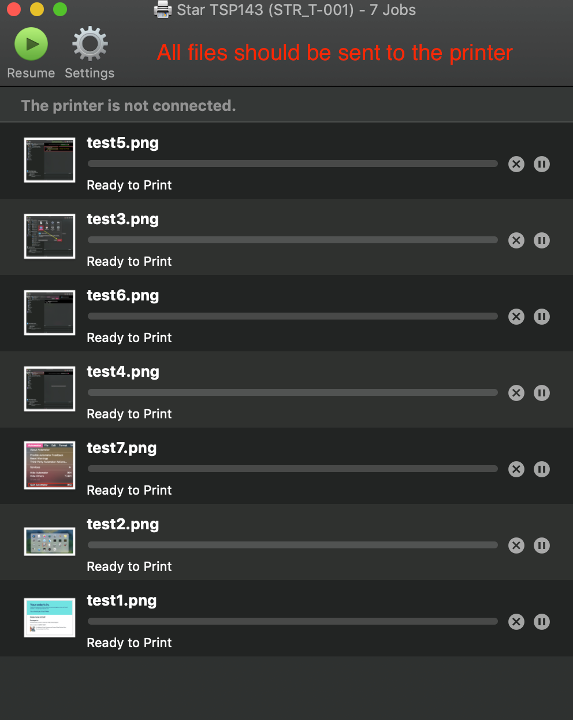
8. Printing
All files should be sent and lined up in the Printer dialogue.
Now that you have set up a auto-print workflow, it can be a great add-on for your project. For example, weWe have a generativetutorial graphicfor sketchsetting inup Processing,automatic weprinting program it to save the graphics every 1 minute in a designated folder and thewith Automator willon printMAC it auotmatically through a thermal printer.here.