POPs: Point Cloud from 3D model
Part One: Creating a Point Cloud from a 3D Model in TouchDesigner
This tutorial covers the basics of generating a point cloud effect from a 3D model in TouchDesigner using particle systems from the new POPs family.
Just like in SOPs, POPs include a File In POP, which allows you to import 3D assets in common formats such as .obj. Keep in mind that you won’t be able to directly edit the geometry inside TouchDesigner, so any major adjustments (such as scaling or mesh edits) should be done beforehand in external software like Blender.
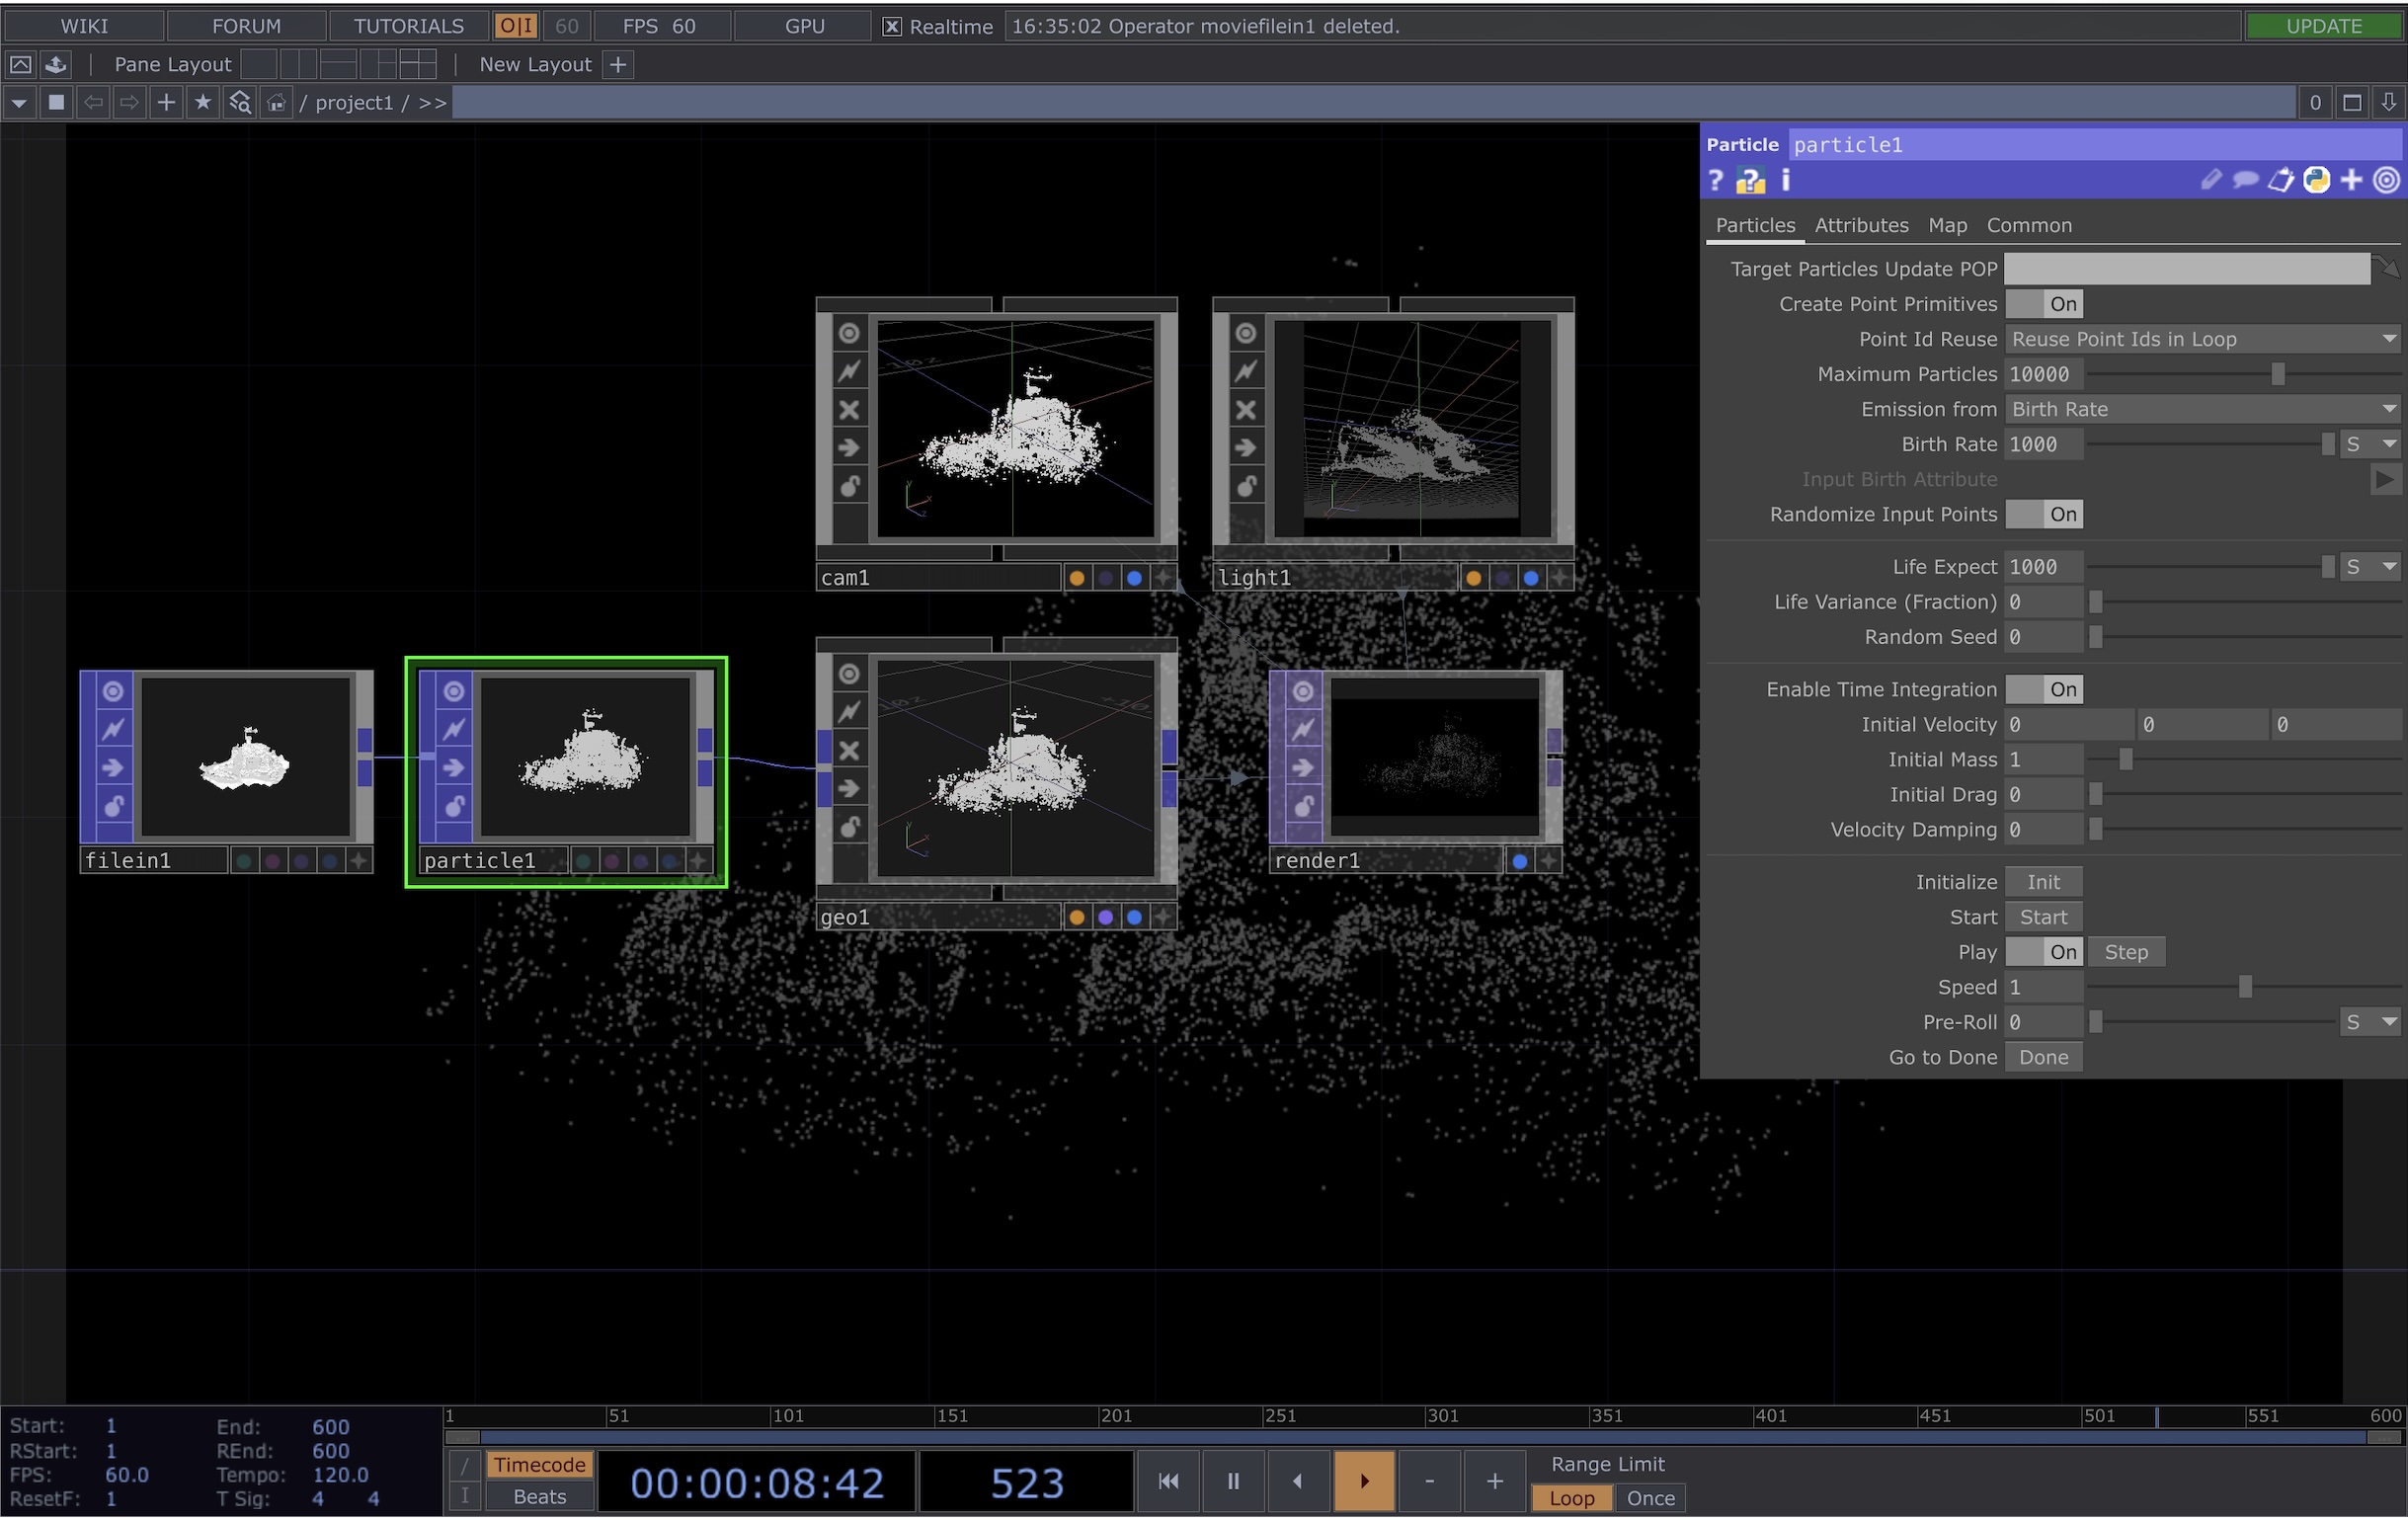
Next, add a Particle POP. In its parameter window, you’ll find several controls that affect the behavior of your particle system. For example:
- Max Particles controls the overall density of the point cloud
- Birth Rate determines how many particles are generated
- Life Expectancy controls how long each particle exists
You can explore these parameters further in the official documentation:
https://derivative.ca/UserGuide/Particle_POP
To render your point cloud as a 2D image, follow a similar workflow to SOPs:
- Connect your POP network to a Geo COMP
- Add a Camera COMP and a Light COMP
- Create a Render TOP
In the Render TOP parameters, set the Background Color Alpha to 1 if you want a solid black background.
At this stage, you should have a basic point cloud generated from your 3D model. To further animate or manipulate the effect, you can experiment with additional POP operators such as:
- Noise POP (for organic motion)
- Transform POP (for positioning and animation)
POPs behave very similarly to SOPs, so many techniques used in SOP-based workflows can be adapted to POPs.