Creating a Landscape
This is a multi-part tutorial on creating virtual worls in Unreal Engine. This tutorial assumes you have a basic understanding of 3D work but no prior experience is necessary.
Please contact the Creative Technology Lab for questions or assistance.
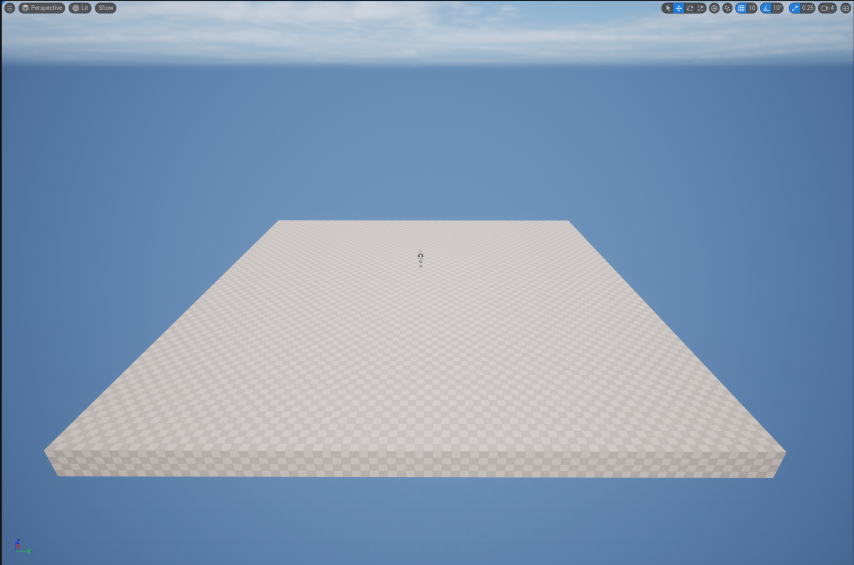
1) Start with a blank level in Unreal Engine.
This will give you a fresh scene with a floor, sky, clouds, and sunlight. We will use this as a base from which we create our scene.
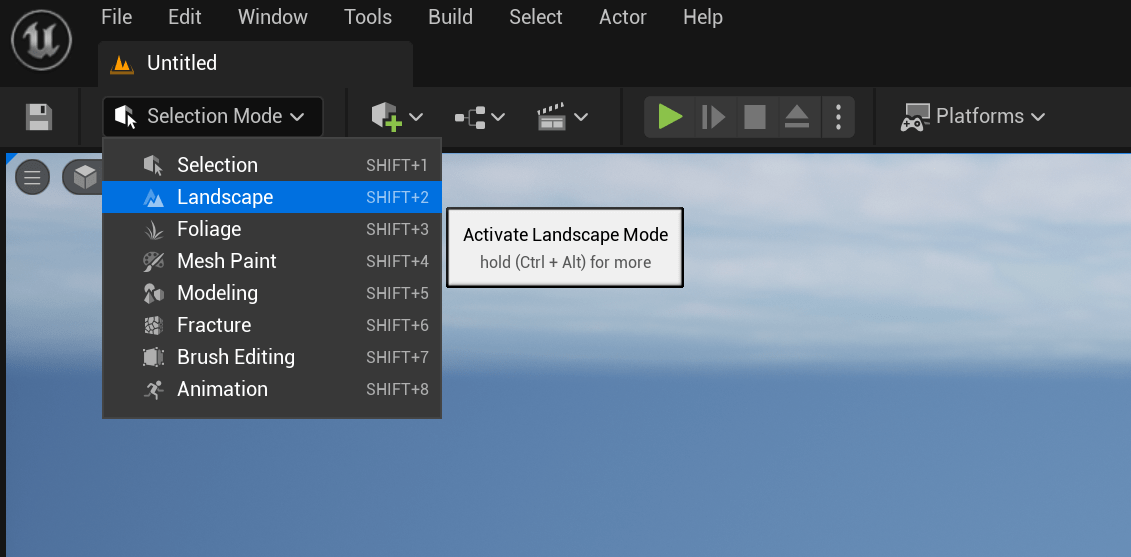
2) Change the editor to Landscape mode.
We will want to change two important settings here.
-
Turn ON Enable Edit Layers. This will allow us to modify our landscape later.
-
Change the Section Size to a smaller size. For this tutorial we will use 31x31 quads. For larger landscapes, you can use a larger size.
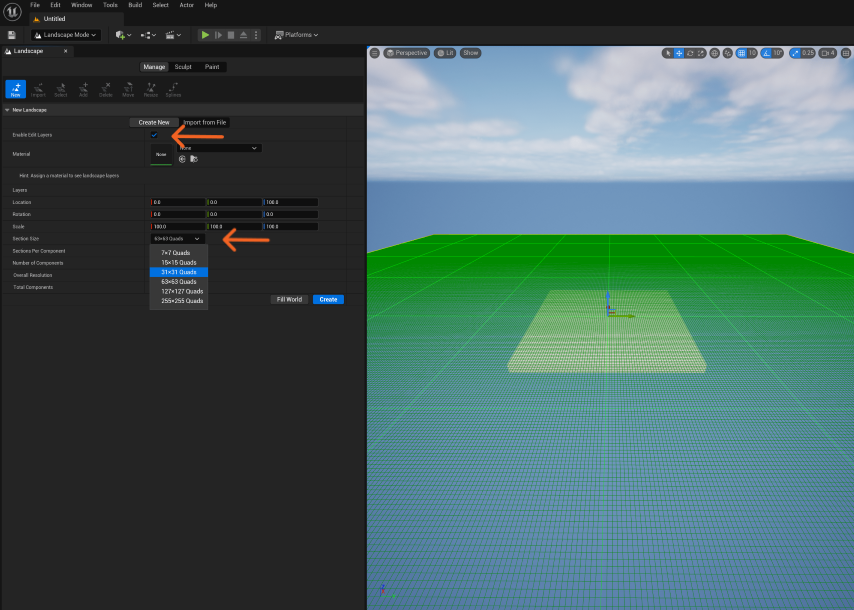
After this is done, you can click create and your landscape will be done.
3) Modifying the shape of the landscape.
Our landscape will look quite flat when we first create it. To add some details, we can use a variety of tools to change it. We will be focusing on the Noise tool.
The Noise tool applies a random height the portion of landscape we paint over. But first, we need to change a few settings with our tool.
-
The Tool Strength should be reduced to 0.04. This will reduce the variation in height that is produced.
-
The Noise Mode should be changed to Add. This will make it so height is added to our existing landscape, not reduced from it.
-
Finally, the Brush Size can be increased so we can paint our whole landscape with one click. This is not necessary if you want to make small adjustments.

After clicking once to paint our landscape with Noise, it should look like this.

As you can see, the height has been randomised, greating a nice ground effect for our scene.
To continue with this tutorial, follow the next article in this series where we will cover Materials.