Using Quixel Materials
This is a multi-part tutorial on creating virtual worls in Unreal Engine. This tutorial assumes you have a basic understanding of 3D work but no prior experience is necessary.
Please contact the Creative Technology Lab for questions or assistance.
Materials and Libraries
Just like in the real world, Materials determine what an object will look and feel like in Unreal Engine.
We can either create our own materials or use materials that have already been created.
Creating our own materials can be easier or more difficult depending on how detailed a material has to be.
Therefore for this tutorial, we will use materials that have been created for us.
A collection of these pre-made materials is called a Material Library.
It is also possible to create libraries for 3D models and assets called Asset Libraries.
1) Using Quixel
Quixel is a Material and Asset Library that is free to use with Unreal Engine. This provides easy access to thousands of pre-made assets for your projects.
We will be using Quixel to select a material for the landscape we already created.
- Open up the Content Bowser in the bottom left corner of Unreal Engine. There, we will select the Content folder so we can add items to it.
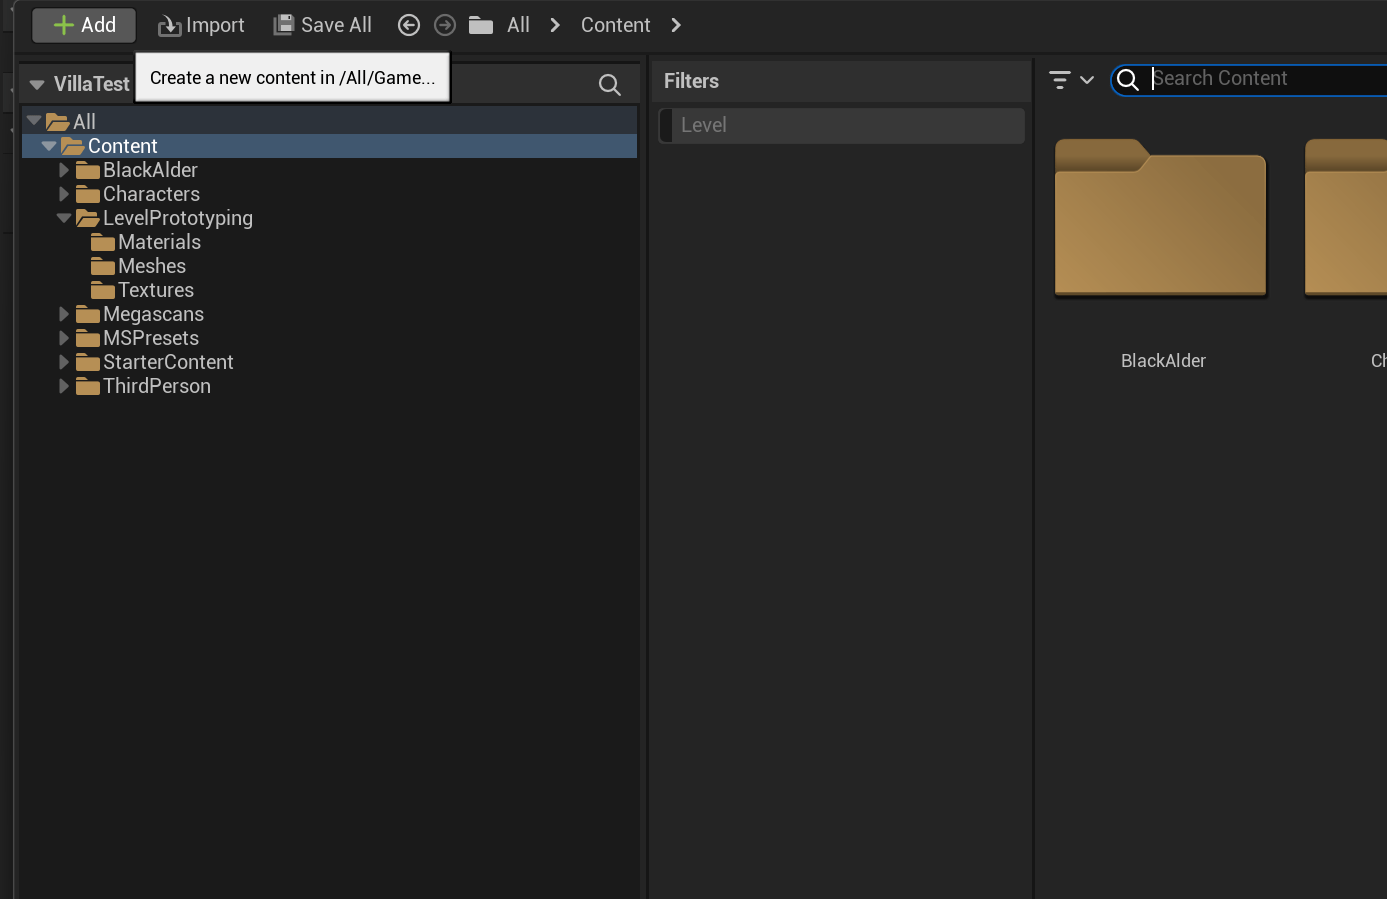
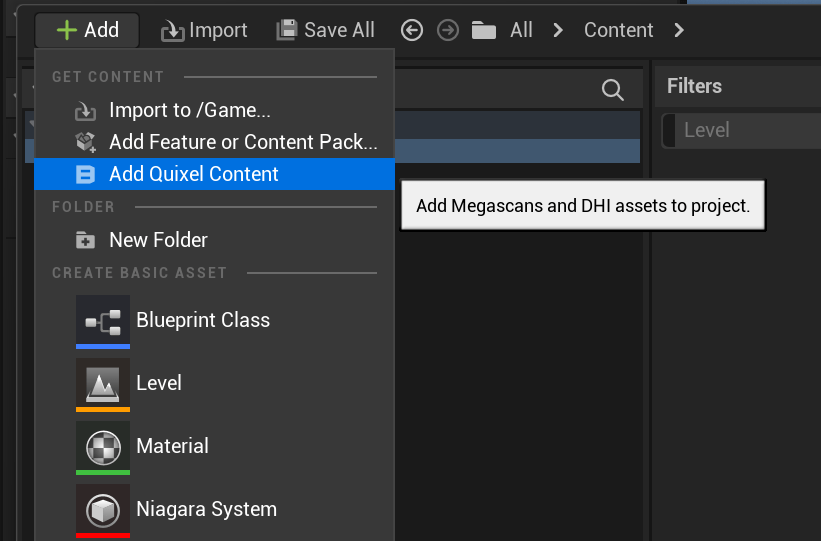
- After clicking on + Add, we can select Add Quixel Content which will open up the Quixel Bridge window.
2) Adding Materials
Quixel contains thousands of assets so it can be challenging to find exactly what we want. It is important to think about what kind of aesthetic we are trying to achieve when selecting a material.
I already know that I am trying to find a grainy ground material so I will search for it and select a material that I like.
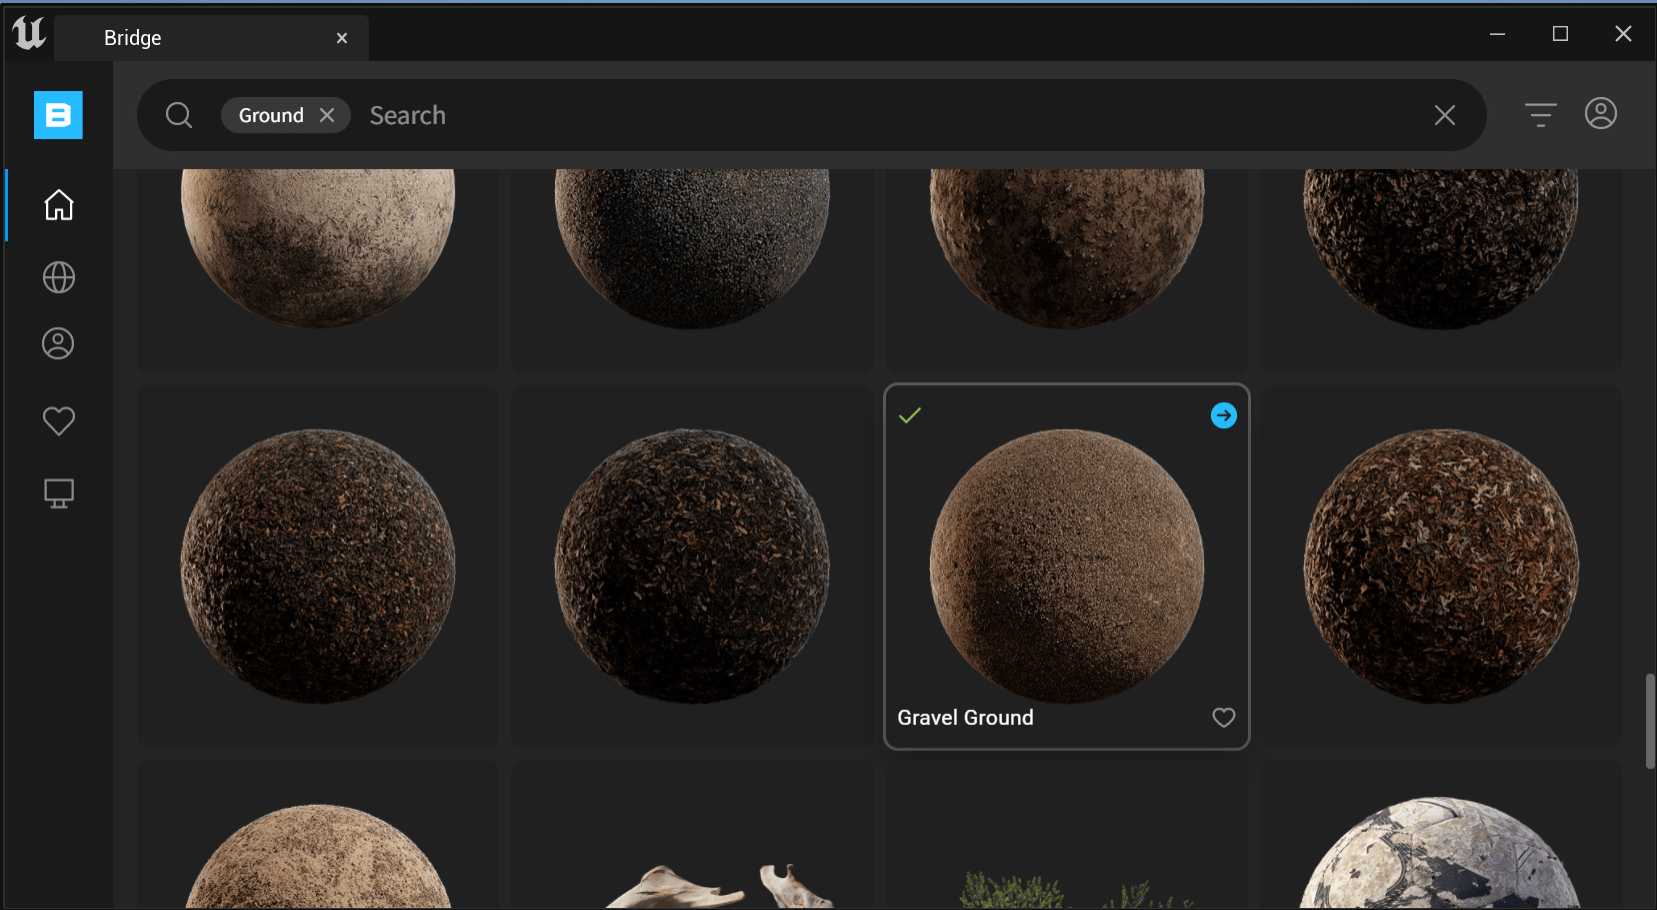
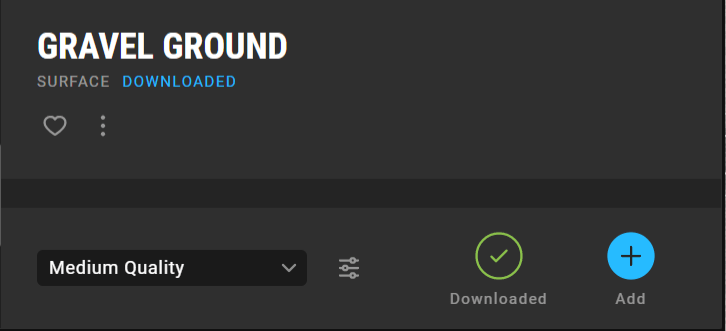
Once you find a material that you want to use, select it, download it, and add it to your project.
Medium quality is suitable for most projects. You can choose a lower or higher quality asset for your needs
You can then close Quixel and your content browser.
After you have added the material to your project, we have to make our landscape use the material.
3) Assigning Materials
First we should return to Selection Mode on the top left of the screen.

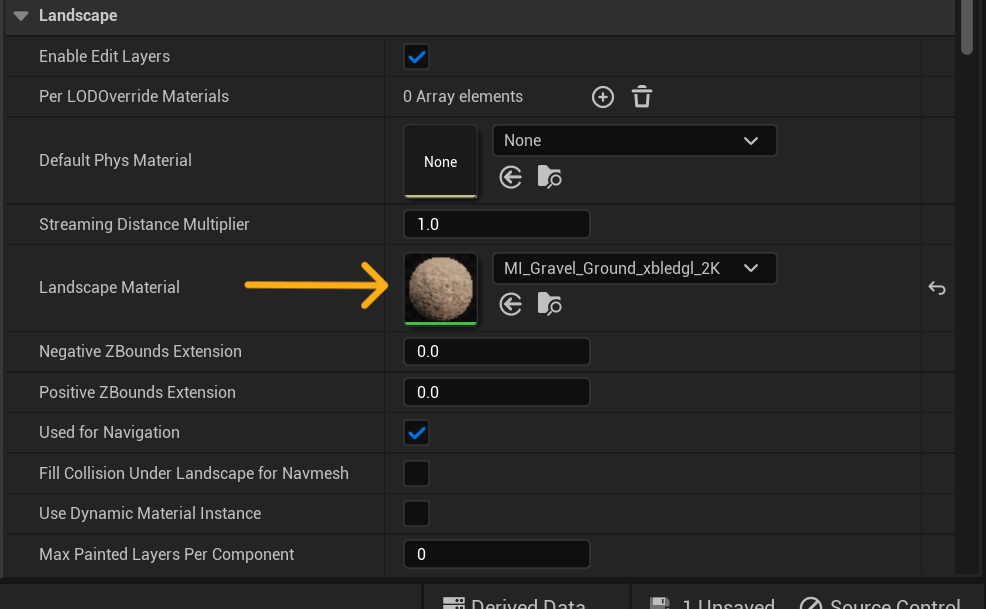
Then after selecting your landscape, scroll down on the Details panel. This panel shows you the properties of the object you have selected. This is where you can see the location, rotation, scale, and other various properties that an object might have. We are interested in the Landscape Material section. After scrolling to this section, we can click on the None bar and search for our material.


4) Modifying Materials
You might have noticed that the landscape has now switched to using the material but it doesn't display correctly. That's because the material doesn't know what size it should be.
When a material is too small for our object (in our case, landscape), it will use Tiles to repeat itself till it fills up the area on our object.
Luckily, we can adjust the tiling on all Quixel materials. To do this, we will first double click our material to open it up.
This will open up our Material Editor where we can tick the Tiling option and change the values. I found the values of 0.05 to be best for my materials.
You can change these values to get the size you want on your project.

After changing these values and saving the material, we will be able to see the material displayed with the correct size on our landscape.
As you can see, I can now see the grains of sand and gravel on my landscape.

To continue with this tutorial, please follow the next article in this series.