Motion and Depth sensors
External sensors can help us integrate 3D notions such as depth within our graphics. In this tutorial we will look into setting up and using Kinect v2 and some of the other sensors available in CTL. Before we begin, it's important to note that unfortunately these devices are only compatible with Windows machines, however students can arrange with us to use the PCs available in the lab.
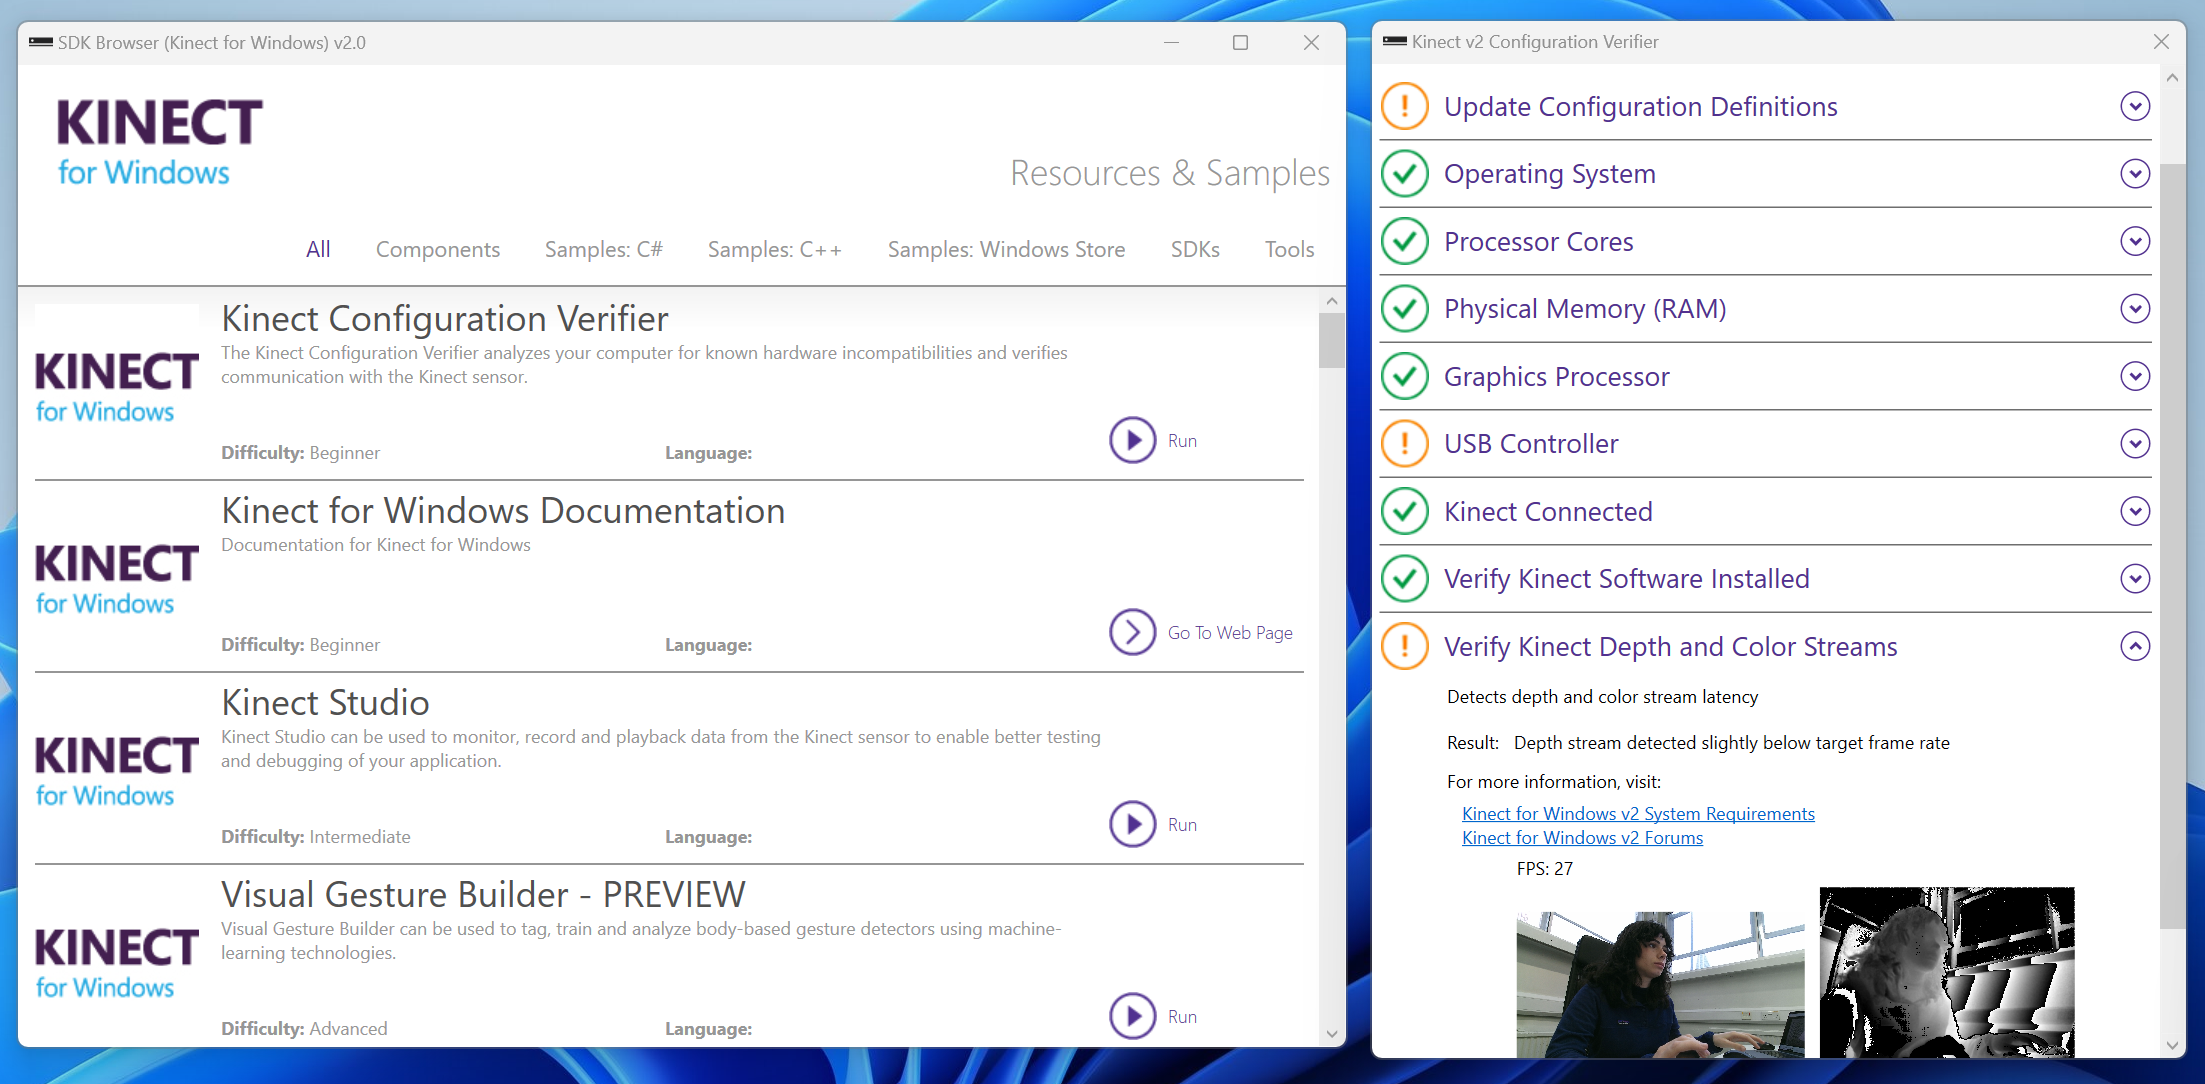
Before we start, download the Software Development Kit (SDK) from here, if using Windows 8 or later versions. Open the app SDK Browser v2.0 and find the Kinect Configuration Verifier component, then hit run. A new window will come up; Here allow some time for the software to upload and update the status of your Kinect. My final settings looked like this (further help setting up Kinect is also available here.
Kinect Studio, in the same list of components available from the SDK Browser, is another useful feature to develop immersive and interactive projects. Kinect Studio lets you record and loop a short video to feed Touchdesigner, helping you smoothly program interactions without having to constantly move in front of the sensor.
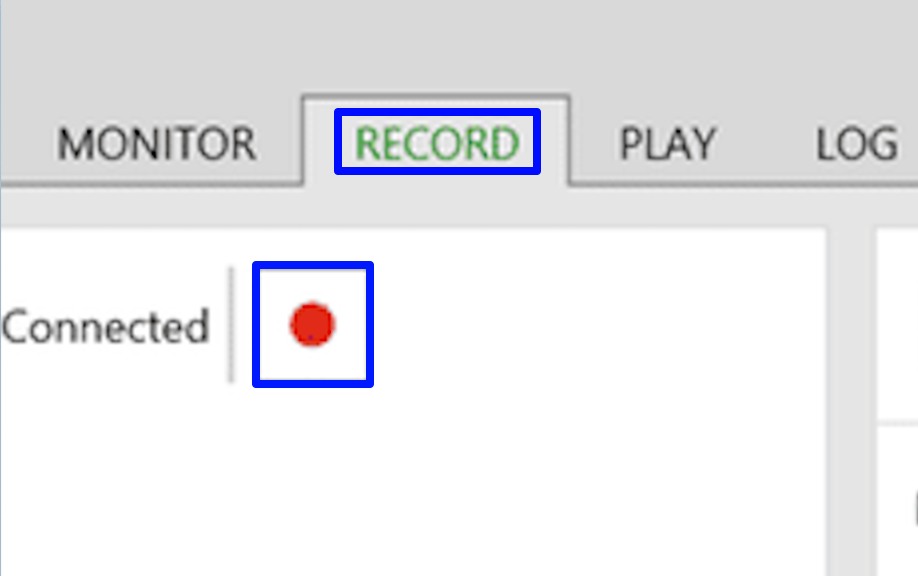
Click run to launch the app and in the top left corner of the interface, click on this button ![]() to connect your sensor. You are now presented with a depth map, from the heading select Record and hit the record button.
to connect your sensor. You are now presented with a depth map, from the heading select Record and hit the record button.
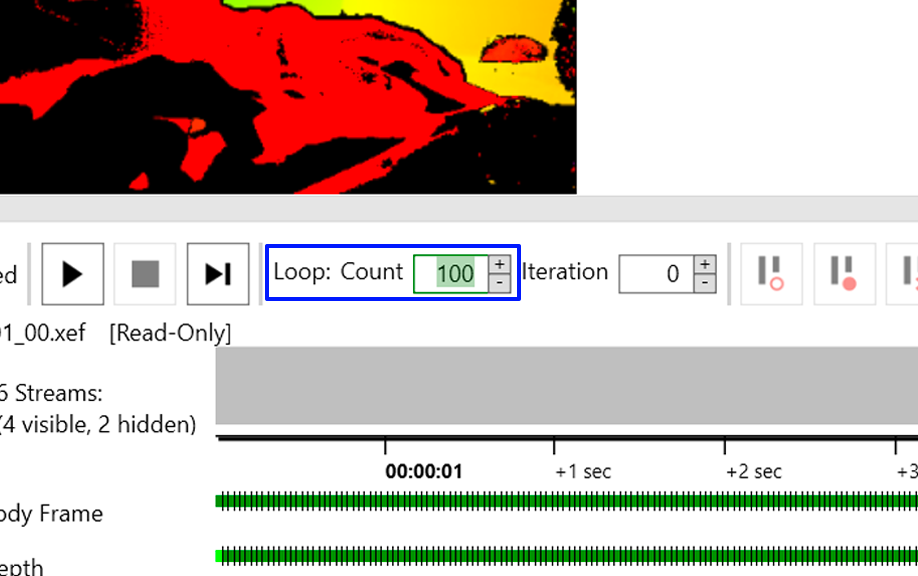
Once you've stopped recording move to the Play section of the interface and change the count to loop your video.
Your recording is now ready! Launch Touchdesigner and select Kinect TOP to view your recording, make sure that your hardware's version corresponds to your sensor, in the lab we offer both Kinect v1 and v2.